Easy Crochet Scallop Top DIY Tutorial
15 October 2020, 14:09 1906
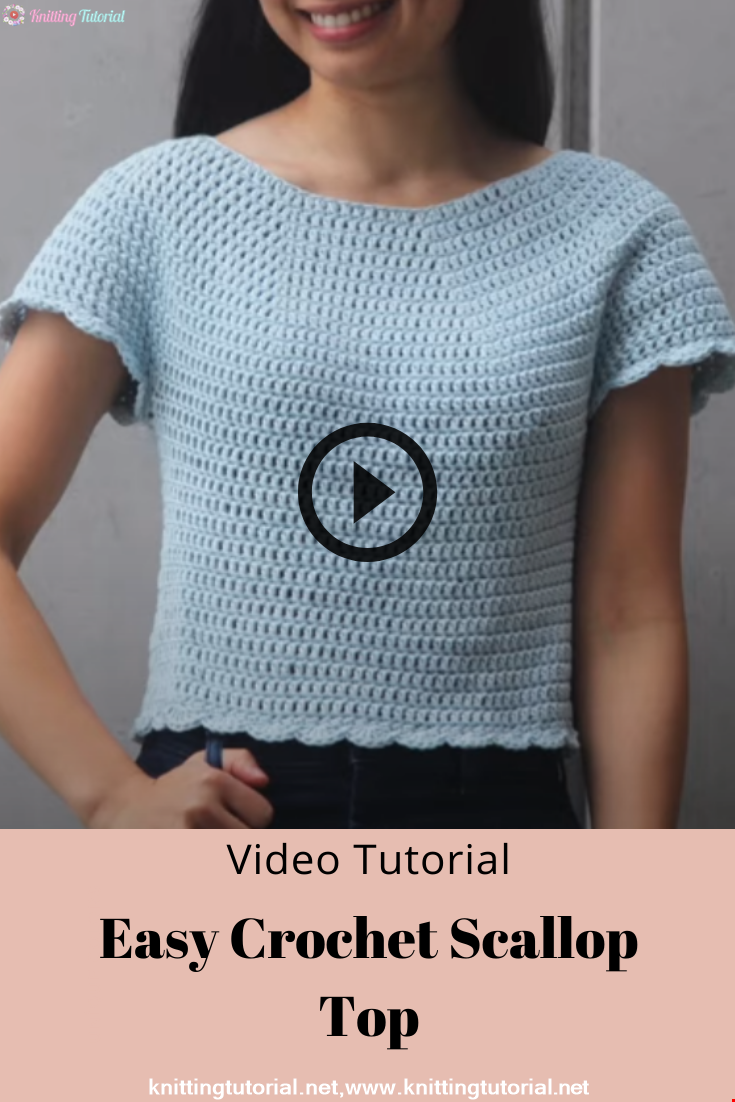
hi everyone today I’m going to show you
how to make this easy scalloped crochet
top made with 100% cotton yarn this top
is perfect for summer the full random
pattern with sizes extra small to three
extra large is available for free on my
blog the link is on the buyer I’m making
size extra small you will need cotton
Aran worsted weight or 10 ply yarn a 5
millimeter crochet hook 8 stitch markers
scissors and a darning needle to begin
create a slip knot and you can do this
any way you like insert your hook into
the loop
and now we’re going to chain a da so to
chain you yarn over and pull through a
loop repeat this until you have 88
chains
once you have 88 chains we’re going to
slip stitch into the first chain to
create a ring
make sure that your chains aren’t
twisted
I’m now going to show you two different
ways to begin around
option one is to chain three and this
always counts as a stitch I’d recommend
this if you’re a beginner and then at
the end of each round you’re just going
to slip stitch into the third chain
option two is to create a no turning
chain you’re going to pull up a loop
roughly the height of your double
crochet
hold onto the loop and yarn over
yarn over and then pull through you
should have two loops on your hook
yarn over and pull through to the no
turning chain is a bit fiddly but it
helps remove the visible seam at the
back of the top we’re now going to
double crochet into the next stitch yarn
over and insert your hook into the chain
yarn over and pull up a loop you should
have three loops on your hook yarn over
and pull through two yarn over and pull
through two
you’re now going to double crochet into
the next seven chain
you should now have nine stitches in
total including the no turning chain or
the chain three at the beginning place
two double crochets into the same stitch
and now you’re going to put a stitch
market into the second double crochet
double crochet into the next nine
stitches
place two double crochets into the same
stitch
place a stitch market in the second
double crochet
double crochet into the next 13 chain
place two double crochets into the next
chain
place the stitch marker on top of the
second double crochet
you’re now going to repeat double
crochet into the next nine chains and
then place two double crochets into the
same stitch and then place a stitch
marker on top of the second double
crochet three more times
once you’ve done the repeat three times
you’re going to double crochet into the
next 13 chains
and then place two double crochets into
the same stitch
a stitch marker on top of the second
double crochet
double crochet into the next nine
stitches
place two double crochets in the last
stitch of the round
place a stitch market in the second
double crochet
slip stitch into the first stitch or the
third chain at the beginning of the
round to join you should have 96
stitches to begin round to chain 3 or do
a no turning chain
place one double crochet in each stitch
until you reach the stitch marker
when you’re at the stitch with the
stitch marker remove the stitch marker
and place two double crochets into the
same stitch
place the stitch market on top of the
second double crochet
you’re going to repeat this pattern
until the end of the round place one
double crochet in each stitch until you
reach a stitch with the stitch marker
place two double crochets in the stitch
with the stitch market
remove the stitch marker and place it on
top of the second double crochet
at the end of the round slip stitch into
the first stitch or the third chain you
should have a hundred and four stitches
this is what your ring should look like
repeat round two until you reach round
11 for size extra small
and this is your yoke after living
rounds of increasing you should have a
hundred and seventy six stitches to
begin yoke increased round one we’re
going to chain three or do a no turning
chain
you’re going to place one double crochet
in each stitch of the round
when you reach a stitch with a stitch
marker remove the stitch marker and
place only one double crochet in that
stitch
there’s no need to put the stitch marker
back into the stitch
at the end of the round slip stitch into
the first stitch or the chain-3 to join
repeat this round two more times
to begin chain3 or do a no turning chain
stitch double crochet in each stitch of
the round at the end of the round slip
stitch into the first stitch you are
then going to play stitch markers in the
36th seventy third a hundred and twenty
four and a hundred and sixty first
stitches
to begin buddy round one chain three or
do a no turning chain stitch double
crochet in each stitch until you reach
the first stitch marker
double crochet into the stitch with a
stitch marker
you are then going to double crochet
into the next stitch with a stitch
marker
you’ve now created your first armhole
double crochet in every stitch until the
next stitch marker
double crochet into the stitch with a
stitch marker you’re then going to
double crochet into the next stitch with
a stitch marker
double crochet in each stitch until the
end of the route
slip stitch into the third chain or the
first stitch to join you should have a
hundred and four stitches
to begin buddy round to chain three or
do a no turning chain double crochet in
each stitch of the round
slip stitch into the third chain or the
first stitch at the beginning of the
round you should have a hundred and four
stitches repeat body around two until
round fifteen
to begin round 16 chain one and this
counts as a stitch and we’re going to
single crochet in each stitch of the
round single crochet insert your hook
into the stitch yarn over and pull up a
loop you should have two loops on your
hook yarn over and pull through two
loops so you’re going to place one
single crochet in each stitch until the
end of the round
at the end of the round slip stitch into
the first chain we’re now going to
create the scalloped border skip the
first two stitches and then place five
double crochets into the next stitch
skip one stitch and then slip stitch
into the next stitch
skip one stitch and then place five
double crochets into the next stitch
skip one stitch and slip stitch
you’re going to repeat the pattern of
skip one stitch place five double
crochets into the next stitch skip one
stitch slip stitch until the end of the
round
your last slip stitch should be into the
first stitch of the round
fast enough
we’re now going to move on to the sleeve
insert your hook along the base of the
sleeve secure your yarn and pull through
a loop
chain one this counts as a stitch and
then single crochet in each stitch along
the edge of the sleeve
in between the two stitch markers we’re
going to single crochet two together
two time to single crochet two together
insert your hook into the stitch yarn
over and pull up a loop
insert your hook into the next stitch
yarn over and pull up a loop you should
have three loops on your hook yarn over
and pull through all three loops place
one more single crochet two together in
between the two stitch markers
at the end of the round slip stitch into
the chain one you should have 40
stitches in total
you can now remove the stitch markers if
you would like simple clean sleeves you
can just stop here and fast enough now
I’ll show you how to add the scalloped
border to your sleeve
skip the first two stitches and then
place five double crochets into the next
stitch
skip a stitch and then slip stitch into
the next stitch repeat the pattern of
skip one stitch place five double
crochets into the next stitch skip one
stitch slip stitch until the end of the
round
your last slip stitch should be in the
first stitch of the round
fast enough
repeat these steps for the other sleeve
weave in all of your in you finished
your scalloped crochet top
Category Popular Posts
Y Auger construction
27 January 2022, 21:16 1236
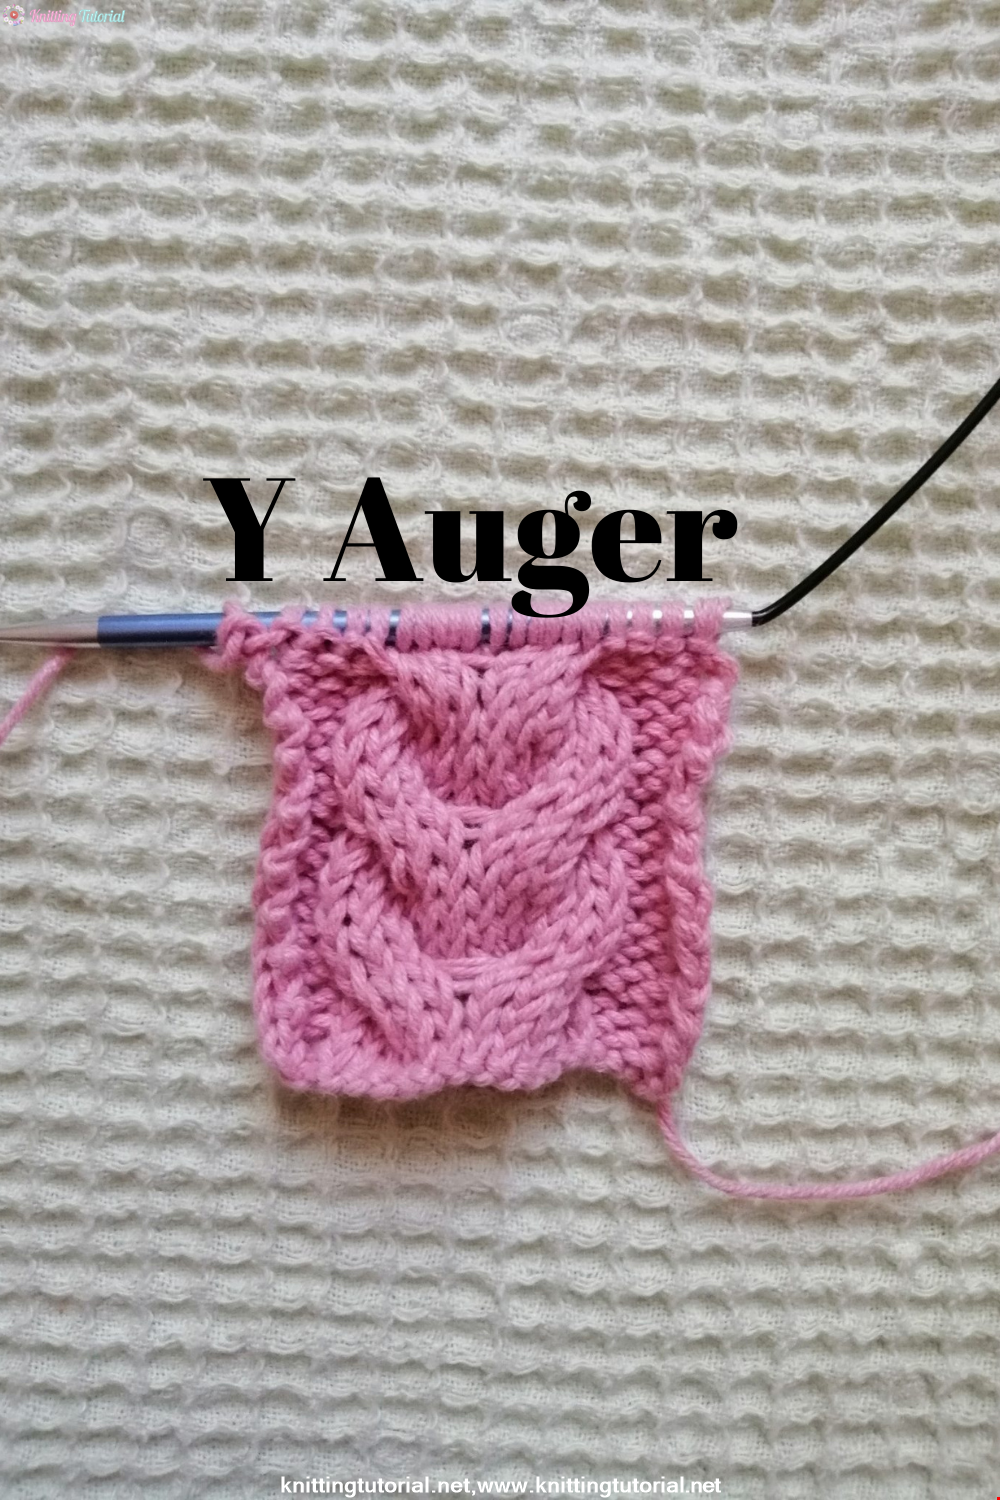
Hello everyone! We have prepared a Y twist model, which is very suitable for vests and cardigans, for you. This model is actually very easy to make! Let's start knitting this beautiful model right now!
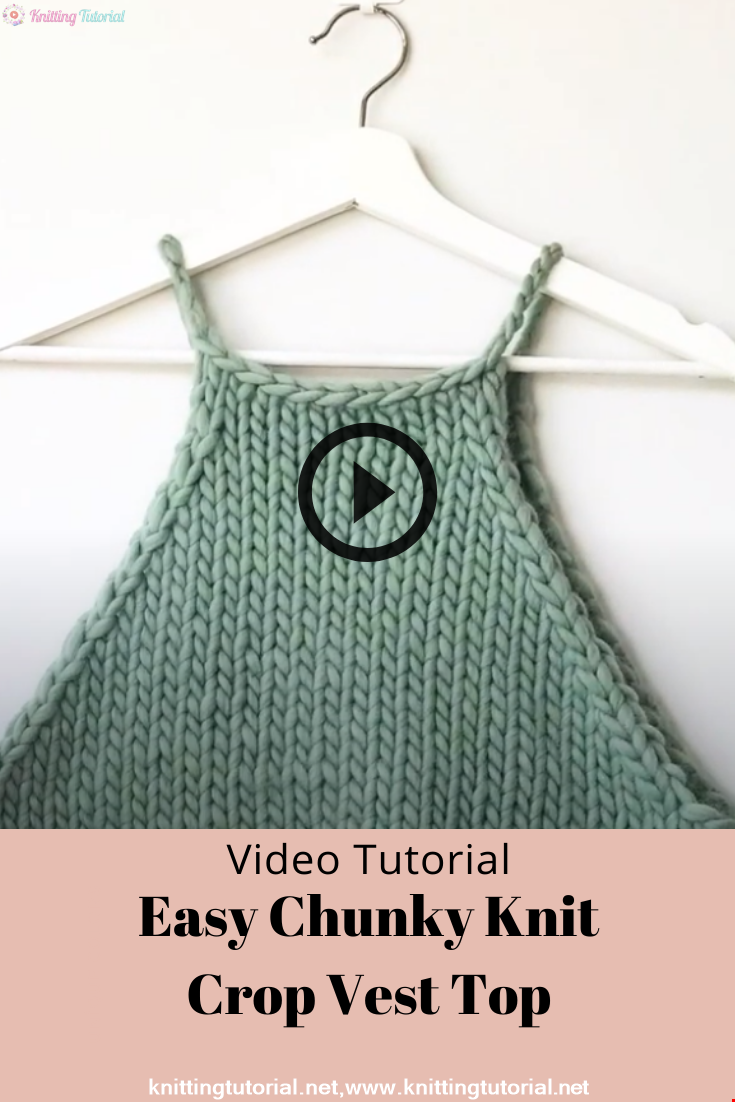
Read MoreEasy Chunky Knit Crop Vest Top – Walk Through Tutorial
15 October 2020, 14:43 2553
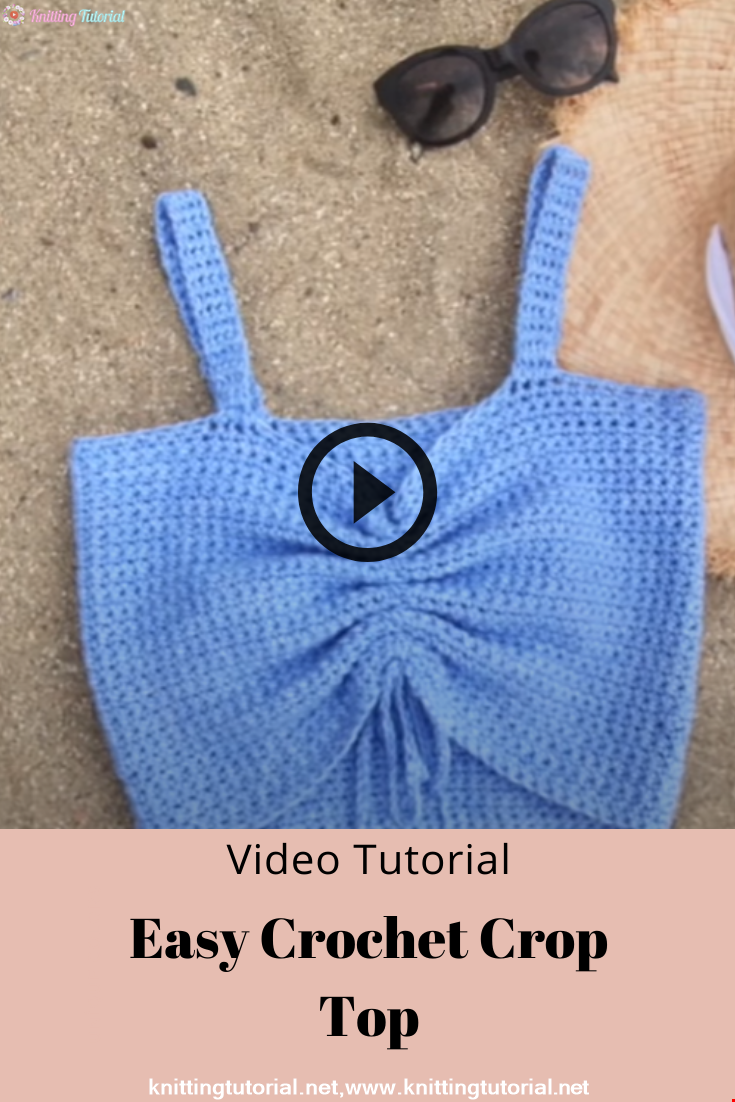
Easy Crochet Crop Top DIY Tutorial
15 October 2020, 14:27 2062
Easy Crochet Scallop Top DIY Tutorial
15 October 2020, 14:09 1907
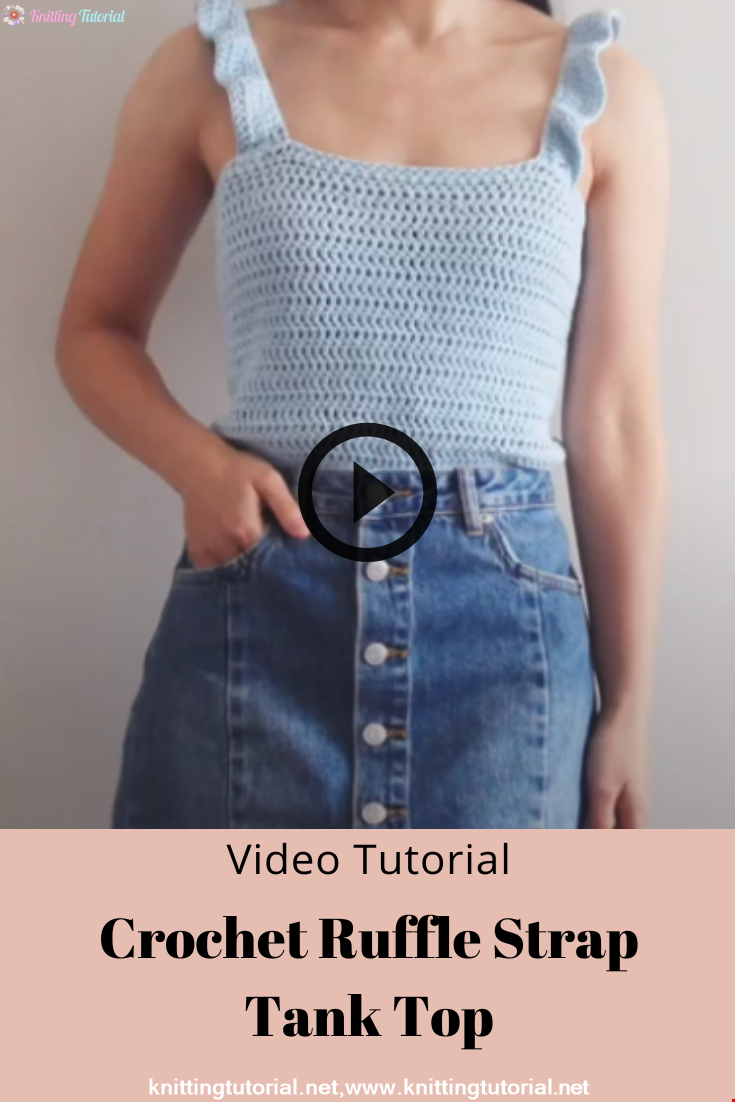
Crochet Ruffle Strap Tank Top DIY Tutorial
15 October 2020, 14:15 1818
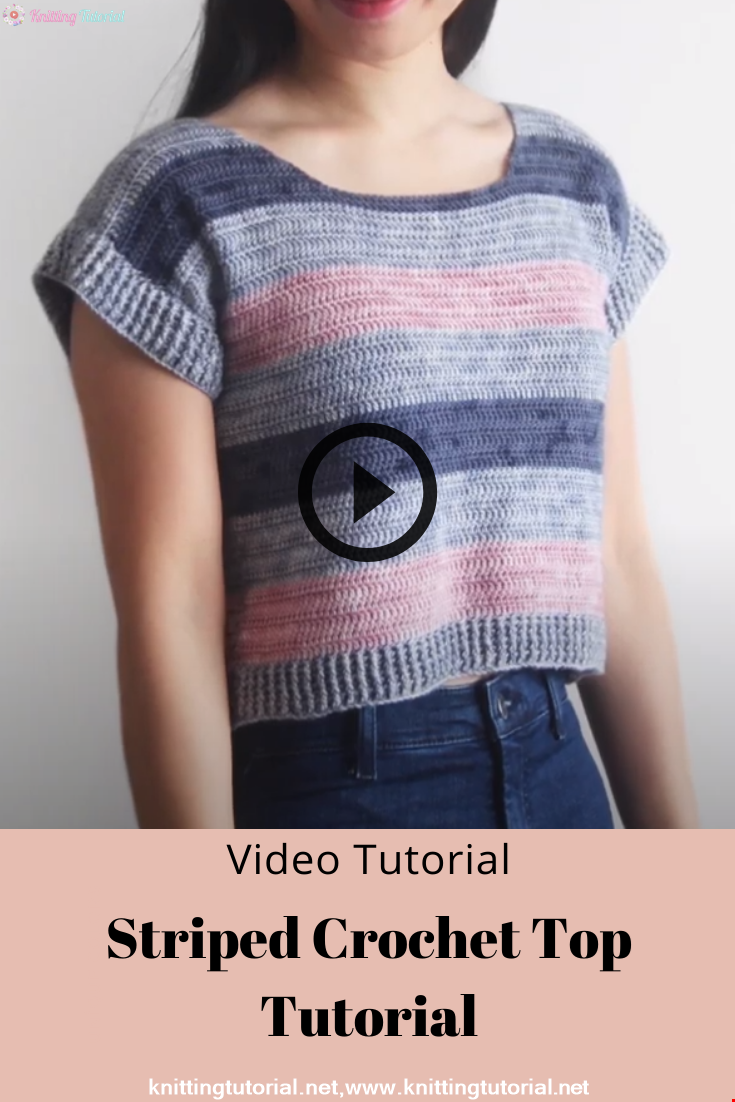
How to Crochet a Striped Crochet Top Tutorial
15 October 2020, 14:18 1774
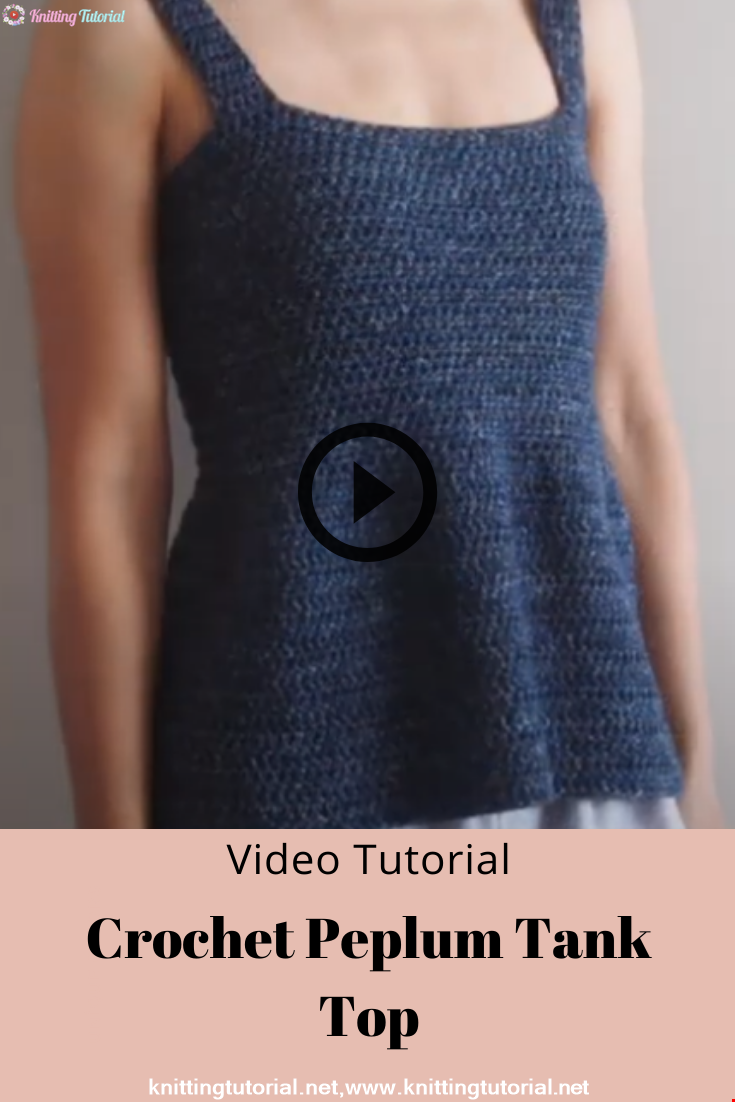
Crochet Peplum Tank Top DIY Tutorial
15 October 2020, 14:13 1742
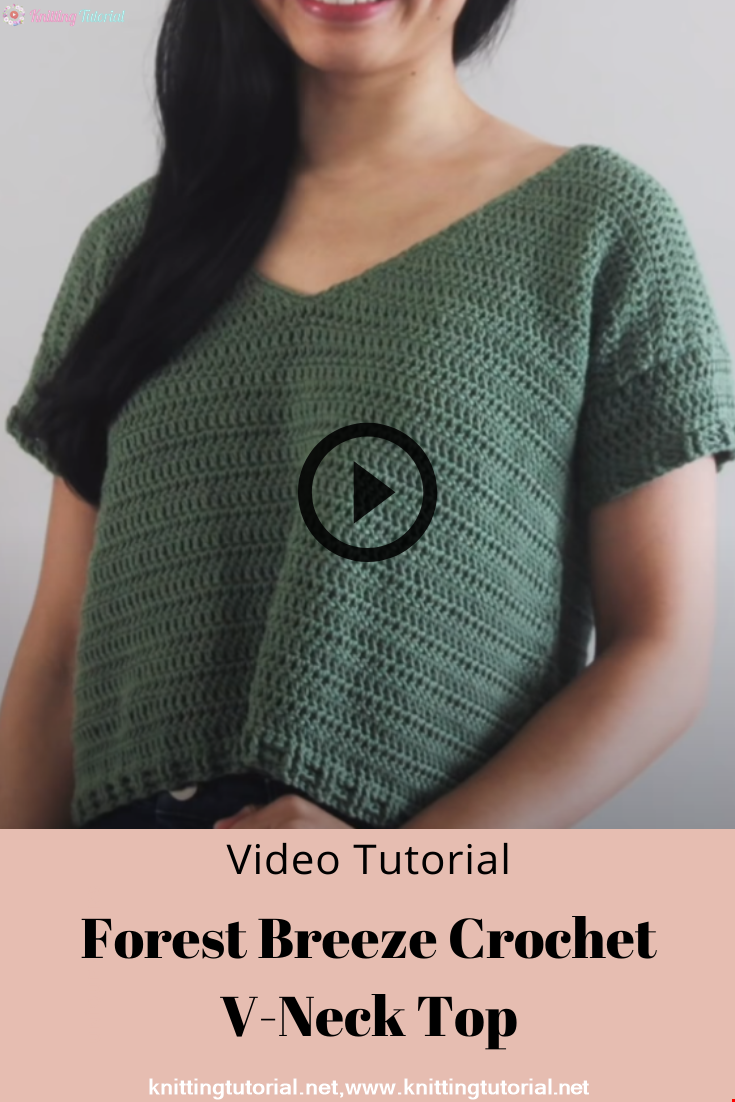
Forest Breeze Crochet V-Neck Top Tutorial
15 October 2020, 14:12 1684
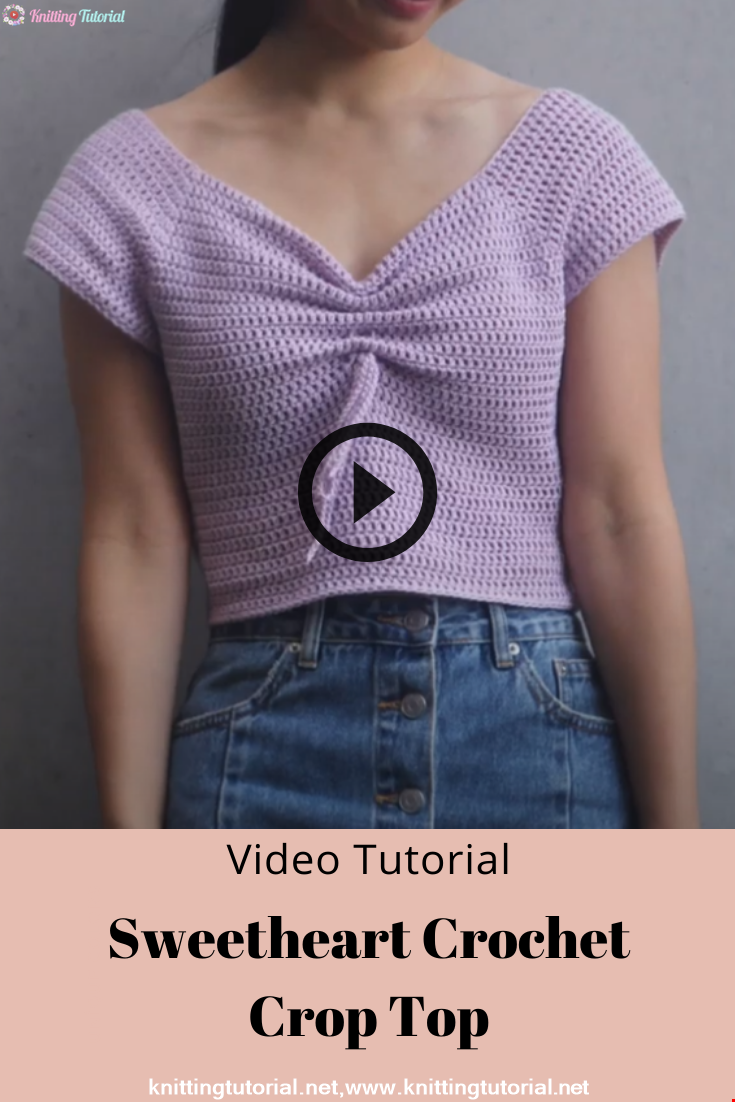
Sweetheart Crochet Crop Top DIY Tutorial
15 October 2020, 14:14 1628