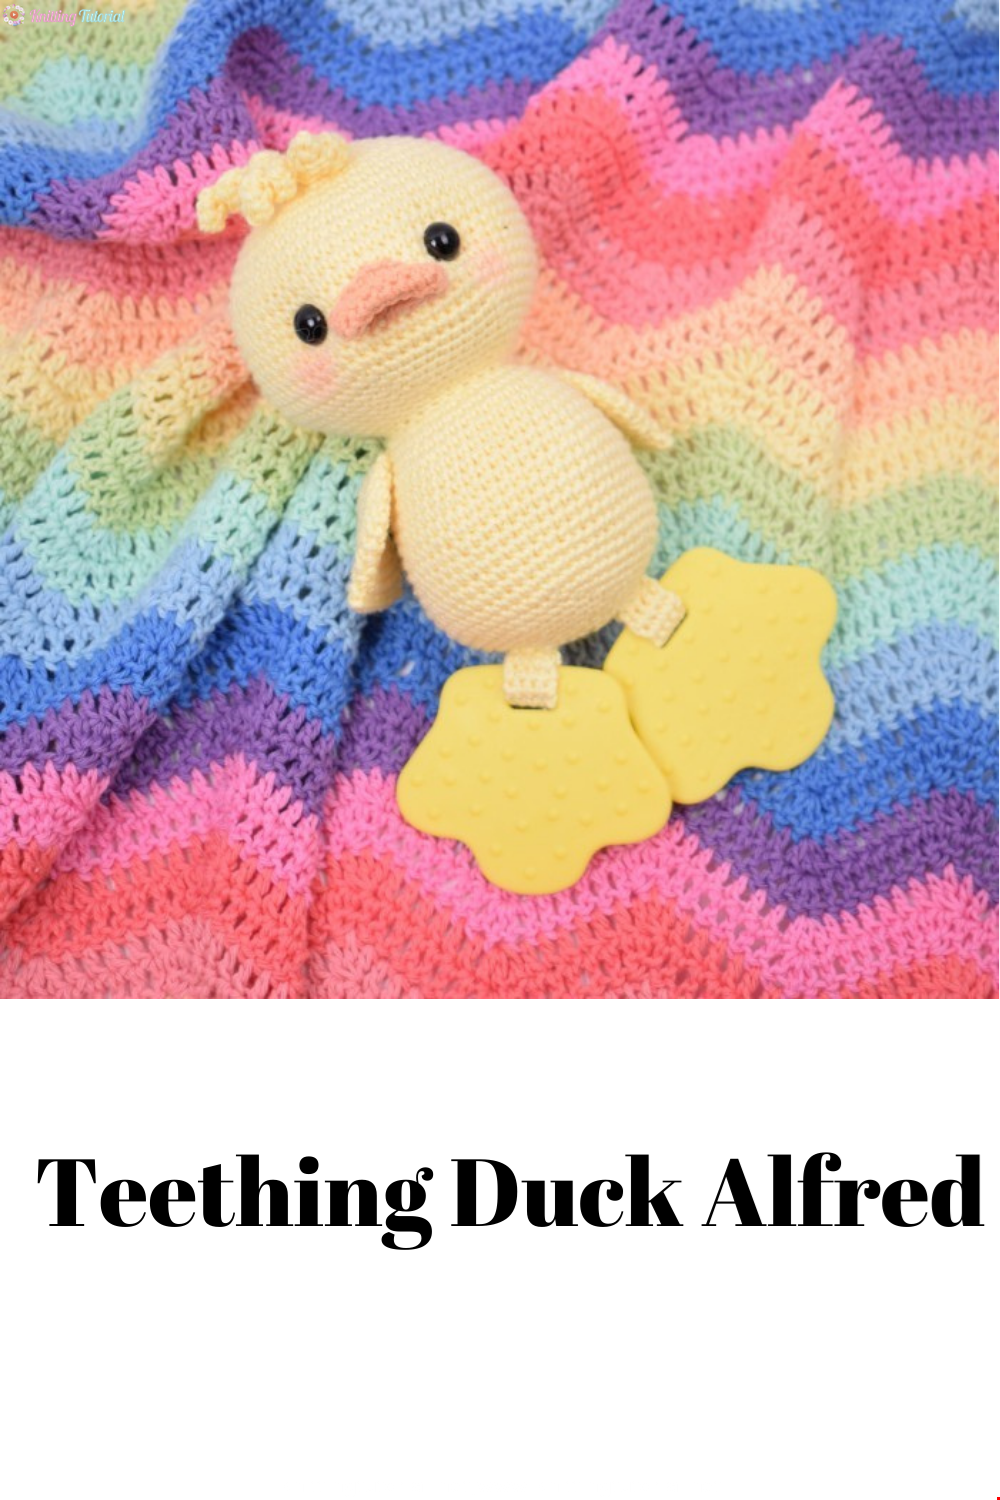
Teething Duck Alfred
5 January 2022, 08:44 492
Materials:
− Crochet Hook B or C (2.25mm or 2.75mm)
− Rainbow Cotton 8/4 or Rainbow organic 8/4
− 2 safety eyes 10 mm
− 1 set of teething duck feet
− Poly fill
− Possibly a rattle box or other noise maker.
Abbreviations:
Ch: chain
St: stitch
sc: single crochet
tog: together (decrease)
Finished size: Approx. 5 ½ in. (14 cm) tall
Yarn Requirements:
Color A: Approx. 35 g.
Color B: Approx. 3 g
Pattern:
Beak:
With Color B
Ch 8.
1. In the 2nd ch from the hook work 1 sc. Work 1 sc in the next 5 sts. In the last st, work 3 sc. You
will now work into the back of the starting chain. Work 1 sc in the next 5 sts. Work 2 sc in the last
st. (16)
2. Work 1 sc in each st to the end of the rnd. (16)
3. Work 1 sc in each st to the end of the rnd. (16)
4. Work 1 sc in each st to the end of the rnd. (16)
5. Work 1 sc in the first 3 sts. Work 2 sc in the next 2 sts. Work 1 sc in the last 11 sts. (18)
6. Work 1 sc in each st to the end of the rnd. (18) – Cut yarn leaving a long tail for assembly.
Head: - With Color A
1. Using a magic ring technique, work 6 sc in the ring and pull tight to close hole. (6)
2. Work 2 sc in each st. (12)
3. Work ”1 sc in the next st, 2 sc in the following st”. Repeat ”to” to the end of the rnd. (18)
4. Work ”1 sc in the next 2 sts, 2 sc in the following st”. Repeat ”to” to the end of the rnd. (24)
5. Work ”1 sc in the next 3 sts, 2 sc in the following st”. Repeat ”to” to the end of the rnd. (30)
6. Work ”1 sc in the next 4 sts, 2 sc in the following st”. Repeat ”to” to the end of the rnd. (36)
7. Work ”1 sc in the next 5 sts, 2 sc in the following st”. Repeat ”to” to the end of the rnd. (42)
8. Work ”1 sc in the next 6 sts, 2 sc in the following st”. Repeat ”to” to the end of the rnd. (48)
9. Work ”1 sc in the next 7 sts, 2 sc in the following st”. Repeat ”to” to the end of the rnd. (54)
10. Work ”1 sc in the next 8 sts, 2 sc in the following st”. Repeat ”to” to the end of the rnd. (60)
11. Work ”1 sc in the next 9 sts, 2 sc in the following st”. Repeat ”to” to the end of the rnd. (66)
12. Work ”1 sc in the next 10 sts, 2 sc in the following st”. Repeat ”to” to the end of the rnd. (72)
13. -21 Work 1 sc in each st to the end of the rnd. (72)
22. Work ”1 sc in the next 10 sts, sc 2 tog”. Repeat ”to” to the end of the rnd. (66)
23. Work ”1 sc in the next 9 sts, sc 2 tog”. Repeat ”to” to the end of the rnd. (60)
24. Work ”1 sc in the next 8 sts, sc 2 tog”. Repeat ”to” to the end of the rnd. (54)
25. Work ”1 sc in the next 7 sts, sc 2 tog”. Repeat ”to” to the end of the rnd. (48)
26. Work ”1 sc in the next 6 sts, sc 2 tog”. Repeat ”to” to the end of the rnd. (42)
27. Work ”1 sc in the next 5 sts, sc 2 tog”. Repeat ”to” to the end of the rnd. (36)
28. Work ”1 sc in the next 4 sts, sc 2 tog”. Repeat ”to” to the end of the rnd. (30)
29. Work ”1 sc in the next 3 sts, sc 2 tog”. Repeat ”to” to the end of the rnd. (24)
30. Work 1 sc in each st to the end of the rnd. (24) Do not cut the yarn. Insert safety eyes between
rows 16 & 17 with approx. 12 sts between them. Fill head with poly fill.
Attaching the eyes and beak:
1. Insert safety eyes between rows 16 & 17
with approx. 12 sts between them.
2. Now attach the beak.
3. Sew the beak securely between the eyes
and a couple of rows below.
4. Like this.
5. If you want to shape the head a bit more
around the eyes, do so as follows:
With Color A pull the needle up through
the head,
6. and come out next to the right side of one
eye. Insert again on the other side of the
same eye.
7. Bring the needle out again next to the
side of the other eye. And insert it again
on the opposite side of this eye.
8. Pull the needle through the opening at
the bottom of the head. Pull the two ends
tightly until you have the shape you
would like. Tie in a knot.
9. Like this.
Body:
Continue working where you left off and work the body.
31. Work 2 sc in each st. (48)
32. Work 1 sc in each st. (48)
33. Work 1 sc in each st. (48)
34. Work ”1 sc in the next 7 sts, 2 sc in the following st”. Repeat ”to” to the end of the rnd. (54)
35. Work 1 sc in each st. (54)
36. Work 1 sc in each st. (54)
37. Work 1 sc in each st. (54)
38. Work ”1 sc in the next 8 sts, 2 sc in the following st”. Repeat ”to” to the end of the rnd. (60)
39. – 45. Work 1 sc in each st. (60)
40. Work ”1 sc in the next 8 sts, sc 2 tog”. Repeat ”to” to the end of the rnd. (54)
41. Work ”1 sc in the next 7 sts, sc 2 tog”. Repeat ”to” to the end of the rnd. (48)
42. Work ”1 sc in the next 6 sts, sc 2 tog”. Repeat ”to” to the end of the rnd. (42)
43. Work ”1 sc in the next 5 sts, sc 2 tog”. Repeat ”to” to the end of the rnd. (36)
44. Work ”1 sc in the next 4 sts, sc 2 tog”. Repeat ”to” to the end of the rnd. (30)
46. Work ”1 sc in the next 3 sts, sc 2 tog”. Repeat ”to” to the end of the rnd. (24)
Fill the body with poly fill before closing the hole. If you would like a rattle or other sound, insert
that now with the poly fill.
47. Work ”1 sc in the next 2 sts, sc 2 tog”. Repeat ”to” to the end of the rnd. (18)
48. Work ”1 sc in the next st, sc 2 tog”. Repeat ”to” to the end of the rnd. (12)
49. Work ” 2 tog”. Repeat ”to” to the end of the rnd. (6) Sew the hole closed and weave in the ends.
Attaching the feet:
With Color A crochet 2 straps to attach the feet.
1. Ch 5. In the 2nd ch from the hook, work 1 sc. Sc in each st across. (4)
2. Ch 1 and turn. Sc to the end of the row (4)
3. Ch 1 and turn. Sc to the end of the row (4)
4. Ch 1 and turn. Sc to the end of the row (4)
5. Ch 1 and turn. Sc to the end of the row (4)
6. Ch 1 and turn. Sc to the end of the row (4)
1. The feet are now ready to be attached. 2. Pull the small strap piece through the hole
and fold in half as shown in the picture.
3. Sew edges together, 4. Then sew it fast to the bottom of the duck.
5. Repeat for the second foot.
Wings:
With Color A – Make 2 pieces.
1. Using a magic ring technique, work 6 sc in the ring and pull tight to close hole. (6)
2. Work 2 sc in each st to the end of the round. (12)
3. Work 1 sc in each st. (12)
4. Work ”1 sc in the next st, 2 sc in the following st”. Repeat ”to” to the end of the rnd. (18)
5. Work 1 sc in each st. (18)
6. Work 1 sc in each st. (18)
7. Work 1 sc in each st. (18)
8. Work ”1 sc in the next st, 2 sc in the following st”. Repeat ”to” a total of 4 times. Work “1 sc in the
next st, sc 2 tog”. Repeat ”to” a total of 3 times. Work 1 sc in the last st.
9. Work ”1 sc in the next st, 2 sc in the following st”. Repeat ”to” a total of 3 times. Work “1 sc in the
next st, sc 2 tog”. Repeat ”to” a total of 4 times. Work 1 sc in the last st.
10. Work ”1 sc in the next st, 2 sc in the following st”. Repeat ”to” a total of 4 times. Work “1 sc in the
next st, sc 2 tog”. Repeat ”to” a total of 3 times. Work 1 sc in the last st.
11. Work 1 sc in each st.
12. Work 1 sc in each st.
Fold the wings flat and crochet the bottom edge together with sc.
1. The wings are now ready to be attached. 2. Sew the first wing to the body on the side,
approx.. 3 rows down on the body section.
3. Repeat on the other side.
Curls:
The curls are made with Color A. They are made in 3 different sizes for the head and 3 of the same size
for the tail.
Curls for the head:
1. Ch 13. In the 2nd ch from the hook, work 2 sc. Work 2 sc in each st to the end of the row. Cut yarn,
leaving a long tail.
2. Ch 11. In the 2nd ch from the hook, work 2 sc. Work 2 sc in each st to the end of the row. Cut yarn,
leaving a long tail.
3. Ch 9. In the 2nd ch from the hook, work 2 sc. Work 2 sc in each st to the end of the row. Cut yarn,
leaving a long tail.
Curls for the tail:
1. Ch 9. In the 2nd ch from the hook, work 2 sc. Work 2 sc in each st to the end of the row. Cut yarn,
leaving a long tail.
Make 3 of these.
1. Sew the curls to the top of the head. 2. Also for the tail.
Enjoy! ☺
Category Popular Posts
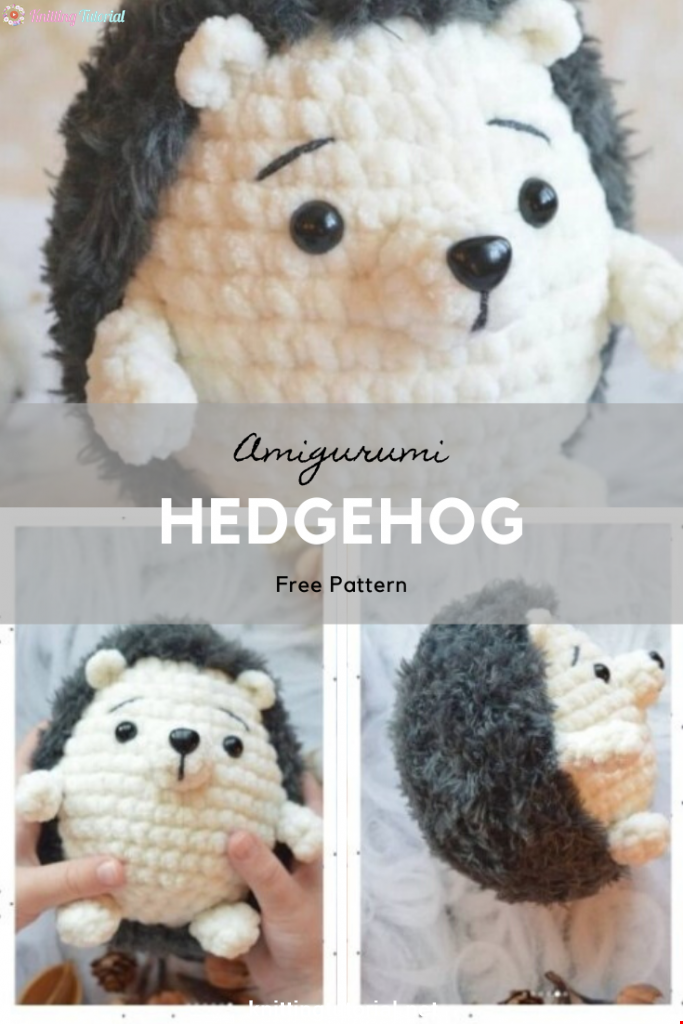
Amigurumi Hedgehog Free Pattern
12 October 2020, 09:52 11605
Making Amigurumi Spiderman
27 January 2022, 20:58 2291
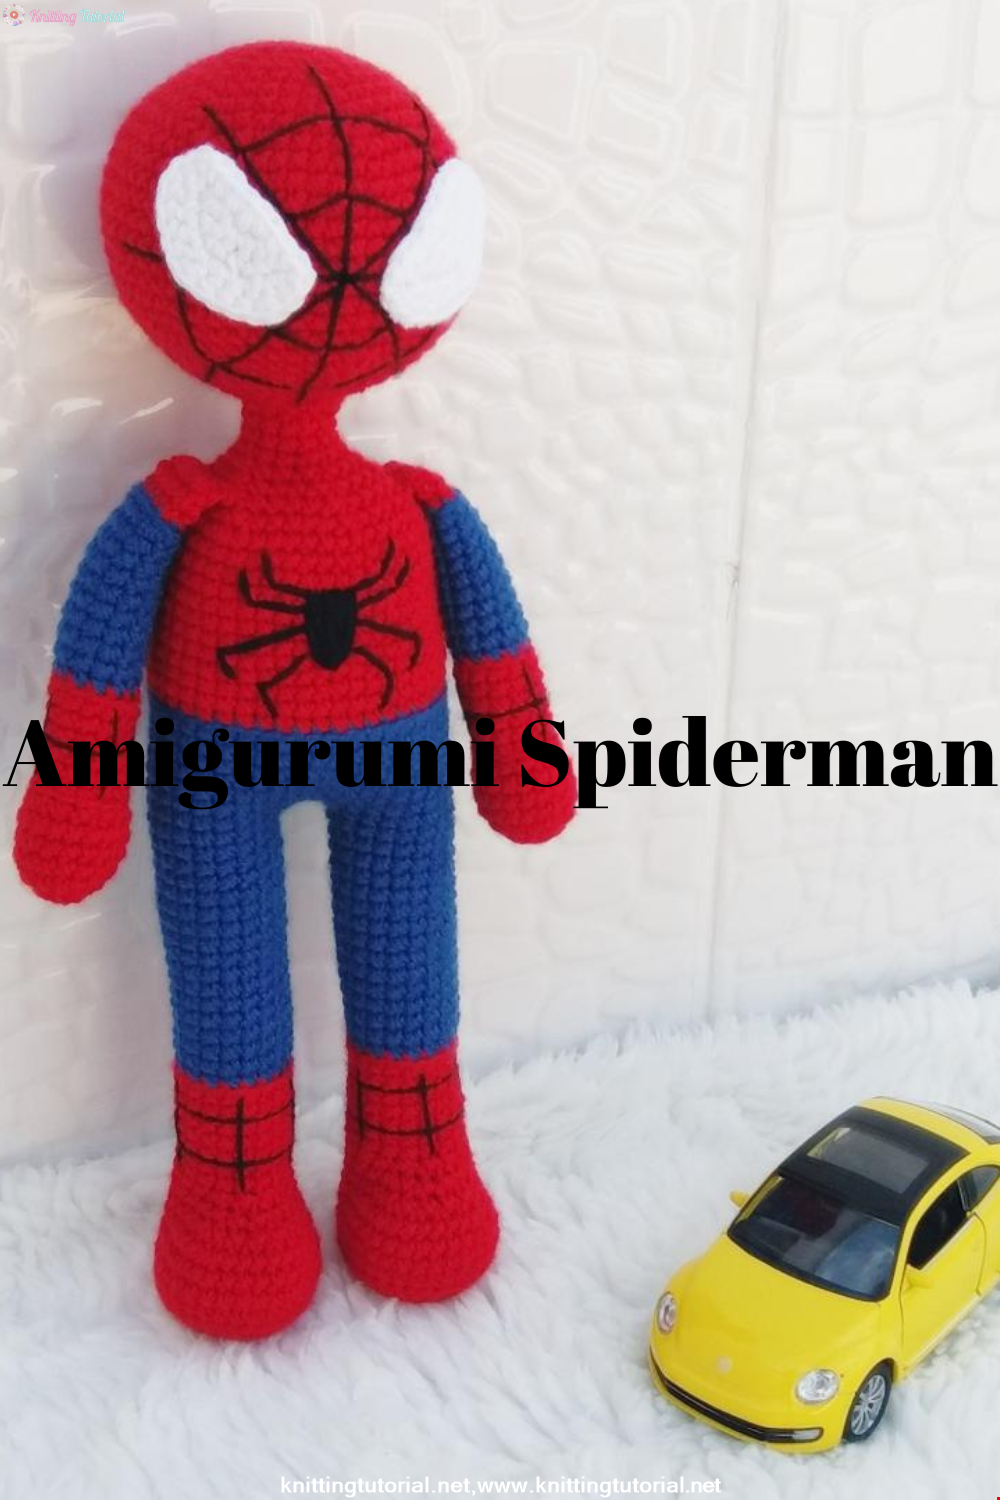
Hello, Are you ready to knit Spiderman, Spider-Man, the children's favorite cartoon character? You will be able to knit easily with detailed explanation. Let's start!
Read More
Amigurumi Princess Mononoke Crochet Pattern
12 December 2020, 21:20 970
Free Crochet Princess Mononoke workshop by Wendy Li. The knitted girl is the hero of the cartoon by Hayao Miazaki. From the description of the diagram, you will also learn how to knit: a cape, a cloak, a dress and a mask for a doll.
Read More
Princess Disney Amigurumi Pattern
8 October 2020, 14:51 5862


Korean Girl in Traditional Dress (Hanbok)
22 September 2020, 11:11 1610

This is the process how I made the amigurumi of Korean Bride in traditional dress Hanbok. Lately I've been watching a lot of Korean dramas and got inspired to make one. I hope you can enjoy the video, and get inspired too!
Read More
Amigurumi Sweet Giraffe Recipe and Preparation
5 January 2022, 14:55 669
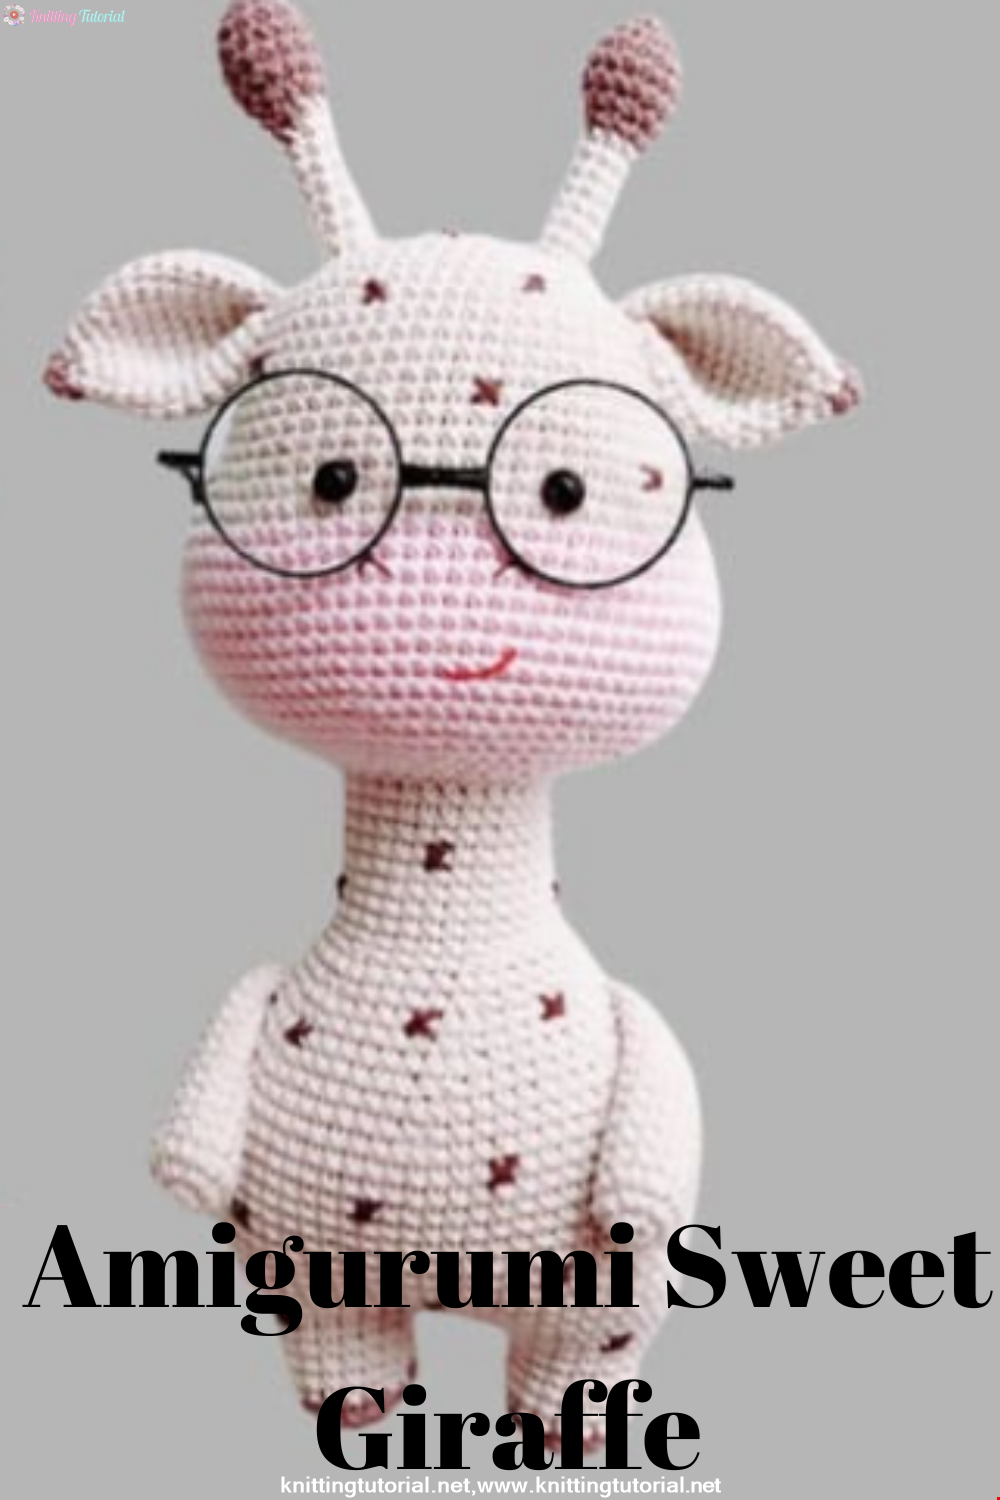
We have come to share with you the most popular model of recent times with the Amigurumi sweet giraffe recipe. I hope it will be an amigurumi animal figure that you like very much and knit with love.
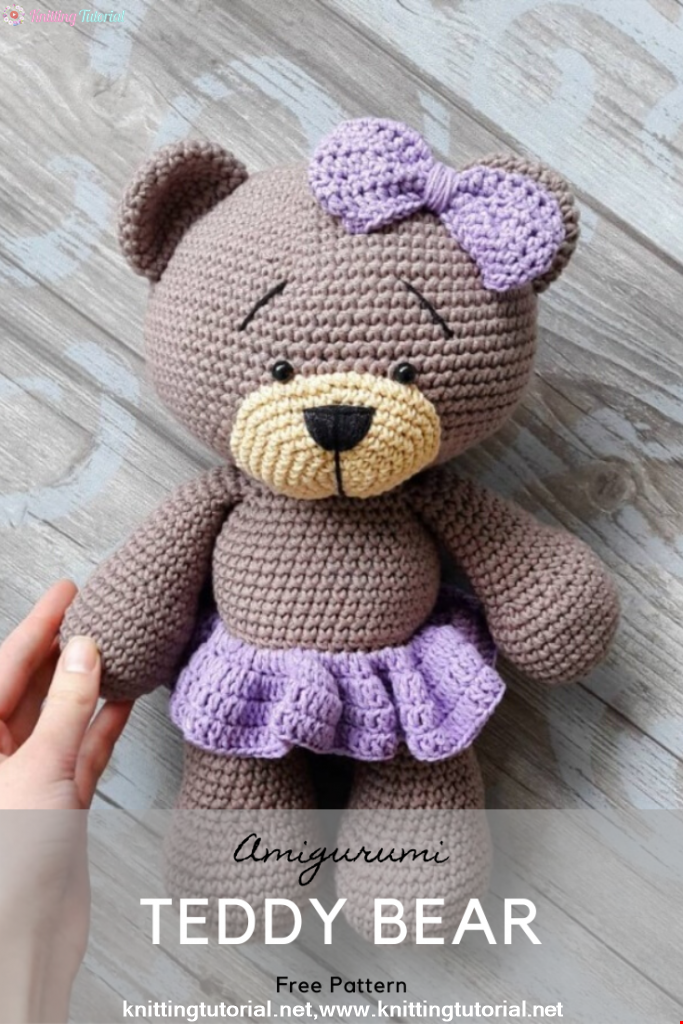
Read MoreLovely Teddy Bear Amigurumi Tutorial
12 October 2020, 10:05 3009