Amigurumi Baby Car Crochet Pattern
4 December 2020, 09:35 945
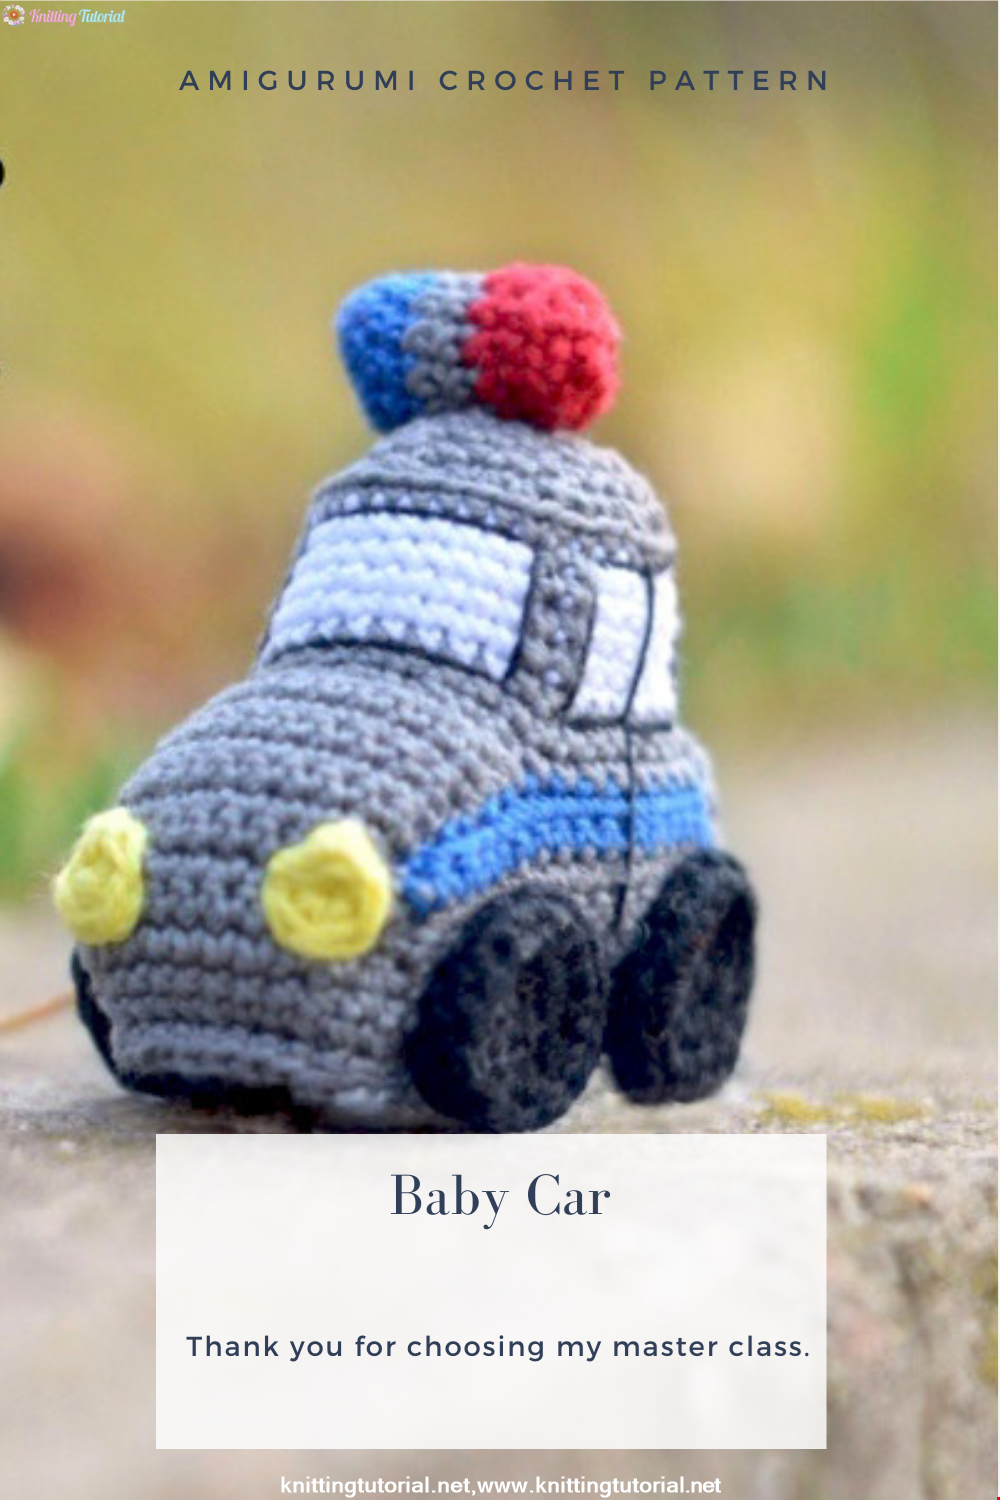
Master Class
Baby Machine
Is an author's toy
Author: Vasilieva Anna
Mommys_Joy_by
This MK is an author's development. It is designed to be free
use.
Redistribution and publication is permitted with indication of the author @mommys_joy_by
You can use the toy related to this master class in your own way
discretion. I count on your honesty and thank you for your understanding.
Level: Intermediate.
The master class does not contain crochet lessons, so you need to have
basic knitting skills.
A toy associated with the use of the materials specified in the description is obtained
height 5 cm.
What you need:
1. Pekhorka Successful
(100% mercerized cotton 50g / 220m).
Analogs: YarnArt Violet, Vita Cotton Coco:
main color - gray;
side inserts and part of the flasher - blue;
windows - white;
wheels - black;
part of the flasher - red;
headlights - yellow.
2. Thin black thread for embroidery around
windows (you can use thread for
embroidery floss Gamma, iris or plain
thread for sewing).
3. Hook 1.5 mm.
4. Filling: holofiber.
5. Scissors.
6. Knitting marker (although I use regular thread to mark the beginning of the row).
7. Needle.
Legend:
KA - amigurumi ring;
sbn - single crochet;
sn - double crochet;
pr - increase;
ub - decrease;
VP - air loop;
пп - lifting loop.
We begin to knit a toy from the bottom.
Bottom of the car
(gray yarn)
No.
a number of
Loop combination
Total
loops
1) 14 VP (14)
Then we knit from the second loop from the hook along the chain.
2) 12 sbn, 3 sbn in 1 loop, we knit further in a circle (on the reverse side
chain) 11 sbn, pr
We mark the beginning of the row.
(28)
3) 1 sc, (we knit in one loop, make the corner of the rectangle: 1 sc, 1 sc, 1
sc), 10 sc, (in one loop: 1 sc, 1 sc, 1 sc), 1 sc, (in one loop: 1
SBN, 1 SN, 1 SBN), 11 SBN, (in one loop: 1 SBN, 1 SN, 1 SBN), 1 SBN
(36)
4) 2 sc, (we knit in one loop: 1 sc, 1 sc, 1 sc), 12 sc, (in one loop: 1
SBN, 1 SN, 1 SBN), 3 SBN, (in one loop: 1 SBN, 1 SN, 1 SBN), 13 SBN, (in one
loop: 1 sc, 1 sc, 1 sc), 2 sc
(44)
5) 3 sc, (knit in one loop: 1 sc, 1 sc, 1 sc), 14 sc, (in one loop: 1
sbn, 1 sb, 1 sbn), 2 sbn, pr, 2 sbn, (in one loop: 1 sbn, 1 sbn, 1 sbn), 15
sc, (in one loop: 1 sc, 1 sc, 1 sc), 3 sc
(53)
6) 53 sc for the back wall of the hinge (53)
7) 53 sc (53)
Where we have the beginning of the row, we will knit the trunk.
We do not cut the thread, but continue to knit. Trunk, hood and sides (side
parts) of the machine we will knit in rotary rows.
Trunk
(gray yarn)
From the beginning of the row we knit 5 sbn, we make VP (lifting loop). Expand
knitting and knitting in the opposite direction:
1) 10 sbn, pp, turn (10)
2-6) 10 sc, pp, turn (5 rows) (10)
Leave the thread longer, it will be needed in order to connect (sew)
trunk and side of the car together.
Next we will knit the side of the machine.
From the trunk in a clockwise direction we knit a machine: i.e. first trunk, then one
side, hood, second side.
The first side of the machine
(gray yarn)
1) We dial directly from the trunk 16 sbn, pp, turn (16)
2) 16 sbn, pp, turn (16)
3) 16 sbn, we knit the last loop with blue yarn, change the thread, pp
we also do with blue yarn, turn and then knit with blue yarn
Leave the tail of the gray yarn for sewing on the details
(16)
4) 16 sbn, pp, turn (16)
5) 16 sbn
Close, cut the thread and hide.
(sixteen)
Next we knit the hood of the machine
Hood
(gray yarn)
1) We collect immediately from the side 11 sbn (11)
2-11) 11 sc, pp, turn (10 rows) (11)
Cut the thread, leave for sewing.
Second side of the machine
(gray yarn)
1) We dial directly from the trunk 16 sbn, pp, turn (16)
2) 16 sbn, pp, turn (16)
3) 16 sb, we knit the last loop with blue yarn, change the thread, pp
we also do it with blue yarn, turn and then knit with blue yarn.
We leave the tail of the gray yarn for sewing on the details.
(sixteen)
4) 16 sbn, pp, turn (16)
5) 16 sbn
Close, cut and hide the thread.
(sixteen)
We return to the 6th row, where we knitted for the back wall of the loop and tie along
circle behind the front wall of the loop 53 sbn. Cut the thread and hide it.
Then we sew the sides with the trunk and hood.
We turn it over to the wrong side and sew it.
The trunk goes from above to the sides by 2 hinges, i.e. arrange it
edge so that it goes over 2 loops on the side.
Sew the hood to the sides, grabbing 6 loops from the top of the sides.
As a result, we will have 8 loops on the sides (2 loops are sewn with
trunk side, 6 hinges on the hood side). There are 10 loops on the trunk, and on the hood
11 PRS.
Car body (windows)
(gray yarn)
We take the gray yarn and start knitting from the last loop on the trunk (behind
cars).
1) 1 sc on the trunk, 8 sc on the side, on the hood we knit 11 sc
behind the front wall of the loop, 8 sc on the side, 9 sc on
trunk, mark the beginning of the row.
(37)
2) 37 sbn (37)
Next, we will make windows, alternate white and gray yarn.
There will be a moment with the change of yarn, from gray to white and vice versa. It's me on this picture
showed the change of yarn in as much detail as possible.
When we change to white yarn: knitting the last sbn with gray yarn, do not
we tie it to the end, leave two loops on the hook, grab the white thread and
we knit sbn (we crochet a white thread through two loops of a gray thread).
Thus, we change the color.
Then we knit a part of white yarn (window) and when we change it to gray, we do
in another way: we knit the last sbn completely and already with white yarn
next sbn, grab the gray yarn and knit further the partition between
windows. Pull the last and first stitches of white yarn a little tighter,
so that they do not shine too much in knitting. So we will change the color of the yarn constantly,
throughout knitting. Don't forget this moment with your yarn change.
Until the end of knitting the windows, we do not cut the threads, but we knit simultaneously with two.
3) 2 sbn gray yarn (we knit the last loop with white thread),
6 sbn white yarn (we knit the last loop with white),
2 sc with gray yarn, 10 sc with white yarn, 2 sc with gray yarn, 6 sc
white yarn, 2 sbn gray yarn, 7 sbn white yarn.
We change the yarn as I showed in the photo constantly throughout
knitting the entire window.
4-8) 2 sc with gray yarn, 6 sc with white yarn, 2 with gray
yarn, 10 sbn white yarn, 2 sbn gray yarn, 6 sbn
white yarn, 2 sbn gray yarn, 7 sbn white yarn
White yarn can be trimmed.
Then we will knit with gray.
(5 rows)
Roof
(gray yarn)
9) We knit by the back wall of the loop:
1 sbn, (4 sbn, ub) x6
We fill the machine with filler (under the hood and a little body)
(31)
10) (3 PRS, UB) x6, 1 PRS (25)
11) 1 sc, (2 sc, dec) x6 (19)
12) 1 sc, (1 sc, dec) x6 (13)
We fill the machine more densely (to the end) with filler.
Close knitting, pull the hole, hide the thread.
Wheels (4 pcs)
(black yarn)
1) 6 in KA (6)
2) 6 ave (12)
3) (1 sbn, pr) x6 (18)
4) 18 sc for the back wall of the hinge (18)
5) (1 sbn, ub) x6 (12)
6) 6 kill (6)
We stretch the thread to the front side to the center of the ring of 6 sbn and return
back. Thus, we slightly tighten the wheel so that it is flat.
We leave the tail for sewing to the machine.
We knit the other three wheels as well.
Headlights (2 parts)
(yellow yarn)
1) 6 in KA (6)
Flasher
(Blue, gray and red yarn)
We knit with blue yarn
1) 6 sc in spacecraft (6)
2) 6 ave (12)
3) 12 sc for the back wall of the hinge (12)
4-5) 12 sc (2 rows) (12)
Gray yarn
6-7) 12 sc (2 rows) (12)
Red yarn
8-10) 12 sc (3 rows) (12)
We fill the flasher with filler, not tight.
11) 6 dec for the back wall of the hinge (6)
Close the knitting, pull the hole, hide the thread inside the flasher. Straighten
flasher so that it is flat on both sides.
Assembly and design of the machine.
We sew wheels and headlights to the machine.
We embroider windows with a thin black thread (along the edge of the windows), we also make a strip of thread
in the place where the car has a door.
We sew the flasher on the roof.
Thank you very much for knitting a toy in my master class.
If you have any questions during the knitting process or you find an error in the description,
be sure to write to me.
Thank you very much again!
Category Popular Posts
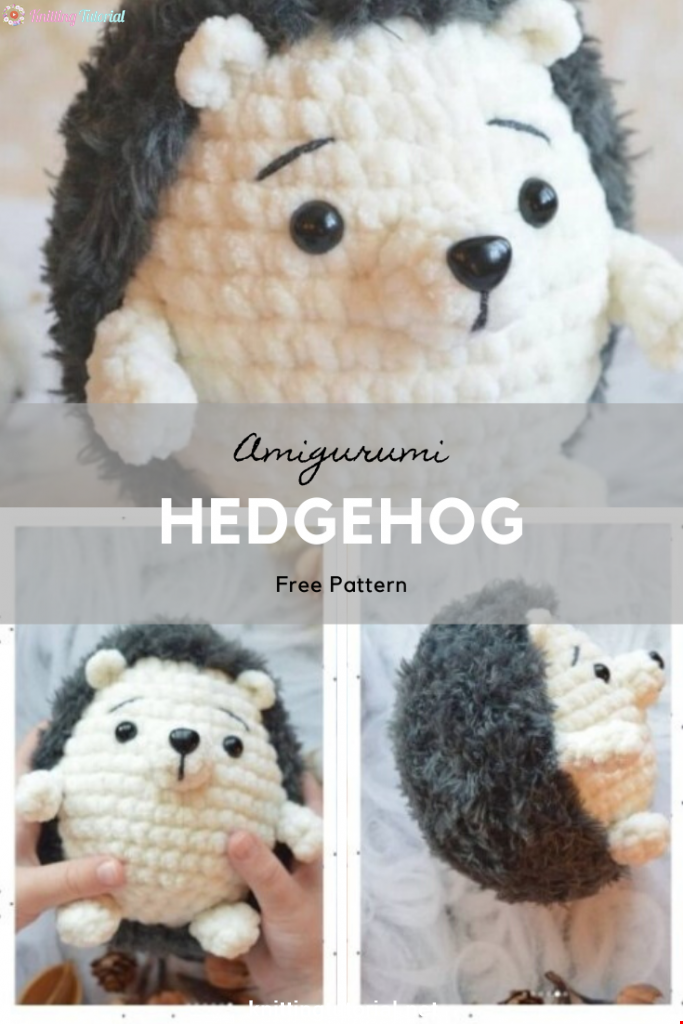
Amigurumi Hedgehog Free Pattern
12 October 2020, 09:52 11505
Making Amigurumi Spiderman
27 January 2022, 20:58 2025
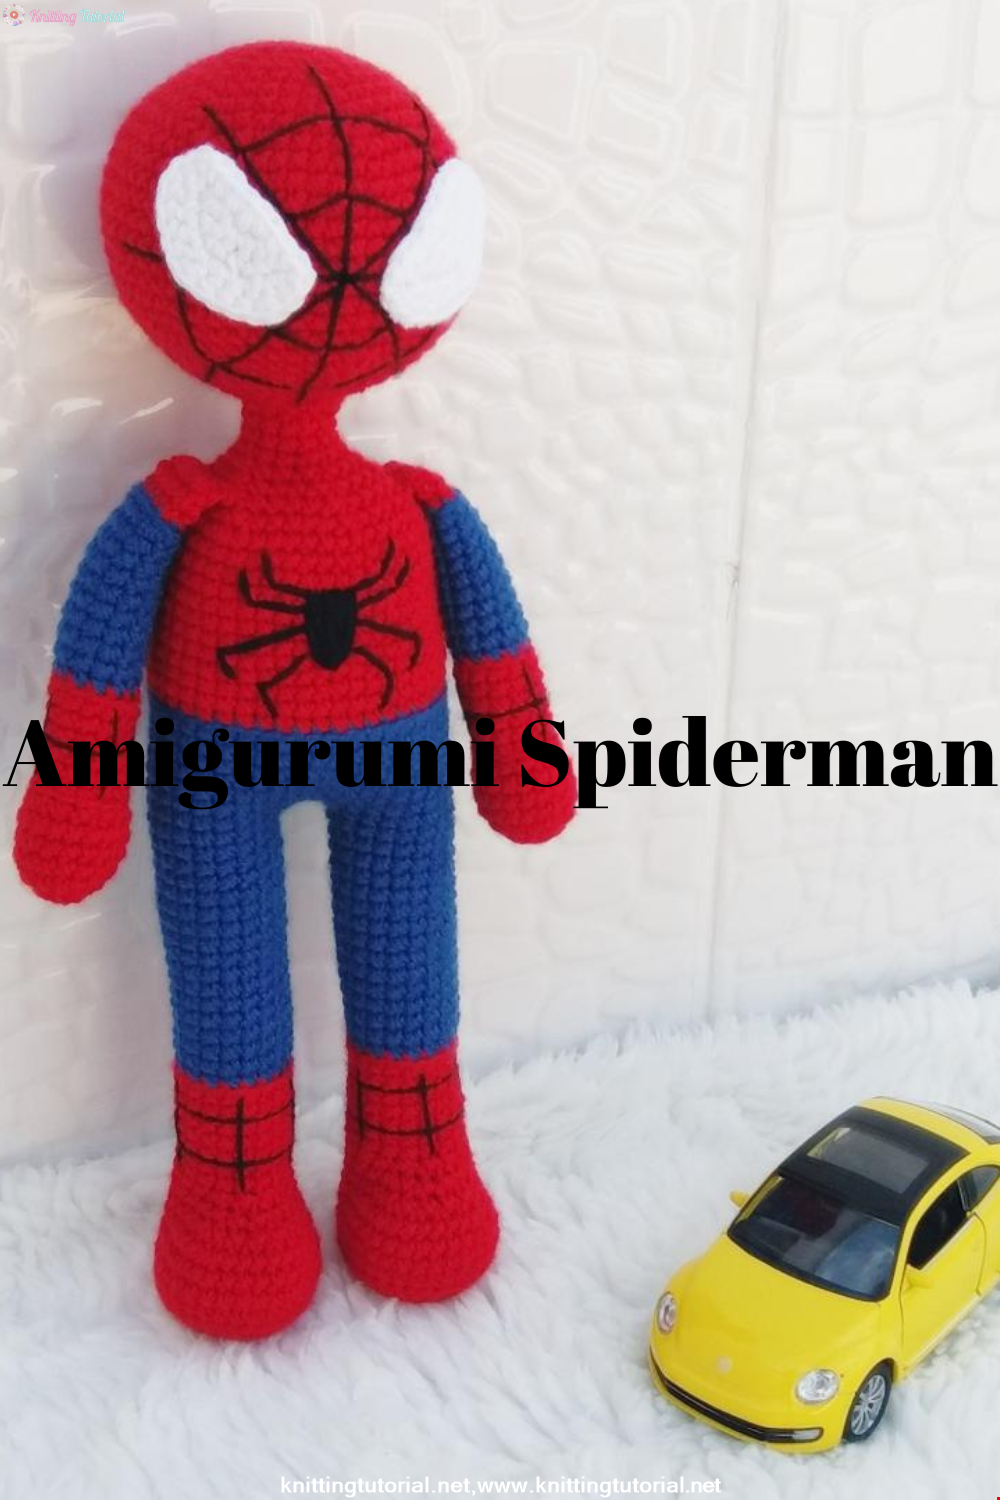
Hello, Are you ready to knit Spiderman, Spider-Man, the children's favorite cartoon character? You will be able to knit easily with detailed explanation. Let's start!
Read More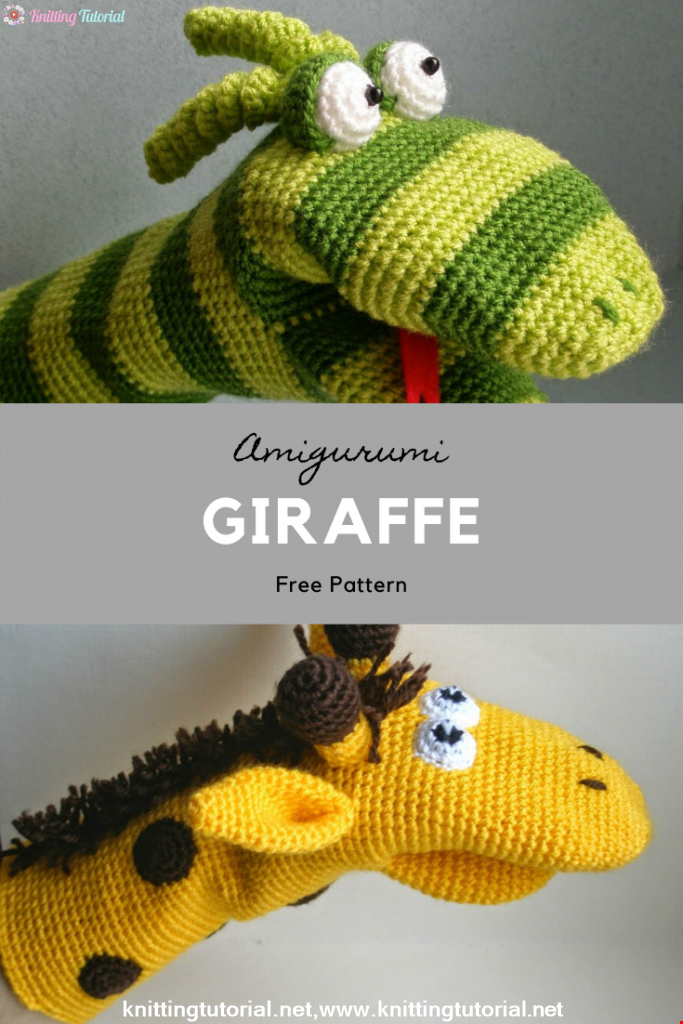
Amigurumi Princess Mononoke Crochet Pattern
12 December 2020, 21:20 946
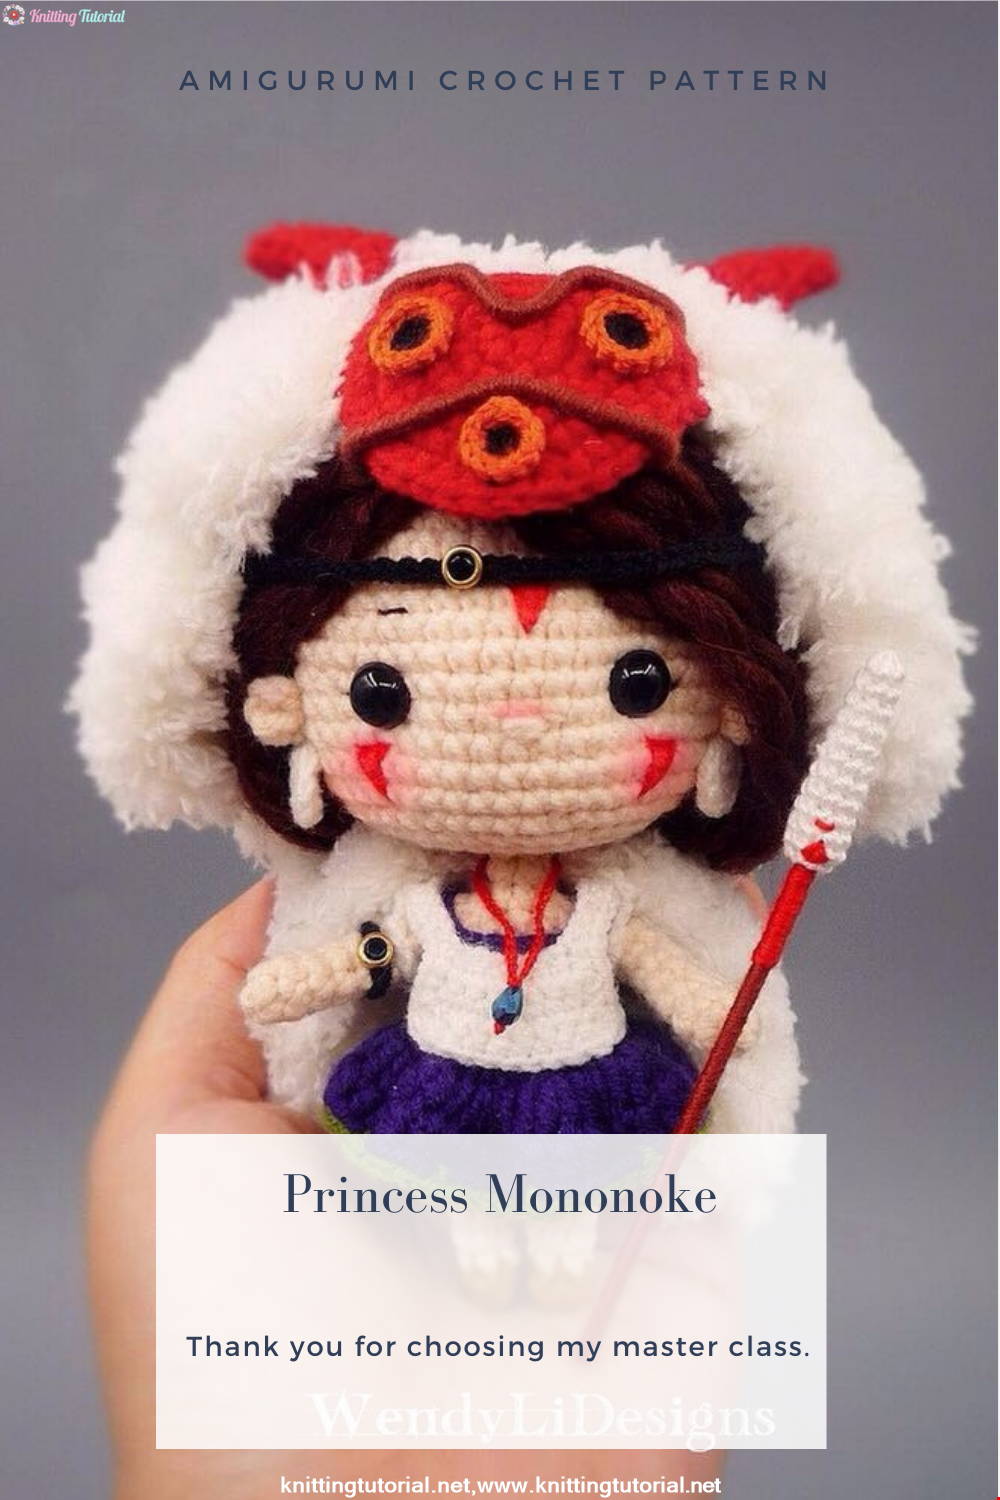
Free Crochet Princess Mononoke workshop by Wendy Li. The knitted girl is the hero of the cartoon by Hayao Miazaki. From the description of the diagram, you will also learn how to knit: a cape, a cloak, a dress and a mask for a doll.
Read More
Princess Disney Amigurumi Pattern
8 October 2020, 14:51 5815


Korean Girl in Traditional Dress (Hanbok)
22 September 2020, 11:11 1573

This is the process how I made the amigurumi of Korean Bride in traditional dress Hanbok. Lately I've been watching a lot of Korean dramas and got inspired to make one. I hope you can enjoy the video, and get inspired too!
Read More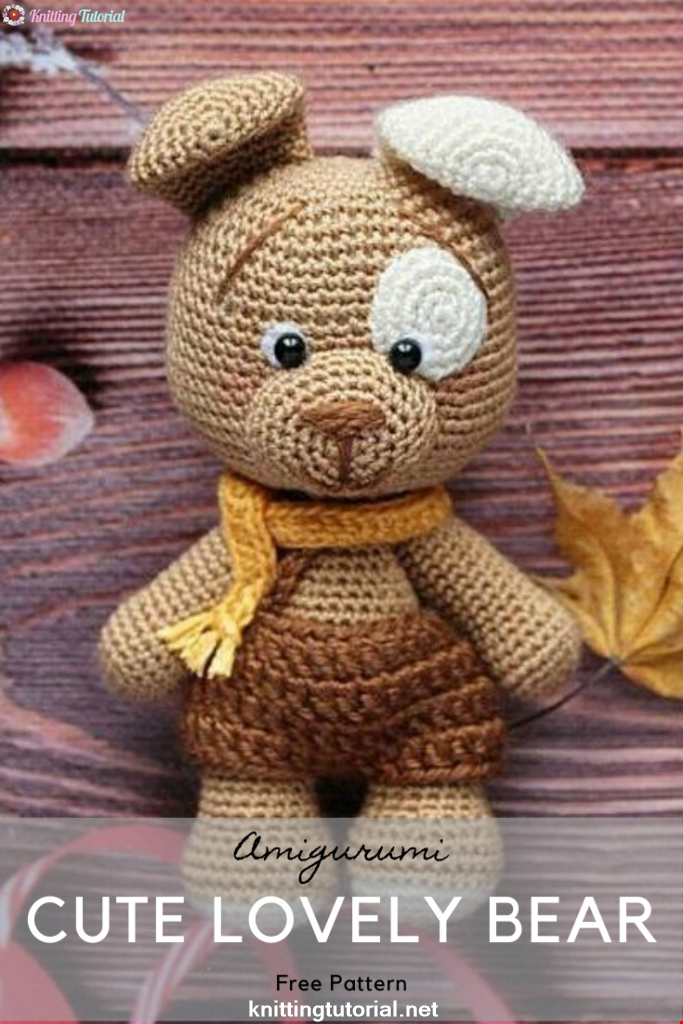
Amigurumi Sweet Giraffe Recipe and Preparation
5 January 2022, 14:55 634
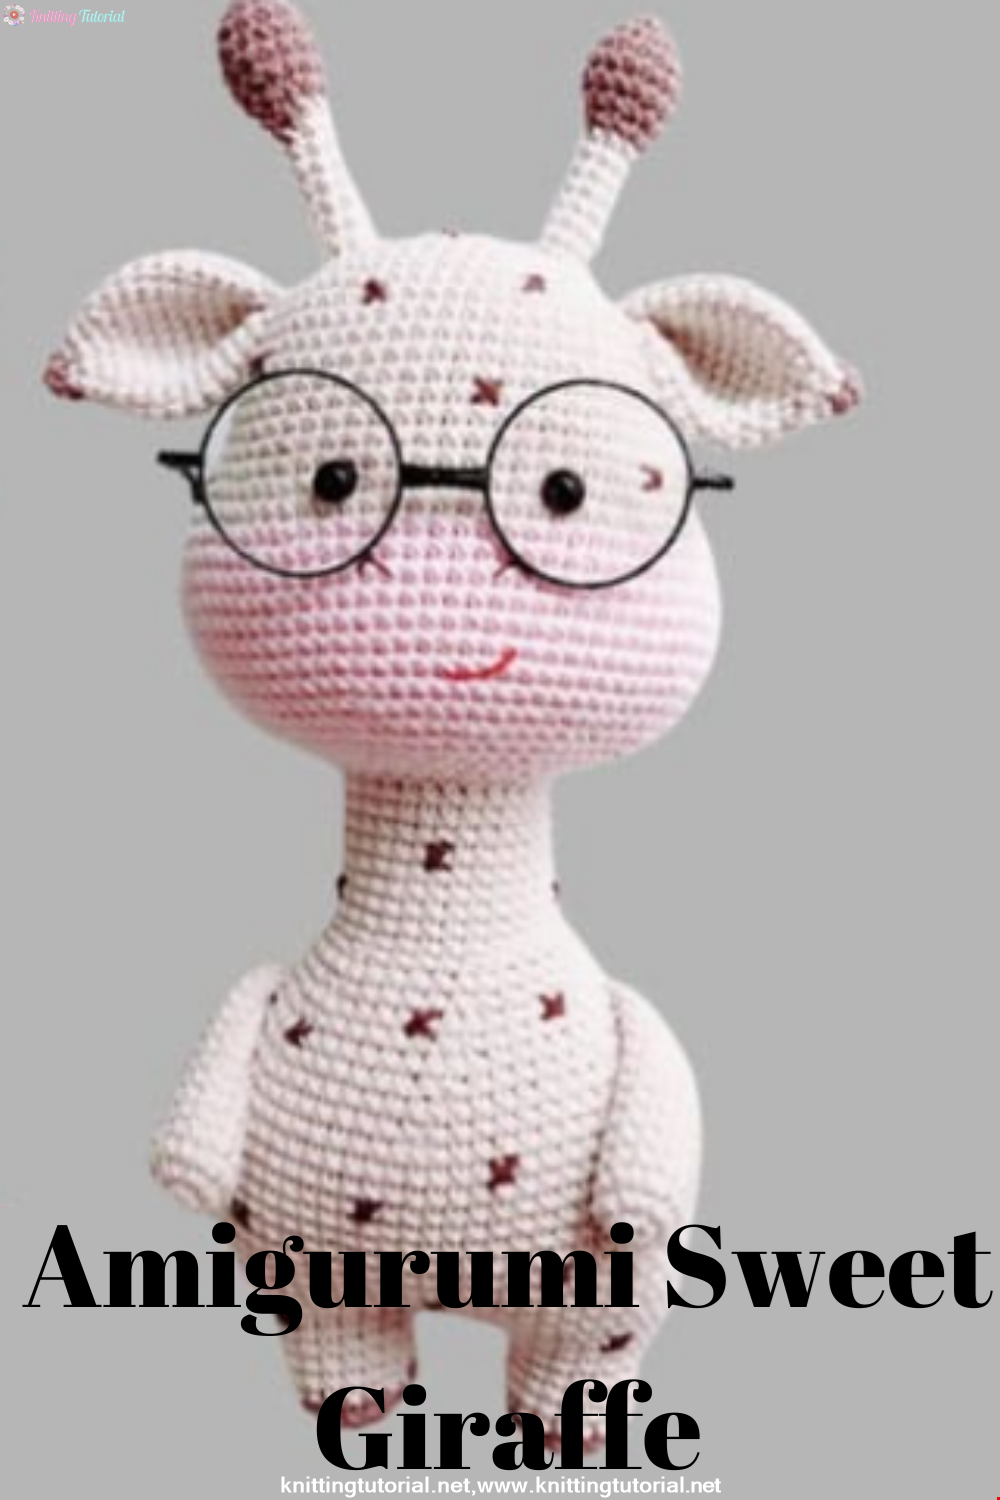
We have come to share with you the most popular model of recent times with the Amigurumi sweet giraffe recipe. I hope it will be an amigurumi animal figure that you like very much and knit with love.
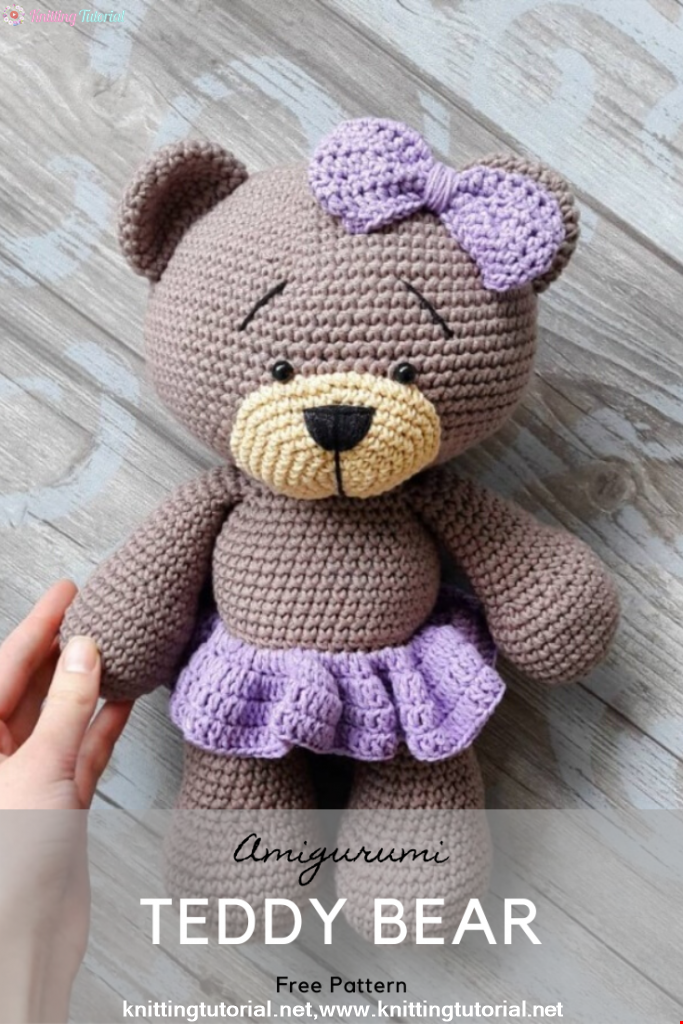
Read MoreLovely Teddy Bear Amigurumi Tutorial
12 October 2020, 10:05 2969