Amigurumi Candy Girl
23 September 2020, 11:44 657
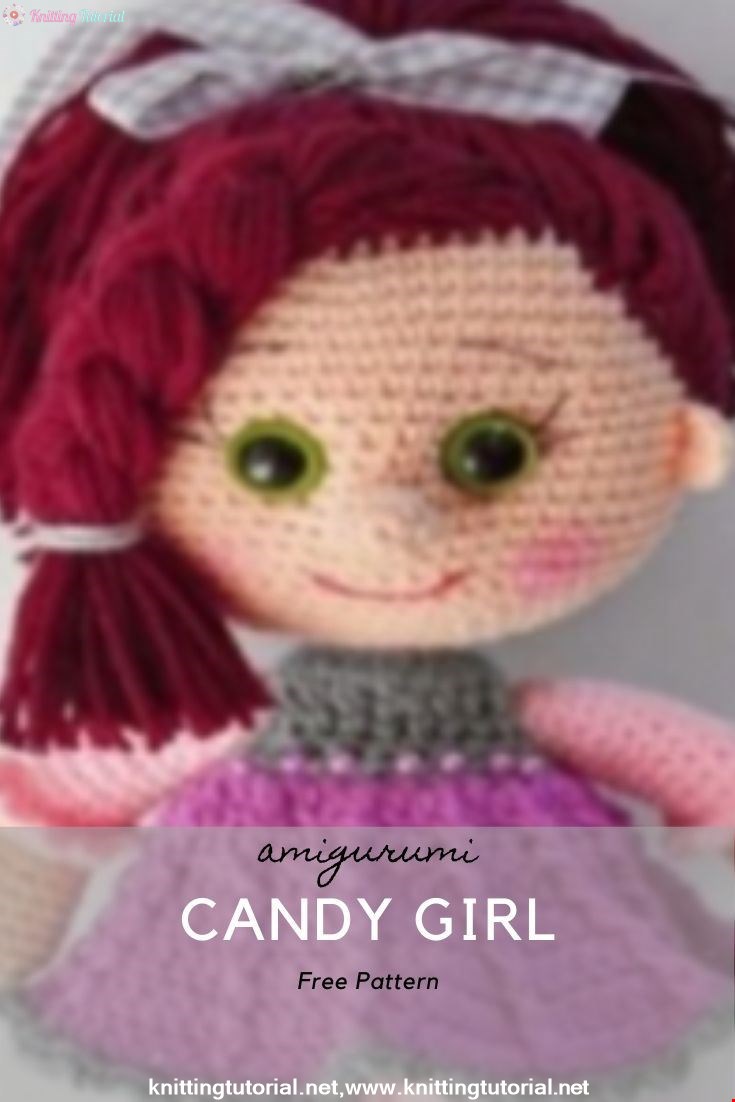
To crochet an amigurumi doll you need: flesh-colored yarn, yarn (small skeins) for hair and clothes, a hook, a filler for toys (holofiber), a stitching needle, plastic eyes for dolls, beads or other decorative elements.
And in order to link the amigurumi doll, see the description with the photo below:
Abbreviations used in the description:
c. p. – air loop
sbn – single crochet stst
– half-crochet
double crochet ssn – double crochet
ss4n – four-crochet
ss ss – connecting post Increment – knit two stitches
from one loop
Decrease – knit two stitches together (with common top)
Head :
Knit with flesh-colored yarn.
1 row: 6 sb in the Amigurumi ring
2 row: 6 increases (12)
3 row: (sb, increase) – 6 times (18)
4 row: (2 sb, increase) – 6 times (24)
5 row: (3 sbn, increase) – 6 times (30)
6 row: (4 sbn, increase) – 6 times (36)
7 row: (5 sbn, increase) – 6 times (42)
8 row: (6 sbn, increase) – 6 times (48)
9 row: (7 sbn, increase) – 6 times (54)
10 row: (8 sbn, increase) – 6 times (60)
11-23 row: 60 sbn
24 row: (8 sbn, decrease) – 6 times (54)
25 row: (7 sbn, decrease) – 6 times (48)
26 row: (6 sbn, decrease) – 6 times (42)
27 row: (5 sbn, decrease) – 6 times (36)
28 row: (4 sb, decrease ) – 6 times (30)
29 row: (3 sbn, decrease) – 6 times (24)
30 row: (2 sbn, decrease) – 6 times (18)
31 row: (1 sb, decrease) – 6 times ( 12)
After the head is tied, we stuff it and make a tightening in the eye area.
Weighting can be done with a thin thread of flesh-colored. Insert the needle from below into the unwired opening of the head and bring it out in the center (approximately between 16-17 near the crown), then through the row we bring the needle back inside the head, tighten and tie a knot – a “dimple” is formed. Bring the needle out in the place of the second eye (after about 9 loops) and through the row again inward – tightened, tied a knot. Cut off the excess thread, hide the ends of the threads inside the head in the packing.
Insert the plastic eyes. Embroider cilia, eyebrows and mouth.
Pull the hole in the head and remove the tail of the thread.
Body:
Since we will have a doll in a sarafan and a blouse, we begin to knit the body in the color chosen for the blouse.
1 row: 6 sb in the amigurumi ring
2 row: 6 increments (12)
3 row: (sbn, increase) – 6 times (18)
4-5 row: 18 sbn
6 row: (2 sbn, increase) – 6 times (24)
7 row: 24 sbn
8 row: (3 sbn, increase) – 6 times (30)
9 row: 30 sbn
10 row: (4 sbn, increase) – 6 times (36)
11 row: 36 sbn
12 row: (5 sbn, increase) – 6 times (42)
13-14 row: 42 sbn
15 row: (6 sbn, increase) – 6 times (48)
16 row: 48 sbn
17 row: (7 sbn, increase) – 6 times (54)
18 row: 54 sbn
Change the color of the thread – take the color with which the knickers will be knitted.
19 row: 54 sbn
20 row: (8 sbn, increase) – 6 times (60)
21 row: 60 sbn
22 row: (4 sbn, decrease) – 10 times (50)
23 row: (3 sbn, decrease) – 10 times (40)
24 row: (2 sbn, decrease) – 10 times (30)
25 row: (4 sb, decrease) – 5 times (24)
26 row: (3 sbn, decrease) – 5 times (20)
27 row: (2 sbn, decrease) – 5 times (16)
28 row: decrease 8 times
Fill the body, tighten and hide the tail of the thread inside.
Hands:
Hands are knitted from the palm, knitting with flesh-colored yarn begins.
1 row: 6 sb in the Amigurumi ring
2 row: 6 increases (12)
3 row: (sb, increase) – 6 times (18)
4 – 5 row: 18 sb
6 row: (7 sb, decrease) – 2 times ( 16)
7 row: 16 sbn
In the eighth row we knit a finger:
8 row: 6 sbn, 4 ssn with one vertex in the next loop, 9 sbn
9 row: (6 sbn, decrease) – 2 times (14)
10 row: 14 sbn
11 row: (5 sbn, decrease) – 2 times (12)
Change the thread color to the color that was chosen for the blouse.
12 row: 12 sbn
13 row: 12 sbn for the back wall of the loop
13 – 21 row: 12 sbn, leave a long tail of thread so that you can sew the handle and sew to the body.
Fill the handle with filler. The cam needs to be filled tightly enough, the handle itself can be made softer. Now fold the top of the handle flat and tie the edge.
It remains to tie the ruffle on the sleeve. In the place where they knitted for the back wall of the loop (13 row) on the handle, attach the thread (the color of the blouse) and knit the ruff for the remaining free front walls of the loop: 3 vp, 1 sb. Hide the tail of the thread inside the handle.
Similarly, tie the second handle to the doll.
Legs:
For the legs, you first need to tie the foot in the toe, and then the leg itself.
Foot:
1 row: 6 sb in the amigurumi ring
2 row: 6 increases (12)
3 row: (sb, increase) – 6 times (18)
4 row: (2 sb, increase) – 6 times (24)
5 row: (3 sbn, increase) – 6 times (30)
6-11 row: 30 sbn
12 row: (13 sbn, decrease) – 2 times (28)
13 row: 28 sbn 14 row: (12 sb, decrease) – 2 times (26)
15 row: 26 sbn
16 row: (11 sbn, decrease) – 2 times (24)
17 row: 24 sbn
18 row: (10 sbn, decrease) – 2 times (22)
19 row: 22 sbn
20 row: (9 sb, decrease) – 2 times (20),
Fill the foot tightly.
21 row: (decrease) – 6 times, pull the hole and hide the tip of the thread.
Now we attach the thread to the foot at the narrowing point and knit 15 loops in a circle around it (the former color is the color of the socks).
Knit the top of the sock:
1 – 6 row: 15 sbn
Change the color of the thread to flesh and then knit the doll’s leg.
7 row: 15 sb for the back wall of the loop
8 – 19 row: 15 sb
Change the thread color to the one selected for the trousers.
20 row: 15 sb for the back wall of the loop
21 row: (4 sb, increase) – 3 times (18)
22-25 row: 18 sb
Fold the top of the legs and tie a flat edge (as at the hands).
Make a quilling (3 vp, 1 sbn) with the color of the socks in the 7th row (where they were knitted for the back wall). Also do quilling in row 20 in the color of trousers.
Shoes:
Tie the sole according to the pattern.
Further:
5 row: 43 sbn behind the back wall of the loop
6-9 row: 43 sbn
10 row: 8 sbn, 2 pst, 8 decrease pst, 2 pst, 15 sbn (35)
11 row: 8 sbn, 12 pst, 15 sbn (35 )
12 row: 8 sbn, 2 pst, 4 decrease pst, 2 pst, 9 sbn, 3 decrease sbn (28)
Put the shoe on the leg, attach the thread on the side. Next, knit 8 vp, join with a connecting column on the other side of the shoe, rotate knitting and knit an 8 pst strap. Fasten the thread and hide the tails. Similarly, tie the second shoe.
Nose:
Knit with flesh-colored yarn.
1 row: 6 sb in the amigurumi ring
2 row: 6 sb.
Leave the tip sufficient for sewing and sew the nose on the face.
Ears:
Knit with flesh-colored yarn. At eye level, back 9 sb, attach. Next 3 c. p. lift, 8 PRS.
Bring the tail of the thread 2 rows above (below) behind the ear, and tail the thread that remained from the attachment of the thread at the beginning of knitting the ear for the third c.p. lift and bring out in the same place where the tail end. Tie the ends into a knot and hide inside the head. repeat for the second ear.
Dress:
For a coquette, dial 26 in. p.
1 row: 1 c. item of rise, 25 sbn
2 row: 6 century item of rise, 5 ss4n, 2 century p., 10 ss4n, 2 in. p., 6 ss4n
3 row: 1 in. n. lifting, 25 sbn
Next, tie the skirt according to the scheme:
For hair, cut a thread of the required length (depending on the desired hair length). Then fasten each thread in a circle around the crown. Move in circular rows from the top of the head to the sides.
To fasten the hair-thread, enter the hook towards the crown, hook the thread folded in half and hook it into the middle. Then grab both ends of the thread and pull through the loop. Tighten.
Now it remains to “assemble” the doll. Put on the dress, sew the head to the body, also arms and legs. Sew hands between 4-5 next to the torso, and legs between 22-23.
Braid the doll’s hair, decorate the dress, shoes with beads or other jewelry.
Category Popular Posts
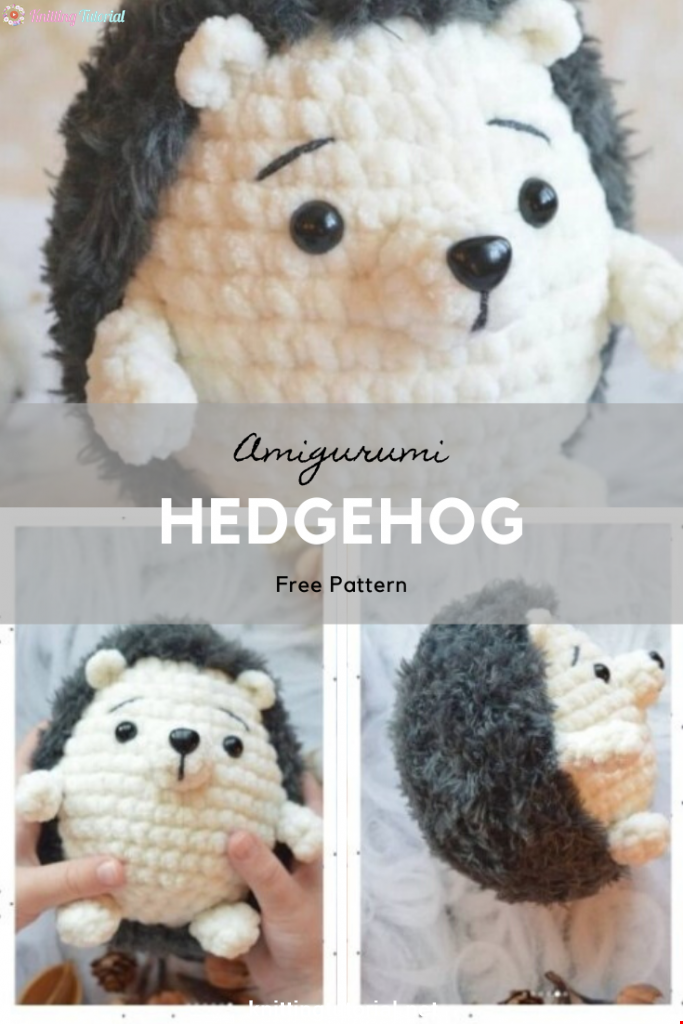
Amigurumi Hedgehog Free Pattern
12 October 2020, 09:52 11505
Making Amigurumi Spiderman
27 January 2022, 20:58 2024
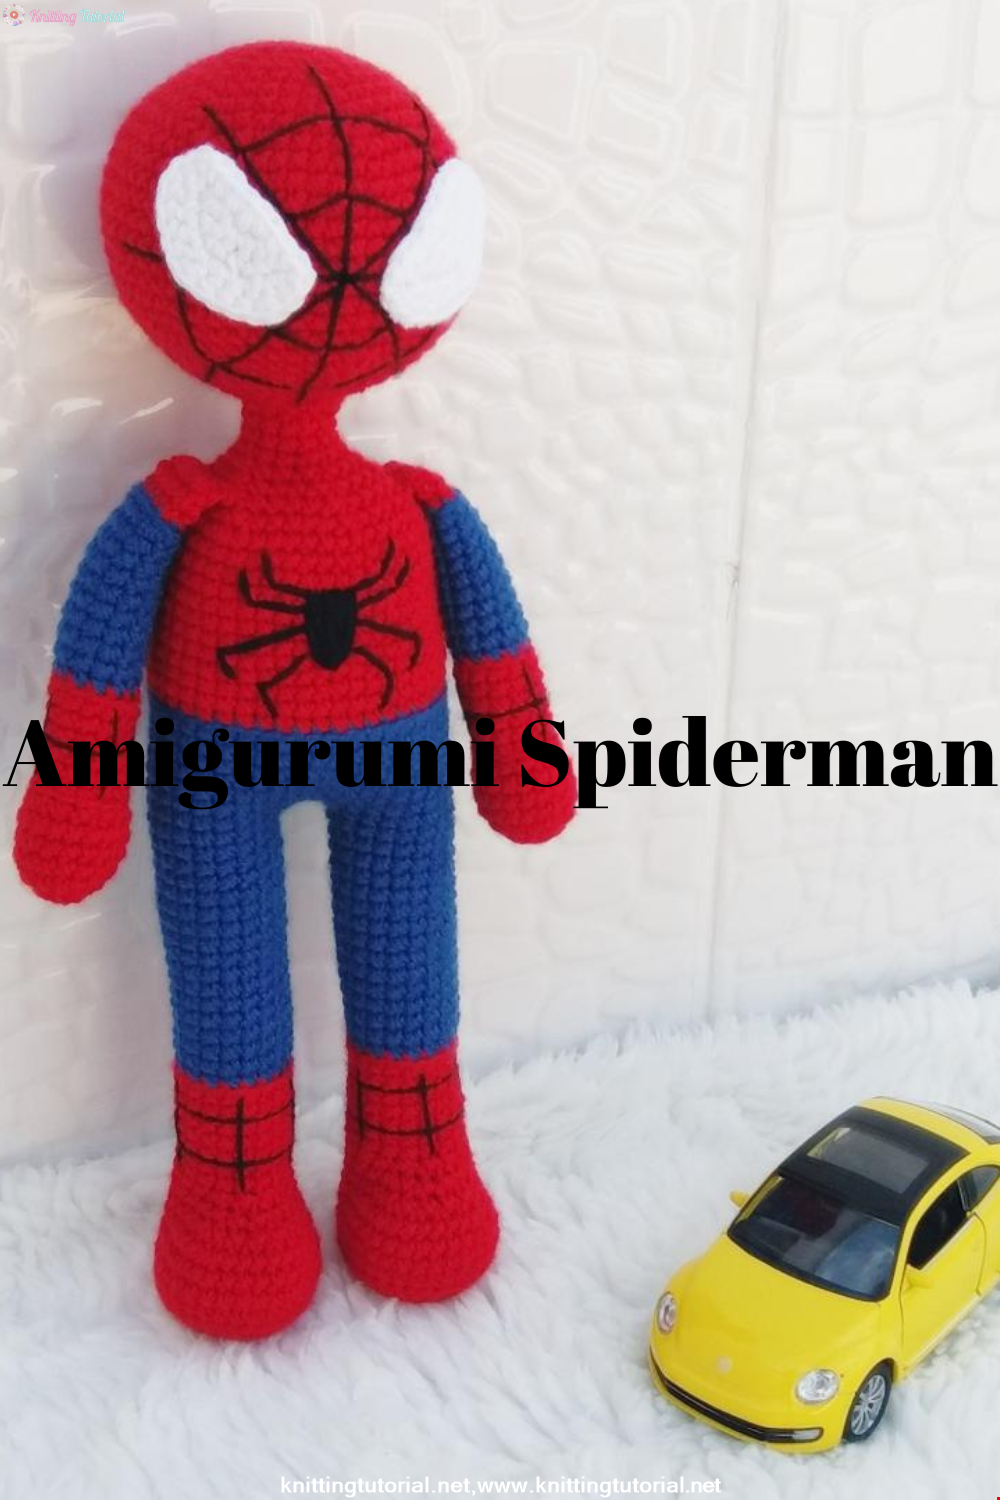
Hello, Are you ready to knit Spiderman, Spider-Man, the children's favorite cartoon character? You will be able to knit easily with detailed explanation. Let's start!
Read More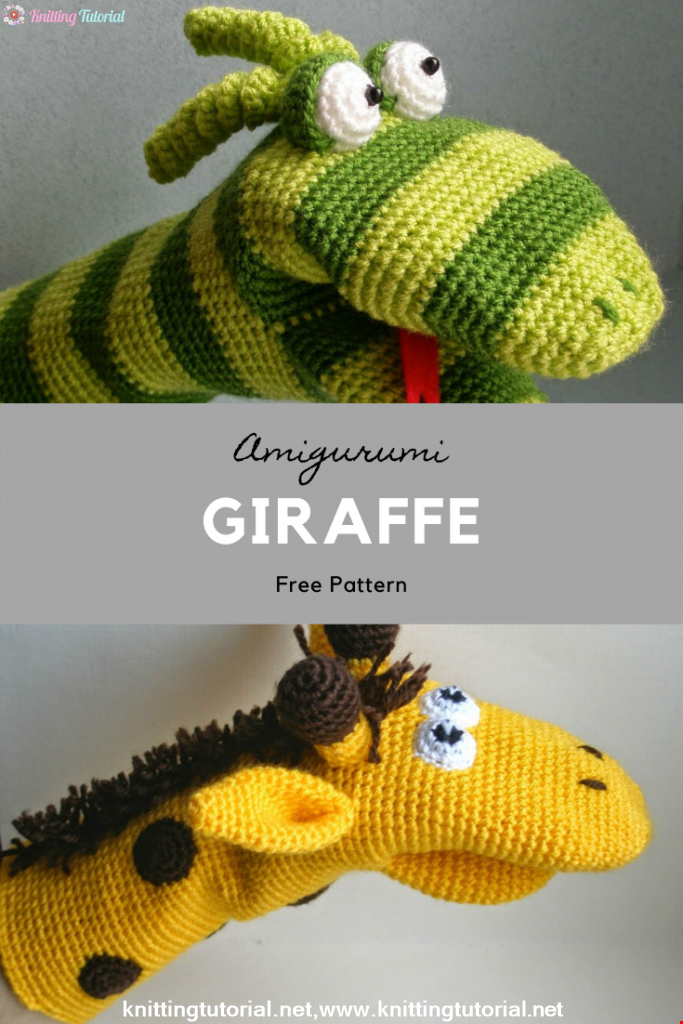
Amigurumi Princess Mononoke Crochet Pattern
12 December 2020, 21:20 946
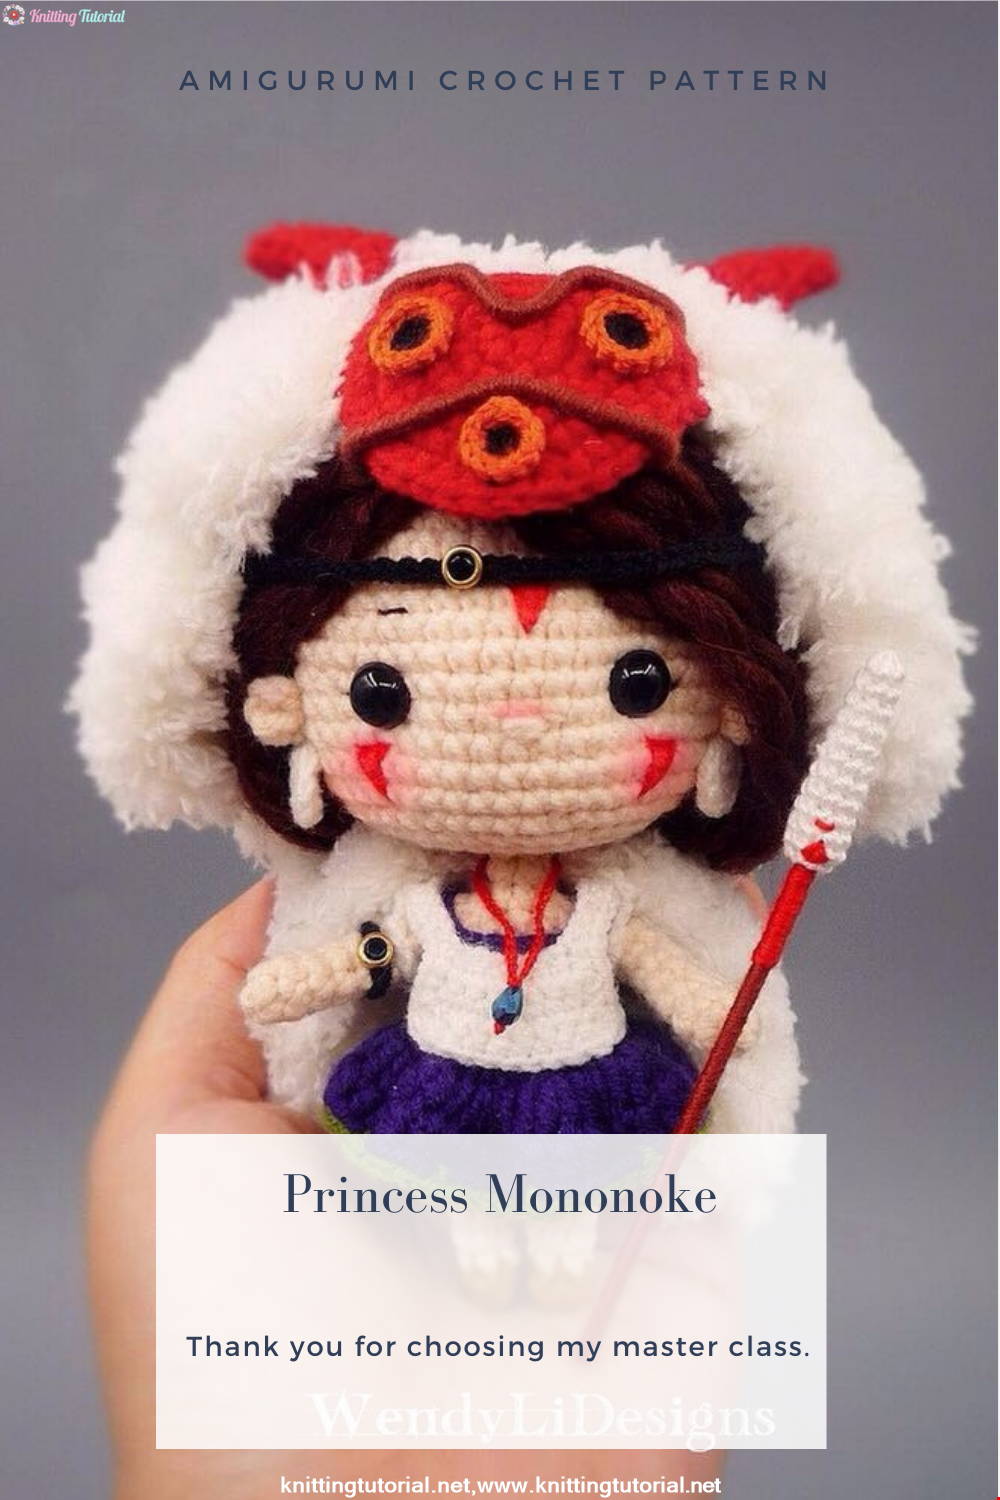
Free Crochet Princess Mononoke workshop by Wendy Li. The knitted girl is the hero of the cartoon by Hayao Miazaki. From the description of the diagram, you will also learn how to knit: a cape, a cloak, a dress and a mask for a doll.
Read More
Princess Disney Amigurumi Pattern
8 October 2020, 14:51 5815


Korean Girl in Traditional Dress (Hanbok)
22 September 2020, 11:11 1573
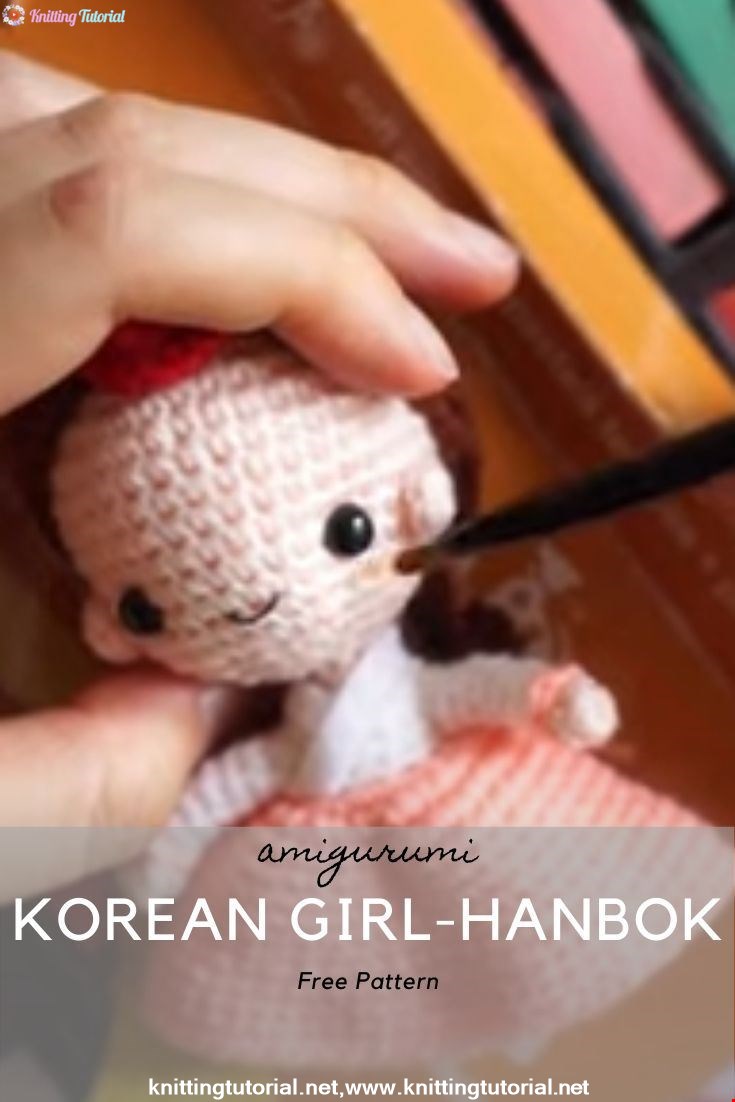
This is the process how I made the amigurumi of Korean Bride in traditional dress Hanbok. Lately I've been watching a lot of Korean dramas and got inspired to make one. I hope you can enjoy the video, and get inspired too!
Read More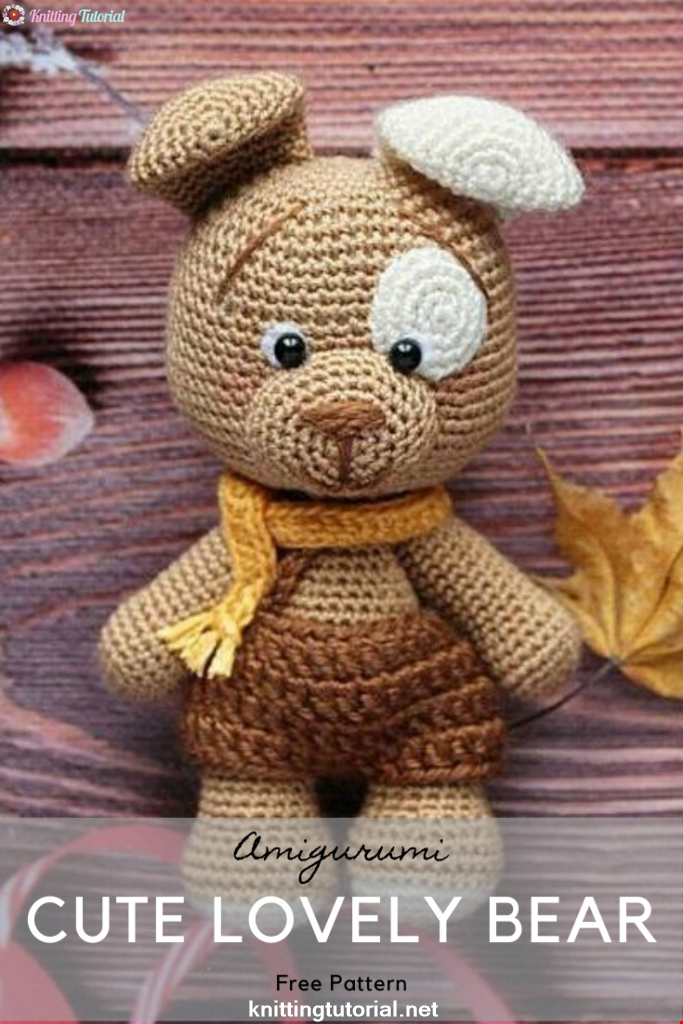
Amigurumi Sweet Giraffe Recipe and Preparation
5 January 2022, 14:55 634
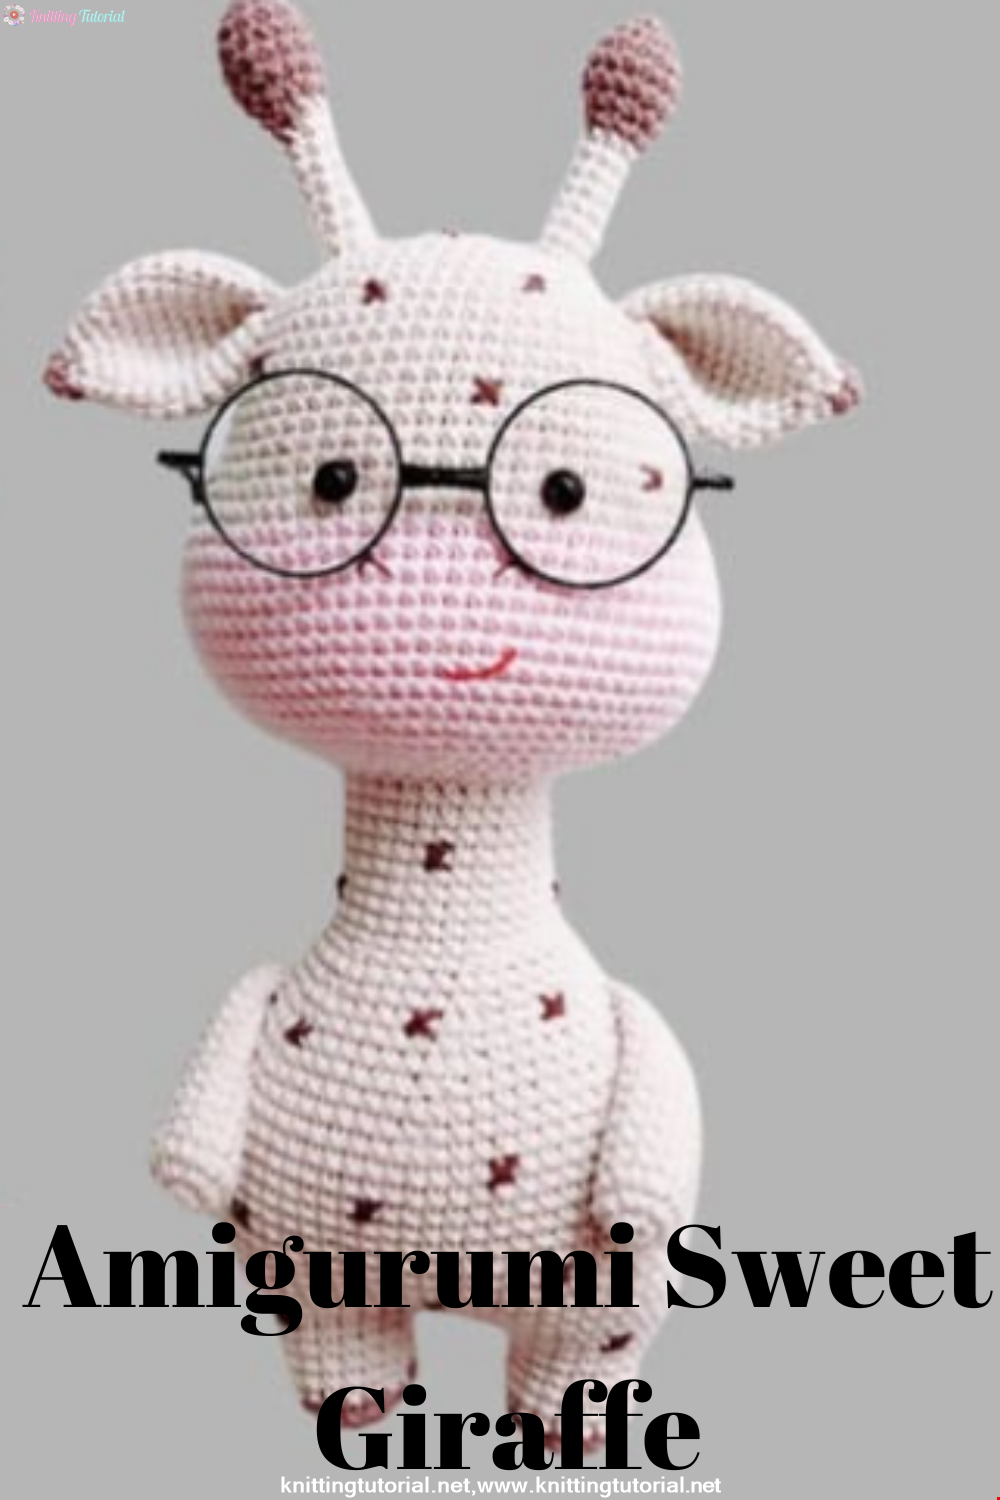
We have come to share with you the most popular model of recent times with the Amigurumi sweet giraffe recipe. I hope it will be an amigurumi animal figure that you like very much and knit with love.
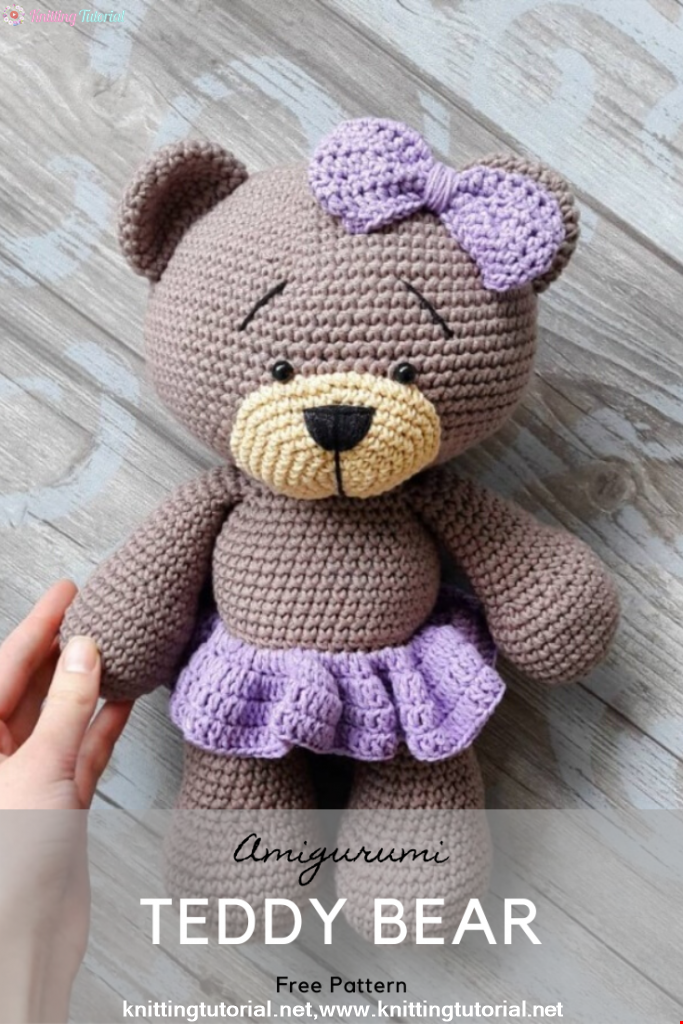
Read MoreLovely Teddy Bear Amigurumi Tutorial
12 October 2020, 10:05 2969