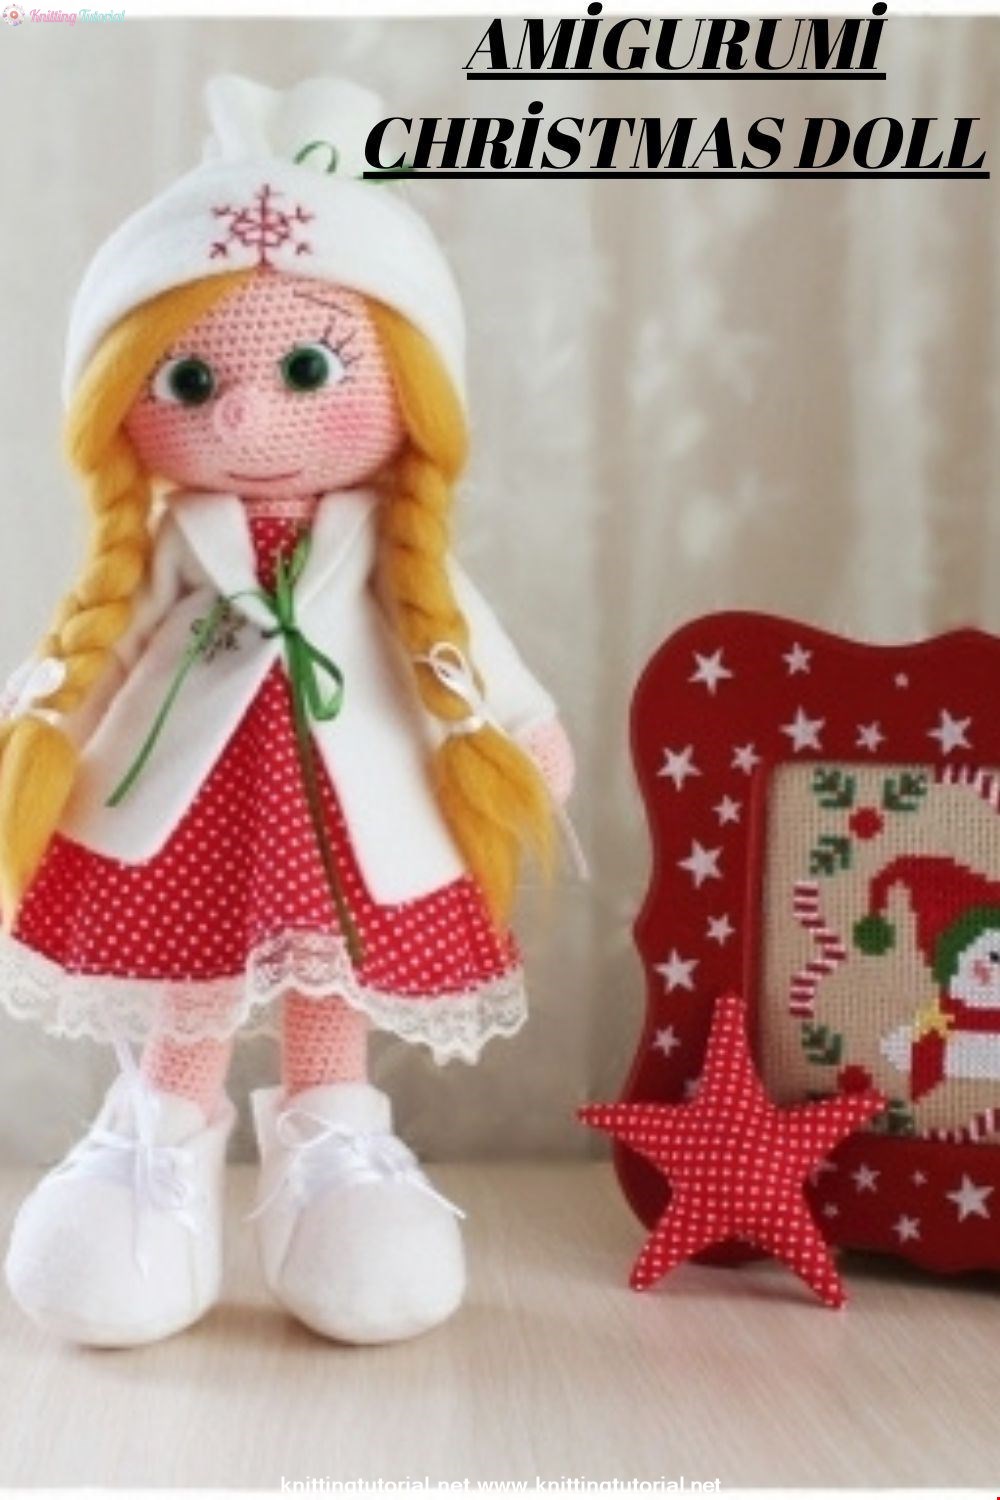
Amigurumi dolls and annotated making
15 January 2022, 09:22 541
Necessary materials:
2,5 no knitting needle
1 piece of nude yarn
1 piece of white thread
1 pair of 12 mm amigurumi eyes
1 piece of white felt
1 black nylon thread
bead fiber
Explanation:
In the making of our baby, I used crochet techniques such as frequent needle, chain pulling, increasing and decreasing techniques.
You can start knitting from the part you want. I usually knit the head first and continue with the other parts.
You can use a different color yarn as a locator at the beginning of the row so that you do not get confused in which row you are knitting.
The number of repetitions outside the parentheses in the recipe shows how many times we need to perform the operation in the parentheses. The numbers at the end of the row show how many single crochets will be in total at that time.
We need to do the stuffing while knitting the pieces. For this, we need to fill in these rows without missing the rows that we can fill comfortably while knitting the pieces. While filling the pieces, after pushing the fiber inwards, we should push the fiber towards the edges of the piece with our fingers and form the pieces.
Before we start knitting amigurumi, let's see how to start. When I start amigurumi, I start by pulling two chains and filling in the second chain. In the first of the photos below, I showed the chain pulling steps, and in the second, I showed the filling and bookmarking inside the chain.
HEAD
We start with tan yarn.
1. 2 chains are drawn and 6 frequent needles are made into the 2nd chain. (As in the two photos above.)
2. 2 sc into each sc, 6 times (12)
4. (2 sc, 1 increase) Repeat 6 times (24)
5. (3 sc, 1 increase) Repeat 6 times (30)
6. (4 sc, 1 increase) Repeat 6 times (36)
7. (5 sc, 1 increase) Repeat 6 times (42)
8. (6 sc, 1 increase) Repeat 6 times (48)
9. (7 sc, 1 increase) 6 times (54)
10. (8 sc, 1 increase) 6 times (60)
11. (9 sc, 1 increase) Repeat 6 times (66)
12. (10 sc, 1 increase) Repeat 6 times (72)
Row 13 to row 26: One sc for each sc (72)
27. (10 sc, 1 dec) Repeat 6 times (66)
28. (9 sc, 1 elsilt) Repeat 6 times (60)
29. (8 sc, 1 elsilt) Repeat 6 times (54)
30. (7 sc, 1 elsilt) Repeat 6 times (48)
31. (6 sc, 1 elsilt) Repeat 6 times (42) In the meantime, we start to fill the head with bead fiber.
32. (5 sc, 1 elsilt) Repeat 6 times (36)
33. (4 sc, 1 elsilt) Repeat 6 times (30)
In the meantime, we put on the eyes before the space that our hand can enter becomes smaller. As in the picture, we first shape and cut a piece of our white felt for the back of the eye. We make a hole in the felt with scissors and pass the eye through this hole. 22-23 of your head. we attach the eyes between the rows, with 9 frequent needles between them.
After we fill the head a little more, we continue the subtraction sequences.
34. (3 sc, 1 elsilt) Repeat 6 times (24)
35. (2 sc, 1 elsilt) Repeat 6 times (18)
36. (1 sc, 1 elsilt) Repeat 6 times (12)
We leave 20 cm long thread for sewing.
NOSE
We start with tan yarn.
1. 2 chains are drawn and 6 frequent needles are made into the 2nd chain.
2. 2 sc into each sc, 6 times (12)
3. One frequent needle for each frequent needle (12)
4.(2 single crochet, 1 decrement) 3 times again (9)
We leave 10 cm of thread for sewing.
BODY
It starts with the color white. (If desired, it can also be knitted with nude yarn.)
1. 2 chains are drawn and 6 frequent needles are made into the 2nd chain.
2. 2 sc into each sc, 6 times (12)
3. (1 single crochet, 1 increase) Repeat 6 times (18)
4. (2 sc, 1 increase) Repeat 6 times (24)
5. (3 sc, 1 increase) Repeat 6 times (30)
6. (4 sc, 1 increase) Repeat 6 times (36)
7. (5 sc, 1 increase) Repeat 6 times (42)
8. (6 sc, 1 increase) Repeat 6 times (48)
9. (7 sc, 1 increase) 6 times (54)
10. (8 sc, 1 increase) 6 times (60)
Row 11 to row 18: One frequent needle for each frequent needle (60)
19. (8 sc, 1 elsilt) Repeat 6 times (54)
20. One sc for each sc (54)
21. (7 sc, 1 elsilt) Repeat 6 times (48)
22-23. One sc for each sc (48)
24. (6 sc, 1 elsilt) Repeat 6 times (42)
25-26. One sc for each sc (42)
27. (5 sc, 1 elsilt) Repeat 6 times (36)
Row 28 to row 30: One single crochet for each frequent crochet (36)
31. (4 sc, 1 elsilt) Repeat 6 times (30)
32.-33. One sc for each sc (30)
In the 31st place, we move on to the skin color. We do the color transition as follows.
We continue to subtract.
34. (3 sc, 1 elsilt) Repeat 6 times (24)
35-36. One sc for each sc (24)
37. (2 sc, 1 elsilt) Repeat 6 times (18)
38. (1 sc, 1 elsilt) Repeat 6 times (12)
39. 6 subtract (6)
HAND and ARM
We start with tan yarn.
1. 8 chains are drawn. It is returned. Starting from the 2nd chain, we continue from the other side of the chain, with 6 frequent needles, 3 frequent needles in the next chain. 5 sc, 1 inc (16)
2. (1 sc, 1 increase) Repeat 8 times (24)
Rows 3-7: One single crochet for each crochet (24)
8. 12 sc (1 popcorn, in the picture below), 11 sc (24)
For finger, that is, popcorn, we make handrails 4 times on the 13th frequent needle. While making the handrail, we normally empty the yarn we take on the crochet in two times, in the popcorn technique we unload the first one, the second one stays on the crochet and after we make the last handrail, we empty them all together. And we continue.
9-10. One sc for each sc (24)
11. (2 sc, 1 elsilt) Repeat 6 times (18)
12. (4 sc, 1 dec) Repeat 3 times (15)
Between 13th and 31st rows: One single crochet for every single crochet (15)
32. (3 sc, 1 dec) Repeat 3 times (12)
We leave 20 cm long thread for sewing.
FEET and LEG
We start with tan yarn.
1-10 chains are drawn. It is returned.
2 sc into the 2nd chain, 1 single crochet in each of the next 7 chains, and 4 frequent crochets in the last chain. We continue to the other side of the chain. One single crochet in the next 7 chains and 2 single crochets in the last chain (22)
2- We continue over the first frequent needle of the 1st row.
(1 increase) Repeat 2 times, 6 single crochets, (1 increase) 6 times repeat, 6 single crochets, (1 increase) 2 times (32)
3- 1 frequent needle, 1 increase, 7 frequent needles, (1 increase, 1 frequent needle) Repeat 7 times, increase 1, 6 frequent needles, 1 increase, 1 frequent needle (42)
4- (6 sc, 1 increase) 6 times (48)
5- (7 sc, 1 increase) 6 times (54)
6. One sc for each sc (54)
8- As BLO, one single crochet (54) for each single crochet (54) as in the picture
8-11. Between rows: One sc for each sc (54)
12-14 sc, 1 inc, 1 inc, 1 inc, 2 in sc, (1 inc) repeat 8 times, 2 sc, 1 inc, 1 inc, 1 inc, 10 inc (42)
13- One frequent needle for each frequent needle (42)
14- 10 frequent needles, (1 decrease, 1 frequent needle) 8 times, 8 frequent needles (34)
15-16. One sc for each sc (34)
17- (2 sc, 1 dec) 8 times, 2 sc (26)
18- (1 subtract) Repeat 2 times, 22 sc (24)
19- One frequent needle for each frequent needle (24)
20- (2 sc, 1 elsilt) Repeat 6 times (18)
Rows 21-45: One single crochet for each single crochet (18)
46- (1 sc, 1 elsilt) Repeat 6 times (12)
We leave 20 cm long thread for sewing.
FACE EXPRESSION:
We use a quilt needle and nylon thread to embroider the lashes. We insert our needle from the gap where the head ends and remove it from the appropriate place as in the photo. First, we embroider the upper periphery of the eye (in stages 1, 2, 3 and 4). In the next stages, we process the eyelashes. There is a point we should pay attention to while processing the eyelashes. While inserting the needle in the 6th step, we pass it through the thread that we embroidered around the eye. So we fix the eye area. The shape of the eyelashes is completely up to you, I wanted Türkan Şoray to have eyelashes, you can do it less often or more often.
We start to process the eyebrows without cutting the thread that we processed the eyelash or by attaching a new thread. The places you set for the eyebrow also determine the expression of your baby. At the same time, if you want a happy, sad, confused or innocent baby, you should process the eyebrows accordingly. Mine was a mild surprise of happiness. You can catch this expression when you process the eyebrows by pulling them down a little. Finally, we cut our yarn and tie a knot.
In order to give a natural smile to our baby's face and create lines, we need to create dimples in certain places. For this, we use our quilt needle again. After threading the flesh-colored thread into the needle, we pass our thread through certain parts of the head by following the steps in the photo. Finally, we remove our yarn from the end point of the head and pull it by holding both ends and create a pit. We tie the two ends of the thread and make a knot and push it into the head.
After creating the mouth part, it's time for coloring. For this, we attach any color thread we choose to our needle, insert it into the head cavity and remove it from the mouth cavity, and insert it into the other mouth cavity and remove it from the head cavity again. We pull our thread and make the necessary corrections with our hands and tie a knot.
After doing this last operation on the head, we fill the gap with a little more fiber and finish it.
ASSEMBLE PARTS:
Nose planting:
We start by sewing the head to the body and putting the pieces together. But first we need to sew the nose in place. After determining the appropriate place, we fix the nose with a pin and sew it as follows.
After the sewing is finished, we insert our needle under the nose and remove it from a random place, and we cut and hide our thread. You can see how the thread is hidden in the sewing stages of the leg.
The sewing technique used when sewing the pieces together is always the same. First, it is passed through the needle of the piece we will sew, and then the piece itself.
If you examine the photos, you can catch the trick. This way you can get a neat stitch.
Sewing the head to the body:
Sewing the legs and hiding the thread:
When sewing the leg, we must first determine the appropriate place for the legs. After fixing it with a pin, we have to sew it.
After sewing both legs, we should hide the remaining threads by shortening them after knotting them as in the photo.
Sewing the sleeves:
While sewing the arm, we must first keep our baby straight and determine the appropriate arm places. In order to have a smooth seam, we must fix it with a pin and sew it.
SEWING CLOTHES:
Yes, now it's time for sewing, which is a subject I'm not a master at at all. You can see how much of a beginner I am from the crookedness of the seams and cuts :)
Dress Sewing:
Let's start with the dress first. I prepared the pattern of the dress myself, it is a very practical and easy model. It consists of two parts. We place and draw the cut lines in our pattern so that they are in the fold of the fabric. After drawing both parts, we leave a half cm-1 cm seam allowance and cut the parts.
We sew our lace to the lower part as in the photo. (Stage 3 in the picture below)
We turn it and sew it from the front so that it does not curl (step 5).
Bend and sew the top edge of the upper part (step 3)
We make a shirring from the edge of the lower skirt part with a needle, tack it to the upper part and sew it. (stage 4)
On the back of the dress, we sew only the lower part. After leaving the upper part blank and putting it on the baby, we sew it by hand.
Coat Sewing:
We fold our fleece fabric and place our pattern so that the cut lines are in the fold. We place the arms in the same way and draw them. Cut, leaving a seam allowance at the edges. (Only the hood, armholes and shoulders are left in the body part.) We draw and cut the arms in the same way. First we sew the arms to the body, then the shoulders and finally the hoodie. We make a hole in the front with the tip of the embroidery scissors and pass our thin ribbon.
Boots Sewing:
We place our patterns on the fleece and draw. We leave a seam allowance around the 1st piece.
In pieces 2 and 3, we leave only the seam allowance at the bottom. We find the midpoint of the 1st part and the 2nd part (folding it in half) and tack the flat parts facing each other.(3rd stage)
Then we find the middle point of the 3rd piece again and connect it with the front midpoint of the 1st piece and tack it so that the front faces face each other. (stage 5)
We sew the circular area we have basted on the sewing machine and turn it over (step 6)
We assemble the throat part of the boot as in step 7 and make 3 equally spaced holes upwards with the tip of the embroidery scissors.
We pass the thin ribbon to the wool needle as in the 8th step and insert it through the holes, giving the appearance of lace.
Beret Sewing:
First, we take the head circumference measurement. This is the measure of our long side. The size of the short side, that is, the height of the beret, is up to you, you can make it in any size you want. I cut a 21×32 cm rectangular fleece. I folded the front part of the piece I cut as in the photo and fixed it with a pin. I folded the fleece in half and sewed the part up to the fold on the sewing machine and the folded part by hand. We turn the flat part and collect the upper part with a ribbon. We embroider the snowflake, whose scheme I have given below, with red thread on the front. And our beret is ready..
Hair:
Unfortunately, I could not manage to assemble the hair using the felt pinning method. But by sewing it this way, I achieved a solid result. Yes, first we place our felt on the head and shape it and mark the places we will sew with a pin. We pass the thin fishing line to our needle and sew from the front to the back by backing the needle. We braid our hair and wear pretty ribbons.
Make-up:
And there is another process that I forgot and came to my mind at the last stage; make-up. We use paints called 'sketches' to make up our amigurumis. Even a small part of these paints can be used for a very long time. And a paint with high water resistance. How are we going to use it? We scrape our paint with a knife on a clean paper and grind it into powder. We take some paint with a clean brush that is not too big and hit it on the paper so that the excess is spilled. And we give color by touching and pulling the baby's cheek. We do this process several times without taking much paint.
Yes, our baby is ready. Although I have tried to explain in detail, there may be places that you do not understand or details that you are curious about.
For this, please write to me. Make sure to contact me as a comment under this post or at 10marifet post office..
Category Popular Posts
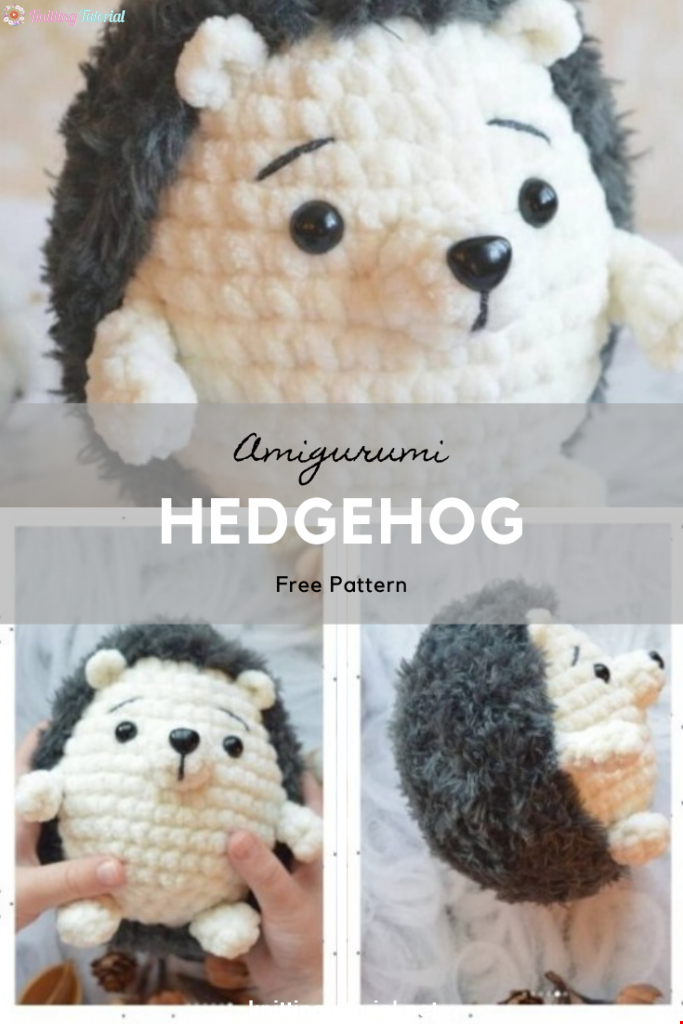
Amigurumi Hedgehog Free Pattern
12 October 2020, 09:52 11498
Making Amigurumi Spiderman
27 January 2022, 20:58 2014
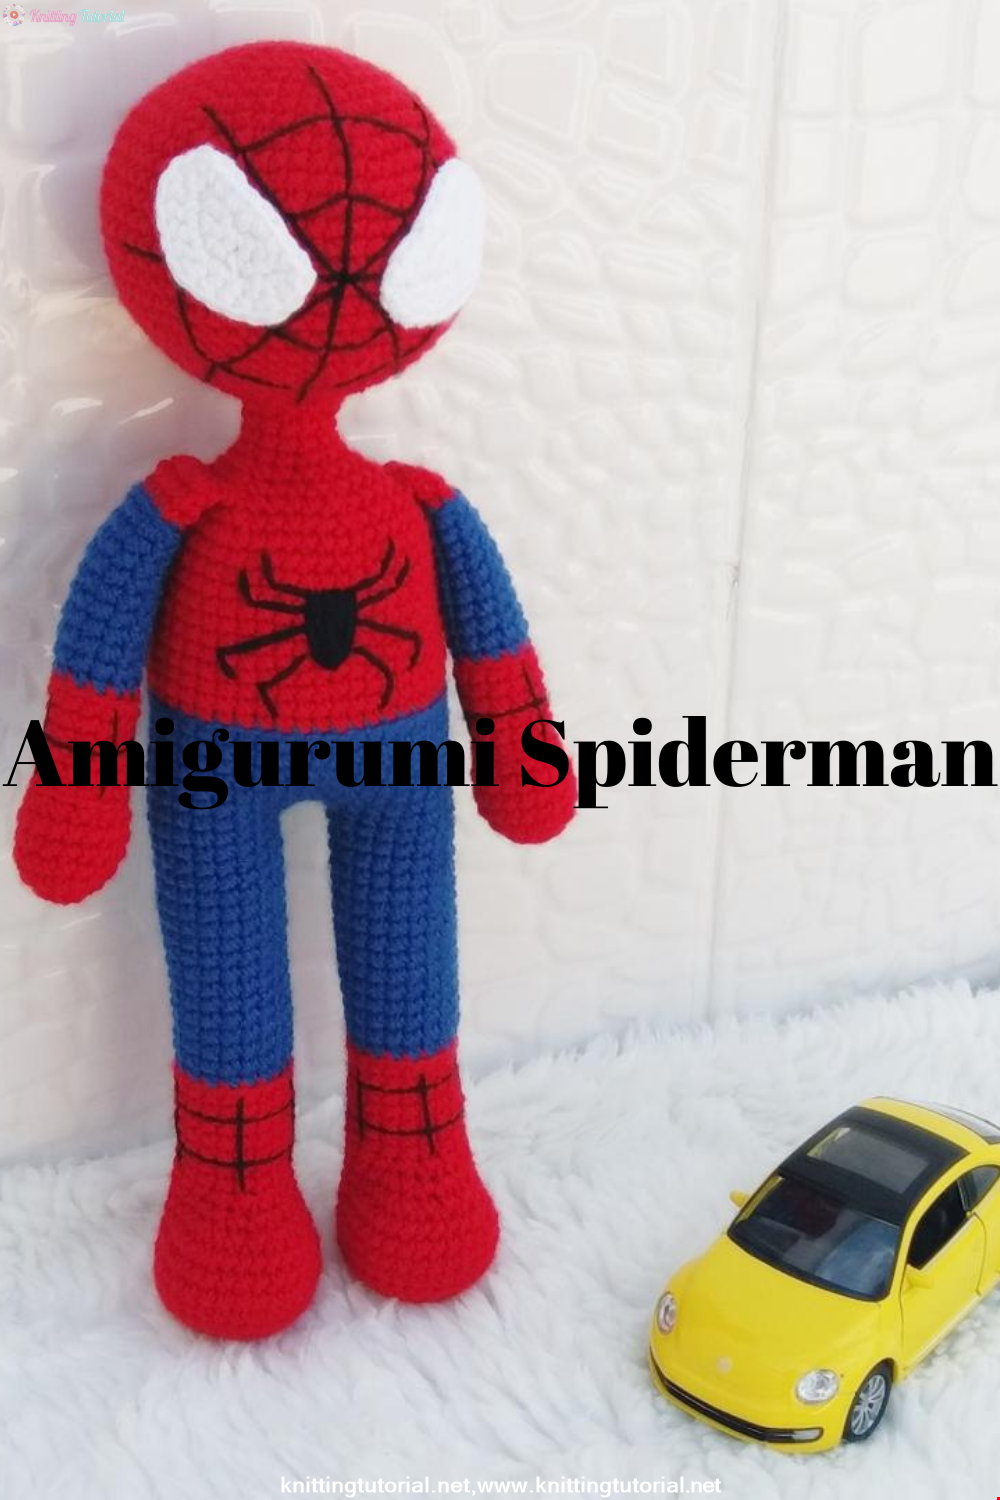
Hello, Are you ready to knit Spiderman, Spider-Man, the children's favorite cartoon character? You will be able to knit easily with detailed explanation. Let's start!
Read More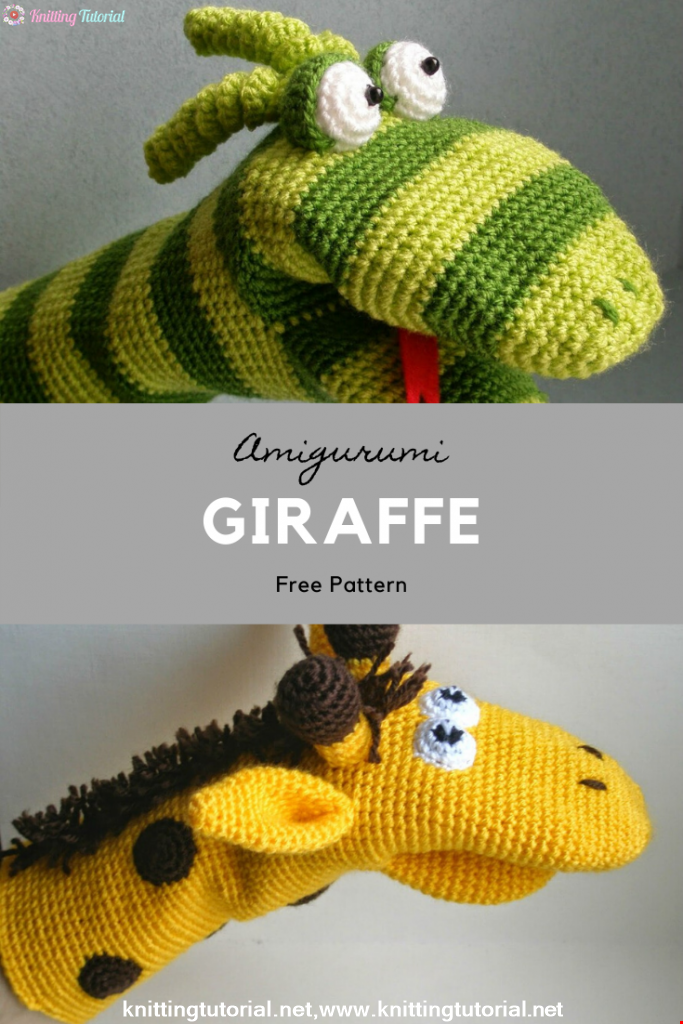
Amigurumi Princess Mononoke Crochet Pattern
12 December 2020, 21:20 944
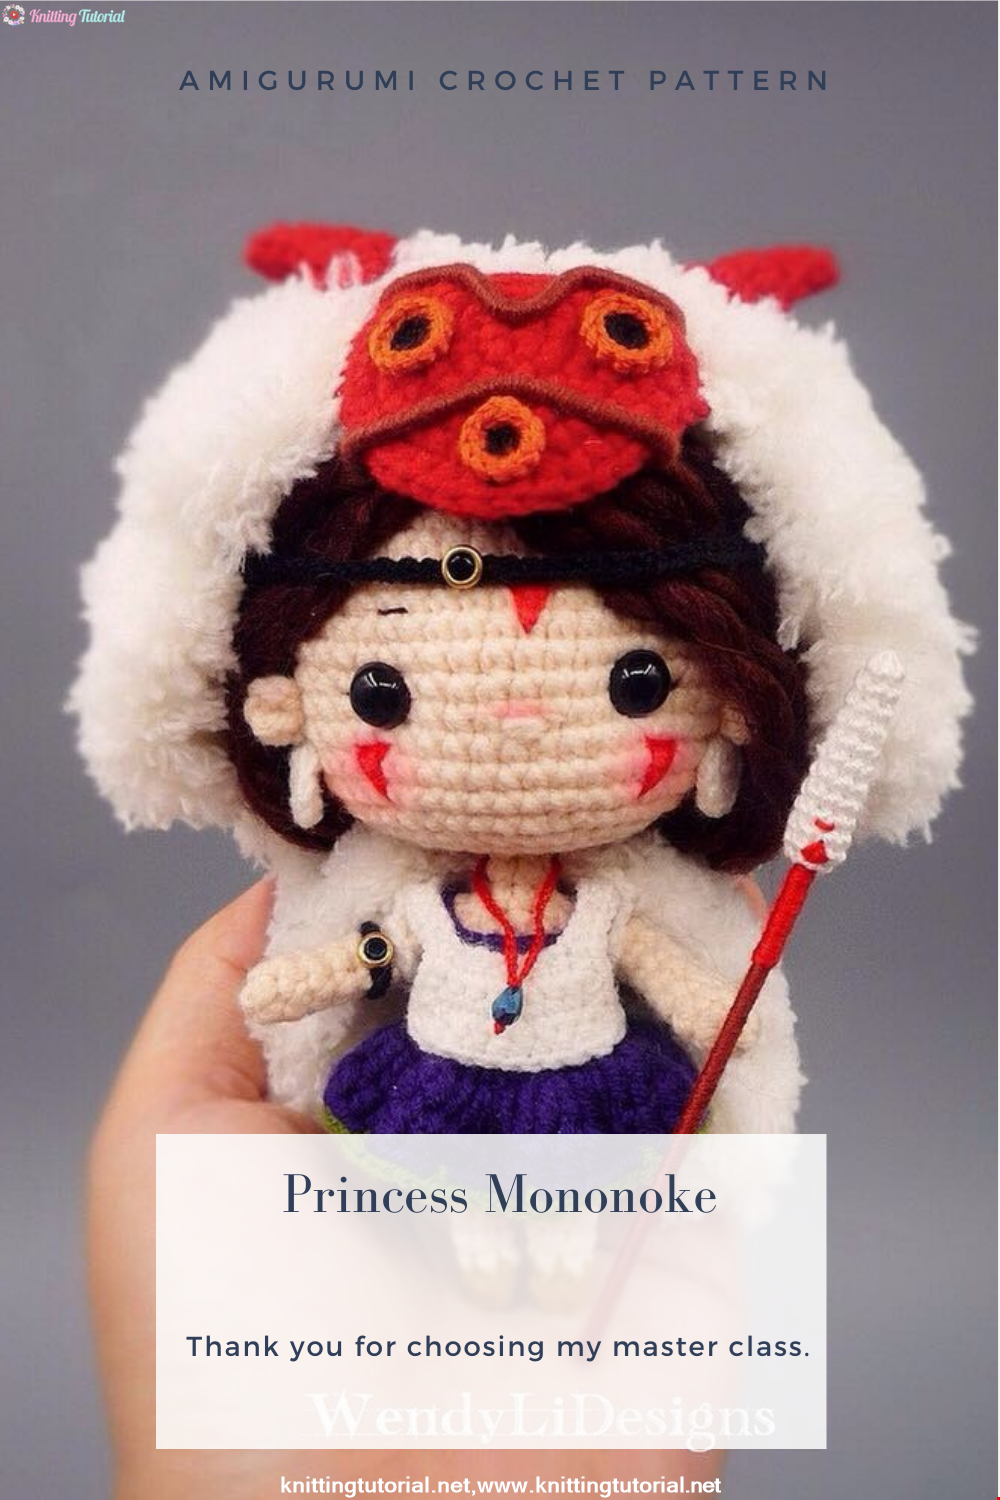
Free Crochet Princess Mononoke workshop by Wendy Li. The knitted girl is the hero of the cartoon by Hayao Miazaki. From the description of the diagram, you will also learn how to knit: a cape, a cloak, a dress and a mask for a doll.
Read More
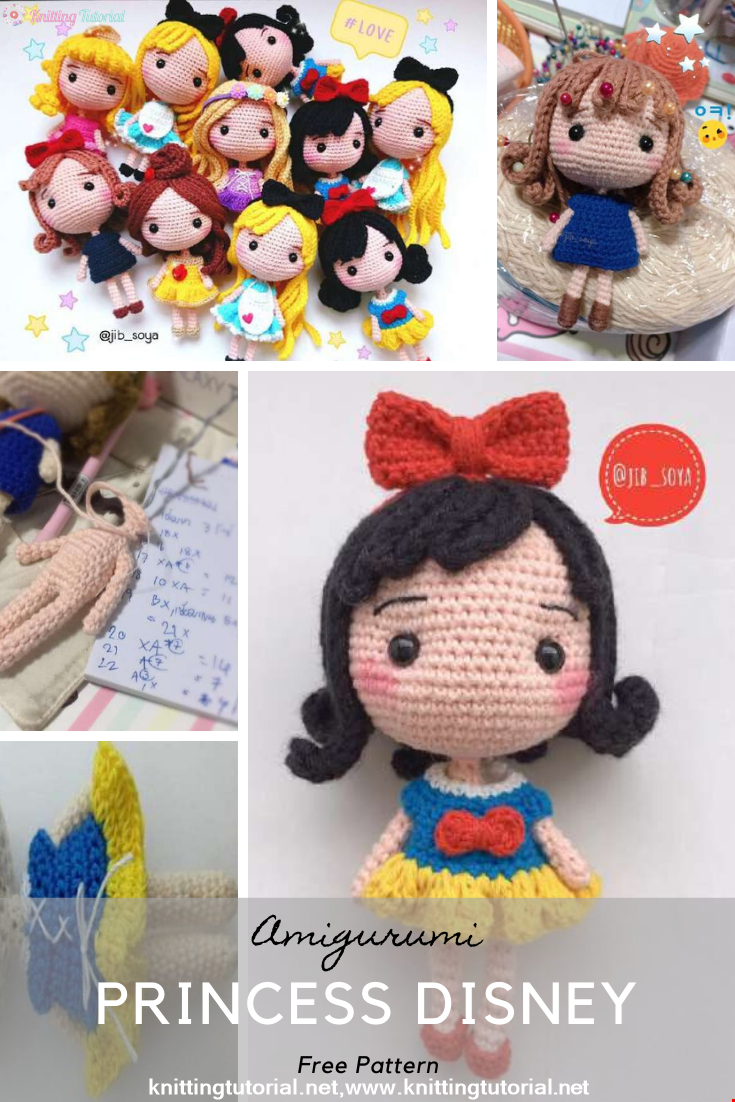
Princess Disney Amigurumi Pattern
8 October 2020, 14:51 5813

Korean Girl in Traditional Dress (Hanbok)
22 September 2020, 11:11 1572
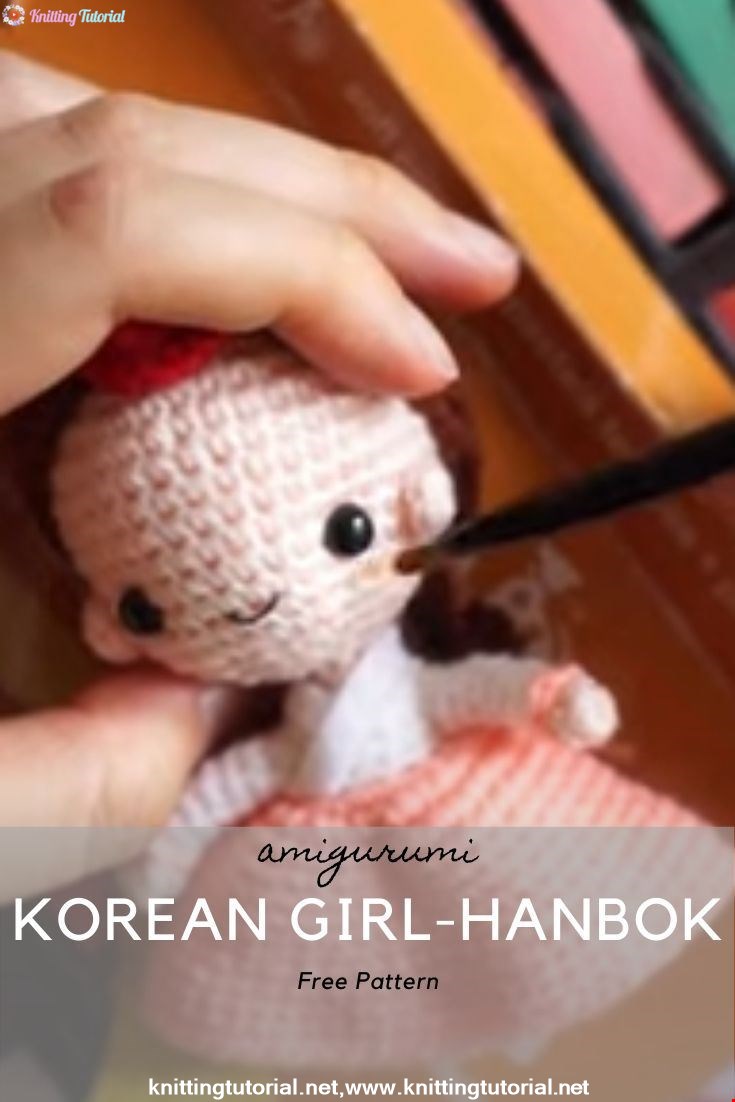
This is the process how I made the amigurumi of Korean Bride in traditional dress Hanbok. Lately I've been watching a lot of Korean dramas and got inspired to make one. I hope you can enjoy the video, and get inspired too!
Read More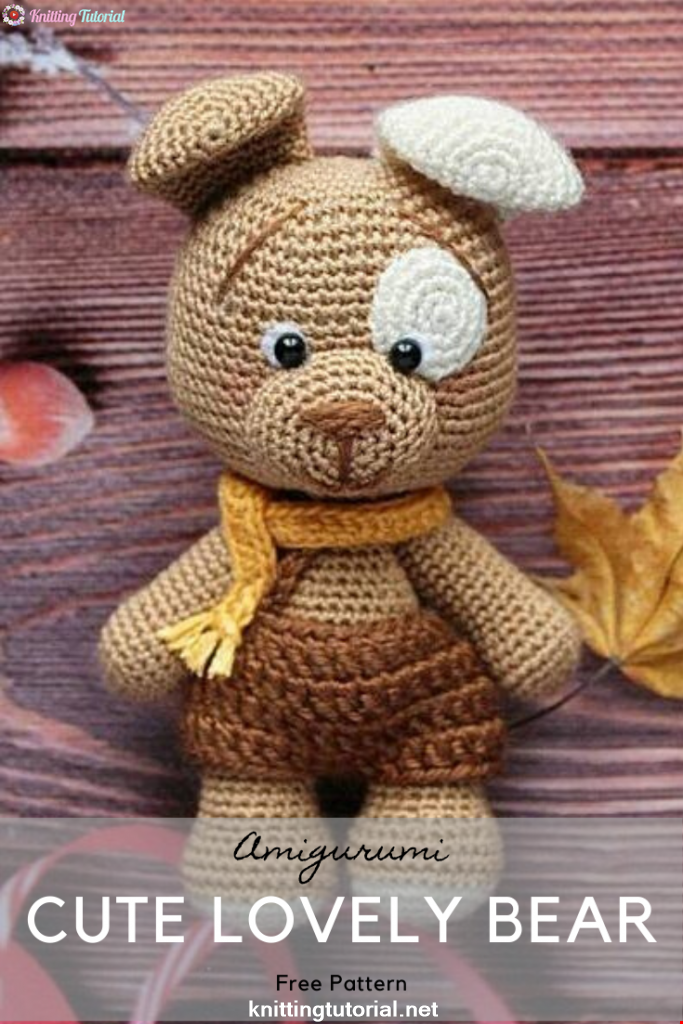
Amigurumi Sweet Giraffe Recipe and Preparation
5 January 2022, 14:55 633
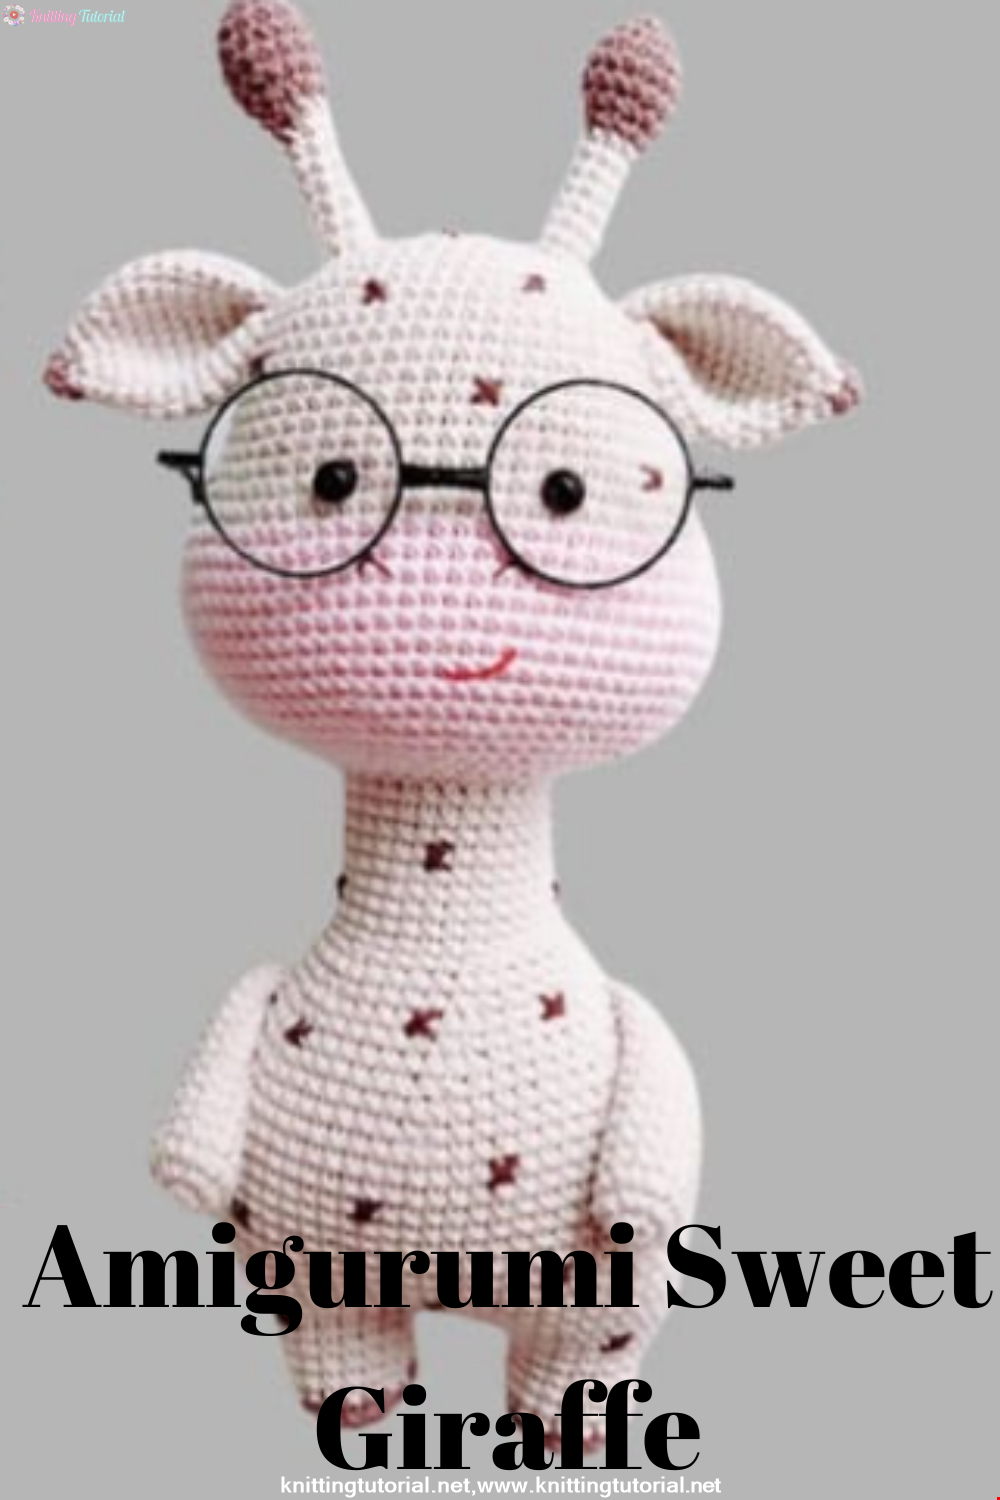
We have come to share with you the most popular model of recent times with the Amigurumi sweet giraffe recipe. I hope it will be an amigurumi animal figure that you like very much and knit with love.
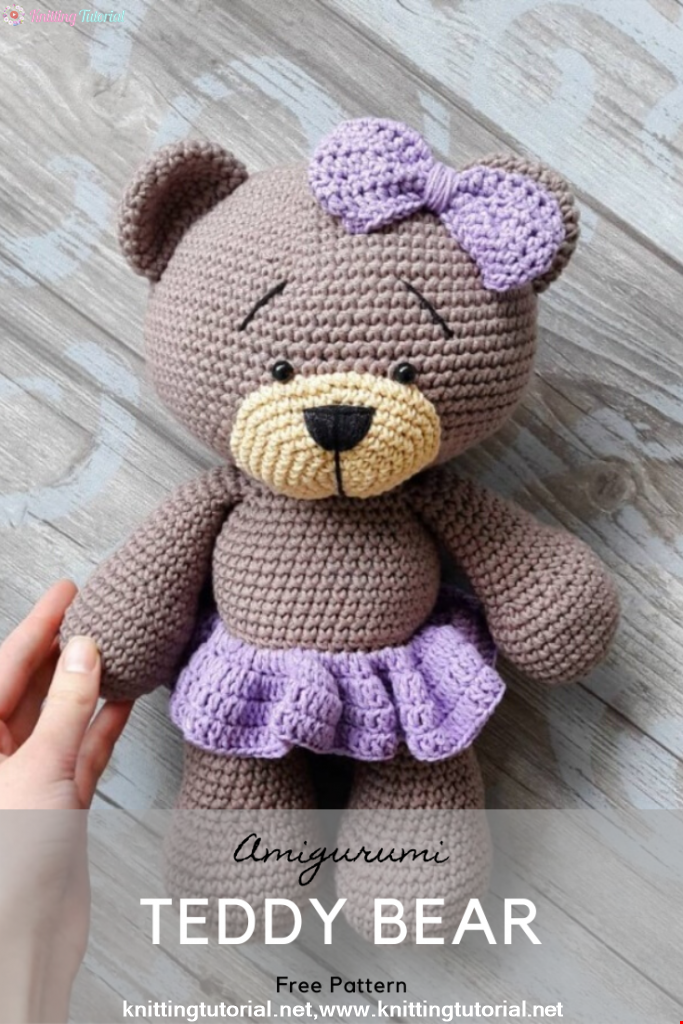
Read MoreLovely Teddy Bear Amigurumi Tutorial
12 October 2020, 10:05 2969