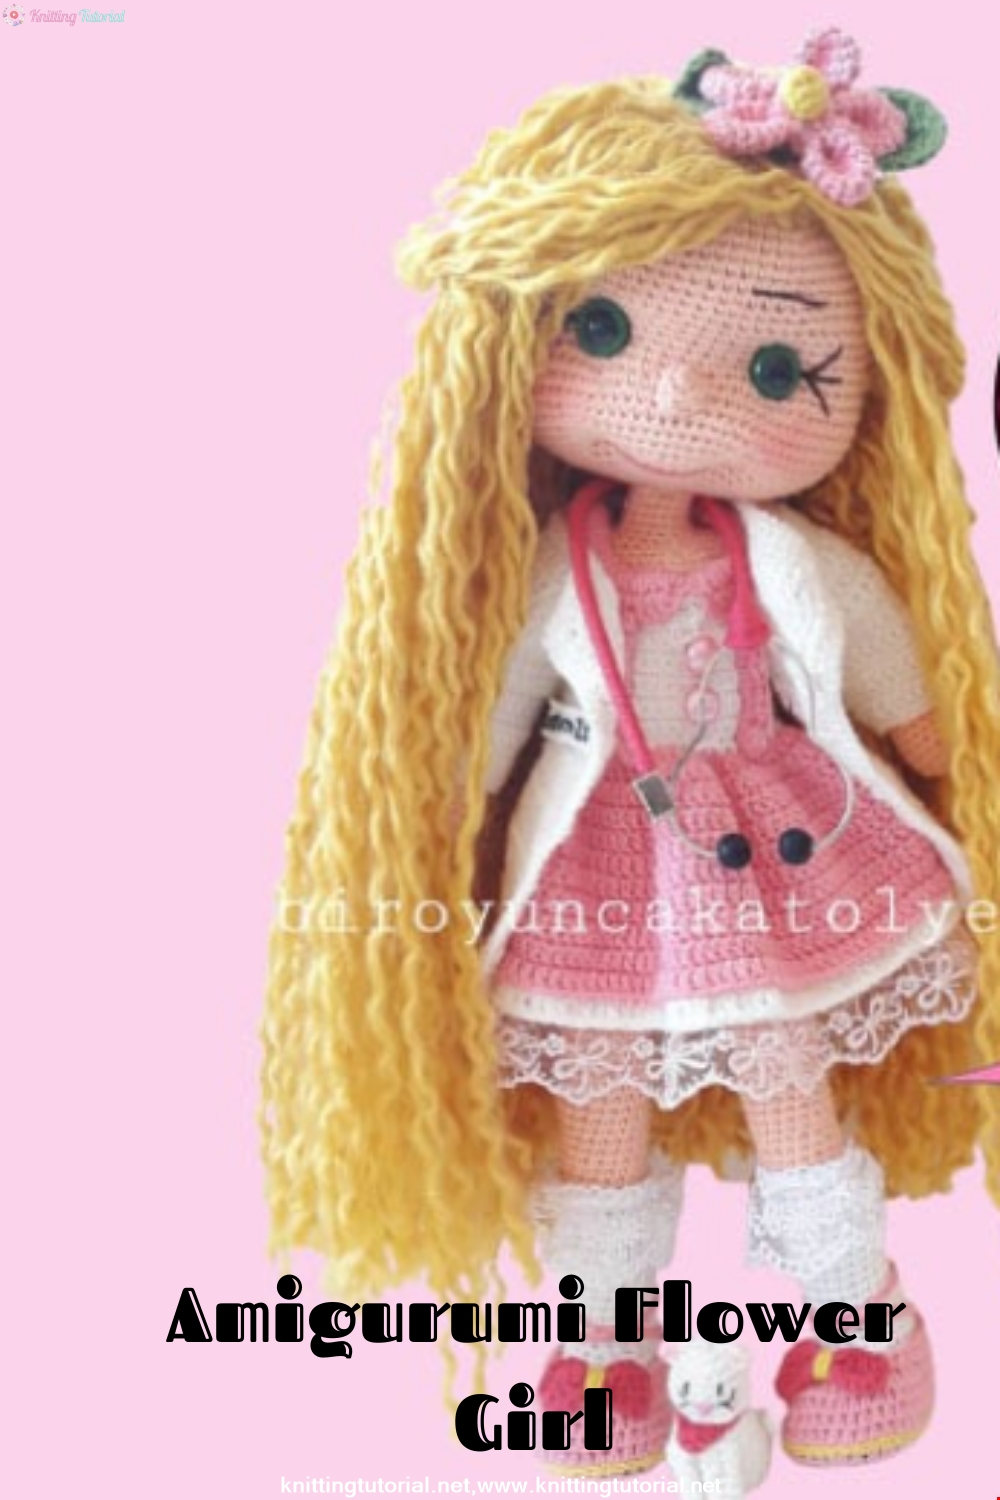
Amigurumi Flower Girl Recipe and Making
5 January 2022, 09:18 481
Materials
One piece of each color thread is sufficient.
Skin color : 3412 Gazzal baby cotton
White : 3410 Gazzal baby cotton
Pink: 3468 Gazzal baby cotton
Yellow and green :3417 and 3448 Gazzal baby cotton
Fuchsia: 3415 Gazzal baby cotton
Hair rope : Yarn bee true colors intermediate lace for hem and stockings
80cm long 2.5mm 18cm 1.5mm wire for support and one 4 or 5mm skewer to place the wire
2 pcs 10mm buttons + 2 pcs pearl buttons
2 shoe soles (Shoes recipe is also available without soles.)
14mm eye and bead fiber
Restrictions
SH = magic ring
O (ZN) = Chain
V = Binary Increment
W = Triple Boost
A = Double Deduction
M = Triple Deduction
C (CC) = Loop shift
X (SC) = Sc
BLO = Knitting by sinking into the yarn behind the loop
FLO = Knitting by sinking into the yarn in front of the loop
T (HDC) = Single Handrail
F (DC) = Double Handrail
F (TR) = Triple Handrail
VHDC = 2 HDCs in/to Same Hole
VDC = 2 DC to same Hole/ground
Color Change
Finishing
Amigurumi Flower Girl
flower girl
Head Making
1- 6x into Sh
2- 6v=12x
3- (1x 1v)6=18x
4- (2x 1v)6=24x
5- (3x 1v)6=30x
6- (4x 1v)6=36x
7- (5x 1v)6=42x
8- (6x 1v)6=48x
9- (7x 1v)6=54x
10- (8x 1v)6=60x
11- (9x 1v)6= 66
12/23- 66x to rows
24- (10x 1w )6=78x (The eyes should be put on 1 row before this row. You can leave a 10x space between the eyes.)
25- (12x 1v)6=84x
26/29- 84x in rows
30- (12x 1a)6=78x
31- (11x 1a)=72x
32- (10x 1a)6=66x
33- (9x 1a)6=60x
34- (8x 1a)6=54x
35- (7x 1a)6=48x
36- (6x 1a)6=42x
37- (5x 1a)6=36x
38- (4x 1a)6=30x
39- (3x 1a)6=24x
40- (2x 1a)6=18x our head is finished.
Foot, Leg and Trunk Construction
1-10 chain, back to 2nd chain 1x, 7x to same place 3x, 7x, 1v =20x
2-1v, 7x, 3v, 7x, 2v =26
3-1x, 1v, 7x, (1x,1v)3, 7x, (1x,1v)2 =32x
4-2x, lv, 7x, (2x,1v)3, 7x, (2x,1v)2 = 38x
5-8) 38x
9-10x, (1a,1x)*6, 10x =32x
10-10x, 6a, 10x =26x
11-8x, 6a, 6x =20x
12-9x, 1a, 9x =19x
13-26 (14 rows) = 19x
27- 19x as flo (If you want to make frills on the socks; After the 27th row, sink 3 chains into the same place as the flo again. Continue this process until the sock circumference is finished.)
With tan thread;
9x, la, 8x = 18x to the blo part of the 27th row
Between 28-50 (22 rows) = 18x
Let's move on to the white color for underwear.
51-18x
As 52-Flo, pull 3 chains and sink to the same place, let's do the same until the end of the row. The frill will be formed.
Let's switch to the blo part of the 52nd row with 2 chains. 17x as blo, 1v = 19x
53-57. Between rows = 19x
Let's cut the rope and knit the other leg. Let's not cut the string of the last leg and set it as the right leg of the baby. Let's align the legs, center the sides and draw 5 chains and connect the right leg to the left leg. (You can get help from the pictures)
58-19x left leg +5x from the front of the chain, 19x the right leg + 5x from the back of the chain = 48x
**Let's attach your locator to the junction of the two legs.( Pictured)
Between 59-64 =48x
65-(6x,1a)*6 =42x
Body
Let's move on to skin color
66-68 =42x
69-(5x,1a)*6 =36x
70-84 = 36x
(Let's place the strings in the 85th row. Let's move on to the arm description and complete the arms.)
85-Let's make frequent needles on the body up to the junction of the left arm and take the locator here. Let's put 4 single needles from the left arm and 4 single needles from the body and knit together. (You can see the pictures)
legs and trunk
legs and trunk
14x from the front of the body, 4x from the body and right arm, 14x from the back of the body.
86-Left arm exposed 10x, 14x front body, right arm exposed 10x, 14x rear body=48x
87-Left arm (1a,6x, 1a), 14x front body, Right arm (1a,6x,1a), 14x rear body =44x
88-Left arm (1a,4x, 1a), front (6x,10.6x), Right arm (1a, 4x,1a), rear (6x,1a,6x) =40x
89-Left arm (1a,2x, 1a), front (5x,10.6x), Right arm (12.2x,1a), rear (6x,1a,5x)
90-Left arm (1a, 1x,1a), front (4x,1a,5x), Right arm (1a,1x,1a), rear (6x,1a,4x)
91-Left arm 2a, front (3x,1a, 4x), Right arm 2a, rear (4x,la,3x)
92-Left arm 1a, front 8x, Right arm 1a, rear 8x = 18x
Between 93-98 = 18x
ARM MADE
6x into 1-sh
2-6v = 12x
3-(1v,3x)*6 =18x
4-6 18x
7-2a, 14x = 16x
8- 2a, 12x = 14x
Between 9-32 (24 rows) =14x
NOSE MADE
6x into 1-sh
2-(2x,1v)*2 =8x
3- 8x
WIRES USED AND ITS PLACEMENT
For the arms, let's cut the 1.5″ electric wire around 20-23 cm. Let's tape the ends. Let's make a way into the arms with a number 4 skewer and attach the arms to both ends of the wire. You can do it before joining the arms or 1-2 rows after joining. Let's double the 70 cm length of 2.5 wire for the legs and body. Let's make room for both legs with a 4.5 or 5 skewer and send both ends of the wire to the feet. After connecting the arms, let's bend the wire a little and prevent the arm wires from going up. (see pictures) Let's stuff the body very tightly with bead fiber. You can look at the hair transplant* pictures on my page while doing the hair.
DRESS MAKING
Blouse
With white:
1-46 go back on chain and 44x
2-7x,7 chains, skip 9x,7x,8 chains for buttonhole back bat
3-15. 12 rows 44x between rows (Let's pull 8 chains again for the buttonhole in the 10th row and sink.)
15. Next, let's combine the two ends of the blouse with frequent needles and move on to the skirt color.
Skirt
Let's chain 16-2. 2 double handrails in each hole along the row. connect with cc
Let's chain 17-2. 1 single 1 double double handrail in each hole along the row. connect with cc
(Those who do not want very fluffy skirts can make this row 2 single and 1 double handrail.)
18-26. Let's continue without increasing 9 rows between rows.
In the 27th row, let's make a row of double handrails as a flo. Let's break the pink rope.
27. A row of double handrails with white on the blo part of the row
In the 28th row (above the blo) a row of double handrails with white
Dress Collar:
Let's pass our rope at the middle of the blouse collar. Double handrail towards the back of the blouse.2 chains back to the starting point. Let's do the same for the other side of the collar.
Hangers of the Dress:
Let's wrap the pink loop so that the skirt extends from the waist to the collar with pink.
Let's take the rope to the front and make 2 or 3 handrails in each loop from the collar to the waist of the skirt.
Dress Handle
Let's make a single pair of single crochets along the arm circumference.
Let's continue 5 rows without increasing or decreasing in the next rows.
Let's make frequent needles around the arm with a row of pink.
Shoe Making
Chain 1-11, 1x to 2nd chain, 8x, 4x to same place, 8x, 1v =23x
2-1v, 8x, 4v, 8x, 2v=30
3-1x, 1v, 4x, 4 hdc, (1hdc, 1v)*4, 4hdc, 4x, (1x,1v*2)=37x
4- 2x, 1v, 8x, (2x,1v)*4, 8x, (2x,1v)*2 =44x
44x with 5-stitch shift (I used yellow)
6 to 8 = 44x
9-Single handrail 13x, 9a, 12x (Switch to yellow for 10th row)
44x as 10-cc (pull 30 chains to the place where you will make the shoelace and continue to cc.
Making the Buckle
Flower petals: 5 pieces to be made
- 6x into sh
– 1x lv
-2x, 1v
-3x, lv =15x
-3 Rows = 15x
-3x, 1a
let's fold it in half and knit together.5x,1chain, return.5x,connect the two ends.
flower middle; the same as the nose recipe. For the green leaf; When you come to the middle of the handrail from small to large on 15 chains, let's do the same for the other part of the chain, from large to small. Let's make 2 leaves. Let's create a crown with a handrail on the chain around the head. Let's plant the flower on the crown.
Bag Making
6 Let's make a link from a chain. 12dc into it. Next, let's get 24dc with double handrails.
Let's do it as blo at 16. Let's draw 10 chains, tie them across.
-(2hdc, 1a) across the row
2 Let's finish by decrementing as hdc continuously throughout the row.
Let's draw chains for the handles and add a tassel to the front of the bag.
Our Flower Girl recipe is complete. I hope you've come this far and completed the recipe. Knit With Pleasure…
Category Popular Posts
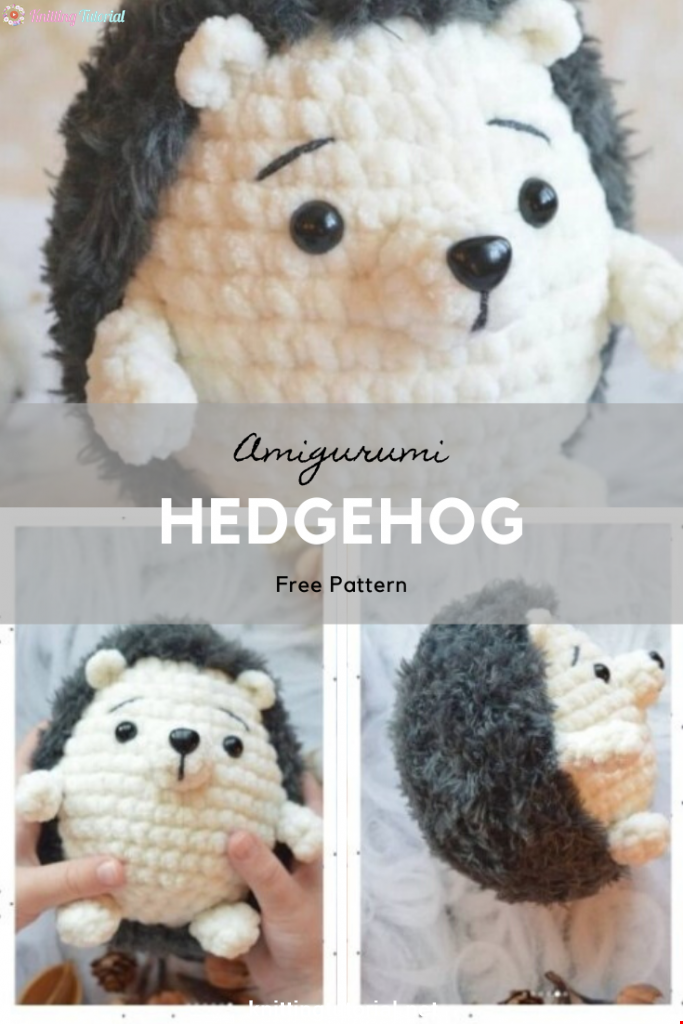
Amigurumi Hedgehog Free Pattern
12 October 2020, 09:52 11498
Making Amigurumi Spiderman
27 January 2022, 20:58 2014
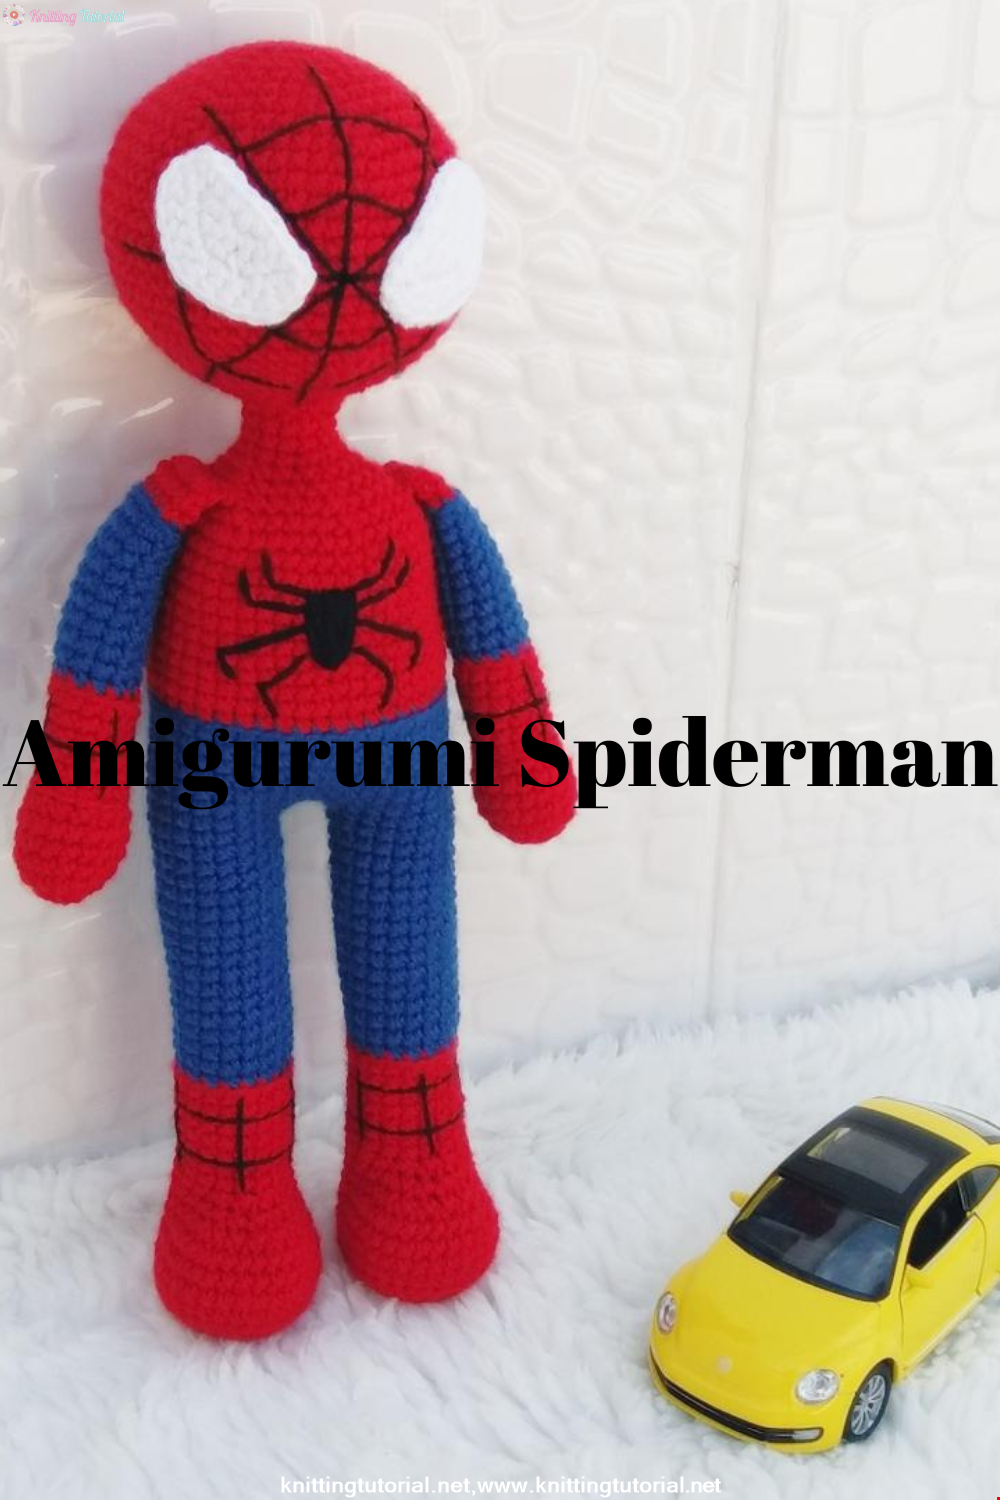
Hello, Are you ready to knit Spiderman, Spider-Man, the children's favorite cartoon character? You will be able to knit easily with detailed explanation. Let's start!
Read More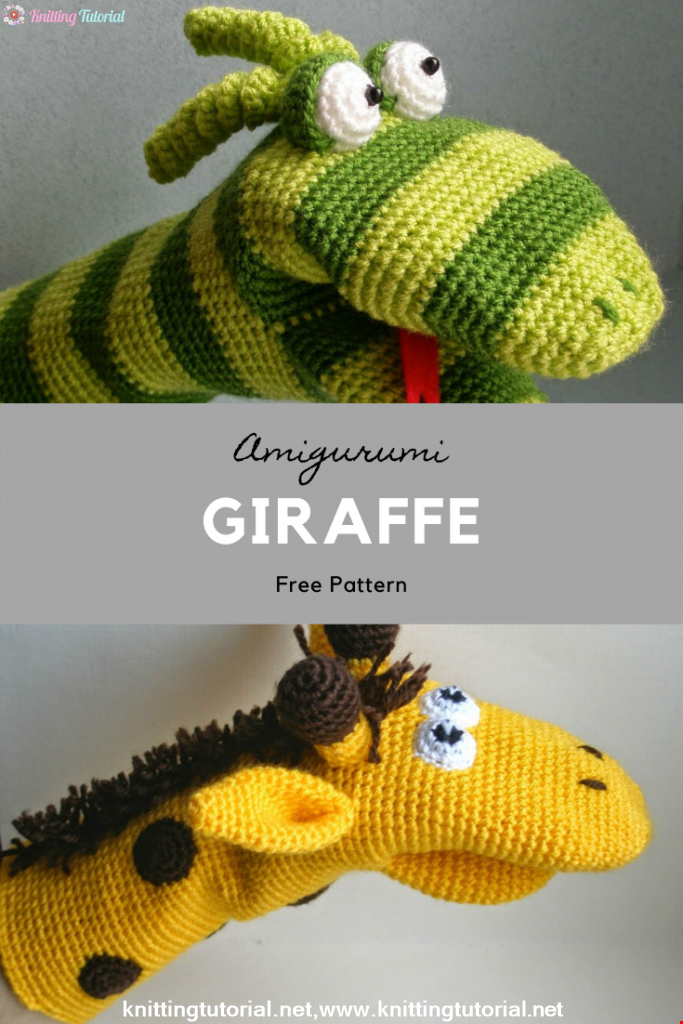
Amigurumi Princess Mononoke Crochet Pattern
12 December 2020, 21:20 944
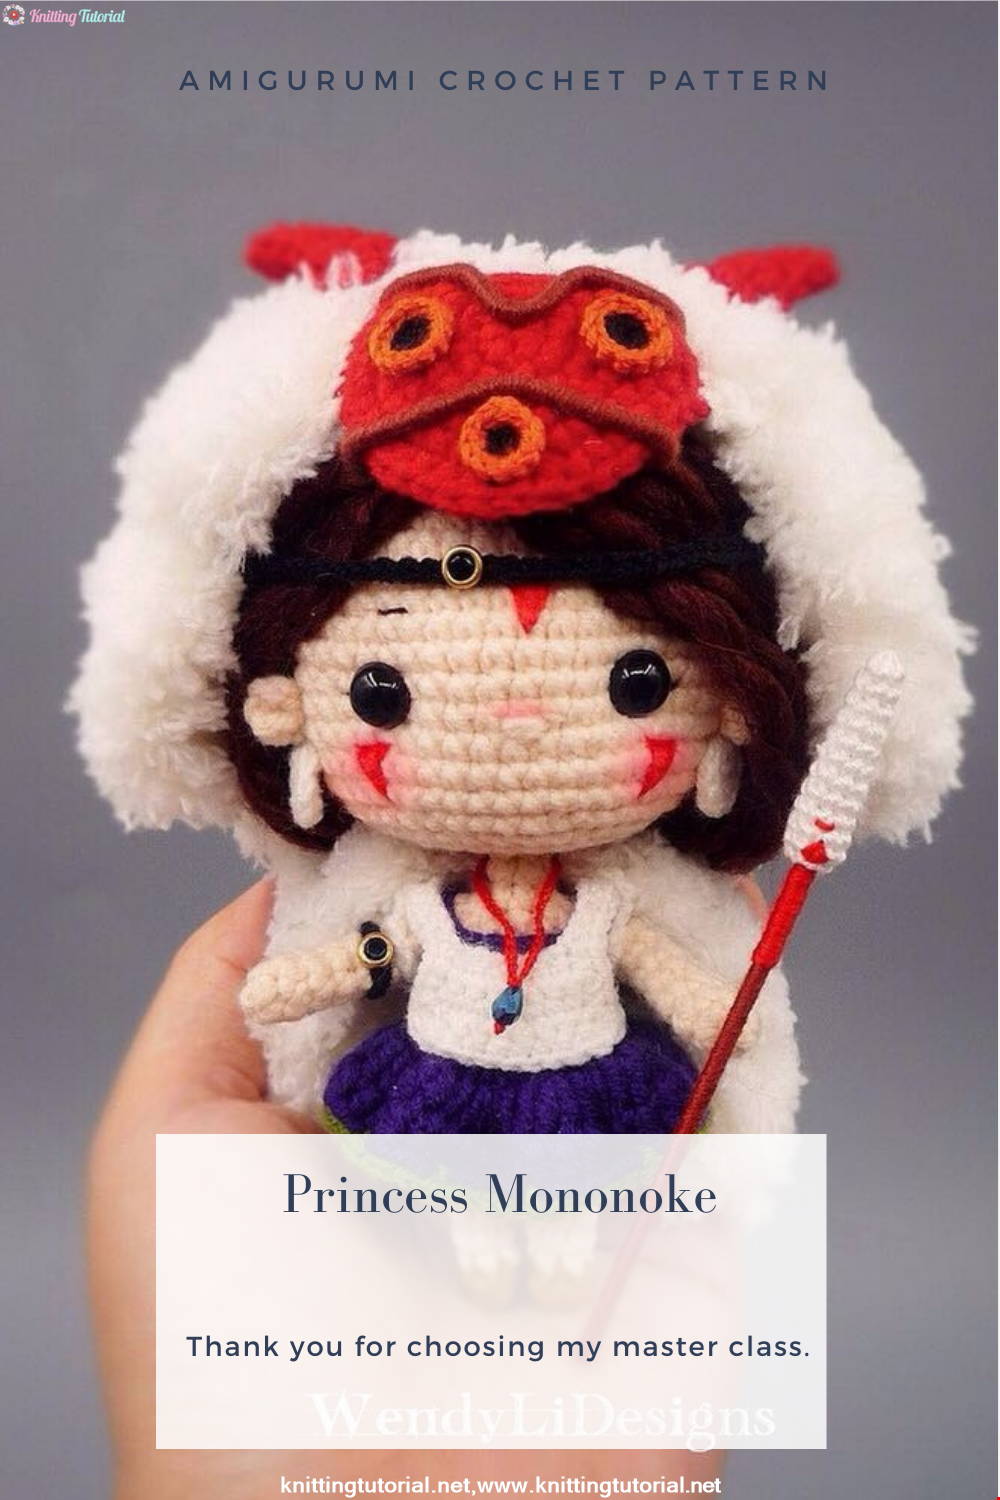
Free Crochet Princess Mononoke workshop by Wendy Li. The knitted girl is the hero of the cartoon by Hayao Miazaki. From the description of the diagram, you will also learn how to knit: a cape, a cloak, a dress and a mask for a doll.
Read More
Princess Disney Amigurumi Pattern
8 October 2020, 14:51 5813


Korean Girl in Traditional Dress (Hanbok)
22 September 2020, 11:11 1572

This is the process how I made the amigurumi of Korean Bride in traditional dress Hanbok. Lately I've been watching a lot of Korean dramas and got inspired to make one. I hope you can enjoy the video, and get inspired too!
Read More
Amigurumi Sweet Giraffe Recipe and Preparation
5 January 2022, 14:55 633
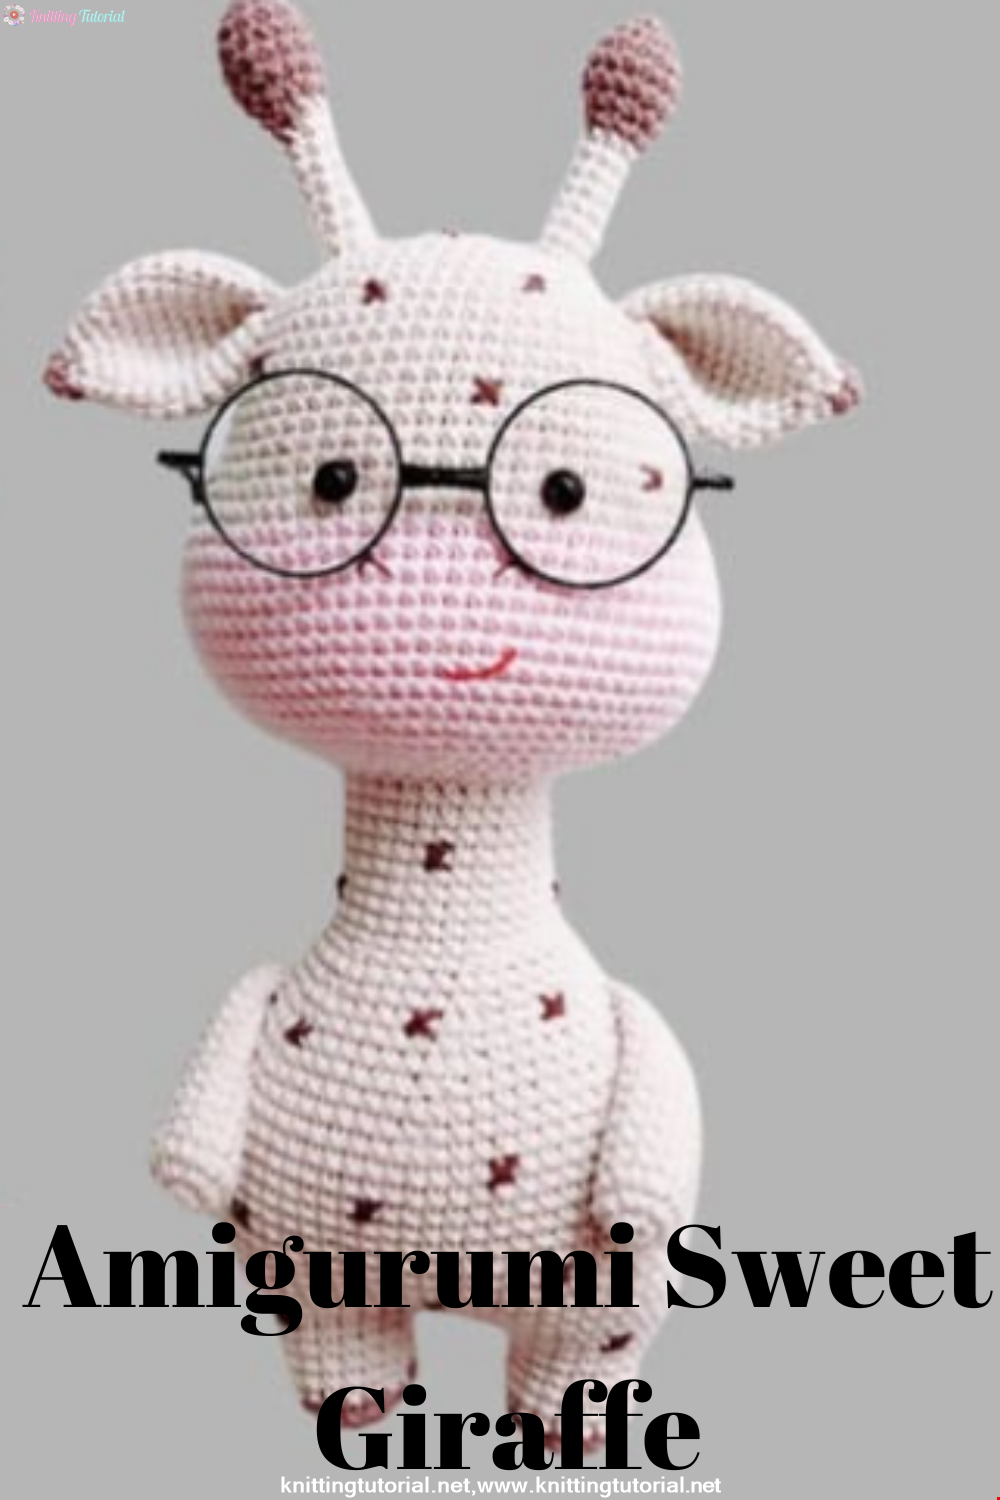
We have come to share with you the most popular model of recent times with the Amigurumi sweet giraffe recipe. I hope it will be an amigurumi animal figure that you like very much and knit with love.
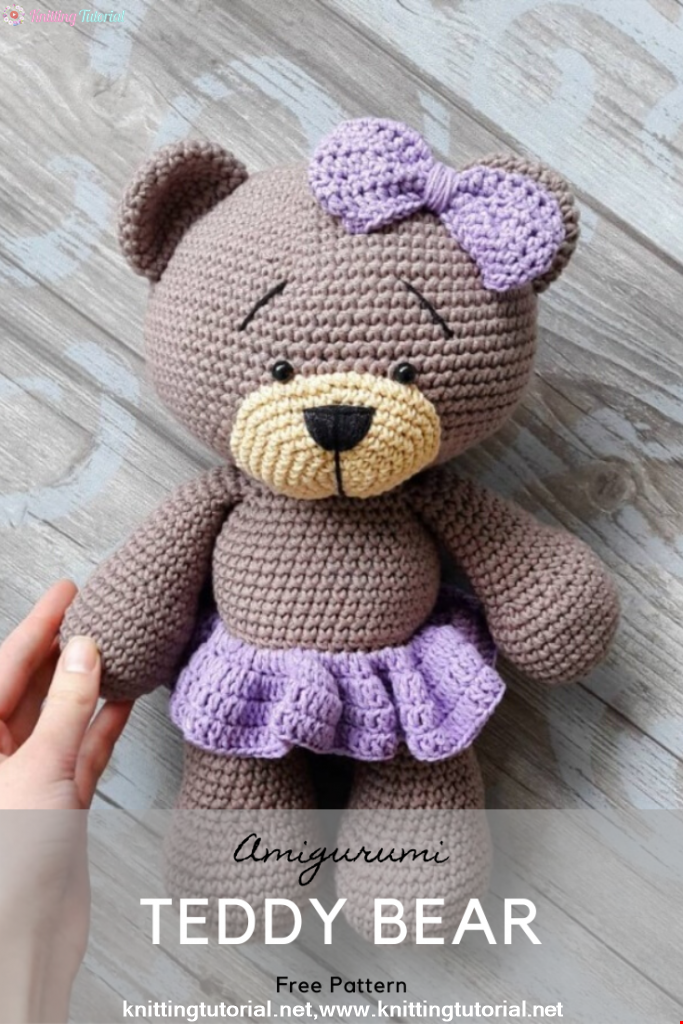
Read MoreLovely Teddy Bear Amigurumi Tutorial
12 October 2020, 10:05 2969