Amigurumi Penguin Crochet Pattern
12 October 2020, 10:11 2582
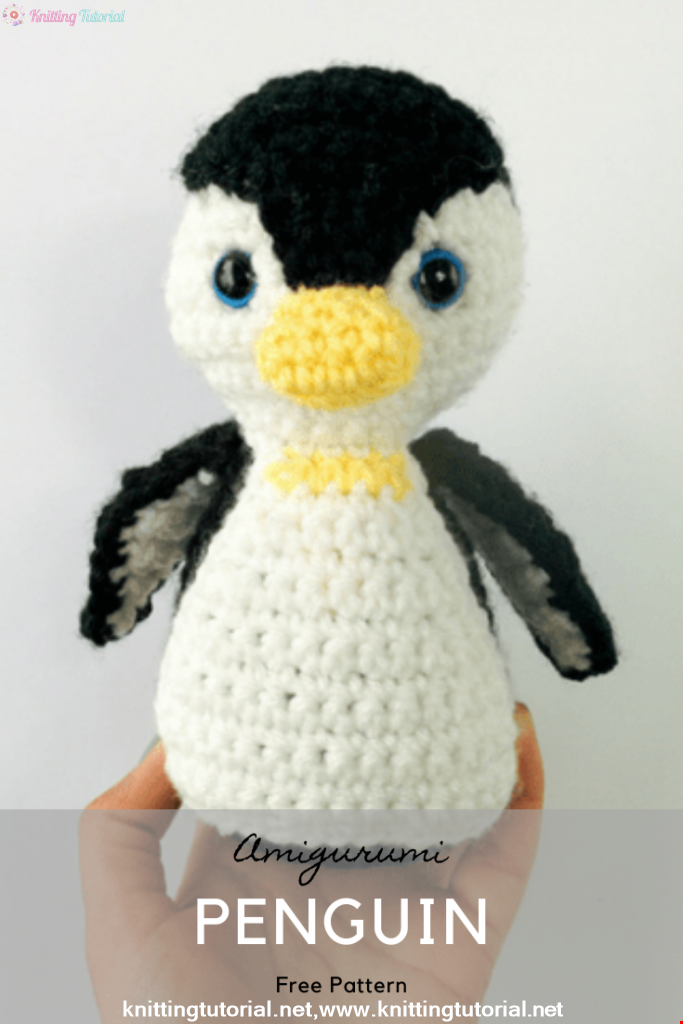
Head:
Round 1: With yarn in Black, create a magic loop and work 6 SC into it. Place a stitch marker.
Round 2: Inc in each space by working 2 SC into each (12).
Round 3: *SC, inc* around (18).
Round 4: *SC 2, inc* around (24).
Round 5: *SC 3, inc* around (30).
Round 6: *SC 4, inc* around (36).
Round 7: *SC 5, inc* around (42).
Rounds 8-11: SC around for 4 rounds.
Round 12: SC 1 in black, 3 in white, 8 in black, 3 in white, and the rest in black.
Round 13: SC 5 in white, 6 in black, 5 in white, and the rest in black.
Round 14: SC 6 in white, 5 in black, 6 in white, and the rest in black.
Round 15: SC 1 in black, 6 in white, 2 in black, 6 in white, and the rest in black.
Rounds 16-18: SC 15 in white, and the rest in black. Insert safety eyes about 6 stitches apart between rounds 15 and 16. You can see from mine that I have 2 white stitches, 2 black and 2 white between the eyes. Secure the backings once you’re happy with the placement.
For the decrease round, use white over the white stitches and black over the black stitches. As you decrease, you’ll see the white section get smaller towards the bottom of the face.
Round 19: *SC 5, dec* around (36).
Round 20: *SC 4, dec* around (30).
Round 21: *SC 3, dec* around (24).
Round 22: *SC 2, dec* around (18). Finish adding stuffing.
Round 23: *SC, dec* around (12).
Round 24: Decrease around (6). Then cut the yarn and thread tail through a tapestry needle. Run the needle under the front loops of each stitch and secure yarn. Weave in the end.
Body:
Round 1: With yarn in Black, create a magic loop and work 6 SC into it. Place a stitch marker to mark the beginning of the round.
Round 2: Inc in each space by working 2 SC into each (12).
Round 3: *SC, inc* around (18).
Round 4: *SC 2, inc* around (24).
Round 5: *SC 3, inc* around (30).
Round 6: *SC 4, inc* around (36).
Round 7: *SC 5, inc* around (42).
Round 8: *SC 6, inc* around (48).
Attach the white yarn and work the first half of the round in white (24) and the second half in black (24). Continue working half white and half black as you decrease.
Rounds 9-18: SC for 10 rounds.
Round 19: *SC 6, dec* around (42).
Round 20: *SC 5, dec* around (36).
Round 21: SC around for 2 rounds.
Round 22: *SC 4, dec* around (30).
Rounds 23-24: SC around for 2 rounds.
Round 25: *SC 3, dec* around (24).
Rounds 26-27: SC around for 2 rounds.
Round 28: *SC 2, dec* around (18). Then BO, leaving a long tail of black for sewing, and stuff the remaining white into the body.
Wings (make 2):
Row 1: With white, chain 5. Turn, and SC 4.
Row 2: Ch 1, turn and SC 4.
Rows 3-6: Ch 1, turn. Increase once, SC to end. (9)
Rows 7-14: Ch 1, turn. Decrease once, SC to end (1). Then BO.
Row 1: With black, chain 6, leaving a long tail to sew it onto the body later. Turn, and SC 5.
Row 2: Ch 1, turn and SC 5.
Rows 3-7: Ch 1, turn. Increase once, SC to end. (10)
Rows 8-17: Ch 1, turn. Decrease once, SC to end (1).
Row 18: Hold the white wing with the black and SC around the entire thing with black yarn to join the two halves together. Then, bind off and weave in the end. Trim the excess yarn.
Nose:
Lastly, our penguin amigurumi needs a nose! Or is it a beak…?
Round 1: With the orange yarn, chain 4. Work 2 SC into the second space from the hook, SC 1, then SC 3 into the last space. Now turn the work so you’re working into the back loops, SC 1, then SC 1 into the first space worked. You should have 8 stitches in your oval now.
Rounds 2-3: SC around for 2 rounds. Then BO, leaving a long tail for sewing the nose onto the face.
Assembly
Now it’s time to put our penguin amigurumi together! First, align the head onto the body, centering the last white stitches of the head onto the body. The sides won’t line up exactly but you won’t see that once it’s all sewn together. Use the tail yarn from the body and a tapestry needle to go under each stitch and around the corresponding space on the head. Work all the way around. Then secure the yarn and weave the end inside the head.
Now position a wing onto the side of the body where the two colors meet. Use the tail yarn from the wing and a tapestry needle to sew those 5 stitches onto the side of the body. Secure the yarn and weave in the end. Repeat on the other side with the other wing.


Finally, use the tail yarn from the nose and sew the nose in place just where the black section between the eyes meets the white. The nose should sit right at the V. Then secure the yarn and weave in the end. Trim off any excess yarn and you are done with your penguin amigurumi!
How cute is Penelope!
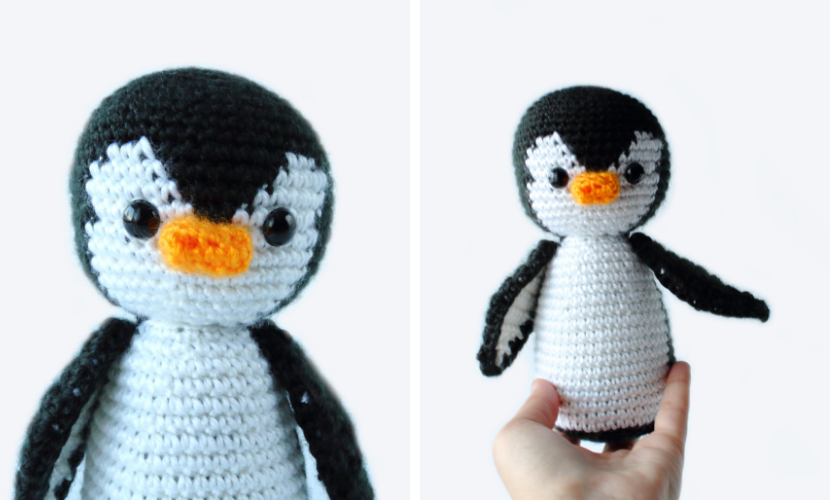
I love the way this new version turned out, and most of the difference just comes from learning more about amigurumi and have better quality yarn. It’s not more expensive, but rather than using scraps of a scratchy black and white as I did for the original version, this time I used higher quality acrylic yarn with a little bit of a shine to it. The I Love this Yarn and Caron’s Simply Soft are two of the nicest yarns I’ve used for amigurumi and they cost the same as RHSS. I also used a smaller hook than I originally did which gave me neater, tighter stitches and a more finished look.
Original Penelope (January 2018)

This one! (February 2019)
Thank you so much for reading! If you liked this, please subscribe down below to get new posts, free patterns, and tutorials delivered right to your inbox every week. It’s free and you get access to subscriber-only bonuses in the resource-library! Just fill out the box below with your name and email, and you’re good to go.
See you soon 🙂
Category Popular Posts
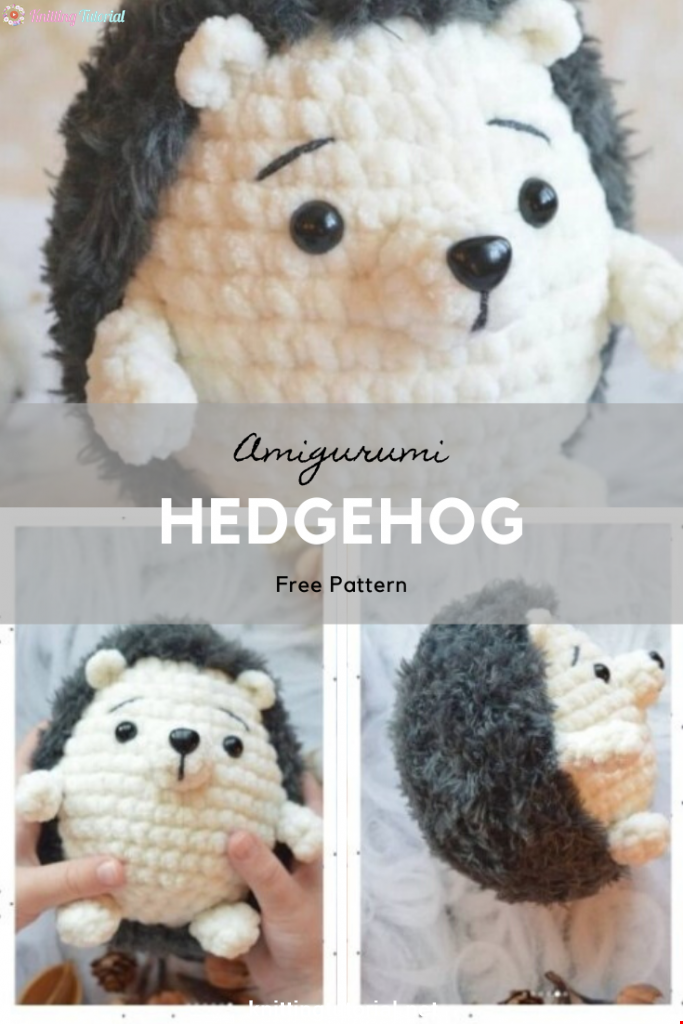
Amigurumi Hedgehog Free Pattern
12 October 2020, 09:52 11498
Making Amigurumi Spiderman
27 January 2022, 20:58 2015
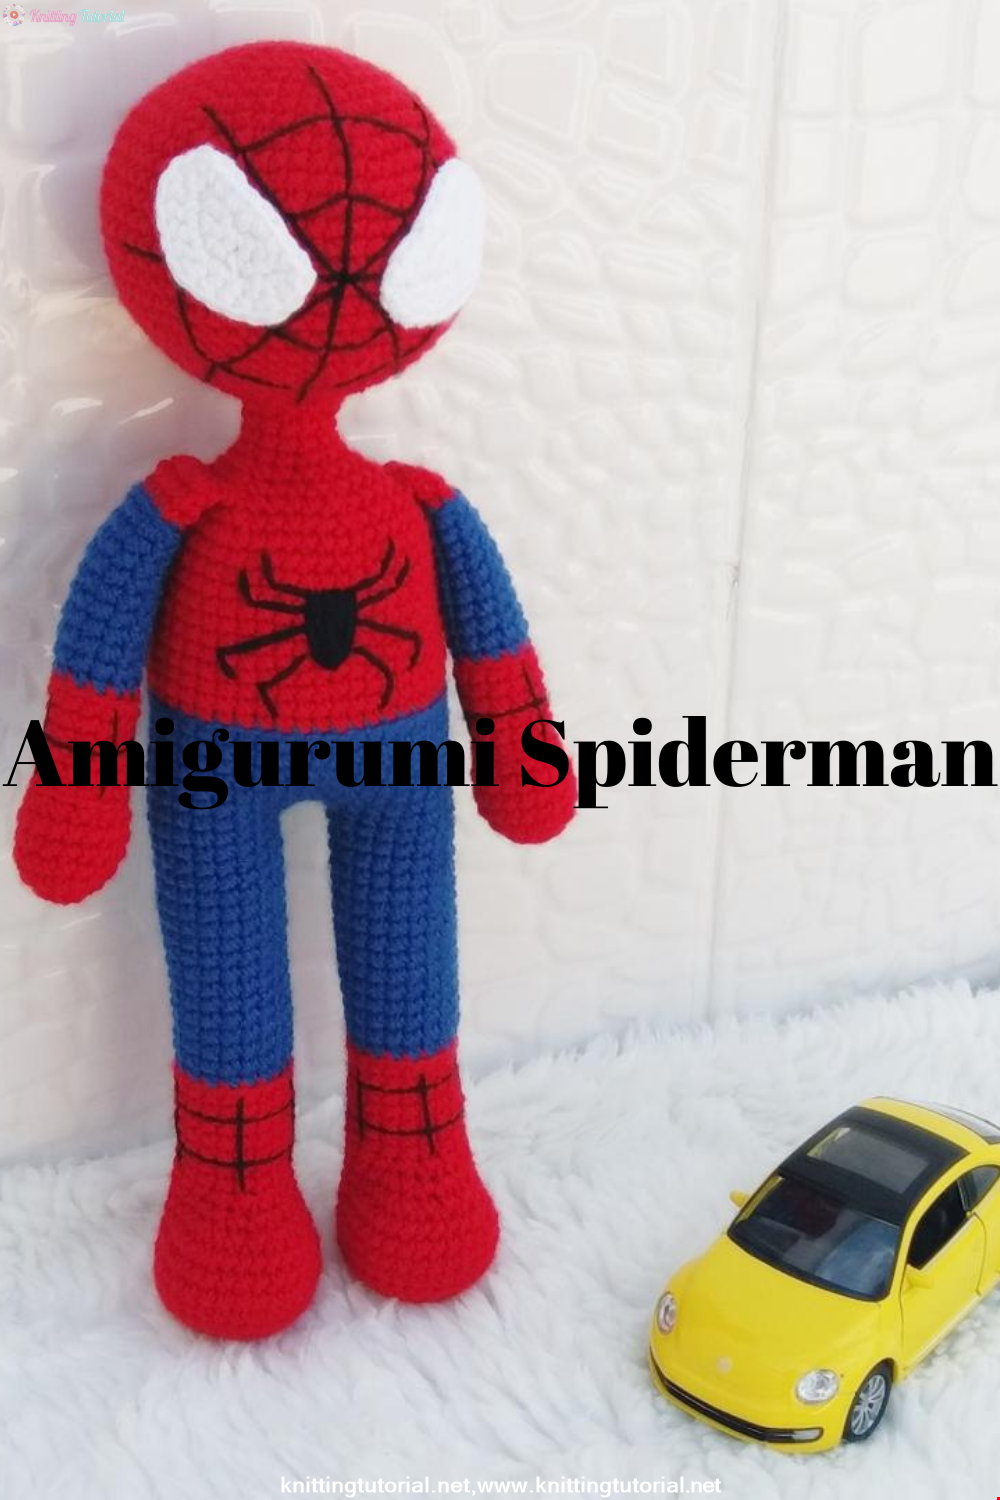
Hello, Are you ready to knit Spiderman, Spider-Man, the children's favorite cartoon character? You will be able to knit easily with detailed explanation. Let's start!
Read More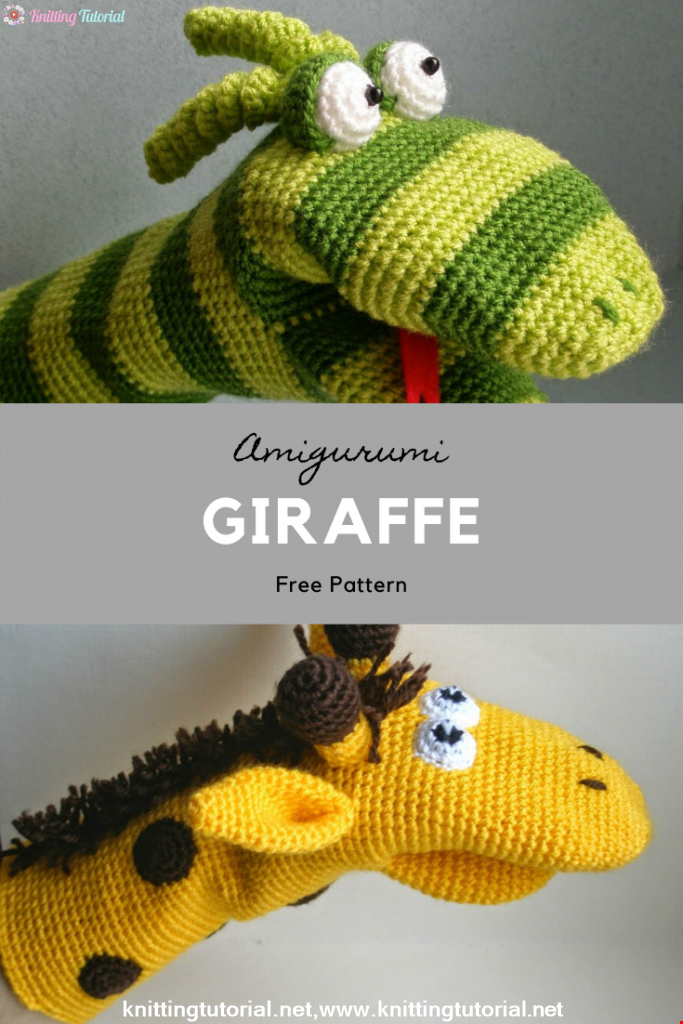
Amigurumi Princess Mononoke Crochet Pattern
12 December 2020, 21:20 944
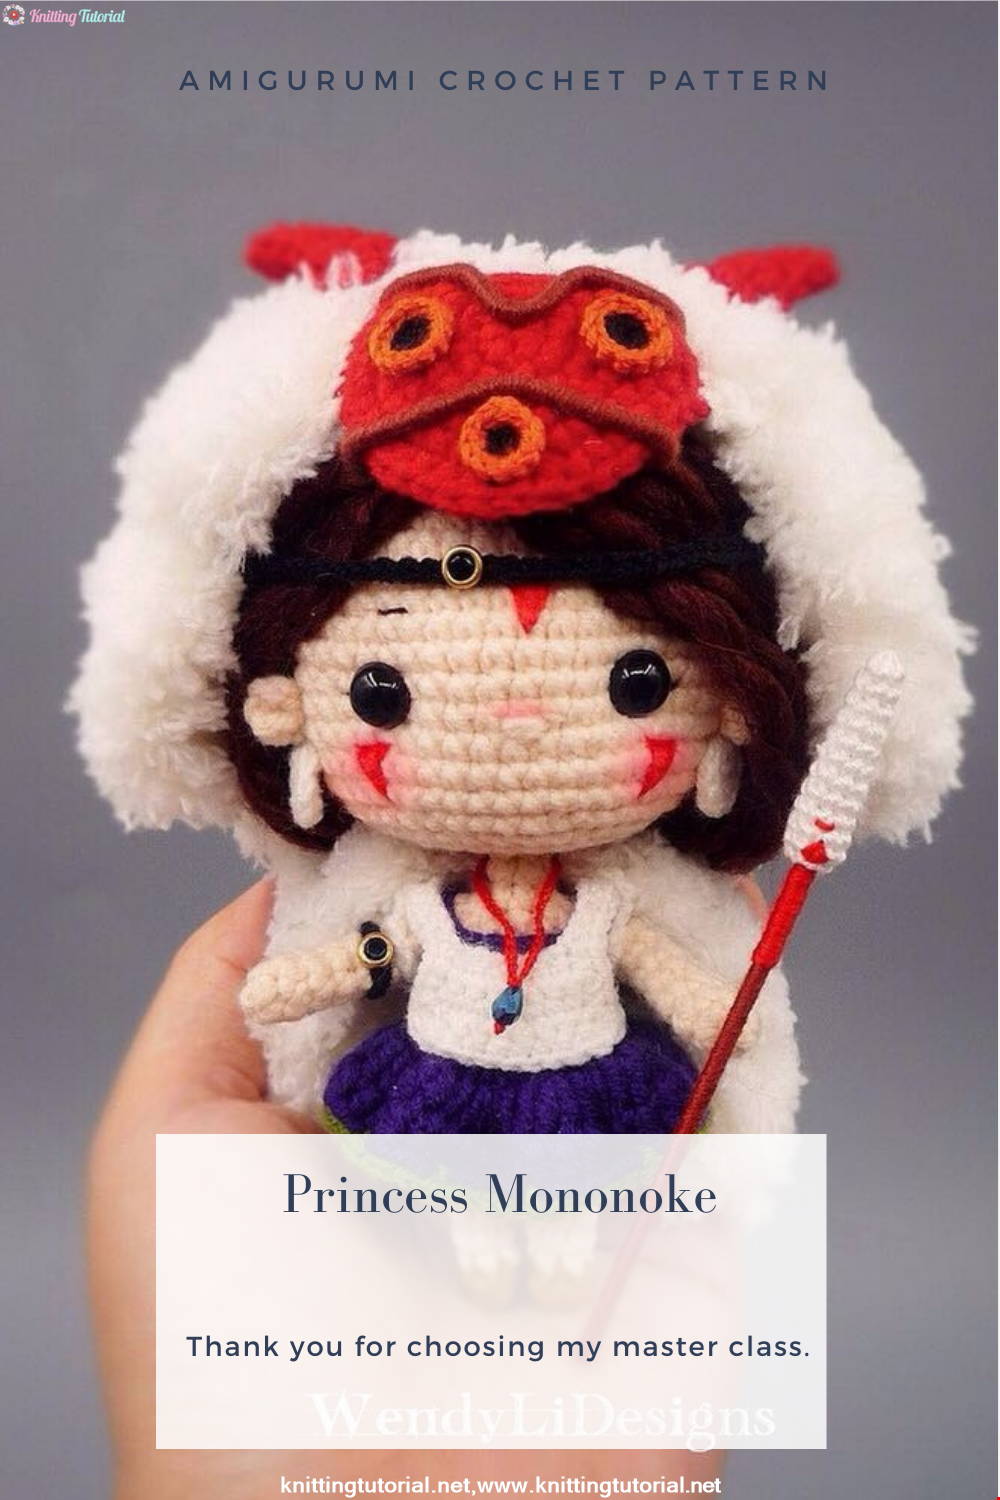
Free Crochet Princess Mononoke workshop by Wendy Li. The knitted girl is the hero of the cartoon by Hayao Miazaki. From the description of the diagram, you will also learn how to knit: a cape, a cloak, a dress and a mask for a doll.
Read More
Princess Disney Amigurumi Pattern
8 October 2020, 14:51 5814


Korean Girl in Traditional Dress (Hanbok)
22 September 2020, 11:11 1572

This is the process how I made the amigurumi of Korean Bride in traditional dress Hanbok. Lately I've been watching a lot of Korean dramas and got inspired to make one. I hope you can enjoy the video, and get inspired too!
Read More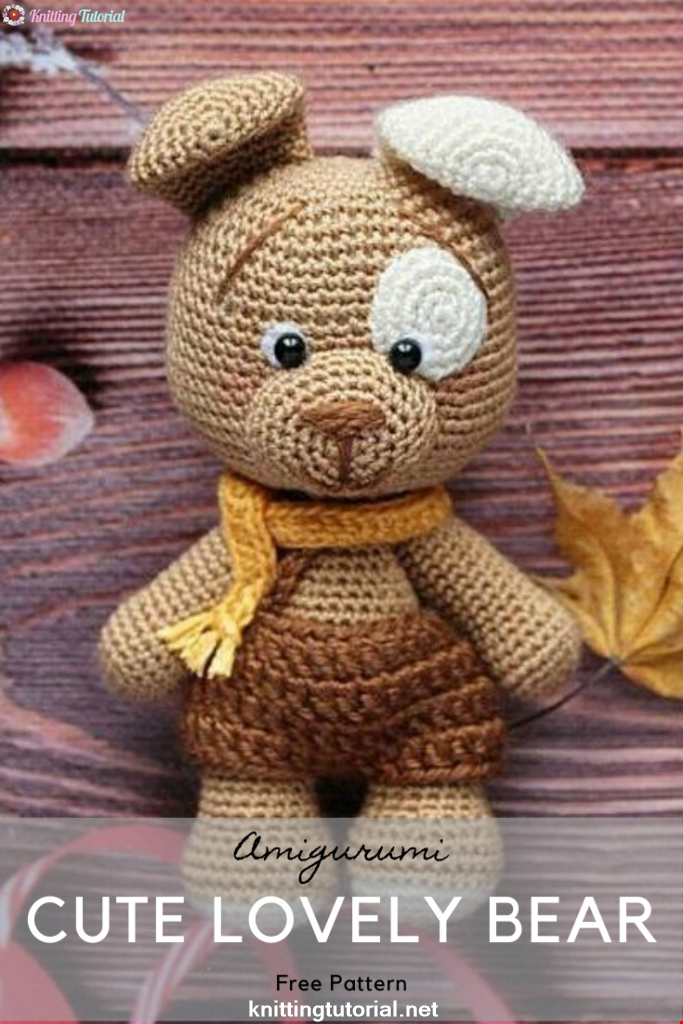
Amigurumi Sweet Giraffe Recipe and Preparation
5 January 2022, 14:55 634
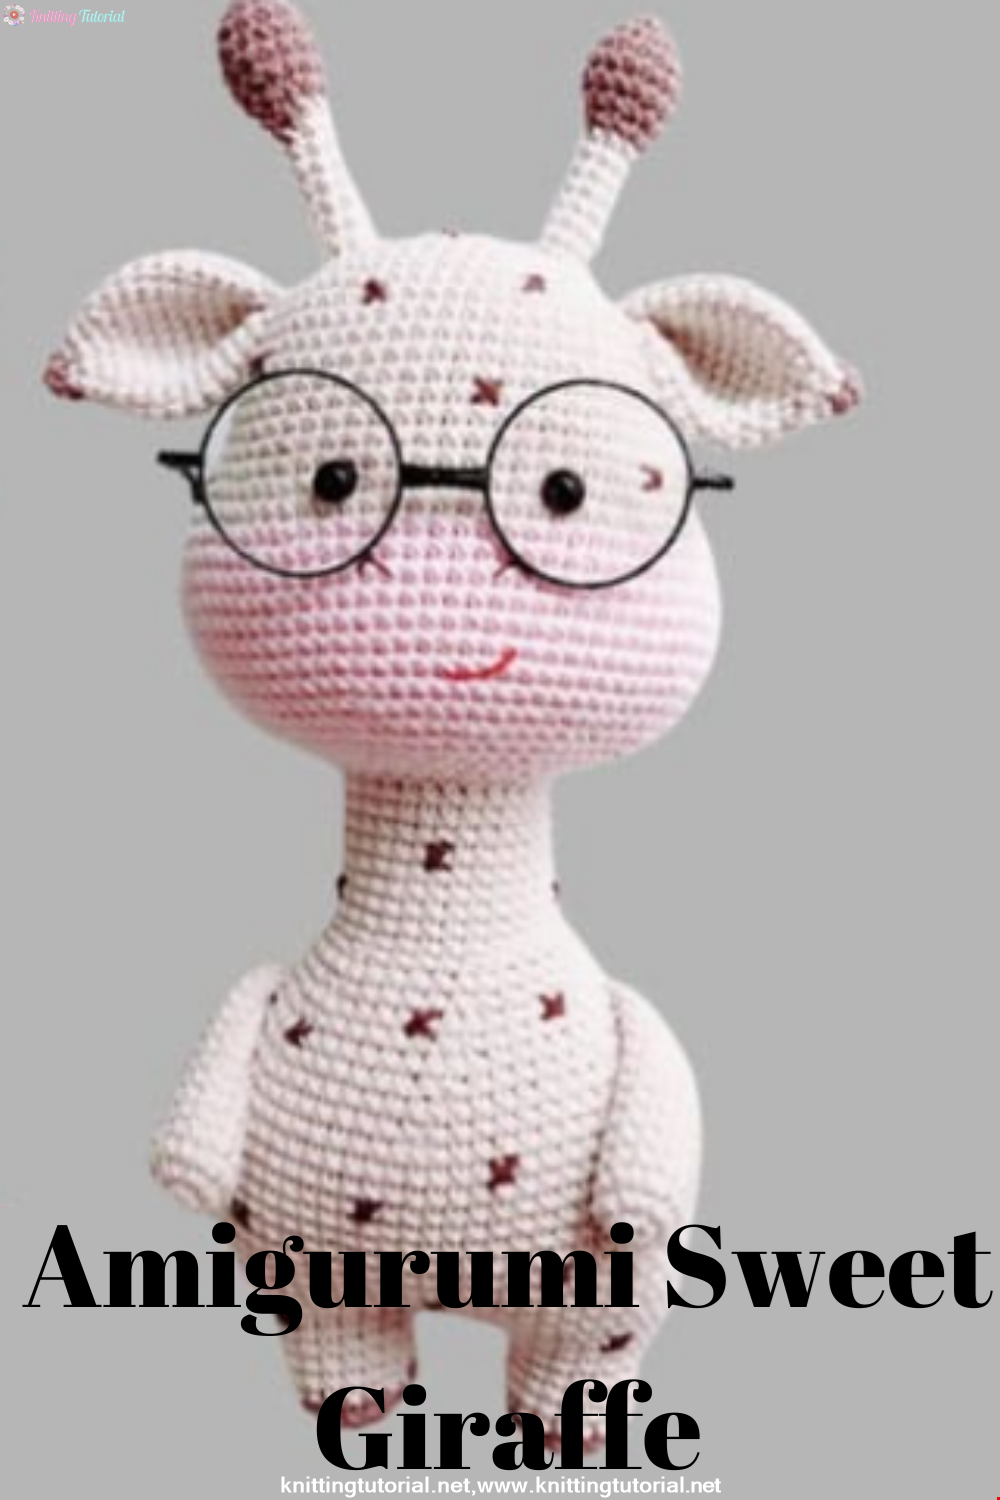
We have come to share with you the most popular model of recent times with the Amigurumi sweet giraffe recipe. I hope it will be an amigurumi animal figure that you like very much and knit with love.
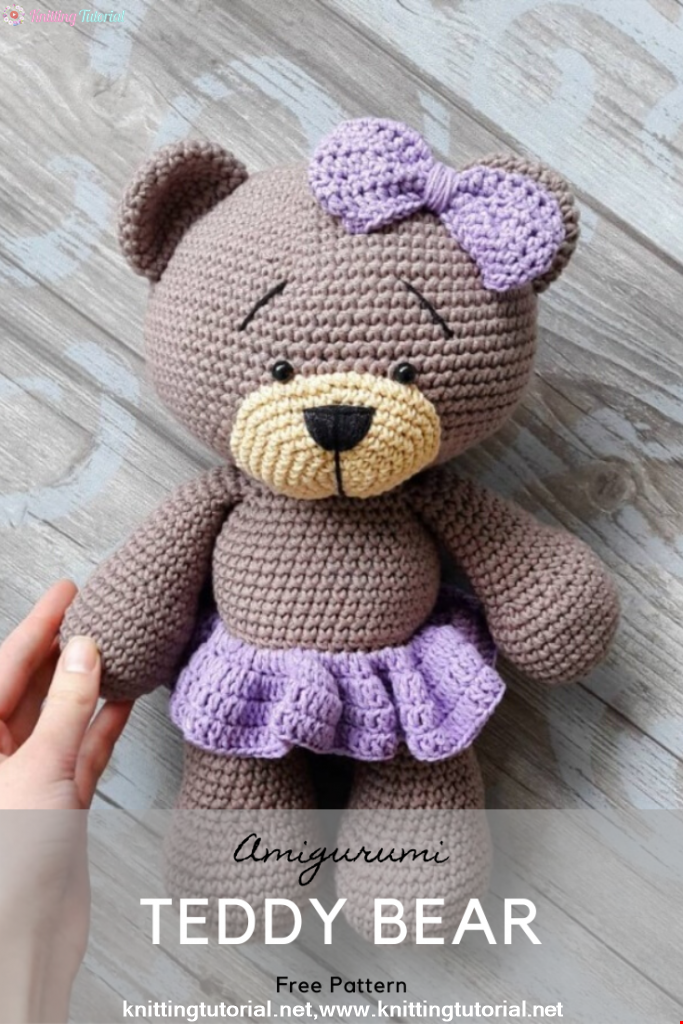
Read MoreLovely Teddy Bear Amigurumi Tutorial
12 October 2020, 10:05 2969