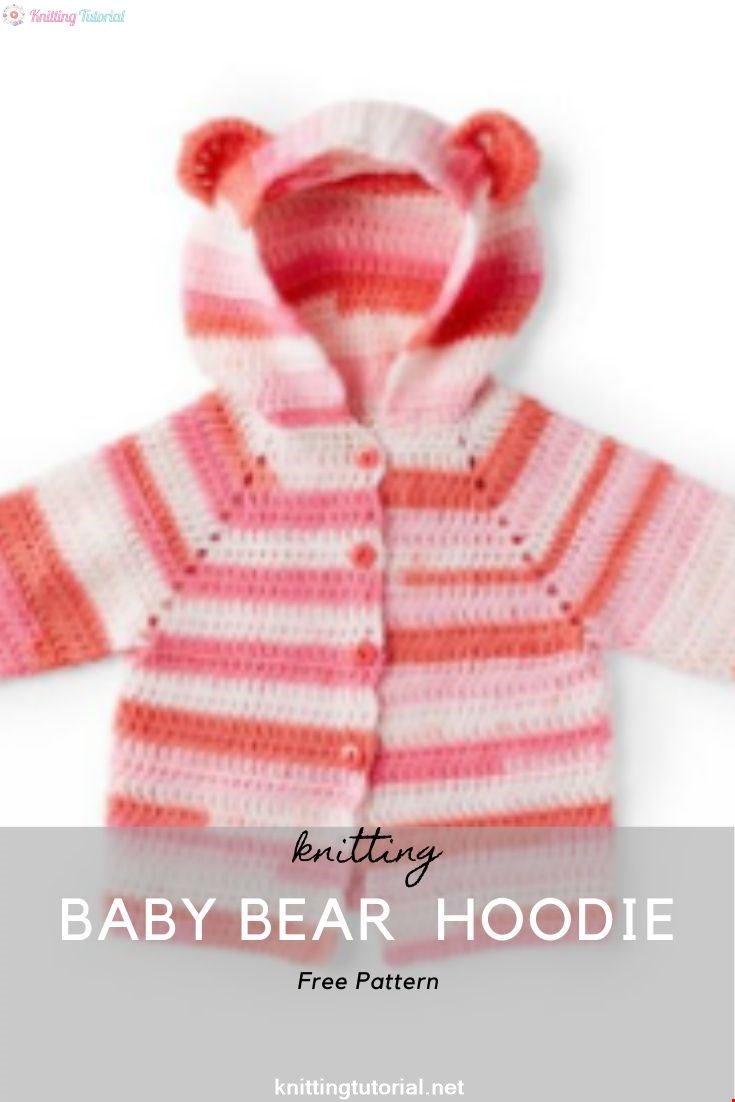
Baby Bear Hoodie
27 October 2020, 11:27 692
GAUGE
14 dc and 8.5 rows = 4″ [10 cm].
INSTRUCTIONS
The instructions are written for smallest size. If changes are necessary for larger sizes the instructions will be written thus ( ). Numbers for each size are shown in the same color throughout the pattern. When only one number is given in black, it applies to all sizes.
Notes:
Sweater is worked in one piece from neck down. Garment is divided at underarms and body is then worked to lower edge. Sleeves are worked in rounds down to cuff . Hood is worked last onto neck edge and worked upwards. Ears are worked separately and sewn to Hood.
YOKE
Beg at neck edge, ch 52.
1st row: (WS – Foundation row): 1 dc in 4th ch from hook (counts as 2 dc). 1 dc in each of next 6 ch (Front). (1 dc. Ch 2. 1 dc) in next ch. 1 dc in each of next 8 ch (Sleeve). (1 dc. Ch 2. 1 dc) in next ch. 1 dc in each of next 14 ch (Back). (1 dc. Ch 2. 1 dc) in next ch. 1 dc in each of next 8 ch (Sleeve). (1 dc. Ch 2. 1 dc) in next ch. 1 dc in each of last 8 ch (Front). Turn. 54 dc and 4 ch-2 sps.
2nd row: (Inc row): Ch 3 (counts as dc here and throughout). [1 dc in each dc to next ch-2 sp. (1 dc. Ch 2. 1 dc) in next ch-2 sp] 4 times. 1 dc in each dc to end of row. Turn. 62 dc and 4 ch-2 sps. Repeat 2nd row 7 (9-11) times more. 118 (134-150) dc and 4 ch-2 sps.
Note: At this point, there are 17 (19-21) sts for each Front, 26 (30-34) sts for each Sleeve and 32 (36-40) sts for Back.
BODY
1st row: (RS – Dividing row): Ch 3. *1 dc in each dc to next ch-2 sp. 1 dc in next ch-2 sp. Ch 4 for underarm. Skip all sts of nextSleeve. 1 dc in next ch-2 sp. Rep from * once more. 1 dc in each dc to end of row. Turn. 70 (78-86) dc and 2 ch-4 sps.
2nd row: Ch 3. 1 dc in each st and ch to end of row. Turn. 78 (86-94) dc.
3rd row: Ch 3. 1 dc in each dc to end of row. Turn.
Rep last row until Body measures 6 (8-10)” [15 (20.5-25.5) cm] from underarm.
Fasten off .
SLEEVES
Note: Turn at end of each rnd of Sleeve to maintain same texture as Body.
1st rnd: (RS). Join yarn with sl st in 3rd underarm ch. Ch 3 (counts as dc). 2 dc in next ch. 1 dc in each dc of Sleeve. 2 dc in next ch from underarm ch. 1 dc in last ch. Join with sl st to top of ch 3. Turn. 32 (36-40) dc.
2nd rnd: (WS – Dec rnd): Ch 3. Dc2tog. 1 dc in each dc to last 2 dc. Dc2tog. Join with sl st to top of ch 3. Turn. 30 (34-38) dc.
3rd rnd: Ch 3. 1 dc in each dc around. Join with sl st to top of ch 3. Turn.
Rep 2nd and 3rd rnds 4 (6-7) times more. 22 (22-24) dc.
Rep 3rd rnd until Sleeve measures 6 (8-9)” [15 (20.5-23) cm] from underarm. Fasten off .
HOOD
1st row: (RS). Working into rem loops of foundation ch, skip fi rst ch. Join yarn with sl st in next ch. Ch 3. 1 dc in each of next 17 ch. (2 dc in next ch) 14 times. 1 dc in each of next 18 ch. Turn. Leave last ch unworked. 62 dc.
2nd row: Ch 3. 1 dc in each dc to end of row. Turn.
Rep last row until Hood measures 8″ [20.5 cm] from neck edge. Do not fasten off .
Join top of Hood: Fold last row of Hood in half. Working through both thicknesses, sl st in each st across to join top of Hood.
EARS (make 2)
Ch 5.
1st row: Work 6 tr in 5th ch from hook (skipped ch 4 counts as tr). Turn. 7 tr.
2nd row: Ch 4 (counts as tr. 1 tr in fi rst st (inc made). (2 tr in next st) 6 times. 14 tr.
Fasten off , leaving a long tail. Use tail to sew Ear to Hood, curving Ear into crescent shape as shown in photo.
FINISHING
Sew 4 (5-6) buttons evenly spaced along Left Front. Use coordinating sps between dc sts along Right Front for buttonholes
Category Popular Posts
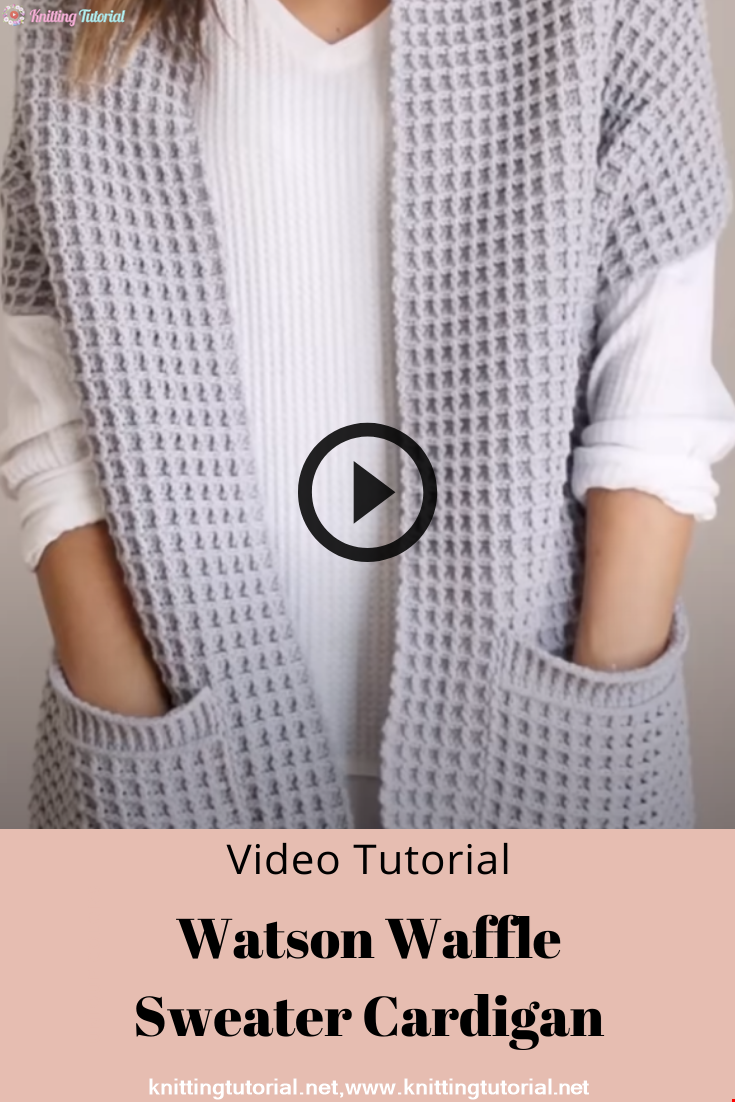
Watson Waffle Sweater Cardigan
15 October 2020, 14:38 30476
Korean Girl in Traditional Dress (Hanbok)
22 September 2020, 11:11 1573

This is the process how I made the amigurumi of Korean Bride in traditional dress Hanbok. Lately I've been watching a lot of Korean dramas and got inspired to make one. I hope you can enjoy the video, and get inspired too!
Read MoreY Auger construction
27 January 2022, 21:16 1241
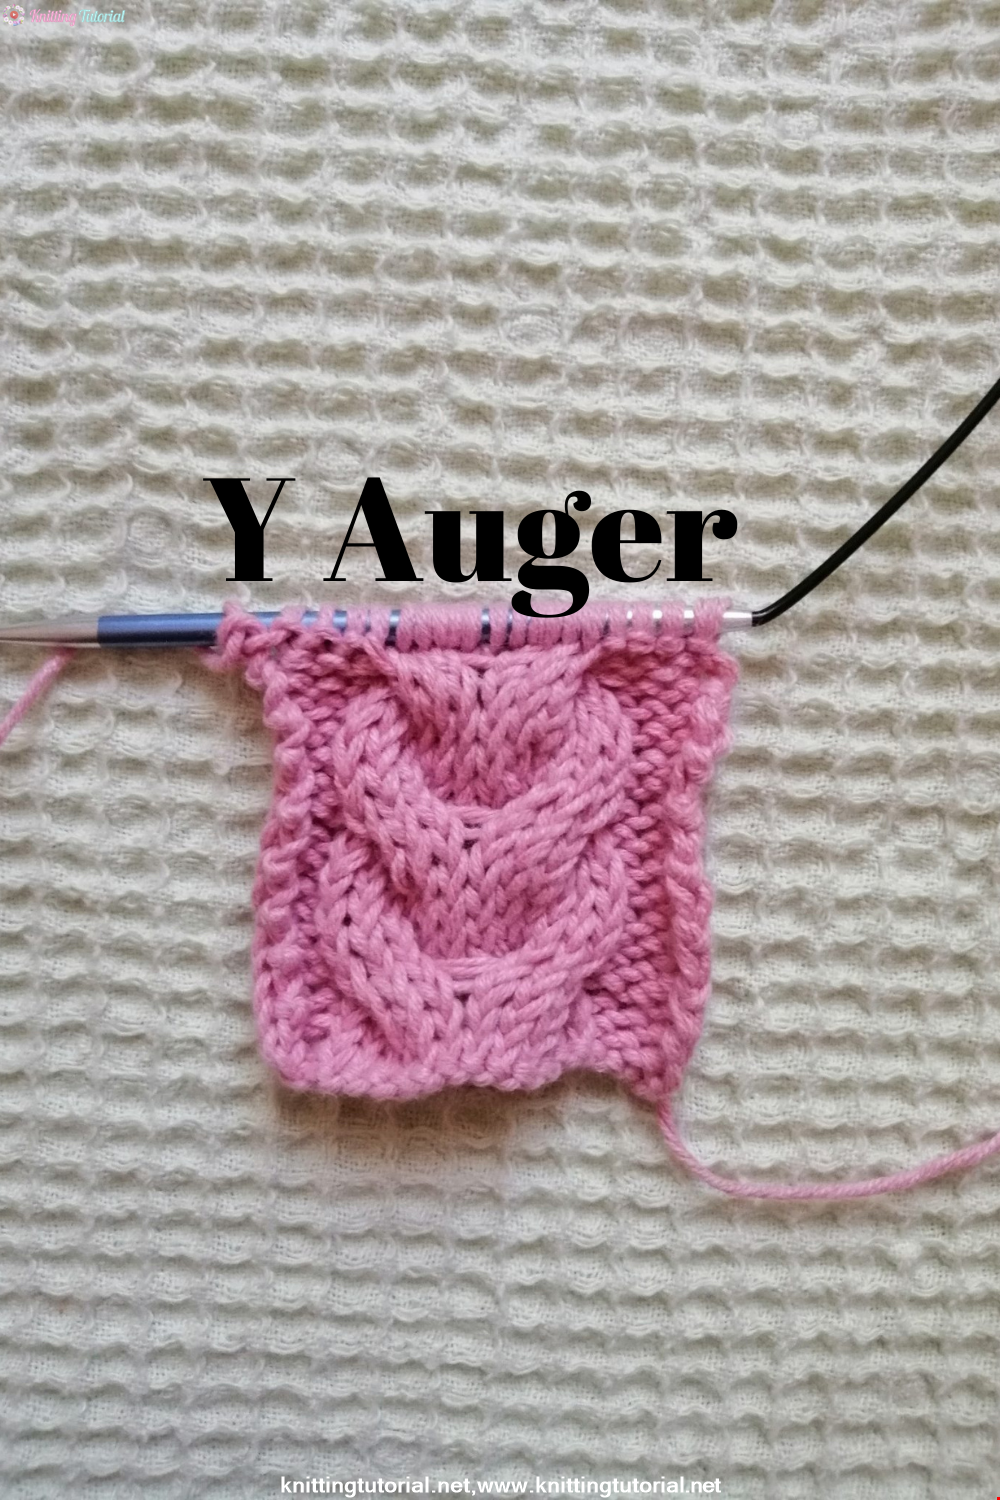
Hello everyone! We have prepared a Y twist model, which is very suitable for vests and cardigans, for you. This model is actually very easy to make! Let's start knitting this beautiful model right now!
Read More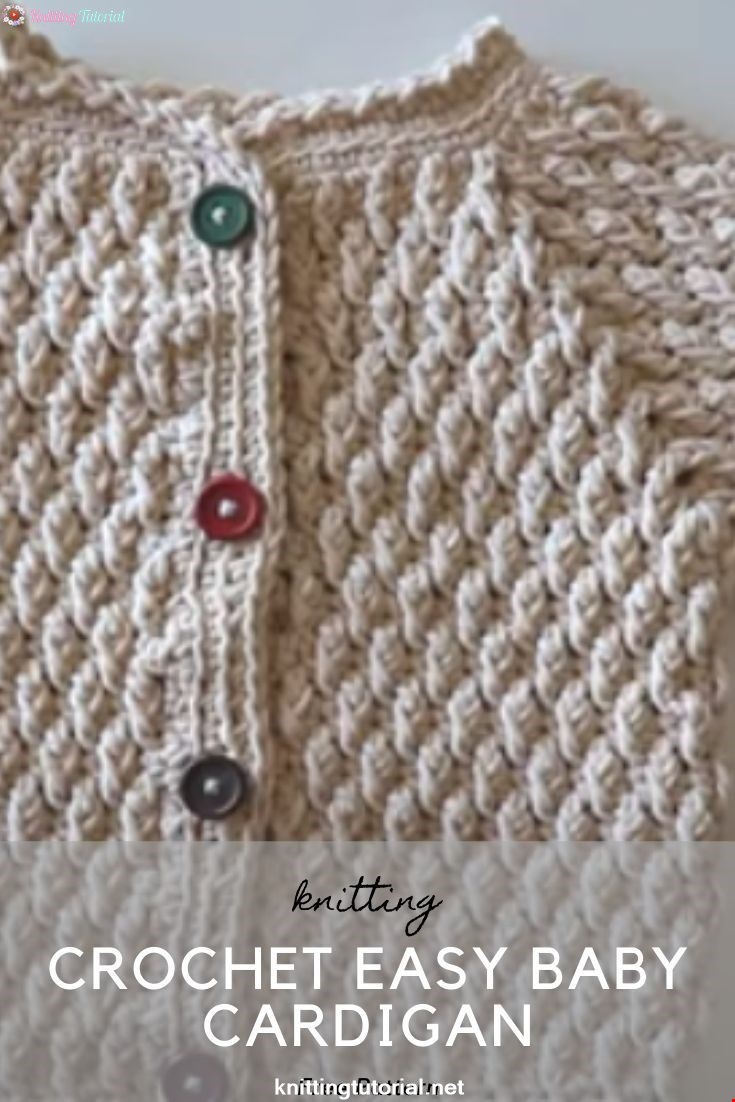
Openwork Baby Cardigan Making
22 January 2022, 11:53 1245
Hello! Today we came to you with the construction of openwork baby cardigan. If you're ready, let's start.
Read More