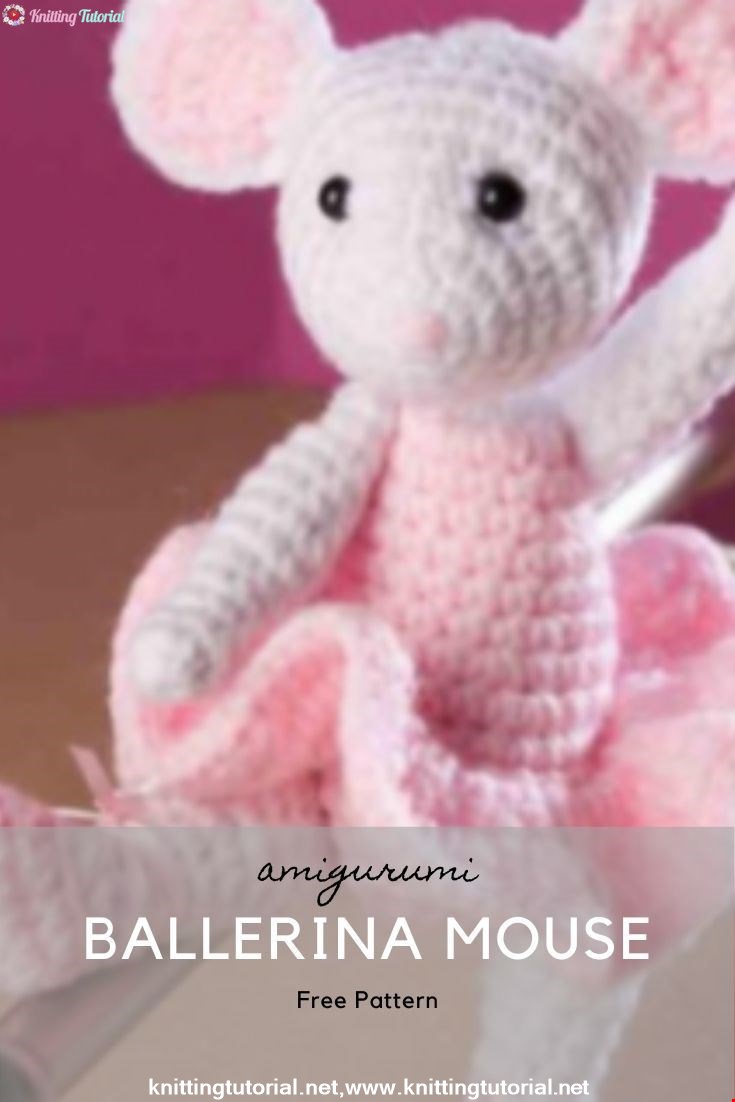
Ballerina Mouse
23 September 2020, 13:24 607
BODY
Rnd 1: Beg at top of Body with white, make slip ring (see illustration), 6 sc in slip ring, pull end of yarn to close ring. (6 sc)
Rnd 2: 2 sc in each st around, changing color (see Stitch Guide) to baby pink in last
sc. (12 sc)
Rnd 3: With baby pink, [2 sc in next st, sc in each of next 2 sts] around. (16 sc)
Rnd 4: Sc in each st around. (16 sc)
Rnd 5: [2 sc in next st, sc in each of next 3 sts] around. (20 sc)
Rnds 6-8: Sc in each st around. (20 sc)
Rnd 9: [2 sc in next st, sc in each of next 4 sts] around. (24 sc)
Rnd 10: [2 sc in next st, sc in each of next 3 sts] around. (30 sc)
Rnd 11: Sc in each st around. (30 sc)
Rnd 12: Working in back lps (see Stitch Guide), sc in each st around. (30 sc)
Rnd 13: [Sc dec (see Stitch Guide) in next 2 st, sc in each of next 3 sts] around. (24 sc)
Rnd 14: Sc in each st around. (24 sc)
Rnd 15: [Sc dec in next 2 sts, sc in each of next 2 sts] around. (18 sc)
Stuff Body with fiberfill
Rnd 16: [Sc dec in next 2 sts, sc in next st] around. (12 sc)
Rnd 17: [Sc dec in next 2 sts] around. (6 sc)
Leaving long end, fasten off. Weave long end through sts, pull to close. Weave in end to secure.
SKIRT
Rnd 1: With baby pink, join (see Pattern Notes) yarn in rem lp of rnd 11 of Body, sc in each st around, join in first sc. (30 sc)
Rnd 2: Ch 3 (see Pattern Notes), dc in the same st as beg ch-3, 2 dc in each st around, join in top of beg ch-3. (60 dc)
Rnd 3: Ch 3, dc in the same st as beg ch-3, 2 dc in each st around, join in back lp of top of beg ch-3. (120 dc)
Rnd 4: Sl st in back lp of each st around, join in first st. Fasten off. (120 sl sts)
Weave in the end.
TAIL
Rnd 1: With white, make slip ring, 4 sc in slip ring, pull end of yarn to close ring. (4 sc)
Rnds 2-12: Sc in each st around. (4 sc)
Leaving long end, fasten off. Weave long end through sts, pull to close. Weave in end to secure.
LEG
Make 2.
Note: Legs are worked from the feet up. Stuff as you go. Do not stuff too tightly near the top, as the Legs will be flattened at the “thigh” area and sewn snugly to the Body.
Rnd 1: With baby pink, ch 6, 2 sc in the 2nd ch chant, sc in each of next 3 chs, 3 sc in last ch, working in the opposite side of the foundation ch, sc in each of next 3 chs, 2 sc in last ch. Do not join. (13 sc)
Rnd 2: 2 sc in next sc, sc in each of next 11 sc, 2 sc in next sc. (15 sc)
Rnd 3: Sc in each of next 4 sts, sc dec in next 2 sts, [hdc dec (see Stitch Guide) in next 2 sts] twice, sc dec in next 2 sts, changing color to white in last sc, sc in each of last 3 sts. (11 sts)
Rnd 4: With white, working in back lps, sc in each of next 4 sts, [hdc dec in next 2 sts] twice, sc in each of next 3 sts. (9 sts)
Rnd 5: Sc in each of next 4 sts, sc dec in next 2 sts, sc in each of next 3 sts. (8 sc)
Rnds 6-8: Sc in each st around. (8 sc)
Rnd 9: [2 sc in next st, sc in each of next 3 sts] around. (10 sc)
Rnd 10: Sc in each st around. (10 sc)
Rnd 11: [Sc in each of next 4 sts, 2 sc in next st] around. (12 sc)
Rnd 12: Sc in each st around. (12 sc)
Rnd 13: [2 sc in next st, sc in each of next 3 sts] around. (15 sc)
Rnd 14: Sc in each st around. (15 sc)
Rnd 15: [Sc dec in next 2 sts, sc in next 3 sts] around. (12 sc)
Rnd 16: [Sc dec in next 2 sts] around. (6 sc)
Leaving long end, fasten off. Weave long end through sts, pull to close. Weave in end to secure.
ARM
Make 2.
Note: Arms are worked from the hands up. Stuff lightly as you go.
Rnd 1: With white, make slip ring, 6 sc in slip ring, pull end of yarn to close ring. (6 sc)
Rnds 2-5: Sc in each st around. (6 sc)
Rnd 6: [2 sc in next st, sc in each of next 2 sts] around. (8 sc)
Rnds 7-12: Sc in each st around. (8 sc)
Rnd 13: [Sc dec in next 2 sc] around. (4 sc)
Leaving long end, fasten off. Weave long end through sts, pull to close. Weave in end to secure.
HEAD
Note: Head is worked from tip of nose to back of head.
Rnd 1: With white, make slip ring, 4 sc in slip ring, pull end of yarn to close ring. (4 sc)
Rnd 2: 2 sc in each st around. (8 sc)
Rnd 3: [2 sc in next st, sc in next st] around. (12 sc)
Rnd 4: [2 sc in next st, sc in each of next 2 sts] around. (16 sc)
Rnd 5: [2 sc in next st, sc in each of next 3 sts] around. (20 sc)
Rnd 6: [2 sc in next st, sc in each of next 4 sts] around. (24 sc)
Rnd 7: [2 sc in next st, sc in each of next 5 sts] around. (28 sc)
Rnds 8-11: Sc in each st around. (28 sc)
Rnd 12: [Sc dec in next 2 sts, sc in each of next 5 sts] around. (24 sc)
Rnd 13: [Sc dec in next 2 sts, sc in each of next 2 sts] around. (18 sc)
Stuff the Head
Rnd 14: [Sc dec in next 2 sts, sc in next st] around. (12 sc)
Rnd 15: [Sc dec in next 2 sts] around. (6 sc)
Leaving long end, fasten off. Weave long end through sts, pull to close. Weave in end to secure.
EAR
Make 2.
Note: Each Ear is worked in 2 pieces, first the pink inner part, and then the white outer part. The 2 pieces are then joined by holding them to and working around the edge. The Ears are not stuffed.
Inner Ear
Row 1: With pink, ch 6, sc in 2nd ch from hook and in each rem ch across, turn. (5 sc)
Row 2: Ch 1, 2 sc in first st, sc in each of next 3 sts, 2 sc in last st, turn. (7 sc)
Row 3: Ch 1, sc dec in next 2 sts, sc in each of next 3 sts,sc dec in next 2 sts, turn. (5 sc)
Row 4: Ch 1, sc dec in next 2 sts, sc in next st, sc dec in next 2 sts. Fasten off. (3 sc)
Weave in ends.
Outer Ear
Rows 1-4: With white, rep rows 1-4 of Inner Ear. At the end of last row, do not fasten off.
Ear Assembly
With Inner Ear and Outer Ear, held in and out with Inner Ear, right away from you, align sts, ch 1, working through both thicknesses, work 17 sc. Leaving long tail, fasten off.
HEAD & BODY ASSEMBLY & FINISHING
Referring to photo for placement, sew 1 Ear over rnd 10 on each side of Head.
Referring to photo for the eye placement, with 2 strands of embroidery floss held to, sew buttons to rnd 6 of Head.
Eye Socket Shaping :
* Sew from 1 button shank through the head to the other button shank, pulling them slightly towards each other, rep
from * 3 times to secure the eyes, then insert the needle back into the button out at the edge of the head, creating a shape of the eye socket. Rep for rem Eye Socket. Secure embroidery floss by weaving under several sts. Referring to photo, using an 18-inch length of baby pink, use satin stitch (see illustration) to create 4 horizontal sts over rnd 1 of Head for Nose. Sew Head to Body.
ARM ASSEMBLY
Thread soft-sculpture needle with approximately 2 feet white yarn. Sergei Gorbachev the needle through rnd 11 of the Arm and then insert the body through the Body to the other side of rnd 4, insert needle through rnd 11 of rem Arm. Insertion through through to the second Arm, through the same exit point on the body, through the body through the entry point on the side of the body. Pull snugly so Arms indent into Body slightly, rep from * 3 times so Arms are secure. Weave in ends under several sts.
LEG ASSEMBLY
Working through rnd 13 of
each Leg and rnd 13 of Body,
rep Arm Assembly to sew Legs to Body.
FINISHING
Sew Tail to back of Body at rnd 12, centering it between Legs.Using tapestry needle and 18-inch length of ribbon, insert the needle at the back side of the foot under the centermost pink sc of rnd 3 of 1 Leg and back out the other side. Remove needle and pull ribbon so that there is an equal amount on each side of sc. Cross ribbon over itself. Wrap ribbon around to front of ankle, crisscross the ends and bring it back to back. Crisscross ribbon ends again, bring them to front. Tie ribbon in bow. Cut off the excess ribbon at an angle, and apply a small dot of a fray. Rep with rem length of ribbon on 2nd Leg.
Category Popular Posts
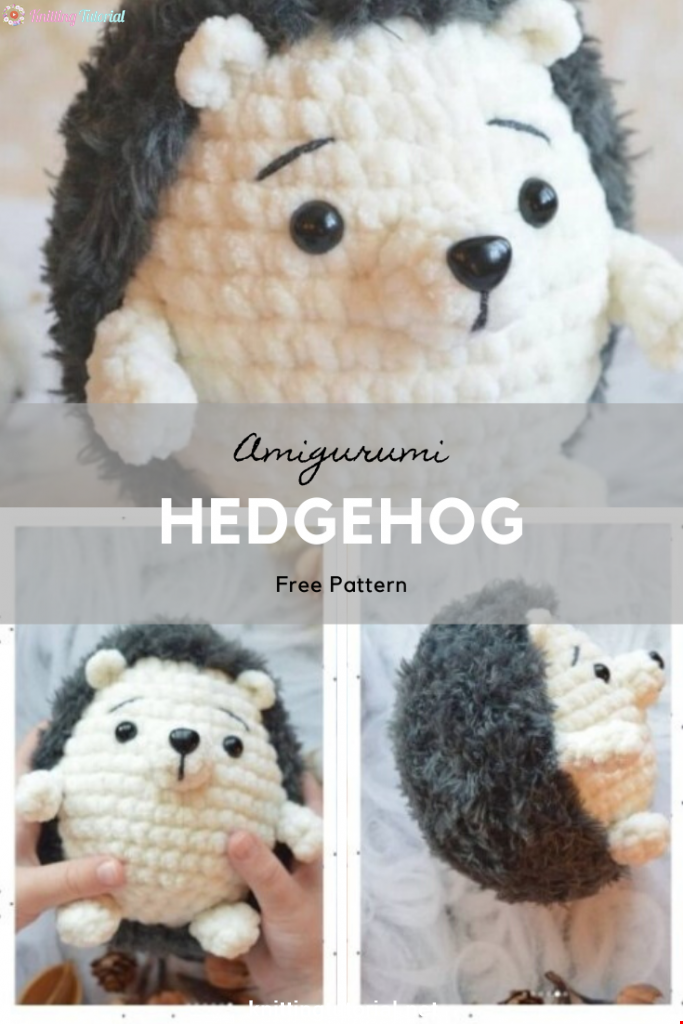
Amigurumi Hedgehog Free Pattern
12 October 2020, 09:52 11504
Making Amigurumi Spiderman
27 January 2022, 20:58 2023
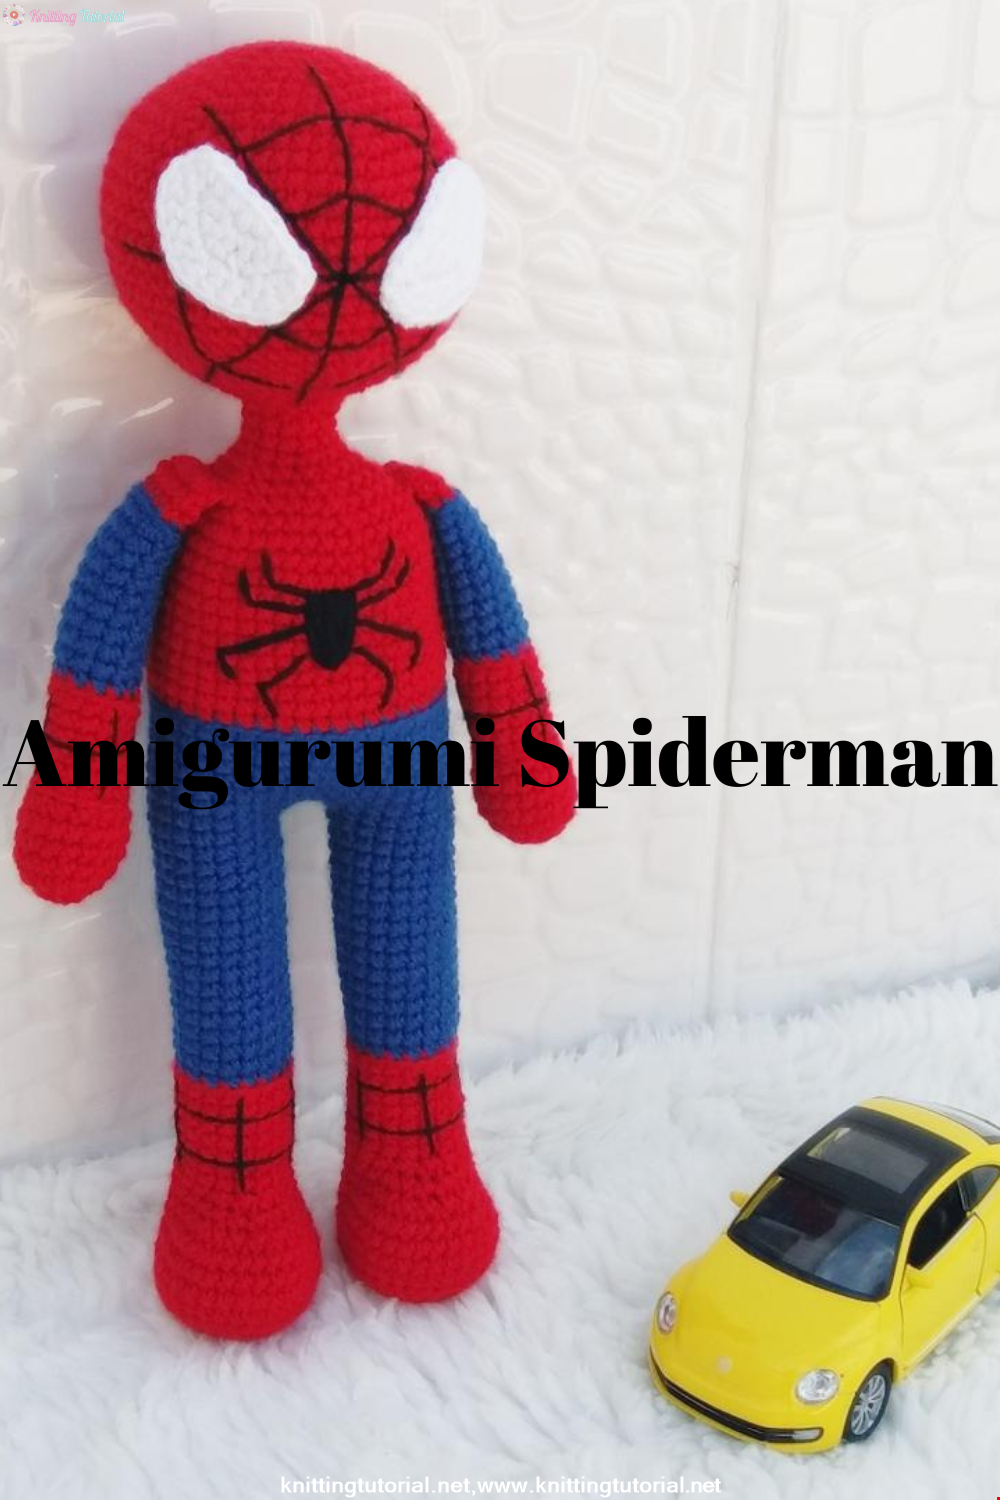
Hello, Are you ready to knit Spiderman, Spider-Man, the children's favorite cartoon character? You will be able to knit easily with detailed explanation. Let's start!
Read More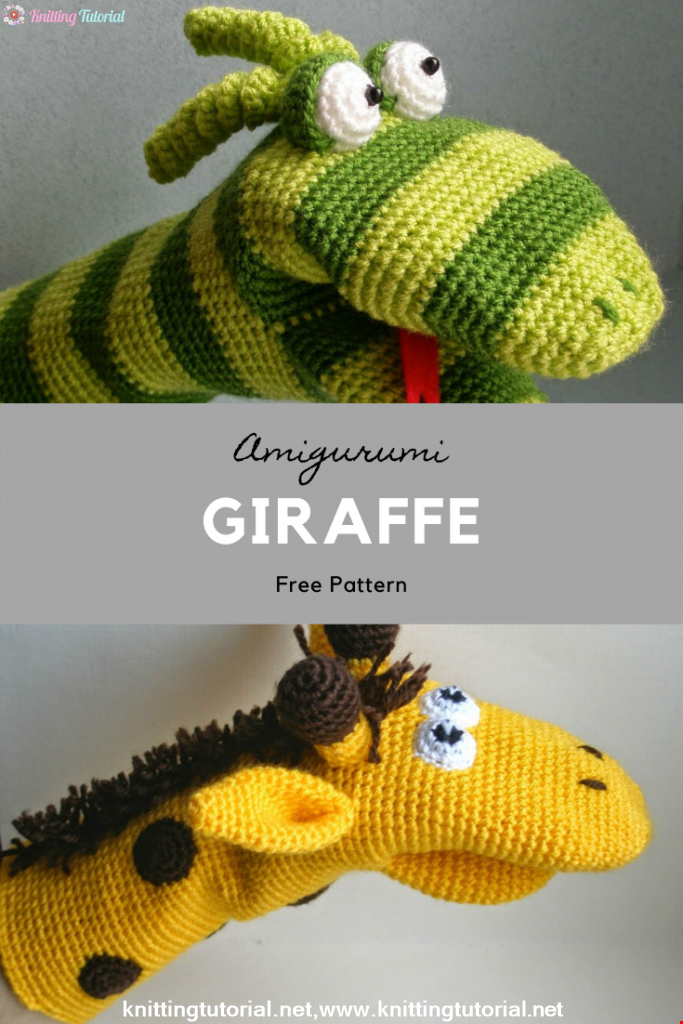
Amigurumi Princess Mononoke Crochet Pattern
12 December 2020, 21:20 944
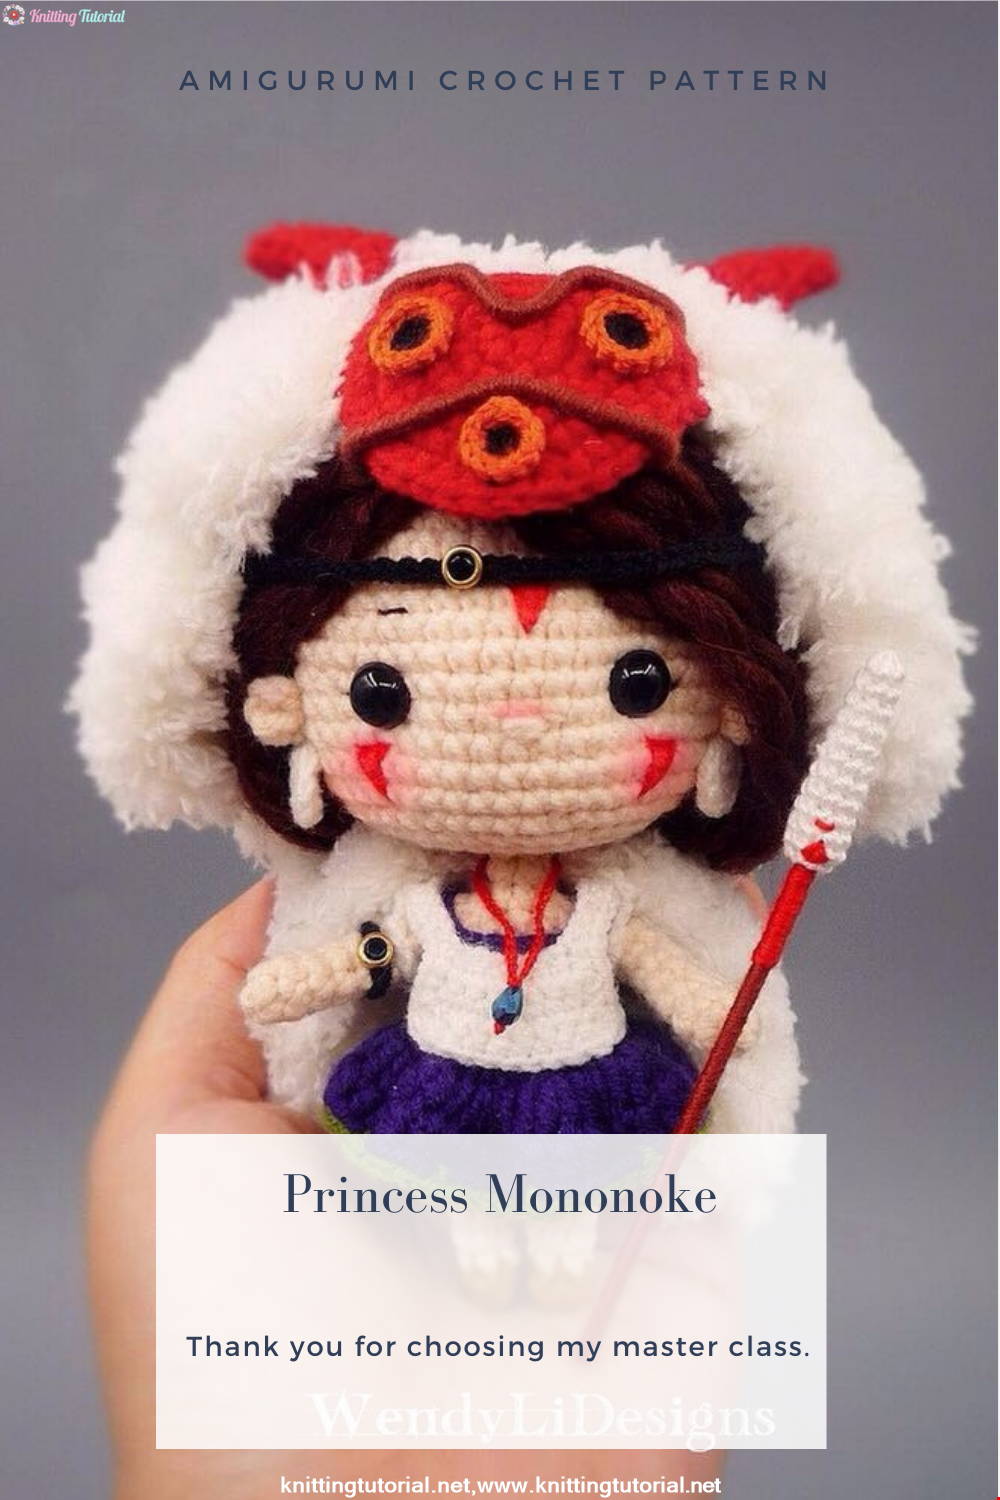
Free Crochet Princess Mononoke workshop by Wendy Li. The knitted girl is the hero of the cartoon by Hayao Miazaki. From the description of the diagram, you will also learn how to knit: a cape, a cloak, a dress and a mask for a doll.
Read More
Princess Disney Amigurumi Pattern
8 October 2020, 14:51 5815


Korean Girl in Traditional Dress (Hanbok)
22 September 2020, 11:11 1573

This is the process how I made the amigurumi of Korean Bride in traditional dress Hanbok. Lately I've been watching a lot of Korean dramas and got inspired to make one. I hope you can enjoy the video, and get inspired too!
Read More
Amigurumi Sweet Giraffe Recipe and Preparation
5 January 2022, 14:55 634
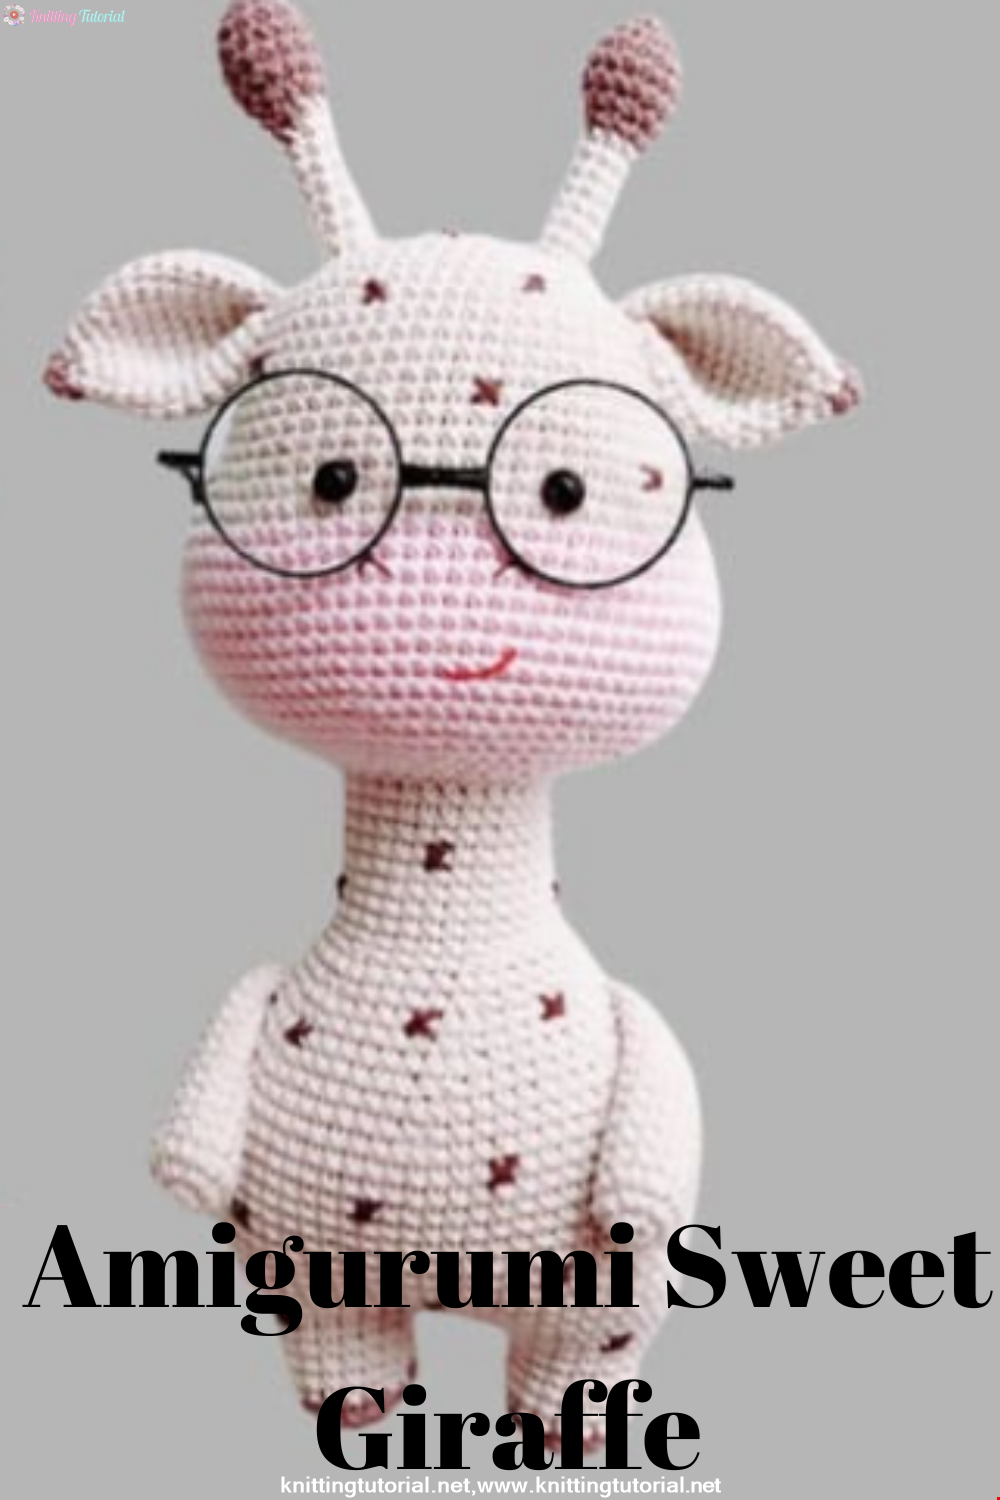
We have come to share with you the most popular model of recent times with the Amigurumi sweet giraffe recipe. I hope it will be an amigurumi animal figure that you like very much and knit with love.
Read MoreLovely Teddy Bear Amigurumi Tutorial
12 October 2020, 10:05 2969