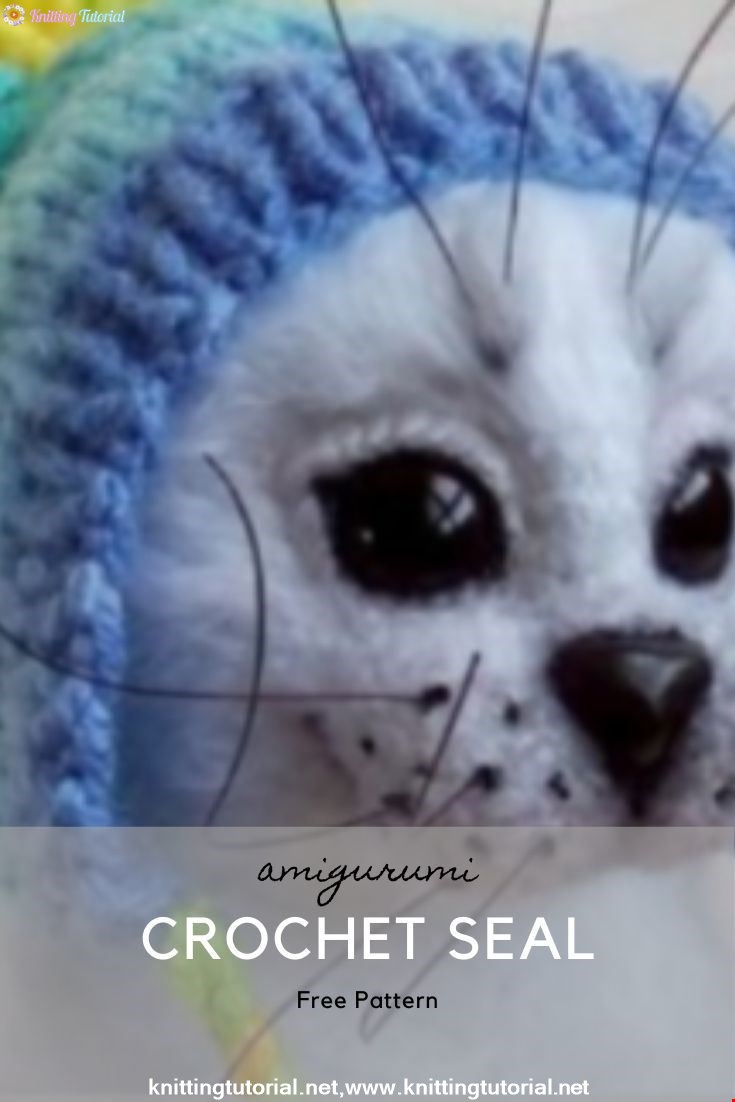
Crochet Seal
3 November 2020, 09:41 638
Required materials:
Fluffy yarn. I used Cotton-Grass yarn from Camtex (65% cotton / 35% polyamide, white (205), 220 m, 100 g). Consumption – 1 hank. I have an exact consumption of yarn – 80 grams, but it is better to have a couple of tens of grams per stock, since the density of knitting is different for everyone). This yarn can be replaced with NAKO PARIS (40% premium acrylic, 60% polyamide, 245 m, 100 g) or any other that has a similar composition or thickness, or mohair (a mohair toy will have to be cut to a length of 0.5- 0.7 cm).
Copper wire for the reinforcement of the front paws (of course, otherwise the seals will collapse!) 1.5 mm thick – approximately 0.6 meters. It is easier and cheaper to purchase such wire in the store of electricians in the form of cable VVG 3 * 1.5 Be sure to check that the wire inside is solid, and not woven from a variety of small copper wire strands! Then remove the insulation with a stationery knife.White adhesive plaster on fabric base or electrical tape.
Eyes / beads / semi-beetles for peepholes – 1 pair. Size – 14 mm or others as desired.
Glue “Moment” Crystal / Titan (if you plan to glue the eyes, and not to sew) or threads for sewing eyes in the tone of the main yarn.
A thread for a muzzle (any strong thread in tone of the main yarn. I pull down “Pelican” from Vita because it does not tear, does not tear a cloth, does not slide. Many prefer to use a dental floss or a thick kapron thread.
Splint 2.5 * 28mm – 1 piece, M3 washers – 2 things, a plywood disk or 55 mm cardboard press (or a different size depending on the inside diameter of the neck, see below for the selection of the disk) – 2 things for the cotter pin heads. You can make the head static (attached), then these materials are not required.Spout made of plastic or plastic, in shape closer to the dog (spout can be embroidered).
Materials at will:
DRY pastels for tinting dark gray or black.
Black gel or capillary pen for tinting the eyes.
For a hat fit any smooth yarn. I used VITA BRILLIANT (45% wool laster, 55% acrylic), 380 m / 100 g turquoise, lilac and yellow. Low consumption.
Black line for mustache.
If the seal does not hang on the Christmas tree, then we need a metal granulate weighting agent – 50 grams.
TOOLS:
Hook knitting No. 1.75 for knitting a little imprint or depending on the thickness of the selected yarn.
Knitting needles for hat №2 or depending on the thickness of the selected yarn.
Nippers
Scissors.
The tool for tightening cotter pins – pin / thin nose pliers / round nose pliers.
HARD synthetic brush for applying tinting with a straight pile.
LEGEND:
VP – air loop
UB – 1 SBN in 2 loops of the previous row
Attention! To make the canvas was dense and without holes, the reductions should be done by tying both loops behind the front walls, and not just skipping one loop.
PS – displacement loop – additional RLS to the next loop, and only after it the transfer of the marker.
BUT – trim the thread, fix the tail, hide the sc – the crochet column
PRIB – 2 sc in the previous row loop
PWB-UB – so that when connecting parts between them there is no ugly hole, you need to do the following: pull out another loop from the same place where we just knotted a single crochet, as if we were going to make an increase, but not tying it. Total on the hook is now 2 loops. Then we pull out another loop already from the loop of the previous row of the OTHER part, with which we are going to connect the first part. Total on the hook now 3 loops. Now you need to knit RLS through these 3 loops. It turns out, as if we did both PRE and UB at the same time, but in the end we received just 1 sc.
Attention! In order to avoid injury, we isolate the sharp ends of the wire with adhesive tape, and twist the wire itself into a ring! We take care of your eyes! Attention! The whole toy fits the front of the canvas!
RESULTS OF CHECK DESCRIPTION:
This master class is absolutely alive, toys for it are created quite easily and interestingly. Since no one has yet dressed up the Christmas trees, my assistants made just souvenir linen. In December, when the New Year trees will move to our apartments from balconies or tree nurseries, everyone will be hung up in their spiky green places. Many thanks to all the girls who volunteered to help with checking the description for errors before publishing!
In order to properly choose the size of the disk, we will connect a circle, which will subsequently be the base of the head. Knit in a spiral. The marker is not corrected.
1) 7 scs in the amigurumi ring (7)
2) ARR * 7 (14)
3) (1 scN, ARR) * 7 (21)
4) (1 sc, ARB, 1 sc) * 7 (28)
5) 3 scns, gadget) * 7 (35)
6) (2 sc, prib, 2 scn) * 7 (42)
7) (3 sc, prib, 3 sc) * 6 (48)
8) (7 sc, lib) * 6 (54)
9) (4 sc, gadget) * 6 (60). The diameter of the disc must match the diameter of the resulting circle. You can cut the thread, and then continue to knit the head from the already connected rows.
Paws front:
Knit two identical legs. Knit in a spiral. The marker goes along the long edge of the foot, we correct it independently as necessary with the help of PS.
1) 6 sc in the ring amigurumi (6)
2) Prib, 1 Sc, 2 Prib, 1 Sc, Prib (10)
3) ARB, 3 SCN, 2 ARB, 3 SCN, ARB (14)
4) 6 SCN, (An increase of three loops) * 2, 6 SCN (18)
5) 8 SCN, (An increase of three loops) * 2, 8 sc (22)
6-8) 22 sc (22)
9) (9 sc, ub) * 2 (20)
10-11) 20 sc (20)
12) (8 sc, ub) * 2 (18)
13 -14) 18 sc. BUT. Fold the item in half along the marker. Sintepukhom not stuffed.
Paws back:
Knit two identical legs. Knit in a spiral. The marker goes along the long edge of the foot, we correct it independently as necessary with the help of PS.
1) 6 scs in amigurumi ring (6)
2) Prib, 1 sc, 2 prib, 1 sc, prib (10)
3) prib, 3 pbs, 2 prib, 3 sc, prib (14)
4) 6 sc The increase of three loops) * 2, 6 sc (18)
5) 8 sc, (increase of three loops) * 2, 8 sc (22)
6-8) 22 sc (22)
9) (9 sc, ub) * 2 (20)
10) 9 sc, ub, 9 sc (19)
11) 8 Sc, UB, 9 Sc (18)
12) 8 Sc, Ub, 8 Sc (17)
13) 7 Sc, Ub, 8 Sc (16)
14-15) 16 Sc (16). Fold the item in half along the marker. Sintepukhom not stuffed.
We cut the thread in one foot, fix and hide the tail, in the second – we leave the tail 25 centimeters (this will be the left foot), we do not fix the tail, but slightly pull the loop so that the part does not disband.
Place additional markers on the legs (as additional markers, pins or small sections of contrasting color can be used) in accordance with the figure below.
Tail, smoothly flowing into the body:
Knit in a spiral. The marker goes in the center of the back of the seal, after connecting the hind legs and tail, we correct it independently with the help of PS.
1) 6 scs in the amigurumi ring (6)
2) 6 scs (6)
3) (1 scn, gadget) * 3 (9)
4) 9 scs (9)
5) (1 scn, tv, 1 scn) * 3 (12)
6) 12 sc (12)
7) (1 sc, app, 1 sc) * 4 (16)
8) 3 sc on the tail, attach the left tab and knit simultaneously on the left tab and tail 5 of the sc (insert hook on the wrong side of the left foot at the place of the additional marker and at the same time in the tail), attach the right foot and knit both the right foot and the tail at the same time 5 SBN (insert the hook from the wrong side of the right foot at the place of the additional marker and at the same time in the tail) ponytail 3 sc (16)
After this, we return to the tail left on the left paw of the thread and connect the loops of the left and right paws, reaching the tail of the tail, with each other. In the total count, these loops do not go and then remain inside the knitting. After that, ADDITIONAL markers can be removed.
9) (1 SBN, ARD, 1 RSN) – by tail, (PRIV-UB, 7 SNS) – on the left foot, (PRIV-UB, 7 SBN) – on the right foot, (PRIV-UB, ARR, 1 SBN ) – by tail (24). From this point on, do not forget to correct the marker in the center of the back yourself!
10) (3 SCN, ARB) * 6 (30)
11) 30 SCN (30)
12) 2 SCN, ARI, 7 ALR, ARA, 8 ALR, ARM, 7 ALR, ARM, 2 ALR (34)
13) 34 Sc (34)
14) 2 sc, prib, 8 sc, prib, 10 sc, prib, 8 sc, prib, 2 sc (38)
15) 38 sc (38)
16) 3 SNS, PRIB, 8 SNS, PRES, 12 SNS, PRES, 8 SNS, PRES, 3 SBS (42)
17) 42 SNS (42)
18) 4 SNS, PRES, 9 SNS, PRES, 12 SNS, PRES , 9 SBN, PRB, 4 SBN (46)
19) 46 SBN (46)
20) 4 SBN, PRIB, 10 SBN, PRIB, 14 SBN, PRIB, 10 SBN, PRIB, 4 SBN (50)
21) 50 SBN 50)
22) 5 SNS, PRIB, 10 SNS, PRIB, 16 SNS, PRIB, 10 SNS, PRIB, 5 SNS (54)
23) 54 SNS (54)
24) 6 SNS, PRIB, 11 SNS, PRIB, 16 SNS , ПРИБ, 11 СБН, ПРИБ, 6 СБН (58)
25) 58 СН (58)
26) 6 СН, , 12 СН, 18 СН, 6 (62)
27) 62 SBN (62)
28) 7 SBN, surf, 12 SBN, surf, 20 SBN, surf, 12 SBN, surf, 7 SBN (66)
29) 66 SBN (66)
30) 8 SBN, surf, 13 SBN, surf, 20 SBS, PRIB, 13 SBH, PRIB, 8 SBH (70)
31) 70 sc (70)
32) 8 sc, prib, 15 sc, prib, 20 sc, prib, 15 sc, prib, 8 sc (74)
33) 74 sc (74). For those who knit so fluffy yarn that the loop is not visible, I recommend at this stage to note an additional marker 24th and 51st loop.
34) 9 sc, prib, 15 sc, prib, 22 sc, prib, 15 sc, prib, 9 sc (78)
35) 78 sc (78)
36) 9 sc, prib, 17 sc, prib, 22 sc , 17 Sc, Prib, 9 Sc (82)
37-40) 82 Sc (82). For those who knit so fluffy yarn that the loop is not visible, I recommend in the 38 series to note the additional marker 26th and 57th loop.
If the seal is planned to be playing, and not to a Christmas tree, we sew a pad made of dense fabric filled with metal / glass granules. This will add to our imprint weight and stability, so that the head does not outweigh the tail. We take a piece of fabric measuring about 4 * 8 cm, fold in half, sew, leave on one side a hole for filling with granulate. We pour about 100 grams of granulate into the bag, sew up the remaining hole. The bag is put in the tail part of the seal. To prevent the bag from being felt inside the carcass, fill it with filler around it. Next, fill the torso with filler.
41) 9 SBN, UB, 17 SBN, UB, 22 SBN, UB, 17 SBN, UB, 9 SBN (78)
42) 78 SBN (78)
43) (11 SBN, UB) * 6 (72)
44) 72 Sc (72)
45) (5 sc, ub, 5 sc) * 6 (66)
46) 66 sc (66). For pin fastening of the head at the end of the 46 row, in place of the main marker, also install an additional marker, which will mark the exit point of the pin.
Mark a point on the central marker between 39 and 38 rows, retreat from it to the left and the right by 26 loops, mark with additional markers. Mark a point between 33 and 32 rows on the central marker, retreat from it to the left and the right by 24 loops, mark with additional markers.
Enter a piece of wire measuring 60 centimeters to the point marked ext. marker (the one that is closer to the tail), and output in a symmetric point. There should be equal wire tips on the left and right. To prevent the frame from escaping, fix on both sides with a pair of turns of adhesive tape around the wire.
Then fold it, repeating the inner perimeter of the front paws, and enter the ends of the frame into the points marked with additional markers closer to the head of the imprint.
Next, you need to twist with each other the remaining ends of the frame. It is important not to drag over the body of the seal! Insulate them with adhesive plaster. Cut the sharp non-insulated tip (if left) and twist it in the direction of the tail inside the torso.
Sew front legs around the frame. For pin fastening of the head at the end of the 46 row, in place of the main marker, also install an additional marker, which will mark the exit point of the pin.
47) (9 SBN, UB) * 6 (60)
48) 60 SBN (60)
49) (4 SBN, UB, 4 SBN) * 6 (54)
50) 54 SBN (54)
To mount the head, choose a suitable disk for the size, following the instructions given above, in my case, a disk with a diameter of 55 mm was perfect, then we take a 2.5 * 28 mm cotter pin, put an M3 washer on it, then select the selected disk, put the design inside body so that the pin pin looked inside the body, and the sharp part came out of the neck out through a loop marked with an additional marker.
View from above:
We continue to knit, gradually donabivaya carcass. To prevent the pin from running inside the body of the seal, the tip of the pin can be temporarily limited to adhesive tape.
51) (7 SBN, UB) * 6 (48)
52) (3 SBN, UB, 3 SBN) * 6 (42)
53) (5 SBN, UB) * 6 (36)
54) (2 SBN, UB, 2 SBN) * 6 (30)
55) (3 SBN, UB) * 6 (24)
56) (1 sc, ub, 1 sc) * 6 (18)
57) (1 sc, ub) * 6 (12). Donabit torso sintepuhom. Pull off the remaining hole. BUT.
Head-Muzzle :
Knit in a spiral. The marker can not be corrected.Scheme for pin mount: 1-9 rows duplicate rows from the point for the selection of the disk.
1) 7 scs in the amigurumi ring (7)
2) ARR * 7 (14)
3) (1 scN, ARR) * 7 (21)
4) (1 sc, ARB, 1 sc) * 7 (28)
5) ( 3 scns, gadget) * 7 (35)
6) (2 sc, prib, 2 scn) * 7 (42)
7) (3 sc, prib, 3 sc) * 6 (48)
8) (7 sc, lib) * 6 (54)
9) (4 Sc, App, 4 Sc) * 6 (60)
10-21 is 12 rows 🙂 60 sc (60). Put the head on the neck, stretching the pin sticking out of the body through the 1st row of the neck, if the hole is too narrow, you can widen it with a wide needle, put a 55 mm disk on the pin, then put the washer on the pin and firmly twist the pin pinch.Mark with an additional marker the 14th and 20th rows – these are the boundaries of the sewing face. In the 20th row, mark the middle, and from this point to the right and left count by 6 loops, these will be points A1 and A2.
22) (4 sc, ub, 4 sc) * 6 (54)
23) 54 sc (54)
24) (7 sc, ub) * 6 (48)
25) (3 sc, ub, 3 sc) * 6 ( 42)
26) (5 SBN, UB) * 6 (36)
27) (2 SBN, UB, 2 SBN) * 6 (30)
28) (3 SBN, UB) * 6 (24)
29) (1 SBN, UB, 1 sc) * 6 (18)
30) (1 sc, ub) * 6 (12). Donab head sintepuhom tight. Do not hide or cut the thread, but rather donabit and tighten the hole after performing Fitting No. 1 (eye fitting), since the filler in the back of the head will slightly tighten towards the center of the head.
For attaching the head:
1) 6 SNS in the Amigurumi ring (6)
2) ARR * 6 (12)
3) (1 ALR, ARR) * 6 (18)
4) (1 ALR, ARR, 1 ALR) * 6 ( 24)
5) (3 ScN, ARD) * 6 (30)
6) (2 ScN, PRIB, 2 ScN) * 6 (36)
7) (5 ScN, ARW) * 6 (42)
8) (3 ScN, ARB, 3 SBN) * 6 (48)
9) (7 SBN, ARB) * 6 (54)
10) 54 SBN (54)
11) (4 SBN, ARB, 4 SBN) * 6 (60)
12-25 – that’s 12 rows 🙂 60 sc (60). BUT. Sew the head to the body, stuffing it in the process.
We knit the muzzle according to the following scheme. Marker corrected in accordance with my recommendations.
1) Knit a chain of 9 VP. ARR in the second loop of the chain, 6 sc, 3 sc in the (last) loop of the chain, unfold knitting clockwise 180 degrees, 7 sc (18)
2) ARB * 2, 6 SCN, ARR * 3, 6 ScN, ARB (24)
3) (1 sc, prib) * 2, 6 sc, (1 sc, prib) * 3, 6 sc, (1 sc, rec) (30) + make 2 PS
4) 7 sc, increase of four loops, 14 SNs, an increase of four loops, 7 SNS (36)
5) 36 SNS (36)
6) 25 SNs, a subtraction of four loops, 7 SNS (33). BUT
Sew a snout to the head, placing it according to the picture below, so that a decrease of 4 loops of the 6th row of the snout would look down, filling it with a sintepukh during the sewing process.
Registration.
Let’s make some simple which will make a muzzle
Category Popular Posts
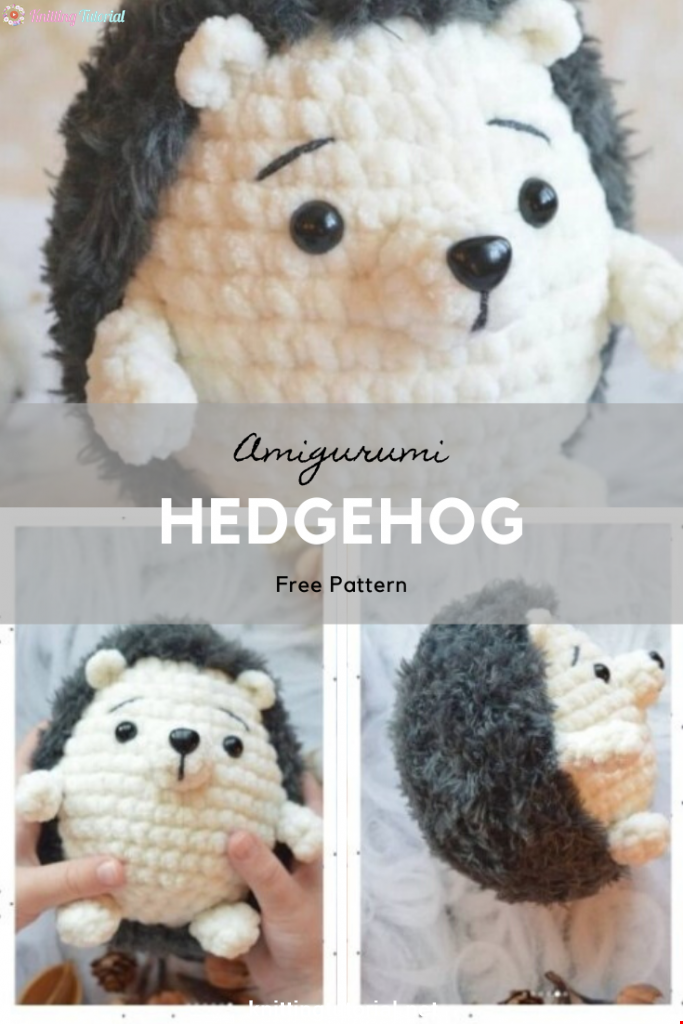
Amigurumi Hedgehog Free Pattern
12 October 2020, 09:52 11505
Making Amigurumi Spiderman
27 January 2022, 20:58 2025
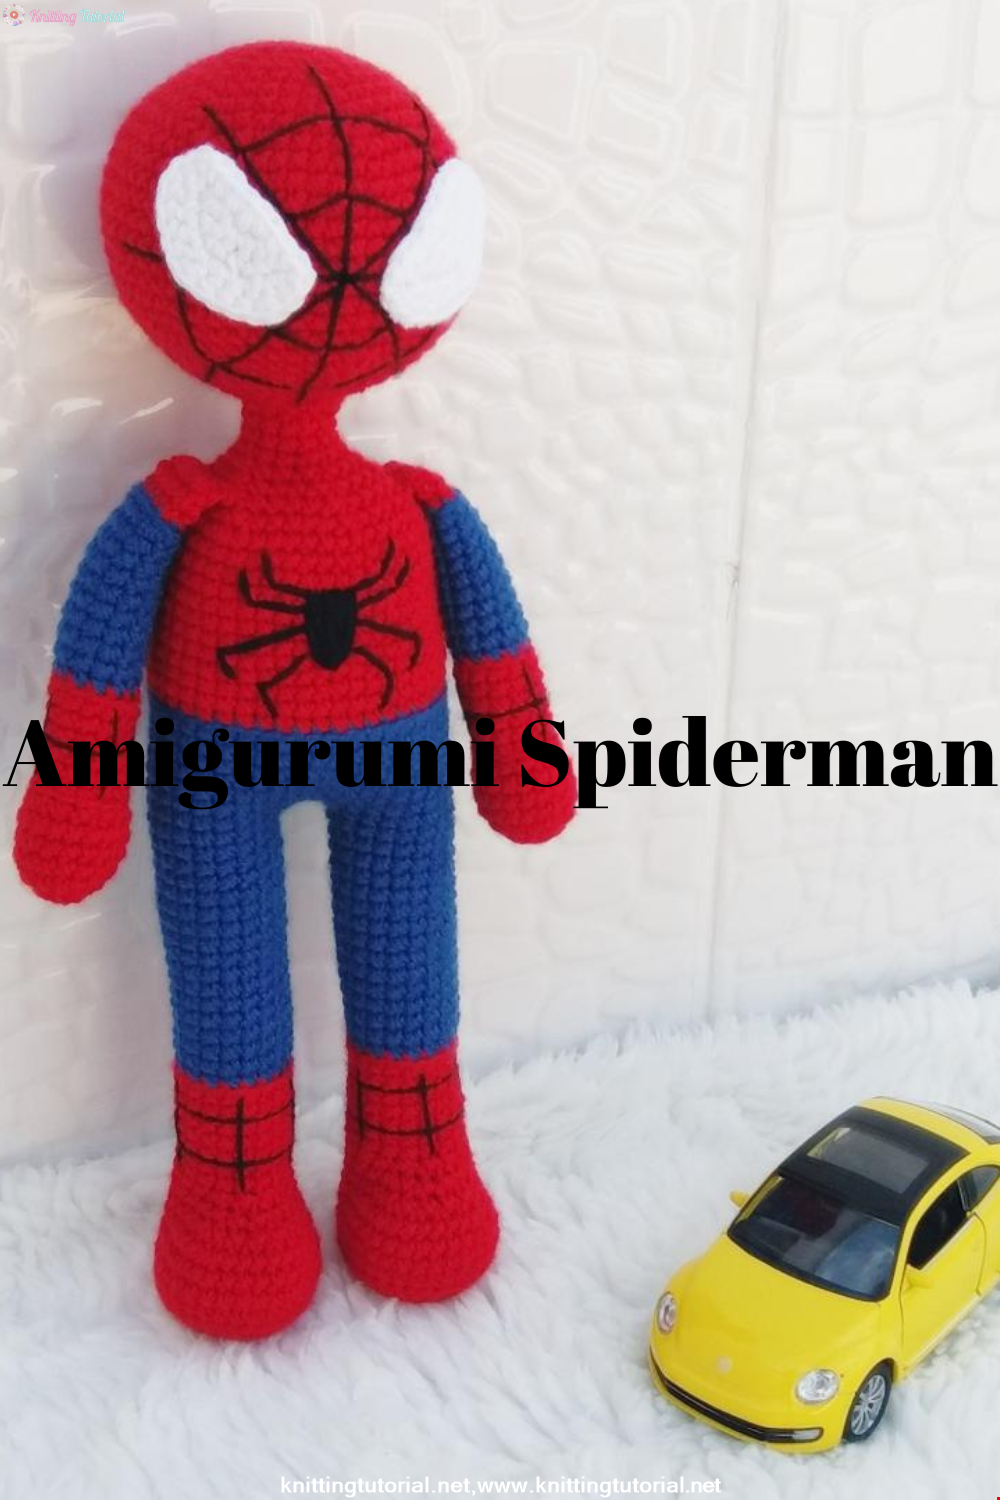
Hello, Are you ready to knit Spiderman, Spider-Man, the children's favorite cartoon character? You will be able to knit easily with detailed explanation. Let's start!
Read More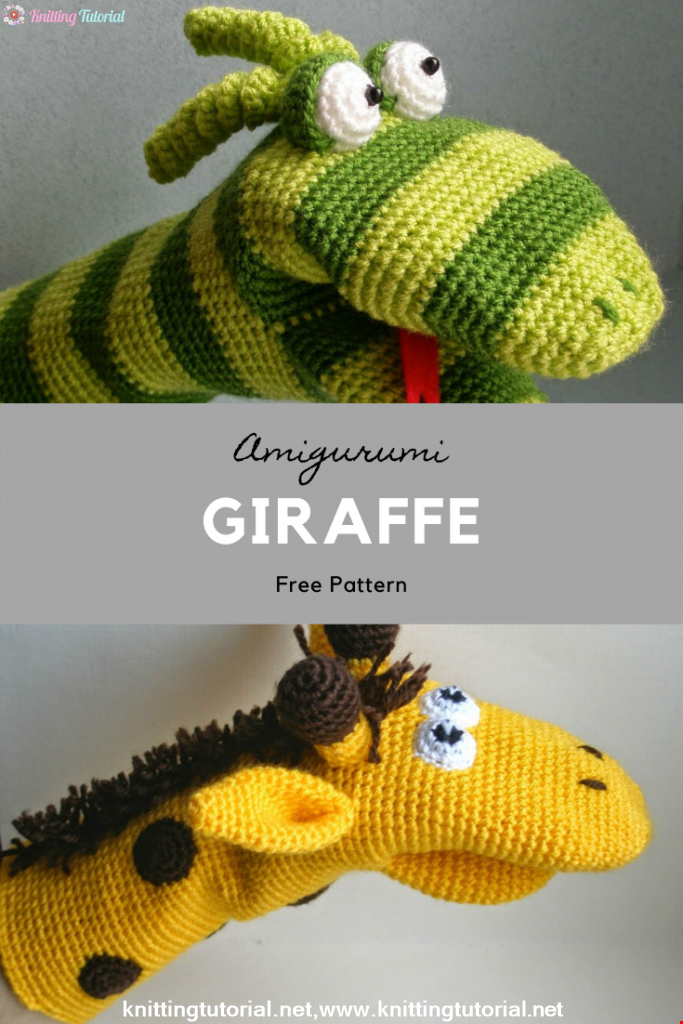
Amigurumi Princess Mononoke Crochet Pattern
12 December 2020, 21:20 946
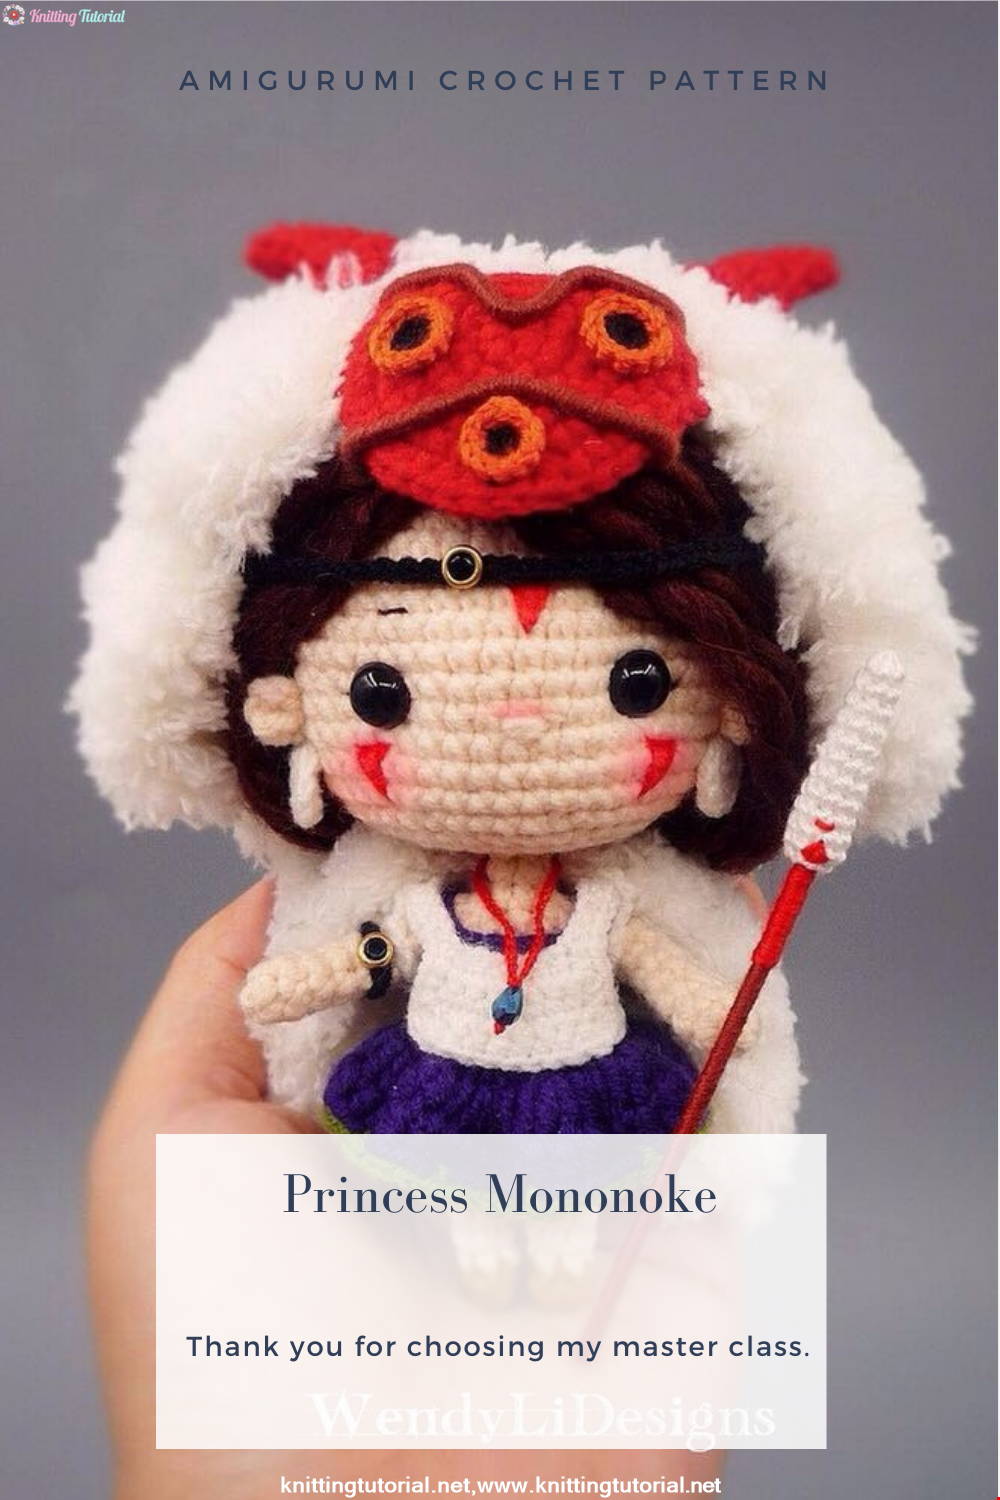
Free Crochet Princess Mononoke workshop by Wendy Li. The knitted girl is the hero of the cartoon by Hayao Miazaki. From the description of the diagram, you will also learn how to knit: a cape, a cloak, a dress and a mask for a doll.
Read More
Princess Disney Amigurumi Pattern
8 October 2020, 14:51 5815


Korean Girl in Traditional Dress (Hanbok)
22 September 2020, 11:11 1573
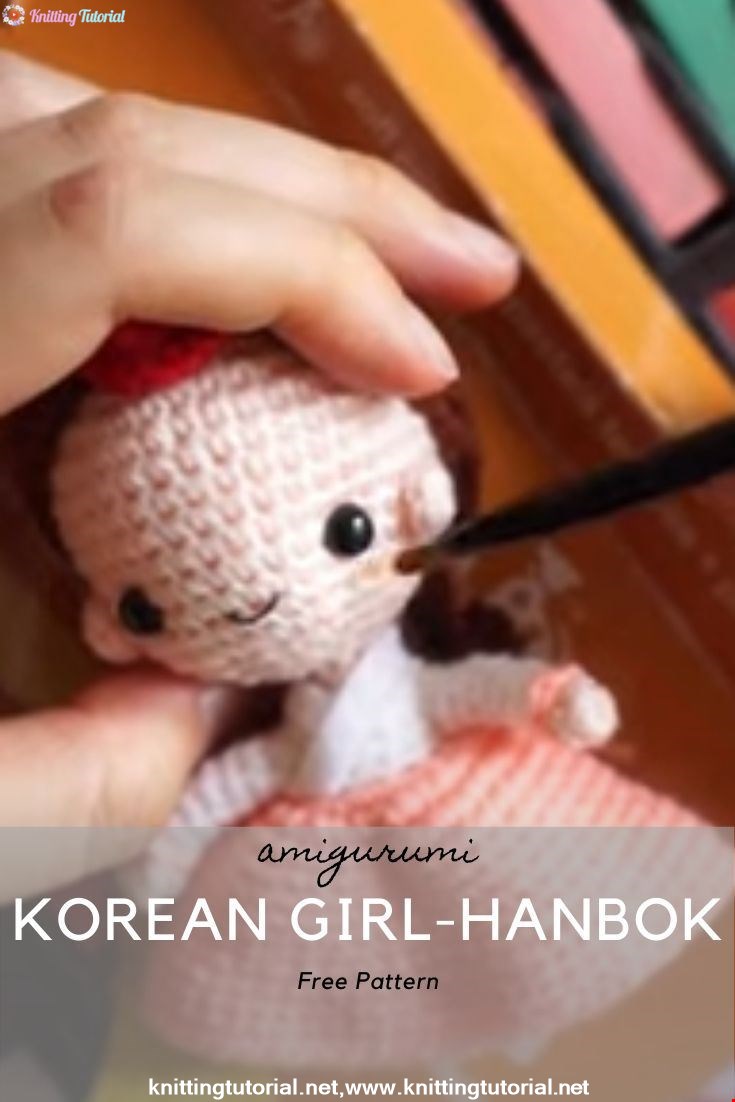
This is the process how I made the amigurumi of Korean Bride in traditional dress Hanbok. Lately I've been watching a lot of Korean dramas and got inspired to make one. I hope you can enjoy the video, and get inspired too!
Read More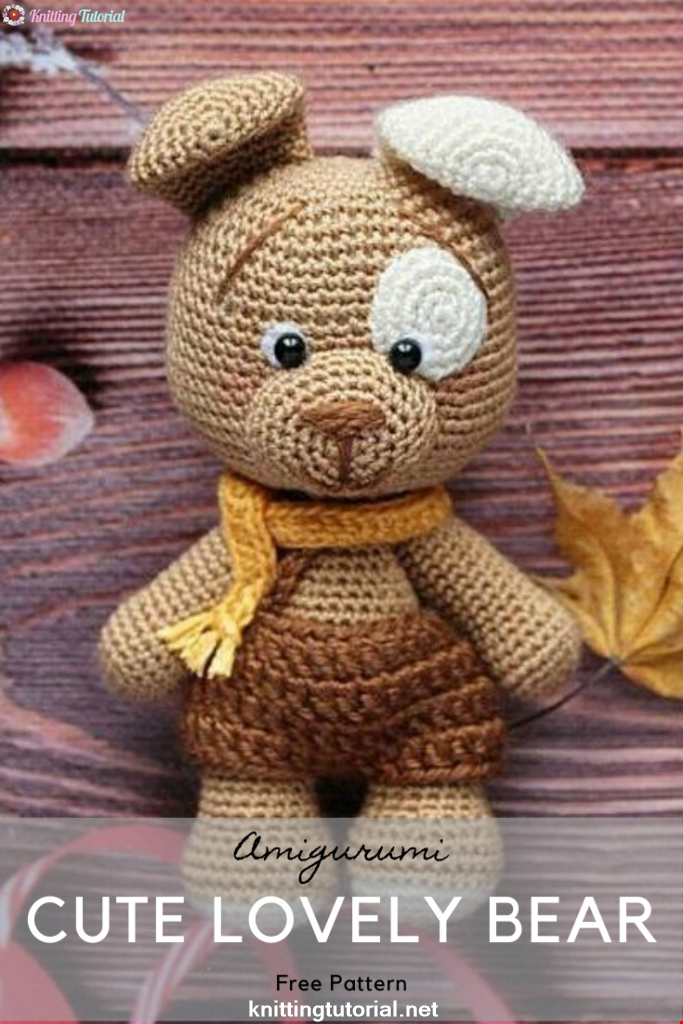
Amigurumi Sweet Giraffe Recipe and Preparation
5 January 2022, 14:55 634
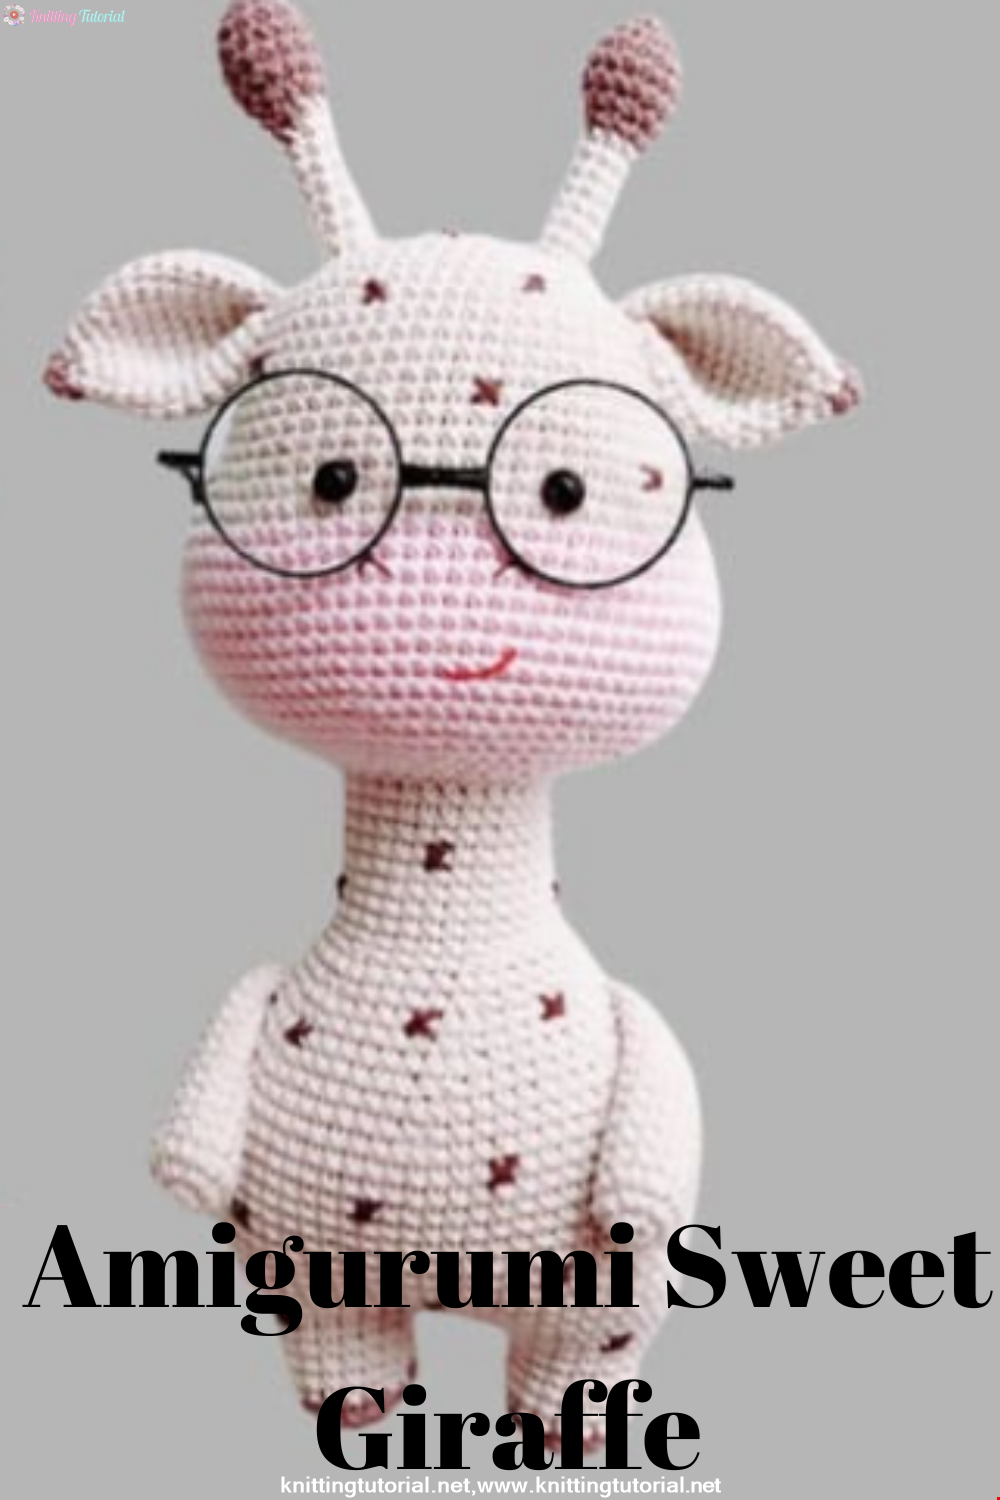
We have come to share with you the most popular model of recent times with the Amigurumi sweet giraffe recipe. I hope it will be an amigurumi animal figure that you like very much and knit with love.
Read MoreLovely Teddy Bear Amigurumi Tutorial
12 October 2020, 10:05 2969