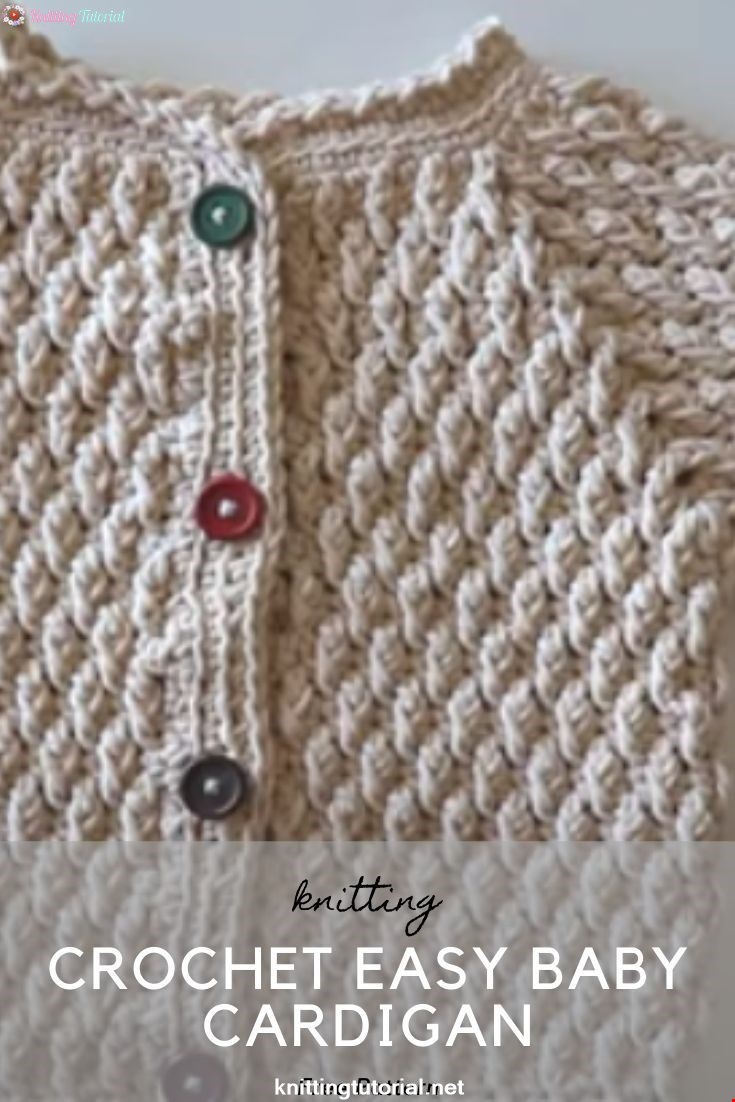
Cuddly Cardigan Crochet Tutorial
15 October 2020, 14:35 1292
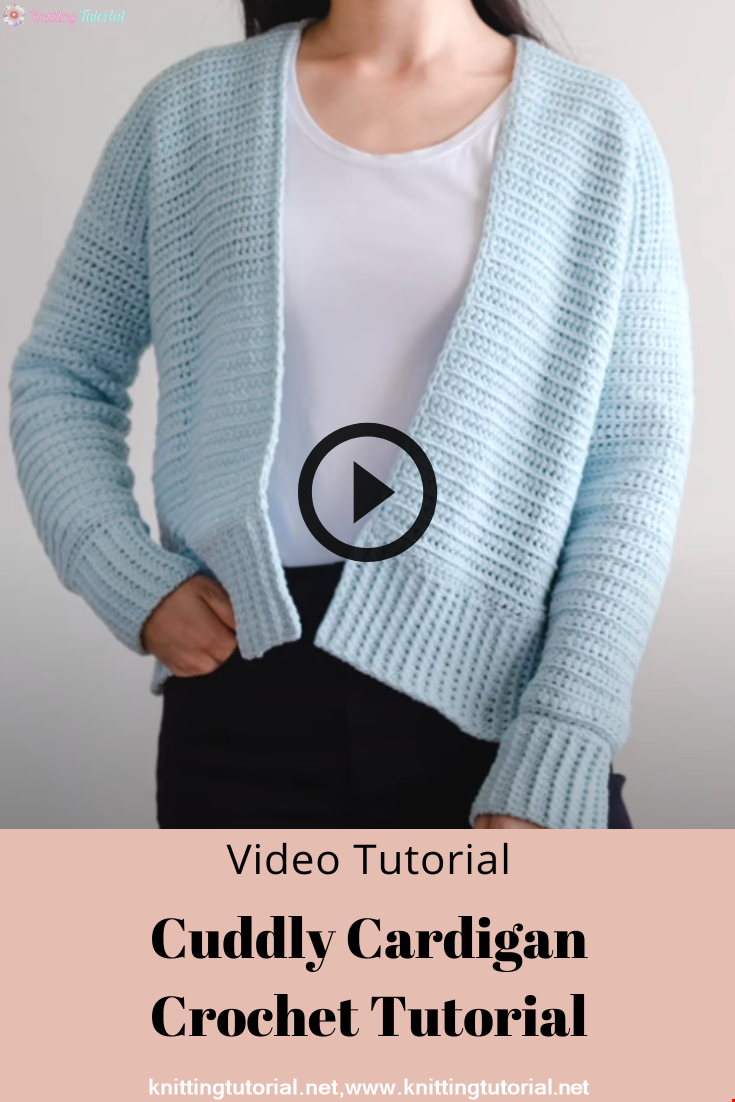
hi everyone today I’m gonna show you how
to make this super soft crochet cardigan
today I’ll be making this pattern in
size small the full rhythm pattern from
sizes extra small to three extra large
will be available for free on my blog
I’ve linked it down below in the
description bath you will need Aran or
worsted weight yarn I’m using lime
Brants feels like butta in the color ice
a 5 millimeter crochet hook a dining
needle and some scissors we’re going to
start with the back panel to begin
create a slip knot and insert your
crochet hook into the loop
chain 79
we’re now going to single crochet into
the second chain from the hook
two single crochet and sit your hook
into the chain
yarn over and pull up a loop yarn over
and pull through two single crochet in
each chain until the end of the row
in total you should have 78 stitches
at the end of the road turn your work to
start row two we’re going to chain one
and throughout this pattern chain one
does not count as a stitch we’re going
to single crochet into the front loop of
the first stitch so when you turn your
works at the top of the stitches are
facing you remember that the front loop
is the loop closest to you
so when you front loop single crochet
make sure to only pick up the front loop
the back loop is left empty
single crochet as per normal
front loop single crochet in each stitch
until the last stitch
in the last stitch of the row place the
normal single crochet
at the end of the road turn yo it you
should have seven eight stitches in
turtle
repeat row two until the end of row 58
once you’ve crocheted 58 rows you have
finished your back panel don’t fasten us
because we’ll crochet the front panels
directly onto the back panel
to start row one of your first front
panel chain 1 front loop single crochet
into the next 35 stitches
once you have 35 stitches single crochet
into the next stitch
in total you chef 36 stitches in row 1
turn your work
outro – chain 1 front loop single
crochet in each stitch until the last
stitch of the row
single crochet in the last stitch of the
row
turn your work repeat Row 2 until the
end of row 58
at the end of row 58 fast enough
we’re now going to crochet the second
front panel so from the edge of Row one
of the first front panel we’re going to
count four stitches to the left and then
insert our hook into the next stitch
secure your yarn and pull up a loop
chain one
single crochet into the first stitch
front loop single crochet in each stitch
until the last stitch of the row
single crochet in the last stitch of the
row turn your work in totally chef 36
stitches to start Row two chain one
front lip single crochet in each stitch
until the last stitch of the row
single crochet in the last stitch
single crochet in the last stitch and
tear
repeat row two until the end of row 58
at the end of row 58 fast enough
and you finished the body piece we’re
now going to work on the sleeves and
we’ll crochet the sleeves from the cuff
up
to start your sleeves create a slipknot
crochet hook into the loop
Chane 31
once you have 31 chains single crochet
in the second chain from the hook
single crochet in each chain until the
end of the row
you should have 30 stitches in total
turn your work to start row two
chain one
front loop single crochet into the next
five stitches
place two front loops single crochets
into the same stitch
repeat the pattern of front lips single
crochet into the next five stitches
and then to front loops single crochets
into the same stitch until the end of
the row
at the end of the road instead of
placing two front loops single crochets
into the last stitch place two single
crochets
and totally step 35 stitches
turn your work
to start row 3 chain 1 front loop single
crochet in each stitch until the last
stitch of the row
single crochet in the last stitch of the
row and turn your work
and 404 we’re going to repeat Row three
so chain one and front loop single
crochet in each stitch until the last
stitch of the row
single crochet into the last stitch of
the row turn your work
you might notice that your sleeve has a
slight arch or curve to it
don’t worry because as we crochet more
rows or flatten out to start Row 5 chain
1 we’re going to front loop single
crochet in each stitch until the last
stitch of the row
place two single crochets into the last
stitch of the row
and ten Ulik
repeat rows three to five until the end
of row fifty
at the end of 450 fast enough
you finished the majority of your sleeve
and now we’ll work on the sleeve ripping
to start your sleeve ripping create a
slipknot
and sent your crochet hook into the loop
chained 14
we’re going to half double crochet into
the second chain from the hook
crochet yarn over insert your hook into
the chain
yarn over and pull up a loop you should
have three loops on your hook yarn over
and pull through all three loops half
double crochet in each chain until the
end of the row
you should have 13 stitches in total
turn your work
to start row to chain one slip stitch in
each stitch until the end of the row
keep your tension nice and even and make
sure that your slip stitches aren’t too
tight
you
at the end of the road turn your work
when crocheting into Row three
make sure you don’t insert your crochet
hook into the top of the stitches of the
half double crochets of row 1 turn your
works at the top of the stitches are
facing you and insert your crochet hook
through the top of the slip stitches
to start row three chain one half double
crochet in each stitch until the end of
the row
you should have 13 stitches in turtle
at the end of the row turn your work to
Sartre for chain one
flip stitch in each stitch until the end
of the row and turn
repeat rows 3 to 4 until the height of
the ribbing matches the width of the
cuff of the sleeve I crocheted until
Rosetti
hope everything up to the edge of the
sleeve
once you’re happy with the link fast
enough
right now you can tell that we’re
looking at the wrong side because it’s
smooth here at the right side is facing
up because we can see the vertical lines
of the ribbing
whenever you’re sewing pieces together
make sure the wrong side is facing up
towards you this will help your seams
look nice and neat place the ribbing on
top of the edge of the sleeve you can
use a stitch marker to hold it in place
third a darning needle with the length
of yarn whoops it’s the ribbing to the
edge of the sleeve
once you’ve sewed the ribbing to the
sleeve fold your sleeve in half
lengthwise make sure that the right side
is on the inside of the sleeve and the
wrong side is facing out towards you
whip stitch along the edge of the sleeve
once you’re finished sewing the sleeve
repeat these steps for the second sleeve
we’re now going to sew the sides of the
body together to sew the body panel
together fold the front panels on top of
the back panel
line the top of the sleeve up with the
shoulder seam and using a stitch marker
a safety pin mark the bottom of the
sleeve on the body and then we’re going
to whip stitch from the bottom of the
body panels up until the stitch marker
once you’re finished sewing the side of
the body together
check to make sure that the sleeve will
fit inside the armhole gap
repeat these steps for the second side
once you’ve finished sewing the body
together we’re going to crochet the body
rubbing it follows the exact same
instructions as the sleeve rubbing so to
it again create a slipknot and insert
your crochet hook into the loop chain 14
half double crochet in the second chain
from the hook and half double crochet
until the end of the row
Daniel work
to start row to chain one and slip
stitch in each stitch until the end of
the row
turn your work
to start row three chain one half double
crochet in each stitch until the end of
the row
repeat rows 2 2 3 until your ribbing is
long enough to wrap around the edge of
the body for the body ribbing make sure
to end on an odd numbered row so after a
row of half double crochets I crocheted
until row 171 check the length of your
ribbing across the bottom edge of the
body
what’s your satisfied with the length
fasten off
making sure that the wrong side of the
ribbing and the body is facing you we’re
going to so the rubbing to the body you
can use safety pencil stitch markers to
pin the ribbing into place
third your darling needle with the long
length of yarn and whip stitch the
ribbing to the body
making sure that the wrong side is
facing up for the sleeves and the body
whipstitch the sleeves to the body
repeat these steps for the second sleeve
we’re now going to finish off the
neckline with crochet edging insert your
crochet hook into the corner of the
front right panel secure your yarn and
pull up a loop
chain one this chain one counts as a
stitch slip stitch in each stitch of the
rubbing and then up along the edges the
neckline make sure to keep your stitches
nice and even if your stitches are too
tight or coarse the neckline to pucker
slip stitch around the edge of the
neckline until you reach the other
corner
fast enough
[Music]
within all of your ends steam and block
your cardigan you finish your cuddly
crochet cardigan
Category Popular Posts
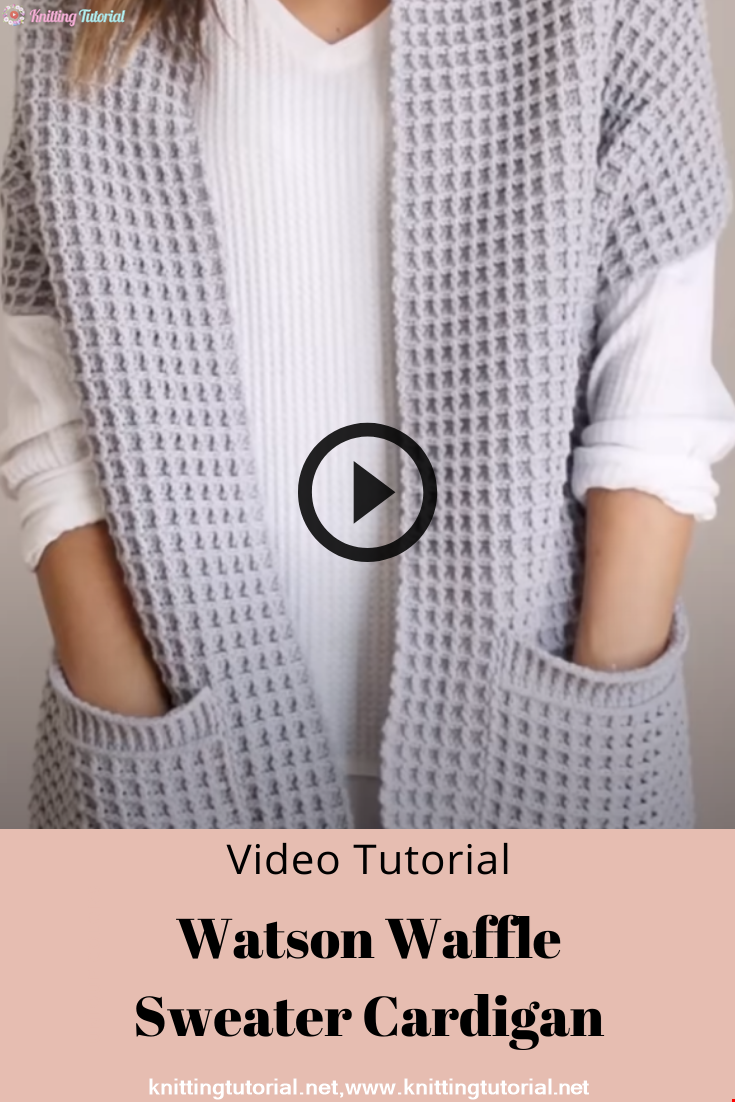
Watson Waffle Sweater Cardigan
15 October 2020, 14:38 30523
Korean Girl in Traditional Dress (Hanbok)
22 September 2020, 11:11 1599

This is the process how I made the amigurumi of Korean Bride in traditional dress Hanbok. Lately I've been watching a lot of Korean dramas and got inspired to make one. I hope you can enjoy the video, and get inspired too!
Read MoreCat-Dog Sweater Making
18 January 2022, 21:05 1302
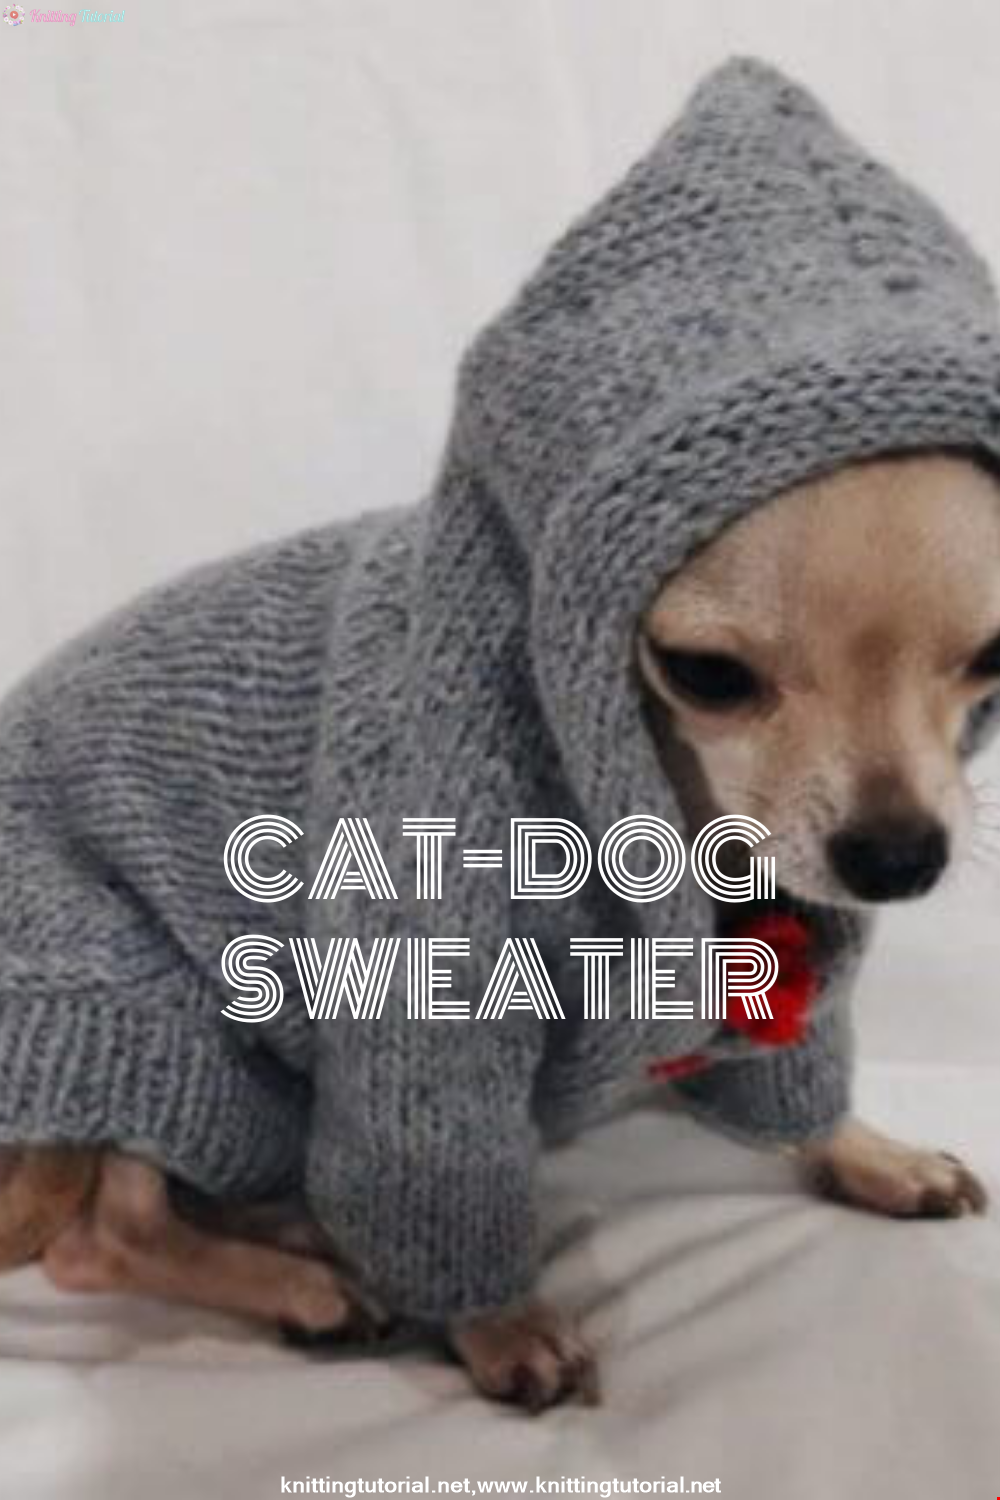
Hello, Shall we prepare our little friends for winter? Every living thing has times when it needs help. You can prevent our little friends from getting cold by knitting clothes that will keep them warm in cold weather. This will bring great happiness to you and the cute little ones. Let's get started right away!
Read MoreY Auger construction
27 January 2022, 21:16 1357
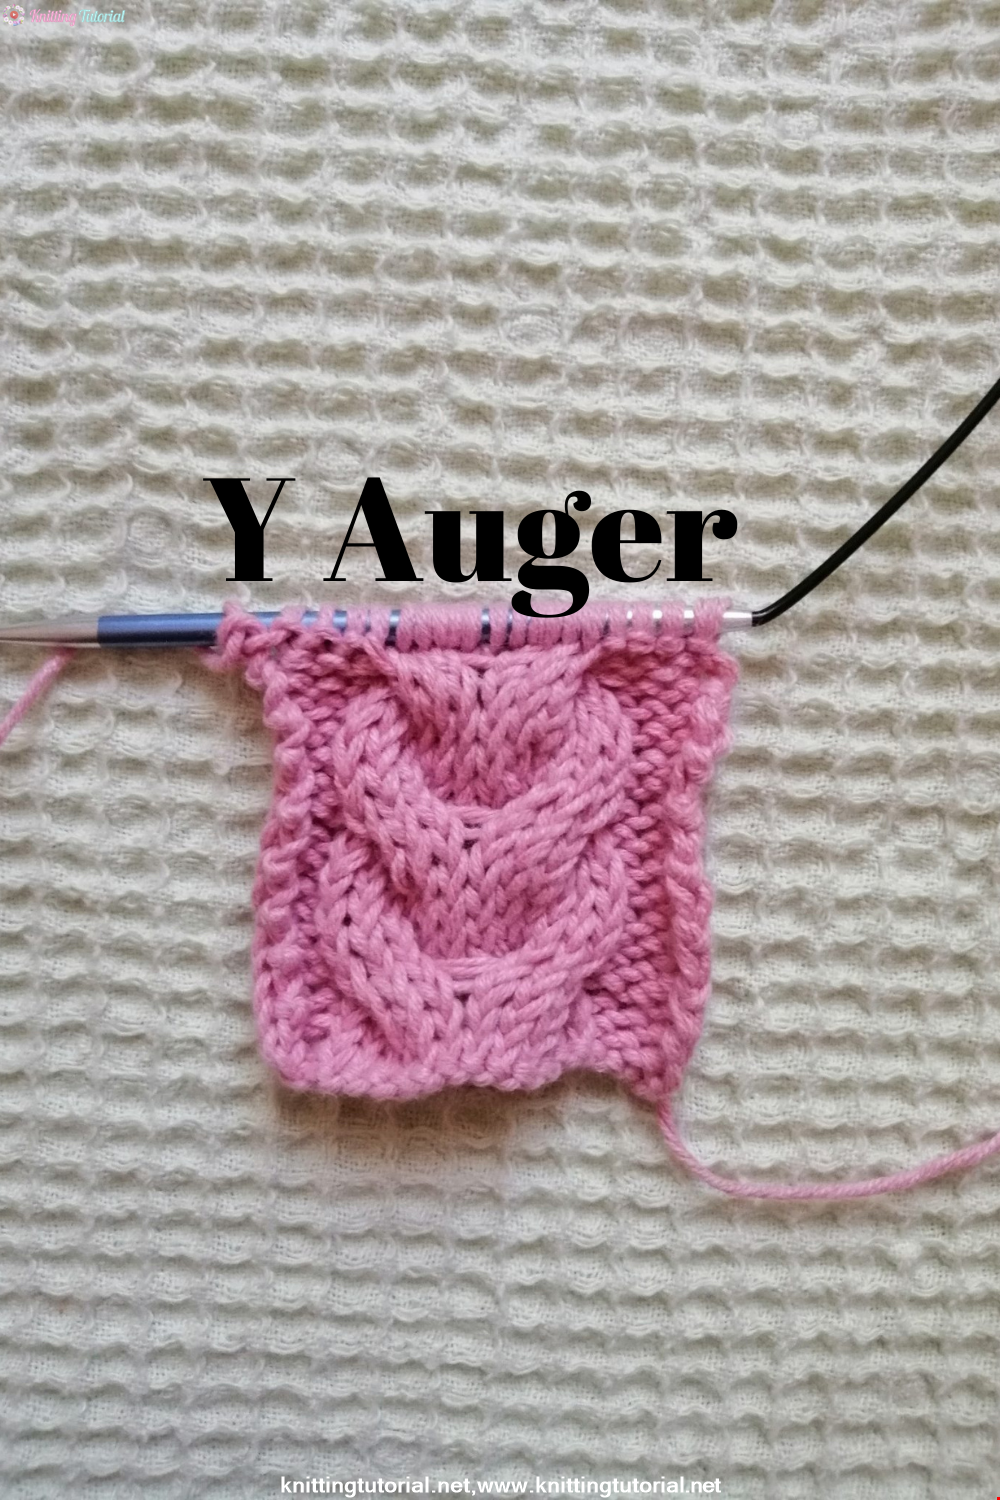
Hello everyone! We have prepared a Y twist model, which is very suitable for vests and cardigans, for you. This model is actually very easy to make! Let's start knitting this beautiful model right now!
Read MoreOpenwork Baby Cardigan Making
22 January 2022, 11:53 1349
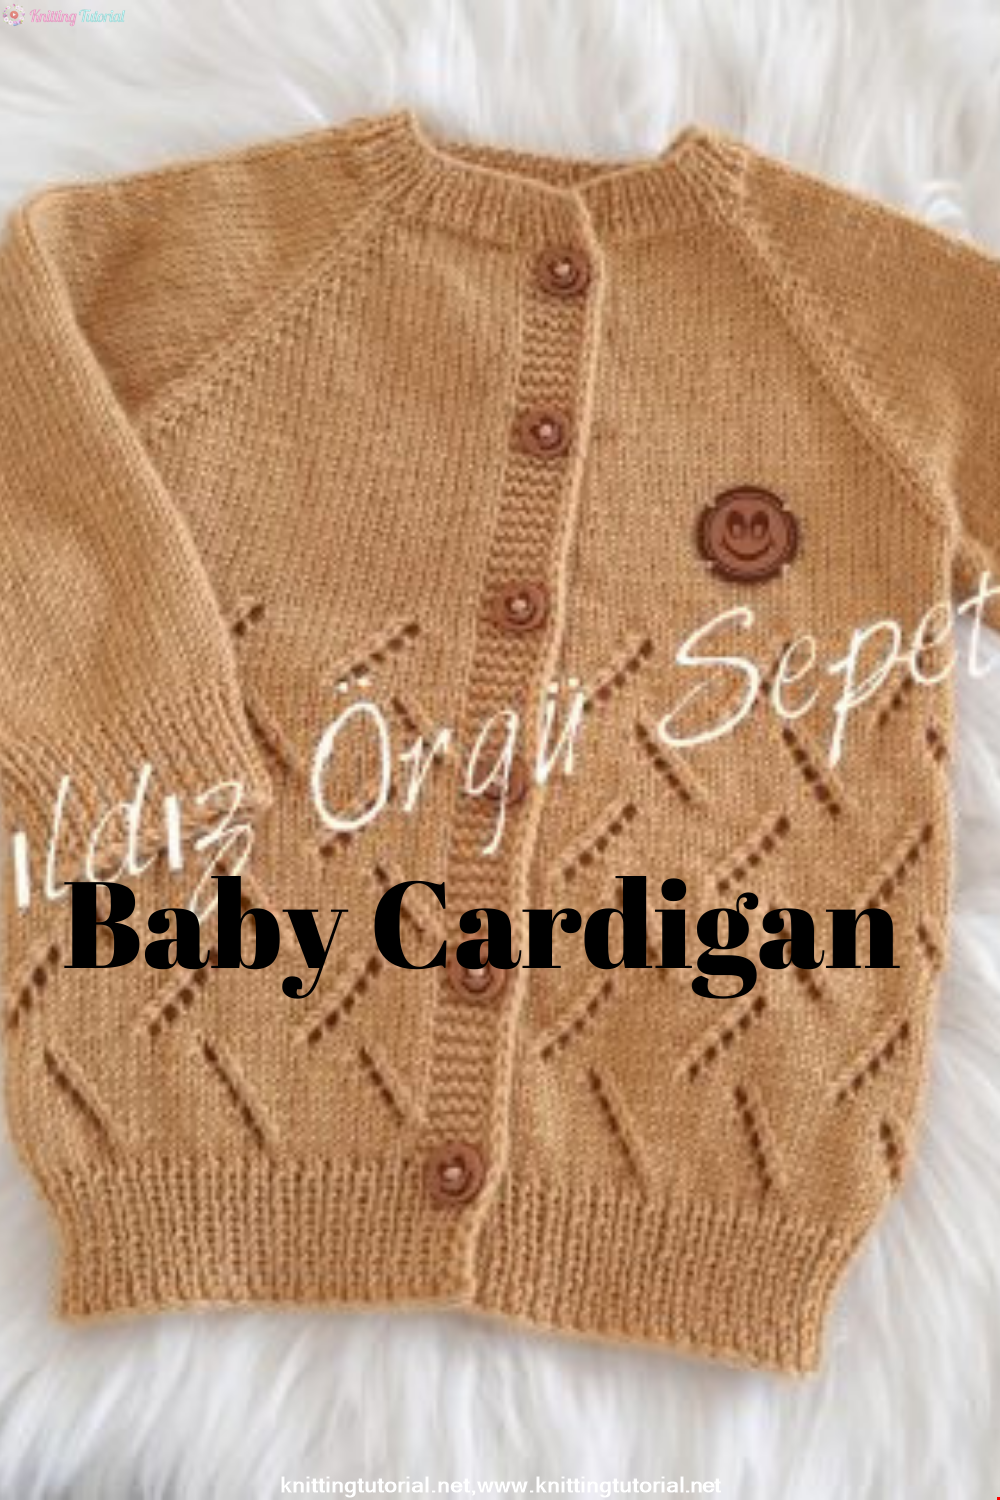
Hello! Today we came to you with the construction of openwork baby cardigan. If you're ready, let's start.
Read MoreMaking a Winter Dog Sweater
18 January 2022, 21:17 1324
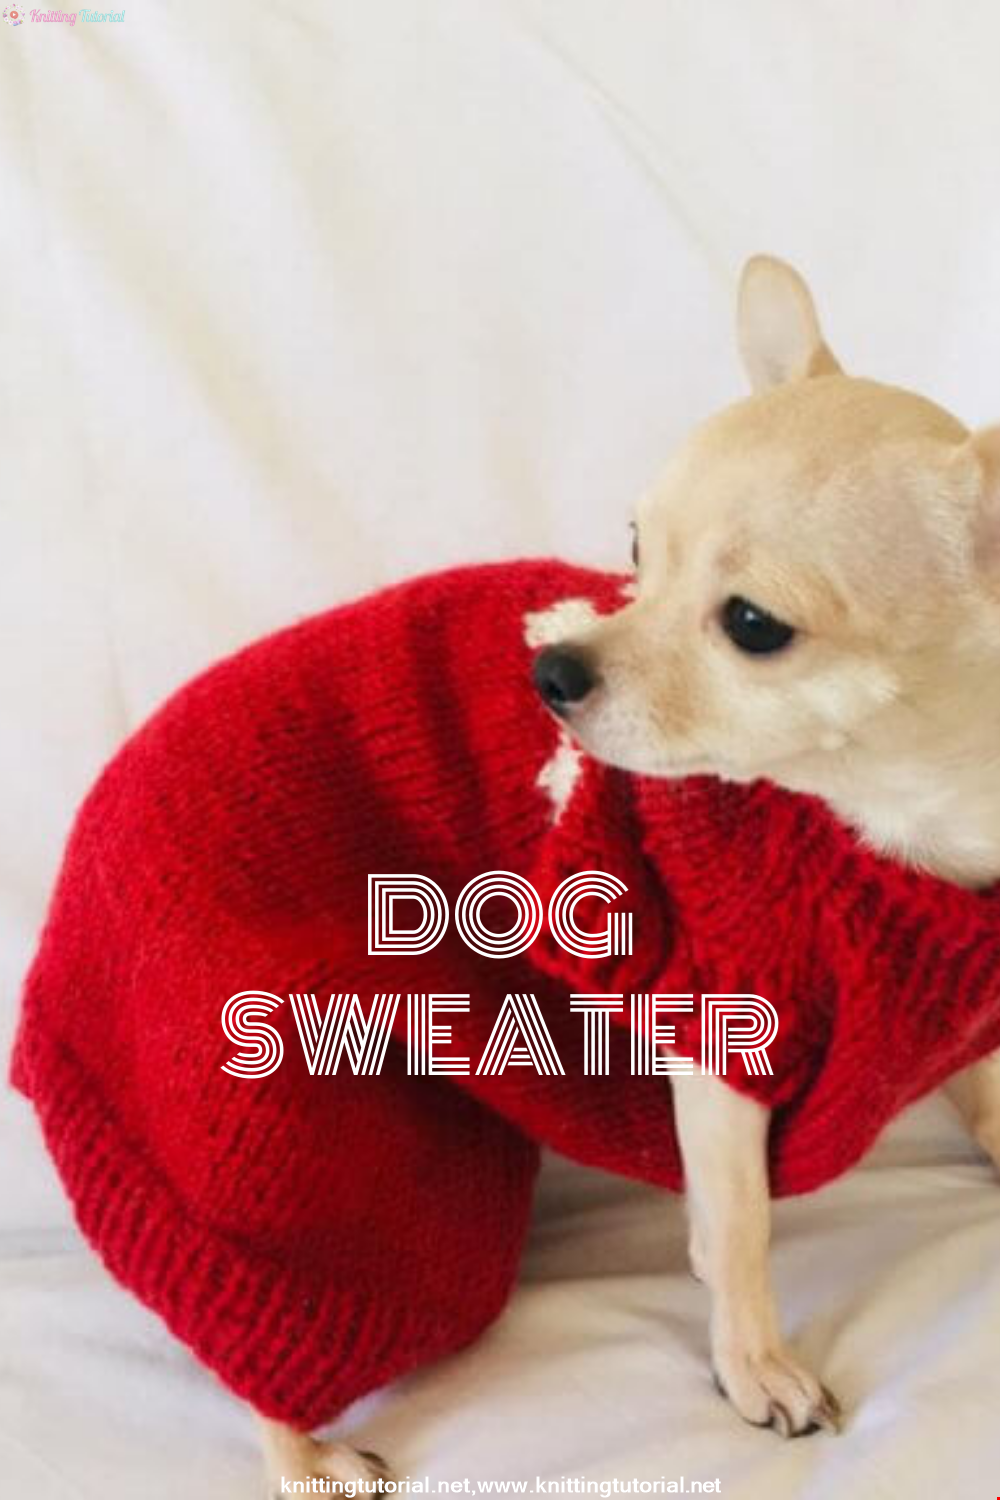
Are those who will enter the new year with their little friends ready? We have a very sweet knitting model for you. With its easy and fast preparation, it will be warm for your dog all winter!
Read More