Fancy Doll
3 November 2020, 09:50 548
Abbreviations:
pr – increase (2 columns in 1 loop of the previous row)
kill – decrease (2 columns with a common vertex) n / c / n
– half column with a cap st / n
– column with a crochet s / s
– connecting column vp – air loop of persons
– facial loop from inside – purl loop
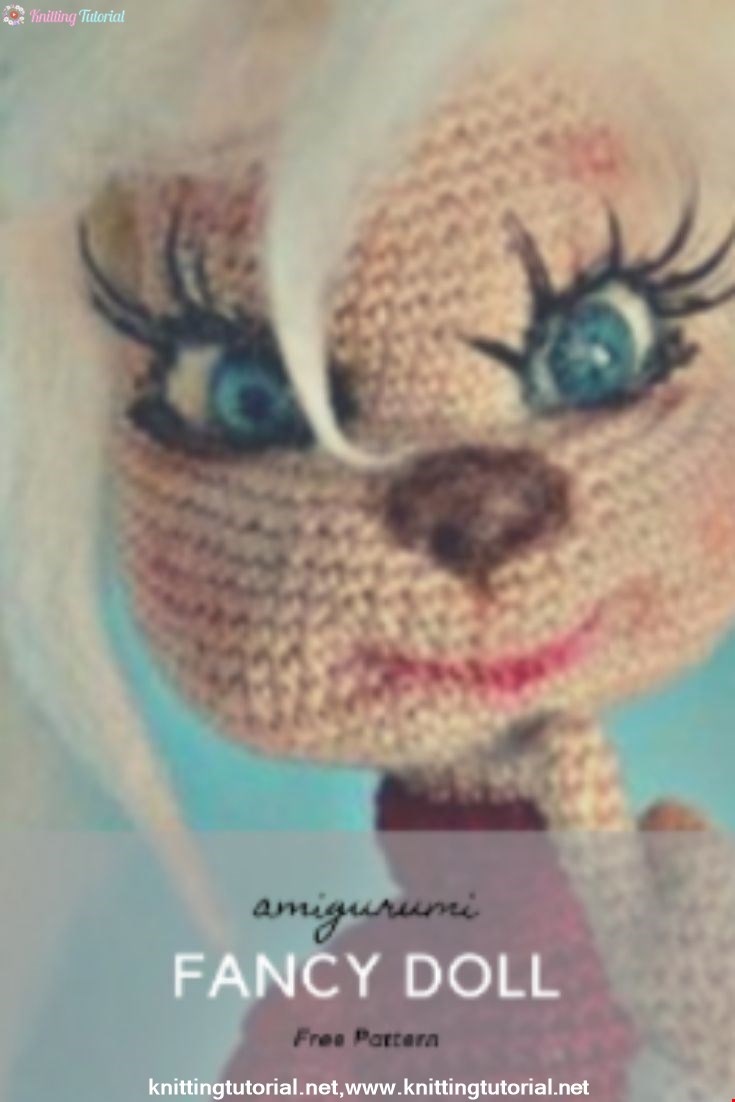
Head:
For the head, I used the flesh-colored PAN yarn and the No. 3 hook.
1) in the ring of amigurumy we knit 6 Art b / n
2) 2 Art b / n in each loop of the previous row (12)
3) 3 Art b / n, ave, 1, ave, 1, ave, 4 (15)
4) 4, pr, 2, pr, 2, pr, 4 (18)5) 5, Ave, 3, Ave, 3, Ave, 3, Ave (22)
6) 2 Art b / n, (Ave 4 art b / n) x 4 times (26)
7) (4 art b / n, sp) x 5 times, 2 st b / n (29)
8) (5 st b / n, sp) x 6 times (35)
9) 5, sp, 10, slave, 1, kill, 9, ave , 5 (35)
10) 1, etc., 2, etc., 29, etc., 4 (38)
11), etc., 6, etc., 25, etc., 6 (41)
12-17) b 41 v / o
If will use a plastic spout, like me, then at this stage it should be attached
18) (5 st b / n, slab) x to the end of the row (35)
19) (4 st b / n, kill) x to the end of the row (29)
20) (3 st b / n, ub) x to the end of the row (23)
Fill the head with filler.
21) (2 st b / n, ub) x to the end of the row
22) (1 st b / n, ub) x to the end of the row
23) kill x to the end of the row.
The remaining hole to pull.Next, do the weights to form a muzzle. The first injection of the needle is done where the neck will be, in order to hide this place later. The needle is drawn in the fourth row from the nose, under the eye (in the photo the needle tip is circled in red).
Next, hold the needle inside the row (inside the columns) on the opposite side of the muzzle.Then remove the needle again in the neck and tighten the thread. Needle on the photo circled in red.Thus, we have formed a snub.
Next, a few stitches from neck to face narrow down the eye area. We get deep eyes (future) and protruding nose.
Eyes:
For the peepholes, she used the remains of cotton yarn (blue – Natural cotton from Pekhorka, white – Children’s cotton from Pekhorka) and hook # 2.
1 row: we knit the blue thread with 11 n / st / n into the amigurumi ring . We close in a circle, we break a thread.
2 row: white thread st b / n and p / st / n in 1 loop of the previous row, 2 st / n in 1 loop, p / st / n and st b / n in 1 loop, 3 s / s, st b / n and p / st / n in 1 pet, 2 st / n in 1 pet, p / st / n and st b / n in 1 pet, 3 s / s.
Black thread embroider pupil
Eyelashes:
We wrap 2 fingers with yarn about 15 times. We tie it on one side.We make the second same item. Sew on the eye area. In the photo, the head is already finished, because I reworked my eyes.
Top sew eyes:
Embroidered black line along eye contour, cut eyelashes. Embroider eyebrows and mouth.I decided to make my hair out of satin ribbons. Ideally, you need a wide pale yellow ribbon. But I didn’t find anything suitable in the store, so I took what I had from my inventory, but there was a 5 cm wide ribbon in peach color. The stock was 5 meters long 21 cm.
In principle, it was enough, but it would be even thicker to make the hair.First you need to decide which side of the tape is easy to dismiss. At one end it dissolves well, and the other is confused. We determine the end we need. I give a hint: if the tape is located to us face, then on the left side there is such a secret curly thread. If you pull it, then it will dissolve along the length of the tape and it will be easy to unpick the tape itself. To find this curly thread, you need to slightly dissolve the tape.
So, we determine the end of the tape and measure the necessary length of the strand. Cut off and burn off the end of the tape, which will be sewn to the head. Sew the ribbon.We glue around the seam with glue so that it does not completely dissolve.We sew strands all over the head.
Next, dismiss the tape. We find a curly thread, dissolve it, pull a long string, unfastening the ribbon.
We have a unique opportunity to look at Rosa with her hair loose))))
Exactly we cut our hair. We do hair. The bezel.
1 row: 40 inc.
2 row: 1 st b / n in each loop.
Sew the bezel to the head.
Torso:
I was afraid that the existing flesh-colored yarn would not be enough for me for the whole Rose, so I tied the torso from old threads (I still wouldn’t see). Hook number 3.
1 row: 6 st b / n in amigurumi ring
2 row: 2 st b / n in each column of the previous row (12)
3 row: (1 st b / n, pr) x 6 times (18)
4 row: ( 2 st b / n, pr) x 6 times (24)
5-19 rows: 24 st b / n
20 row: (2 st b / n, ub) x 6 times (18)
21 row: (1 st b / n, kb) x 6 times (12)
Stuff with filler.
22 row: kill x 6 times (6)
The remaining hole is tightened.
Neck.
Yarn PAN flesh-colored, hook number 3.
Recruiting 10 vp Closing the ring. Knit in a circle 5 rows.
Sew on the body:
Rosa’s neck is thin, and her head is big. If you just fill the filler, the head will hang out. To stiffen the neck, I did this:
Cut a strip from a plastic bottle the width equal to the length of the neck.
She twisted it into a tube and inserted it into the neck.
Arms:
Yarn PAN flesh-colored, hook №2.
Working with Rosa’s hands will be thin, so I peeled the thread and took a smaller hook.
We start to knit with fingers. In the ring of amigurumi we knit 6 Art b / n. Knit 3 rows. Thread break off. It turned out a finger. Similarly, we knit the second finger, but do not cut the thread, connect the second finger with the first two items b / n. Thread cut off
Knit the third finger, connect with the second. Then we knit in a circle, grabbing all three fingers, 2 rows.
The thread is not cut. Putting aside. We knit the thumb: 6 st b / n in the ring amigurumi , 2 rows, cut off the thread.
Again, take the pen with three fingers and tie in the thumb. First, we connect with two items b / n, pass a circle on three fingers, reach the thumb and turn it on in the general circle.
In the next row, we bring the number of loops in the circle to 10 and knit 25 rows in this way.
Also knit the second hand. We fill with filler (palm should be stuffed lightly). Hands sew to the body.
Next knit jacket. She will not be removed, because the head is big.
Blouse:
Troitsk yarn “Bamboo” crimson, “Children’s Cotton” from Pekhorka white, stocking needles No. 2.5.
On the spokes we collect 48 loops, distribute into 4 spokes. We knit a rubber band 2 persons, 1 internal 25 rows.
26 row: 5 pet closed, 19 pet according to the drawing, 5 pet closed, 19 pet according to the drawing.
We knit the front shelf and the back (19 unclosed loops) separately, 6 rows according to the pattern. All loops are closed.
Sleeves:
We collect 15 loops. We distribute on 3 needles. Knit 15 rows with 1×1 elastic. This will be the cuff of the sleeve (which is folded). Then knit 19 rows with a rubber band for 2 persons, 1 w. All loops are closed. We take a white thread, we collect 15 loops. We distribute on 3 needles. Knit 16 rows of the front surface. All loops are closed.
Paw:
“Iris” white, hook number 1.
Paw consists of a heart and four ovals ..
In the ring amigurumiwe knit 2 ce, 13 st s / n, 2 ip. We do not close the circle, we tighten the ring.
4 ce, st b / n in the third loop from the start of knitting, 1 st b / n, 3 st b / n in one loop, 1 st b / n, 2 st b / n in the first loop, s .
Tie 4 ovals.
We sew all these parts on the sweater in the form of a foot.
Collar.
Recruit needles 20 loops. Distributed into three needles. Knit a rubber band 1×1 8 rows. Close all the loops
We collect the jacket.
Close the shoulder seams. Sew the collar. On the crimson sleeves we fold the cuff. Sew white sleeves to the fold. Sleeves sewn into the armhole
Wearing a jacket
Sew on the head.
Legs.
Yarn white, hook number 3.
Blue thread dial 5 vp and knit the sole according to the scheme:
Sole
Cut out the plastic in the size of the resulting sole (you can use the carton, but do not wash it with it). I took the inner lid of the cream.
Knit on.
1 row: st b / n behind the back wall of the columns of the previous row (31)
2 row: st b / n behind both walls (31)
3 row: on the heel side of the sole, knit 1 st b / n into each column of the previous row, and in the front part (where the sole is wider) we make 5 decrease in a row (26)
4 row: we turn the knitting and knit it to the opposite wall, in the middle of the row we do 1 decrease We
insert the plastic.
Next, knit 5 rows from wall to wall, after each row we turn the knitting: 4 st b / n, s for the side wall.
It turns out such a trace:
Go to circular knitting: knit 14 heel loops and 5 front loops (19).
Stuffing the front part.
Knit 5 rows in a circle.
26 row: do 1 decrease in front of (18)
27-31 rows: no change
32 row: do 1 decrease in front of (17)
33-37 rows: no change
38 row: change thread to white, do 1 decrease in front of (16)
39 row: no change
40 row: do 1 decrease in the back of (15)
41-51 rows: no change Cut off the
thread. Stuff with filler.
Sew on the body.
Skirt.
I was knitting my skirt from old threads of blue and red with knitting needles No. 2.5. For the border, she took the “Children’s Cotton” from Pekhorka in white, hook # 2.
Blue thread we collect 36 knitting needles. Distributed into 4 needles. Knit the front surface of 2 rows.
3 row: (2 blue loops, 2 red) x to the end of row
4 row: do 5 increments in red fragments (through 1 red fragment) (41)
5 row: all loops are blue (41)
6 row: all loops are blue, we do increase over the remaining red fragments (in which no increase was made in the 4th row) (45)
7 row: (2 syn, 3 red) x to the end of the row (45)
8 row: do 5 increments in the red fragments (after 1 red fragment) (50)
9th row: according to the drawing (blue over blue, red over red) (50)
10 row: do 4 increments in the remaining red fragments (54)
11 row: all loops are blue (54)
12 row: all loops are blue, do 5 increments over the red fragments (through 1 red fragment) (59)
13 row: (2 syn , 5 cr, 2 syn, 4 cr) x to the end of the row (59)
14 row: do 4 increments in the remaining red fragments (63)
15 row: (2 syn, 5 cr) x to the end of the row (63)
16 row: we make 5 increments in red fragments (through 1 red fragment) (68)
17 row: all loops are blue (68)
Close all loops
We take the hook and tie the bottom of the skirt with a white thread according to the scheme:
border
(5 items b / n in one loop .s) x to the end of the row
Put on JUBK to Rosa. I just sewed it to the body.
Sneakers
I used Troitskaya yarn “Sun” in white and some old blue threads, hook # 2.
With white threads, we knit the sole in the same way as the sole of the foot
1 row: we knit st b / n behind the back wall of the columns of the last row of the sole.
2-3 rows: the same for both walls of the loop
Cut the thread.
Sock sneakers.
Row 1: tying 10 st / n into the Amigurumi ring In the circle do not close.
2 row: 2 st / n in each column of the previous row
Turn the sole with the sides inside out. Attach the toe of the shoe to the side with single crochet columns (can be sewn).
We turn on the front side.
Wall sneakers.
Go to the blue thread. Knit st b / n on the side from toe to toe, turning knitting after each row. In each successive row we decrease 1 pt at the beginning and at the end of the row (for the bevel). Thus knit 8 rows. Then another 2 rows knit without declines.
Sneaker tongue.
Knit with blue threads. We collect 10 items b / n along the edge of the toe of the gym.
Knit 13 rows
Next, we tie the walls and tongue with white threads Art b / n.
Circle.
In the ring of amigurumi we knit 10 items b / n, we lock them in a circle, we leave the thread longer for sewing.
Sew to the wall of the shoe from the outside of the shoelace.
I simply stretched the white thread with a needle in the form of lacing and tied it. We put on sneakers on legs.
Category Popular Posts
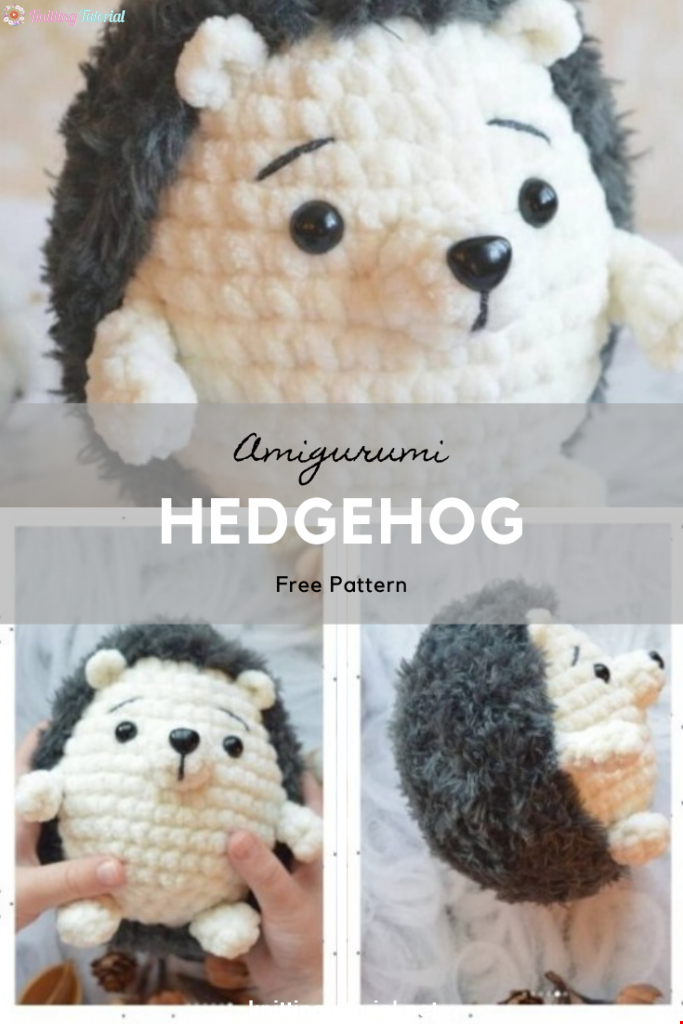
Amigurumi Hedgehog Free Pattern
12 October 2020, 09:52 11492
Making Amigurumi Spiderman
27 January 2022, 20:58 1998
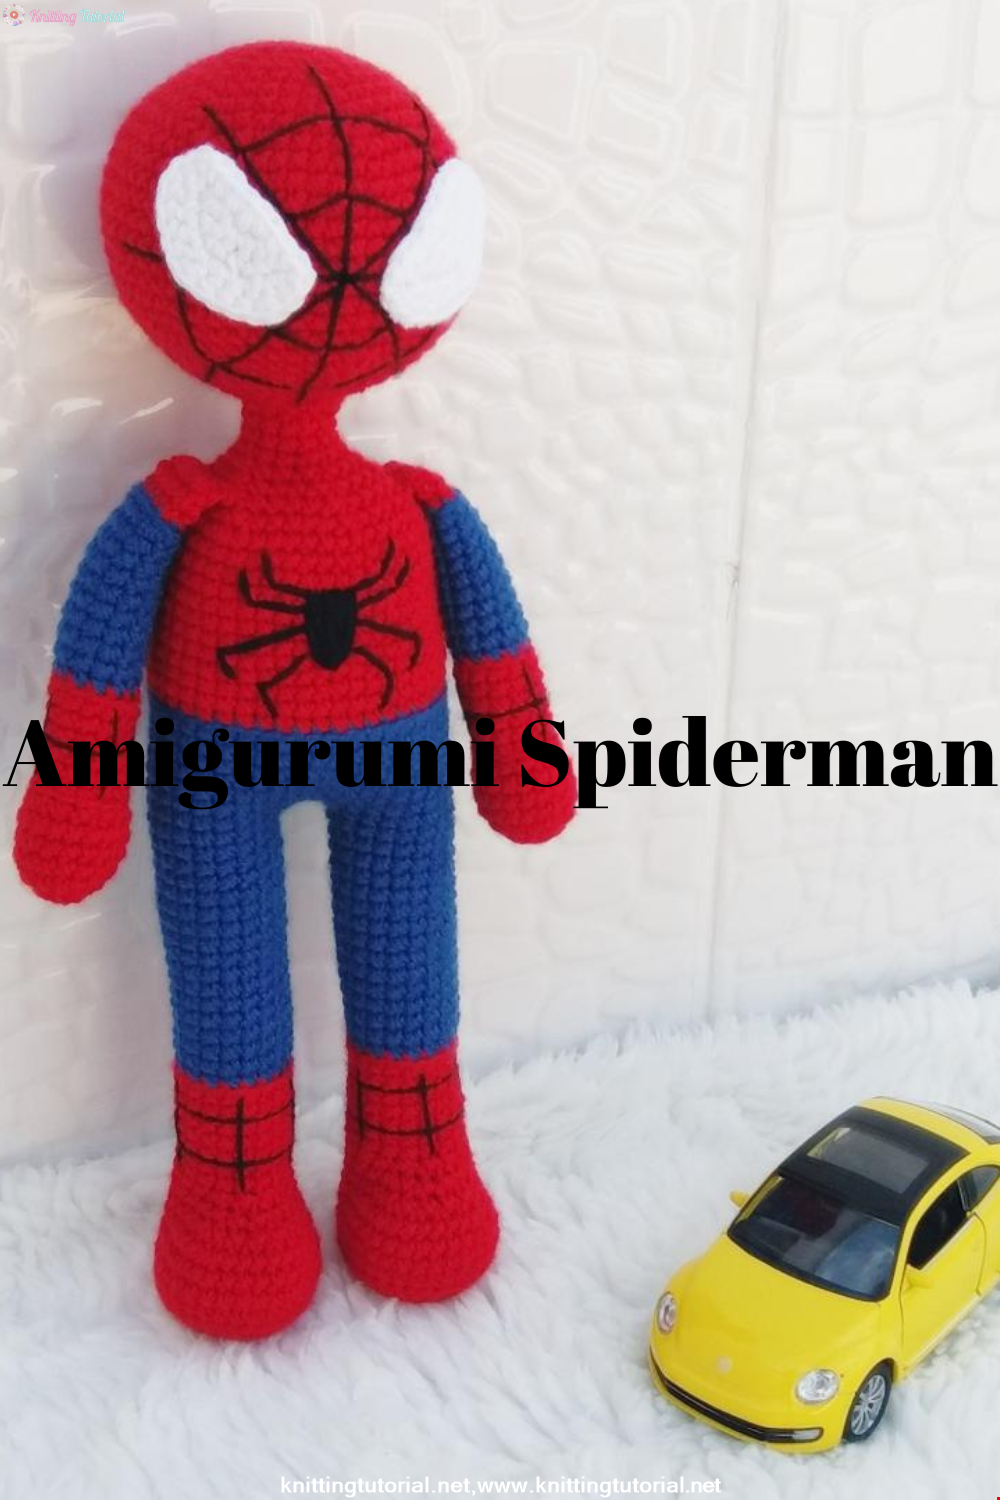
Hello, Are you ready to knit Spiderman, Spider-Man, the children's favorite cartoon character? You will be able to knit easily with detailed explanation. Let's start!
Read More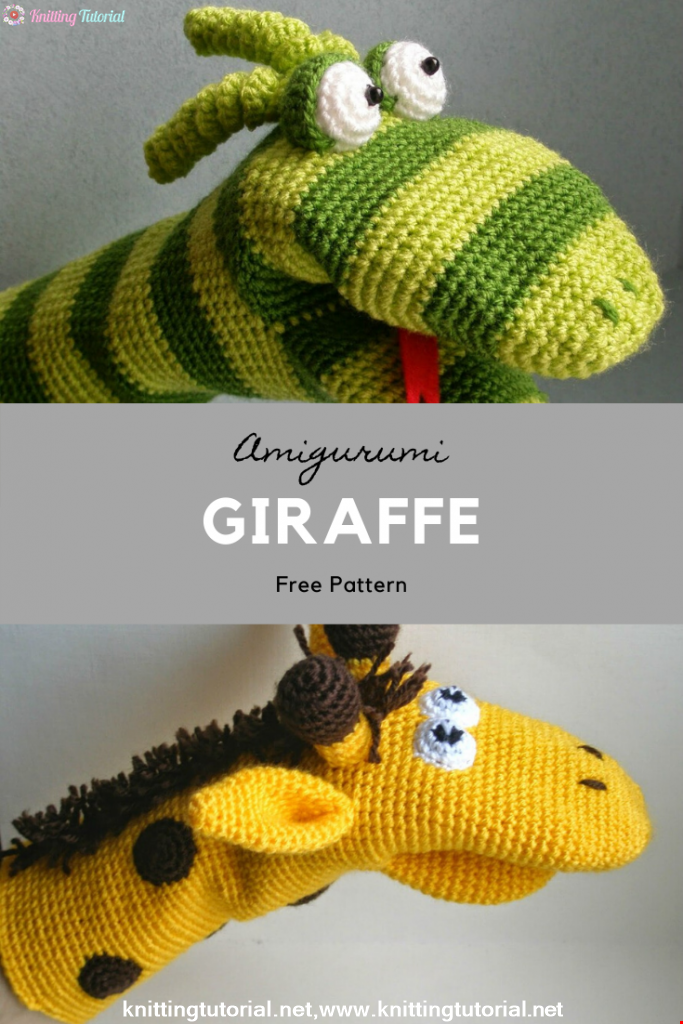
Amigurumi Princess Mononoke Crochet Pattern
12 December 2020, 21:20 942
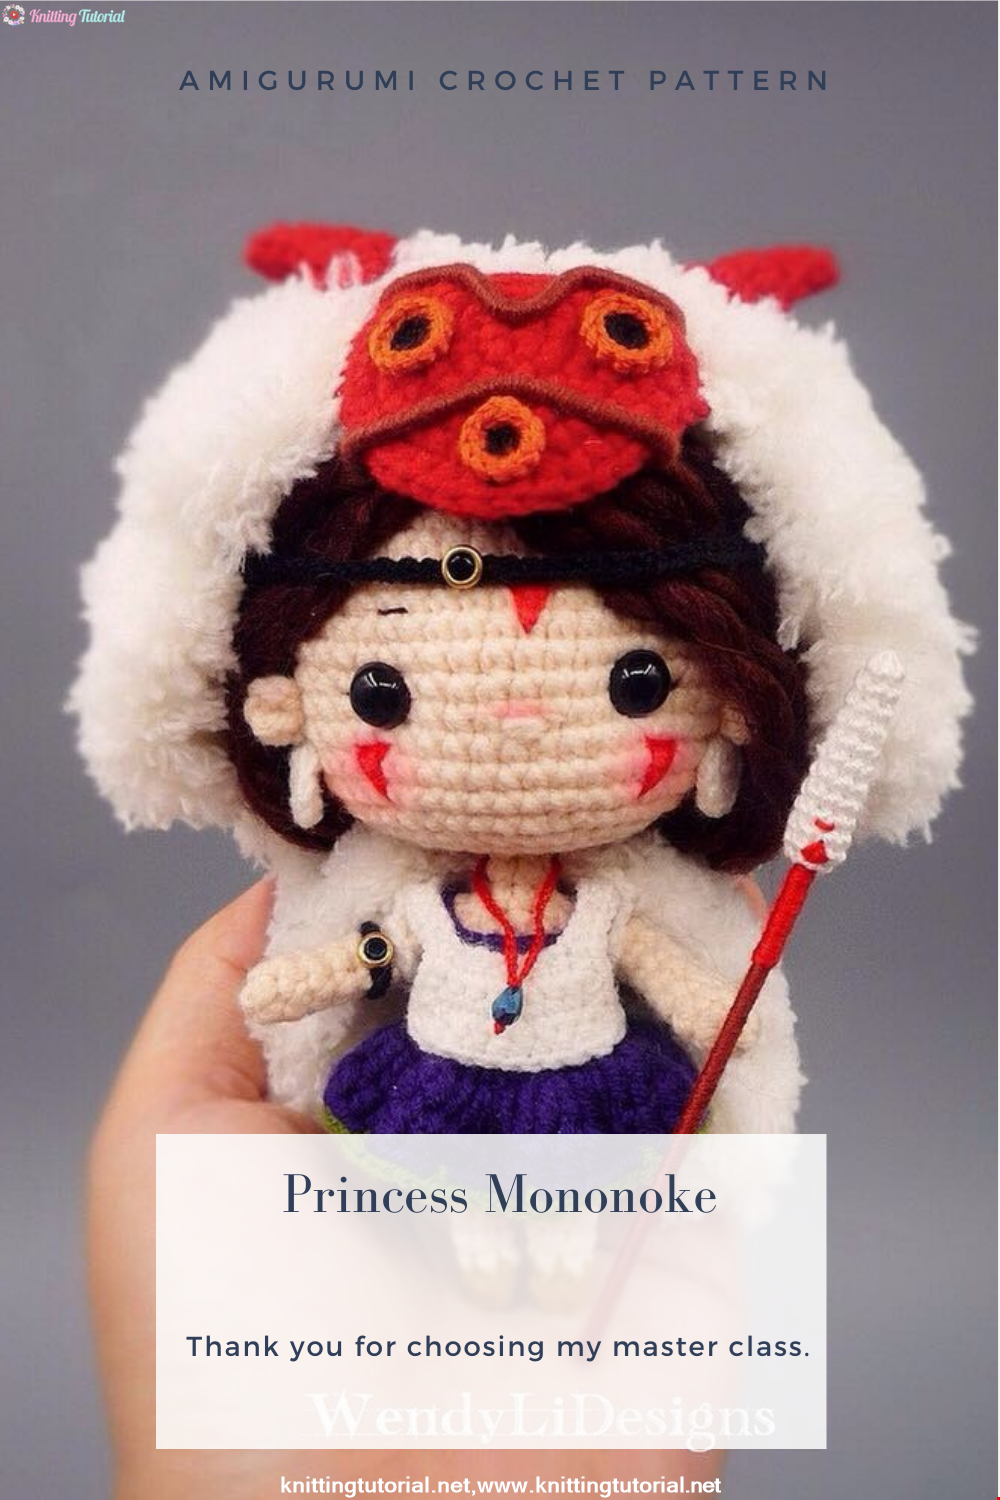
Free Crochet Princess Mononoke workshop by Wendy Li. The knitted girl is the hero of the cartoon by Hayao Miazaki. From the description of the diagram, you will also learn how to knit: a cape, a cloak, a dress and a mask for a doll.
Read More
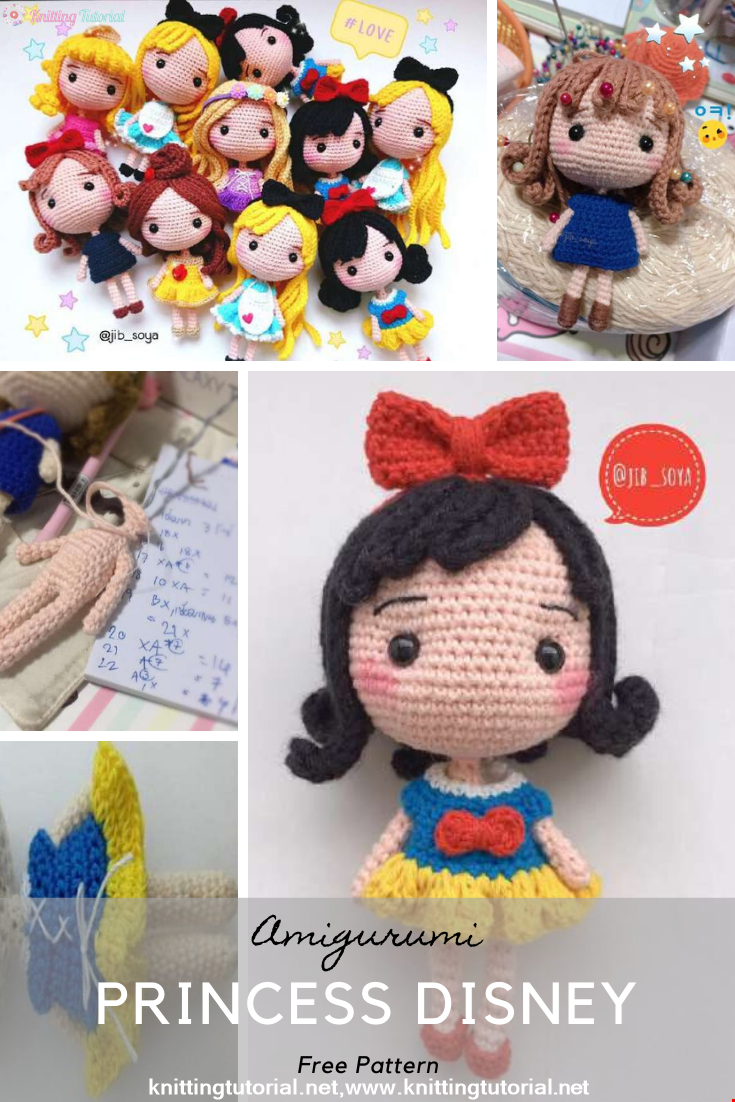
Princess Disney Amigurumi Pattern
8 October 2020, 14:51 5812

Korean Girl in Traditional Dress (Hanbok)
22 September 2020, 11:11 1572
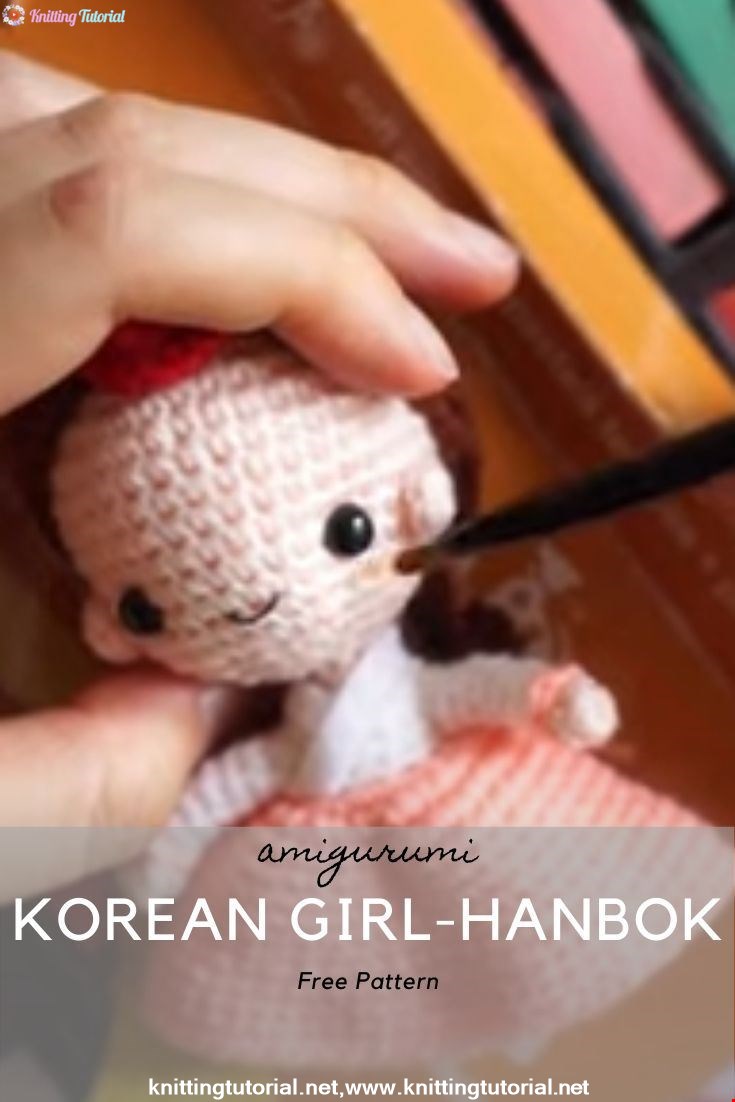
This is the process how I made the amigurumi of Korean Bride in traditional dress Hanbok. Lately I've been watching a lot of Korean dramas and got inspired to make one. I hope you can enjoy the video, and get inspired too!
Read More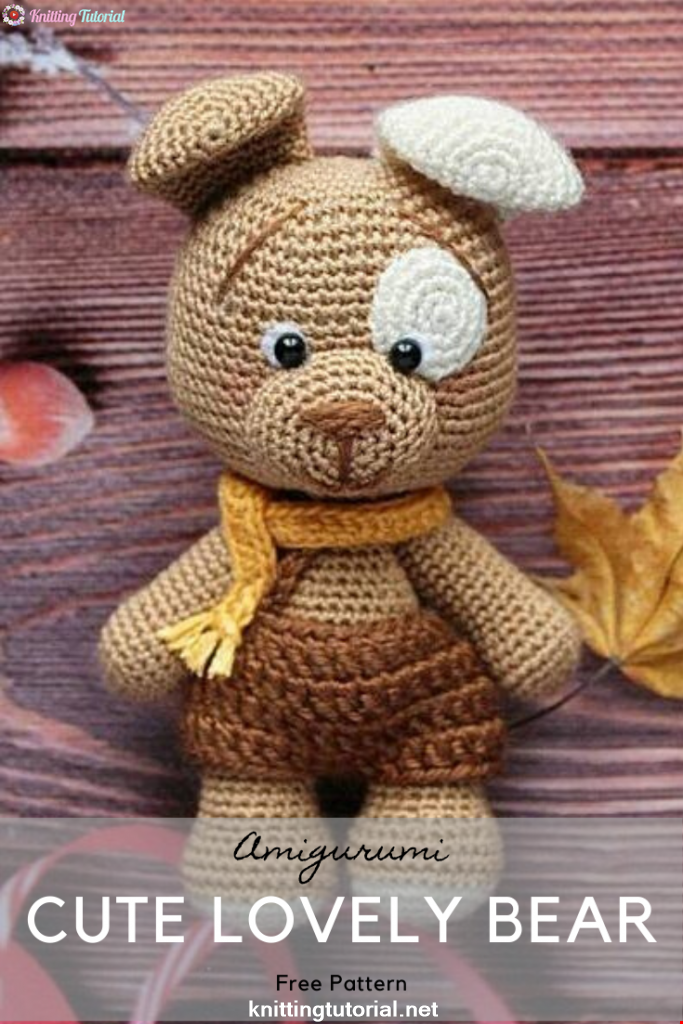
Amigurumi Sweet Giraffe Recipe and Preparation
5 January 2022, 14:55 632
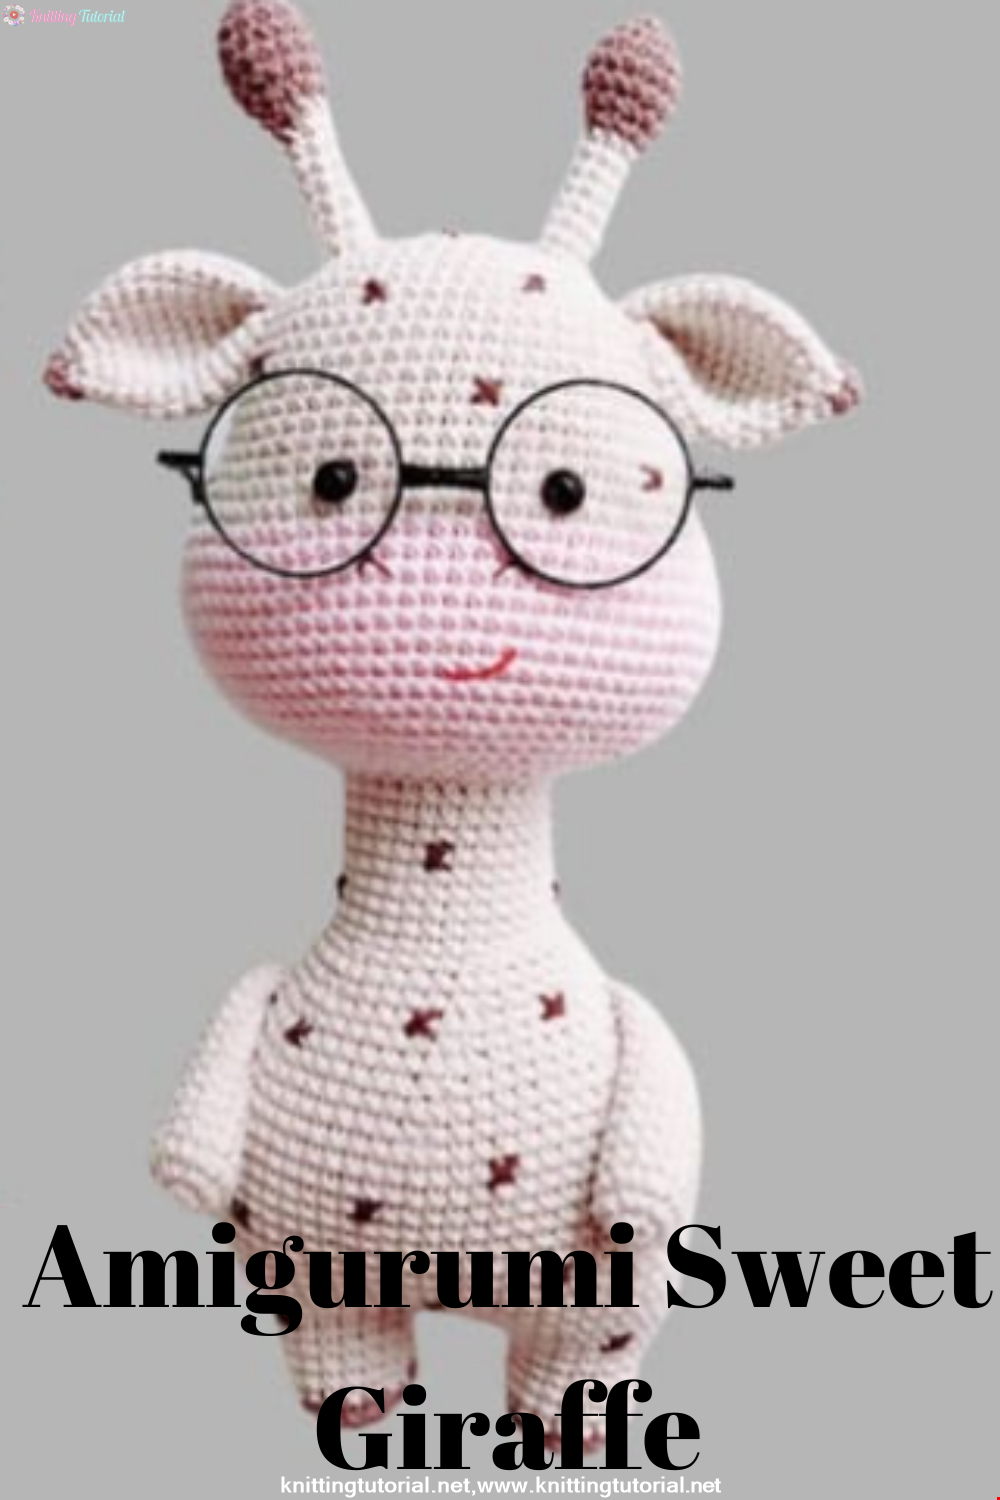
We have come to share with you the most popular model of recent times with the Amigurumi sweet giraffe recipe. I hope it will be an amigurumi animal figure that you like very much and knit with love.
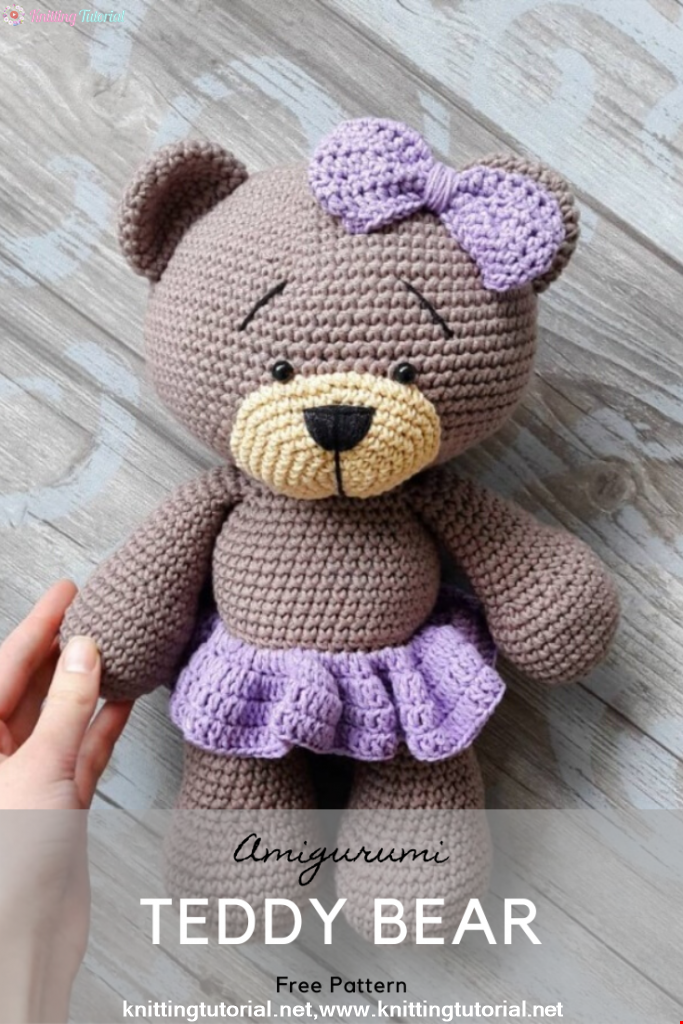
Read MoreLovely Teddy Bear Amigurumi Tutorial
12 October 2020, 10:05 2968