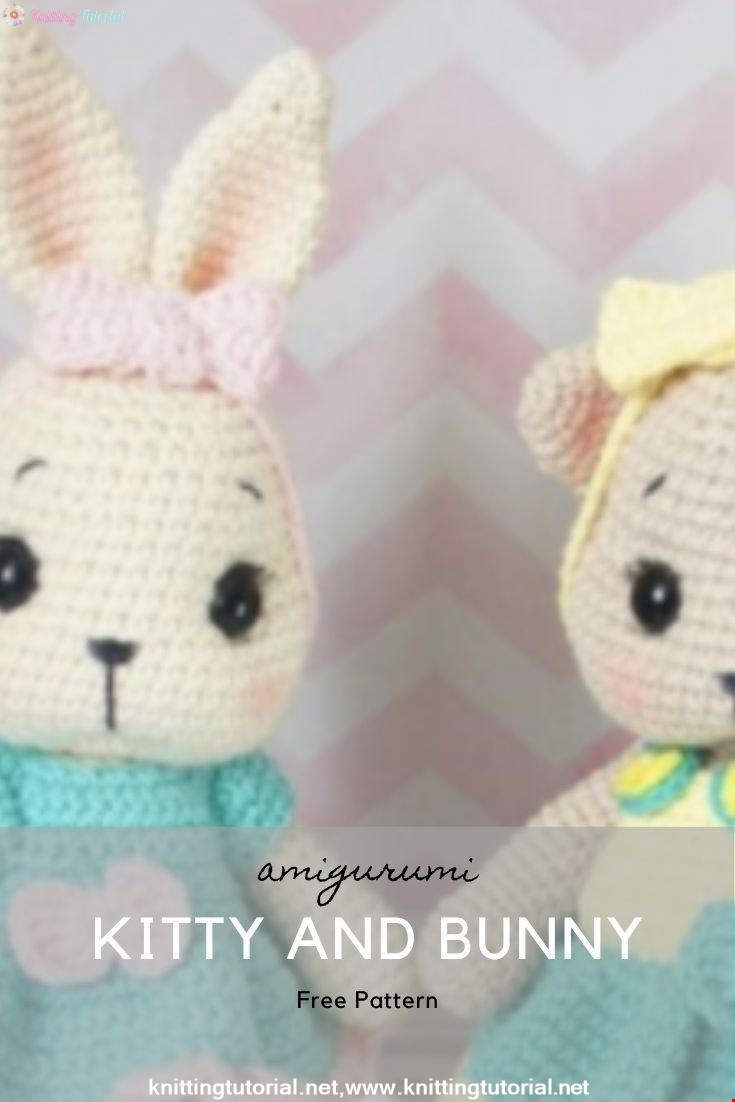
Kitty and Bunny
25 September 2020, 13:40 594
List of required materials:
1. Yarn Gazzal baby cotton (60% cotton, 40% acrylic, 50g, 165m) of the primary color half of a skein and not many additional colors.
2. Hook under your yarn. I have number 1.75 main and number 2 for clothes.
3. Cotter pins: T-pin (size 2×20) – 4pcs, O-cotter pin (size 2×25) – 2pcs .; Wheels: 15mm – 4pcs. for pens, 18mm – 4 pcs. for legs, 22mm – 2pcs for head attachment; washers – 10pcs.
4. Filler (sintepukh, holofiber or swan’s down).
5. Screw eyes with a diameter of 10mm.
6. A strong thread for utyazhki, needle, safety pins, scissors.
7. Kruglogubtsy.
8. Clay Moment Crystal.
9. Dry pastels for tinting or any other means of tinting you are familiar with (optional), eyelashes for dolls (optional).
10. Floss for embroidery noses and eyebrows.
11. Buttons for a dress, attached buttons with a diameter of 7 mm (for shoes).
Stage 1
Legend: KA – Amigurumi
ring ; Pr – increase; Ub – subtraction; Wp – air loop; CBN – single crochet; CC – connecting column; Psn – semi-column with a crochet; Ссн – double crochet; (sbn, pr) x N – repeat knitting N times; p / pp – knit for the front half loops; s / nn – knit in the rear half loops. All parts fit in a spiral, without a lifting loop, unless otherwise stated in the description. Legs (the marker passes on the heel) We begin to knit socks:
1p – 5vp, knit with the second loop from the hook 3sbn, 3sbn to 1, unfold knitting and continue to knit on the other side of the chain 2sbn, pr (10sbn)
2p – pr, 2sbn, 3pr, 2sbn, 2pr (16sbn)
3r – sbn, pr , 3sbn, (sbn, pr) x 3, 5sbn (20sbn) 4-6r -20sbn
7r – sbn, ub, 3sbn, (sbn, ub) x 3, 3sbn, ub (15sbn)
8p – 4sbn, 3ub, 5sbn ( 12sbn)
9-11r – 12sbn
* for a bunny socks higher (9-13 lines) for the order of the 11th row to knit (sbn, 4sbn in 1) x in a circle We
attach the thread of the main color 12-20p – 12sbn to the remaining s / nn 11 rows leg. In the 18th row, we put the pin- pin 21p – 6ub
Pin hem mount for the legs is assembled as follows: a washer is put on under the pin head, then a disk. Inserted mount in the limb.

Pens (the marker can not be aligned)
1p – 6sbn in KA
2p – prx6 (12sbn)
3p – (3sbn, pr) x 3 (15sbn)
4-6p – 15sbn
7r – sbn, ub, 4sbn, 2ub, 4sbn (12sbn)
8 -19r – 12sbn
Do not tightly fill the handle, in the 17th row we put a pin. Note the inside of the handle, where 2 down.
20r – 6ub
Tail of kitty
White
1p – 6sbn in KA
2p – prx6 (12sbn)
3-7p – 12 sbn
Change for primary color
8-21p – 12sbn
Fill in half, fold in half and tie ss. Fasten and cut the thread, leaving a tail for sewing.
The tail of the rabbit
1p – 6sbn in the KA
2p – prx6 (12sn) 3r
– (3sbn, pr) x 3 (15sbn)
4-6p – 15sbn
7r – (3sbn, ub) x 3 (12sbn) The
thread should be fixed and cut, leaving a tail for sewing on
Stage 2
Body (the marker is not aligned)
1p – 6sbn in KA
2p – prx6 (12sbn)
3p – (sbn, pr) x 6 (18sbn)
4r – (2sbn, pr) x 6 (24sbn)
5p – (3sbn, pr) x 6 (30sbn)
6p – (4sbn, etc.) x 6 (36sbn)
7-11r – 36sbn
Fold the detail in half (back marker) in the 8th row on each side to fasten the legs (we put on the disk, washer and twist the antennae on the pinch antennae)
12r – (10sbn, ub) x 3 (33sbn)
13-15r – 33sbn
16r – (9sbn, ub) x 3 (30sbn)
17-19r – 30sbn 20r
– (3sbn, ub) x 6 (24sbn)
21-22r – 24sbn
23r – (2sbn, ub) x 6 (18sbn)
24-25r – 18sbn
In the 22nd row, install the handles, fill the body. Install a swinging head mount 26p
– (sbn, ub) x6 (12sbn)
27r – 6ub
Sew a tail. Tail bunny stuff as sewn. Split mount (for a swinging head)
For him we need:
– 2 cotter pins,
– 2 discs,
– 2 washers,
– round pliers.
1. insert one pin into another, for this we do not fold much of the antenna of one pin;
2. on top, on one of the cotter pins, install the disc and washer;
3. twist the antennae with the help of round pliers;
4. The finished part of the linch pin is inserted into the open hole of the body. Hole pull off.
5. insert the pin without a disc into the head, dress the disc and washer and twirl the antennae of the second pin.
Head (the marker can not be aligned)
1p – 6sbn in the KA
2p – prx6 (12sbn)
3p – (sbn, pr) x 6 (18sbn)
4r – sbn, pr, (2sbn, pr) x 5, sbn (24sbn)
5p – (3sbn, pr) x 6 (30sbn) 6r
– 2sbn, pr, (4sbn, pr) x 5, 2sbn (36sbn)
7r – (5sbn, pr) x 6 (42sbn)
8r – 3sbn, pr, (6sbn, pr ) x 5, 3sbn (48sbn)
9-15r – 48sbn
16r – 10sbn, 3ub, 8sbn, we put an additional marker, 8sbn, 3ub, 10sbn (42sbn)
17-18r – 42sbn
19r – (5sbn, ub) x 6 (36sbn)
20-21r – 36sbn 22r
– (4sbn, ub) x 6 (30sbn)
23r – 30sbn
24r – (3sbn, ub) x 6 (24sbn)
25r – (2sbn, ub) x 6 (18sbn) Fill
your head evenly. Please note that the head should not be strongly stretched upward
26p – (sbn, kub) x 6 (12sbn)
27r – 6ub. Thread to fasten and cut.
Stage 3
Bunny Ears
1p – 6sbn in KA
2p – (sbn, pr) x 3 (9sbn)
3p – 9sbn
4p – (2sbn, pr) x 3 (12sbn)
5p – 12sbn
6p – (3sbn, pr) x 3 (15sbn )
7r – (4sbn, pr) x 3 (18sbn)
8-15r – 18sbn
16р – (sbn, ub) x 6 (12sbn) Fasten
and cut the thread, leaving the tail.
We fold the eyelet along and sew the two edges.
Cats’ ears
1p – 5sbn in KA
2p – prx5 (10sbn)
3p – 10sbn
4r – (sbn, pr) x 5 (15sbn)
5r – 15sbn 6r
– (4sbn, pr) x 3 (18sbn)
Fold the ear in half and tie up ss. Fasten and cut the thread, leaving a tail for sewing.
Clearance
Point 1 is 11b lower than additional marker
Points 2, 4, 4 points left and right of the additional marker
Points 3, 5 departing 2-3 points from points 2 and 4.
Introduce the needle with a long thread to point 1 and output at point 2, leaving 1 tail at point. From point 2 we enter at point 3 and we derive at point 1 (1-2-3-1), well we pull down. From point 1 we introduce the needle 1-2 1-2b above and output at point 4. Enter at point 5 and output at point 4 (1-4-5-1). We retract. If necessary, repeat the attachments again. Thread secure and hide. We find a good arrangement of the ears and sew them.
We make a toy to your liking. I stuck to the eyes cilia. The floss, divided in half, embroidered nose, line under the nose, brows. Dry pastel toned cheeks, the inside of the ears and mouth.
Stage 4
Shoes (a marker on the center of the heel)
For knitting clothes used hook number 2
1p – 6vp, from the 2nd from the hook loop 3sbn, psn, 4psn in 1, continue to knit on the other side of the chain psn, 2sbn, 3sbn in 1 (14)
2p – 2pr, 2sbn, psn, 4pr psn, psn, 2sbn, 2pr (2 22)
3p – 22sbn
For the p / np tie up with a “stride step”.
4p – Attach the thread to the left of / pp 3 rows and knit 22sbn
5-7r – 22sbn
8p – 7sbn, 4ub, 7sbn (ubavki front)
Strap
Make VP will continue to knit the rows of rotating, making the EP rise in a row. The strap should be back center. Knit 7 rows of 3sbn. Sew strap to the inside of the
3vp shoe, knit 2sbn from the 2nd loop.
Knit rotary rows, making the rise of the
RR 2-23r – 2sbn
Tie ss, sew buttons, strap the strap on the strap on the shoe.
Bow (on the head)
1 part
25vp, from the second from the hook loop: 4 sbn, 4 ssn, 3psn, ss, 3psn, 4sn, 4sbn
On the other side of the chain knit the same.
Part 2
3vp, from the second from the hook loop: 2sbn
Next, we knit in turning rows, making the ascent. A total of 9 rows of 2sbn.
3 part. Make a chain equal to the girth of the head and join into a ring. Stitch together the two edges of the first part of the bow, apply the third part. In the second part, we “embrace” and sew the edges.
Sundress
Knitting circle spiral without lifting loops.
Dial chain vp equal to the girth of the abdomen and connect into a ring (I have 40vp).
2p – 40sbn
3p – pr in every sbn
4r – (sbn, pr) x in a circle
Knit without increases to the desired length (I have 6 rows). Optionally change the color and knit 2 more rows. Finish knitting ss.
“Bib”
Pins mark the desired width, attach the thread and knit UBN in rotating rows, making the ascent (I have a width of 11Sbn).
2-3r – rows of knit without changes (11sbn)
4r – ub, 7sbn, ub
5p – 9 sbn 6r
– ub, 5sbn, ub
7p – 7 sbn
8p – ub, 3sbn,
Tie a sbn bib and upper part of the skirt.
Straps
Chain vp to close into the ring (I have 8vp), without cutting the thread to dial a chain in that length, what you will have straps (22sbn). Tie a chain of sbn, tie a ring of 10sbn into a ring, turn knitting and knit sbn on the other side. Fasten and cut the thread, leaving a tail for sewing. Sew straps, buttons, decorate the dress.
Dress
Knit turning rows, making vp lift.
Dial chain vp equal to the girth of the neck (20vp + 1vp rise) Increase
each vp.
2p – no change (40sbn) 3r
– 5sbn, 9pr, 12sbn, 9pr, 5sbn
4r – 5sbn, 9vp, skip 18sbn, 12sbn, 9vp, skip 18sbn, 4sbn
5p – 40 sbn (including proving sbn in vn)
6- 7r – 40sbn
8r – (7sbn, pr) x5 (45sbn)
9r – pr in each sbn
10-16r – 90 sbn
Tie the halves of the dress ss, making buttonholes from the chain vp.
Bottom dress tie (sc, 4sbn 1)

Sleeve
Attach thread armhole. Knit in a circle ;
1p – 27 sbn
2p – (7sbn, ub) x 3 (24sbn) 3r
– (2sbn, ub) x 6 (18sbn) Fasten and cut the thread. The second sleeve is similar. Sew buttons, decorate the dress.
Category Popular Posts
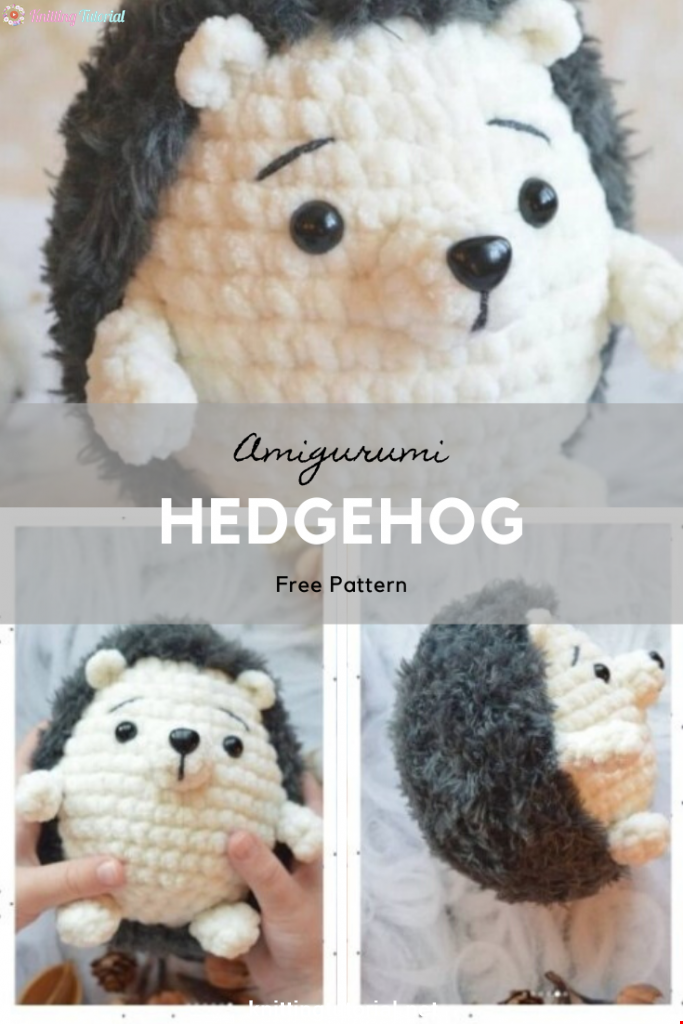
Amigurumi Hedgehog Free Pattern
12 October 2020, 09:52 11510
Making Amigurumi Spiderman
27 January 2022, 20:58 2031
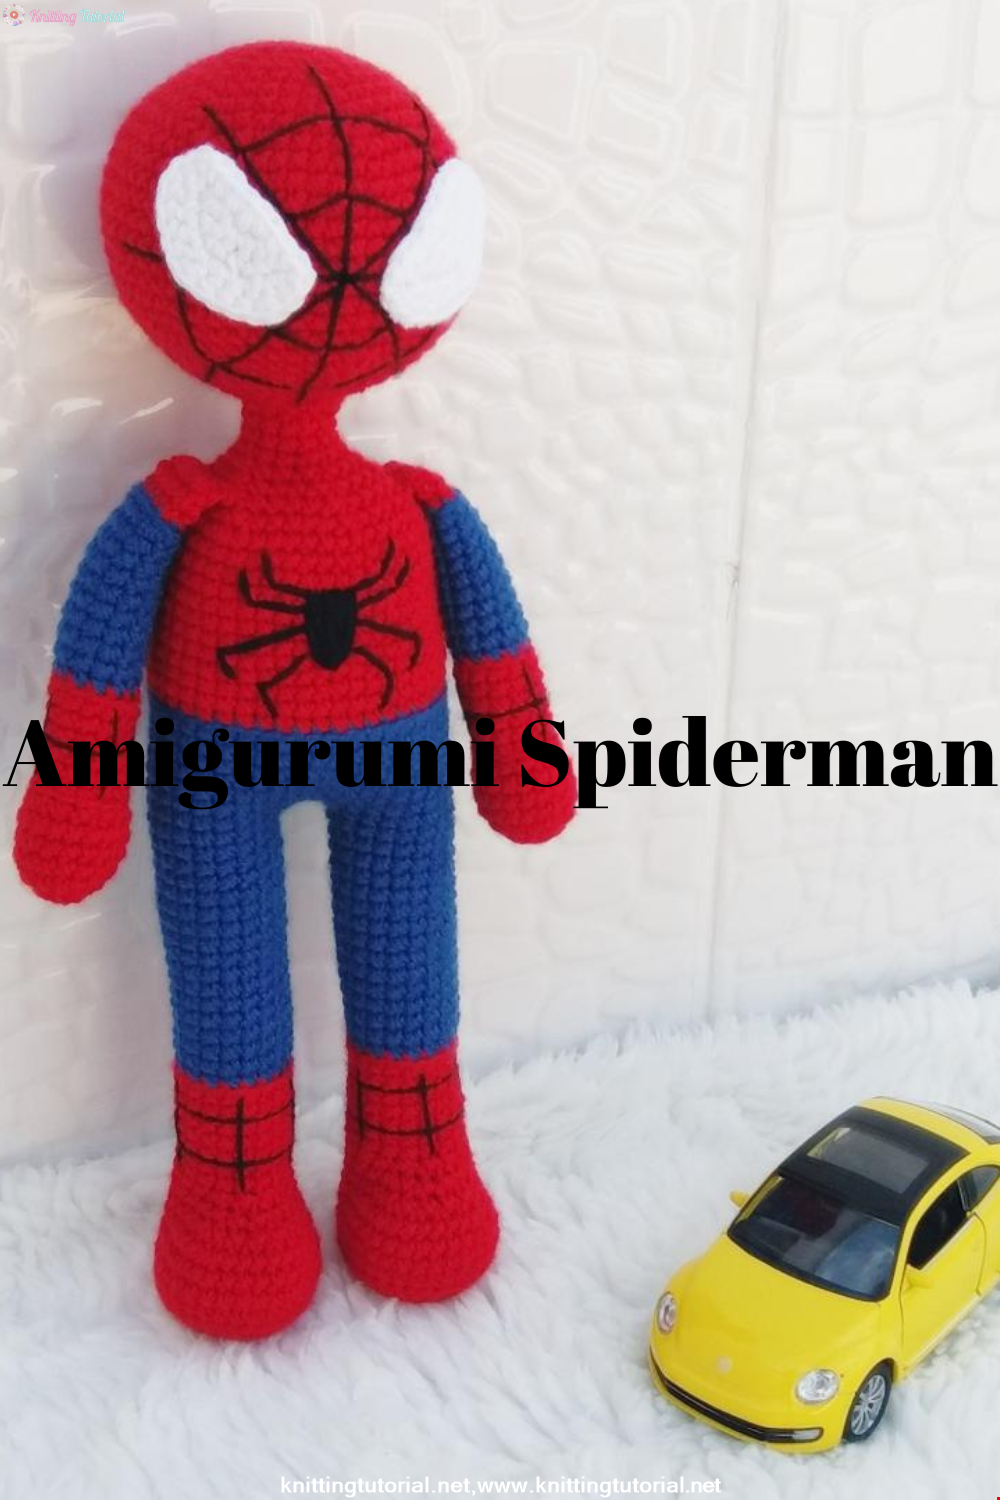
Hello, Are you ready to knit Spiderman, Spider-Man, the children's favorite cartoon character? You will be able to knit easily with detailed explanation. Let's start!
Read More
Amigurumi Princess Mononoke Crochet Pattern
12 December 2020, 21:20 946
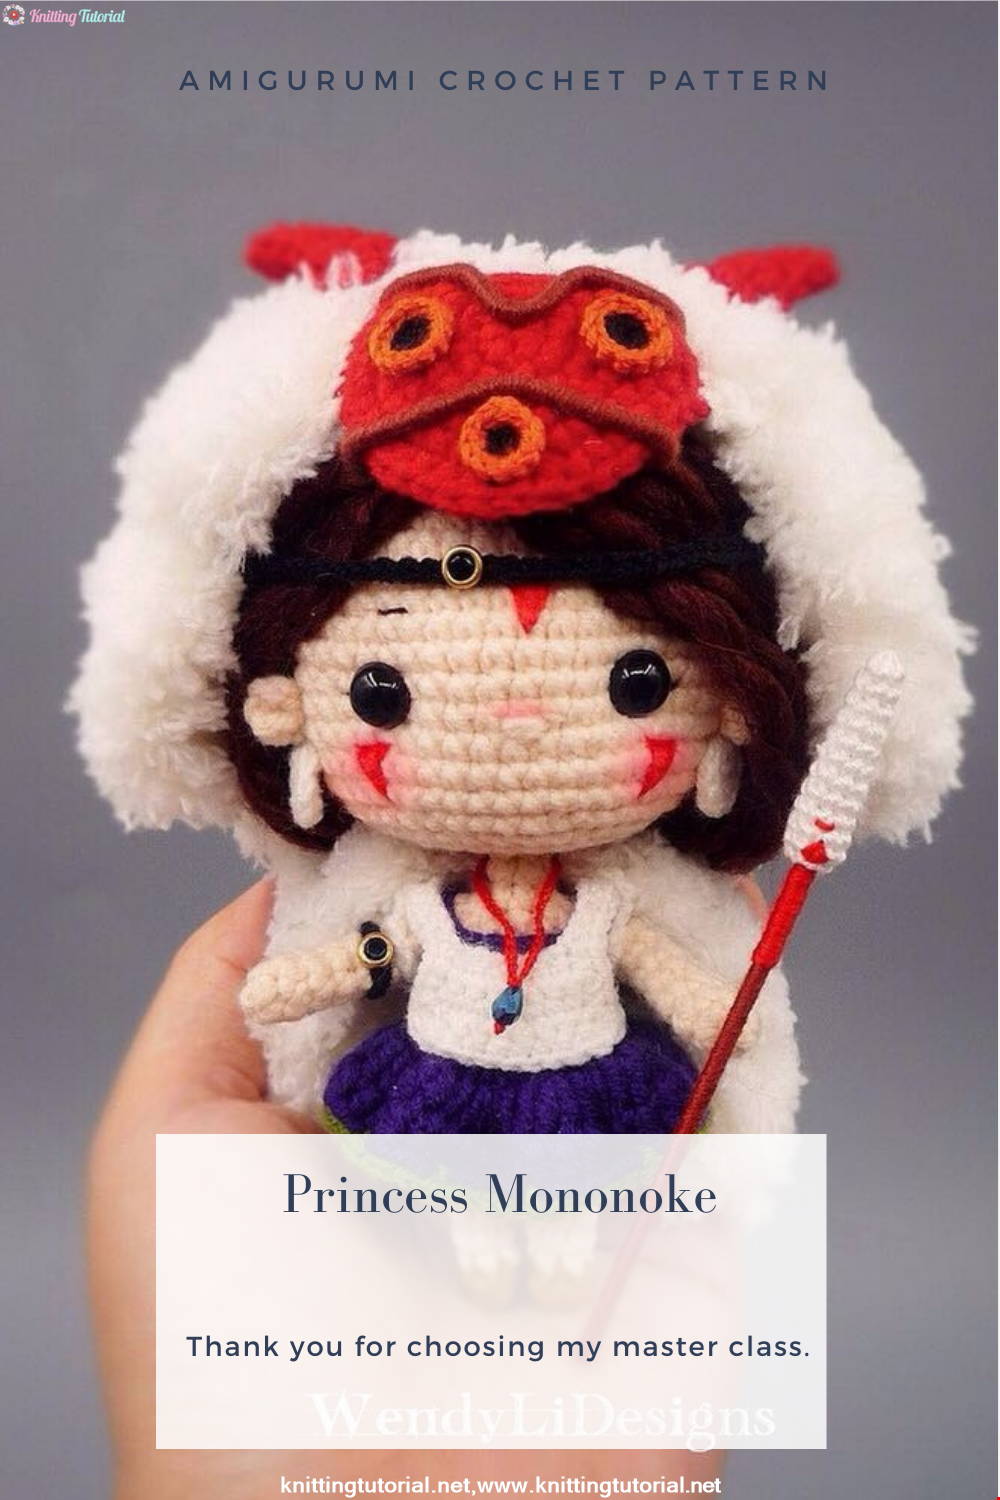
Free Crochet Princess Mononoke workshop by Wendy Li. The knitted girl is the hero of the cartoon by Hayao Miazaki. From the description of the diagram, you will also learn how to knit: a cape, a cloak, a dress and a mask for a doll.
Read More
Princess Disney Amigurumi Pattern
8 October 2020, 14:51 5817


Korean Girl in Traditional Dress (Hanbok)
22 September 2020, 11:11 1573

This is the process how I made the amigurumi of Korean Bride in traditional dress Hanbok. Lately I've been watching a lot of Korean dramas and got inspired to make one. I hope you can enjoy the video, and get inspired too!
Read More
Amigurumi Sweet Giraffe Recipe and Preparation
5 January 2022, 14:55 636
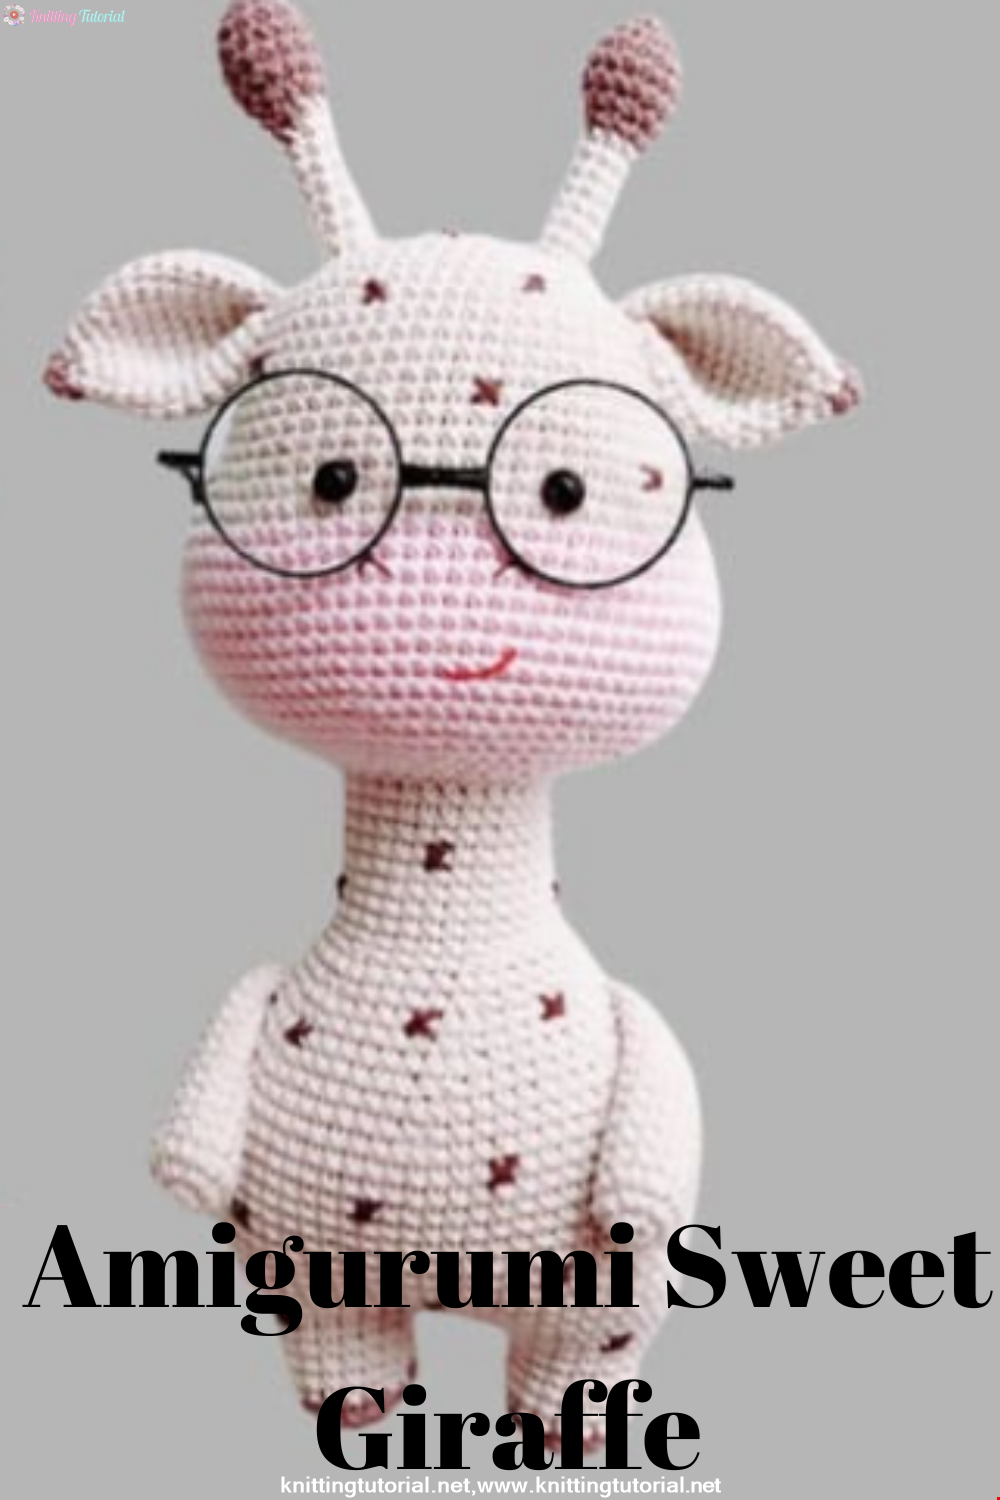
We have come to share with you the most popular model of recent times with the Amigurumi sweet giraffe recipe. I hope it will be an amigurumi animal figure that you like very much and knit with love.
Read MoreLovely Teddy Bear Amigurumi Tutorial
12 October 2020, 10:05 2969