Knitted Chanterelle
21 October 2020, 15:47 622
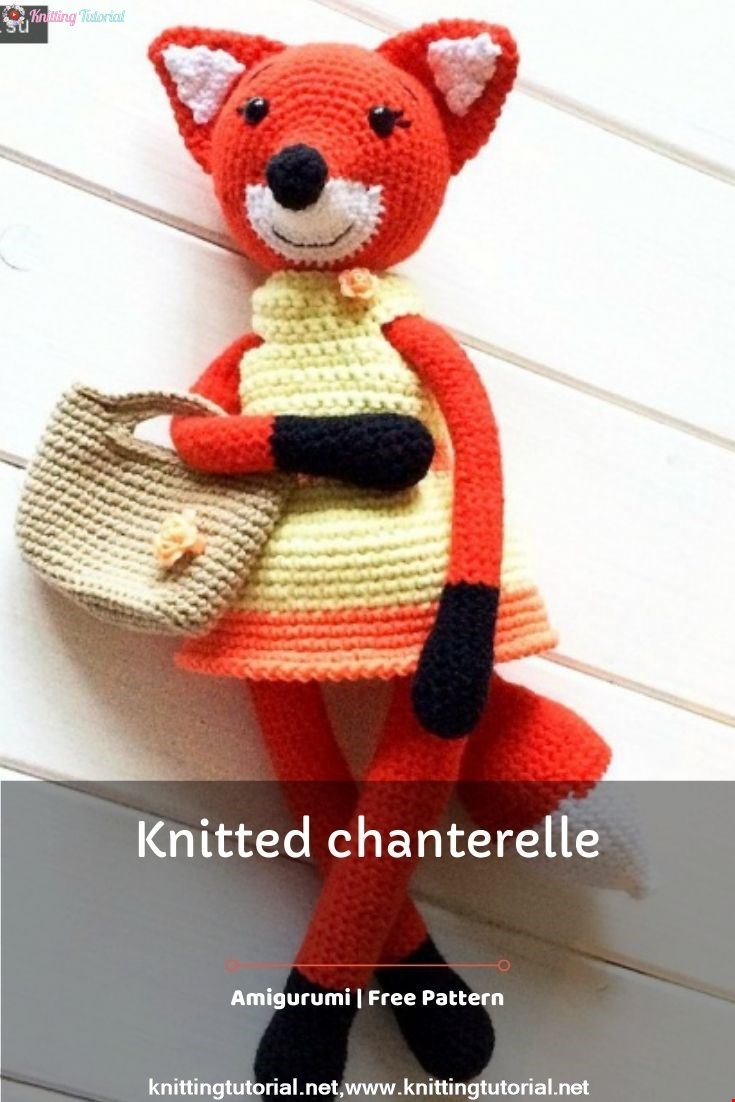
Author: Elena Klimova
Author's Description:
We will knit our Chanterelle in the following way: arms, legs, tail and body will be a single piece. Therefore, if you want your toy to sit and bend its handles, then we fill the resulting parts only by 1/3. The change in the color of the yarn will serve as a guide. We fill in the details as we knit just above the color transition level.Legend:
sbn - single crochet vp- air loop
pr - increase (2sbn in one loop)
kill - decrease (2sbn knitted together)
ARM (2 parts):
We start knitting the part with black yarn:1 row: 6 sc in the amigurumi ring (6)
2 row: 6 pr (12)
3-7 row: 12 sc (12)
8 row: (4sc, ub) x 2 times (10)
9-13 row: 10 sc (10)
Change the yarn from black to orange:
14-41 row: knit 28 rows of 10 sc (10) Cut
and fasten the thread, leaving a small tip - 5 cm.
TAIL:
We start knitting the part with white yarn:1 row: 6 sc in a ring amigurumi (6)
2 row: 6 sc (6)
3 row: 6 pr (12)
4 row: 12 sc (12)
5 row: (1sc, pr) x 6 times (18)
6 row: 18 sc (18)
7 row: (2sc, pr) x 6 times (24)
8 row: 24 sc (24)
9 row: (3sc, pr) x 6 times (30)
10-14 row: 5 rows we knit 30sc (30)
Change the yarn from white to orange:
15-19 row: 5 rows we knit 30 sc (30)
20 row: (3sc, ub) x 6 times (24)
21-24 row : 4 rows we knit 24 sc (24)
25 row: (2sc, ub) x 6 times (18)
26-31 row: 6 rows we knit 18sc (18)
32 row: (1sc, ub) x 6 times (12)
33 -38 row: 6 rows knit 12 sbn (12)
Cut the thread and fasten, leaving a small tip - 5 cm.
LEG (2 parts):
We start knitting the part with black yarn:
1 row: 6 sc in a ring amigurumi (6)
2 row: 6 pr (12)
3 row: (1 sc, pr) x 6 times (18)
4-8 row: 5 rows of 18 sc (18)
9 row: (4 sc, dec) x 3 times (15)
10-14 row: 5 rows of 15 sc (15)
Change the yarn from black to orange:
15-44 row: 30 rows of 15 sc ( 15)
Cut and fasten the thread, leaving a small tip - 5 cm - RIGHT FOOT. We knit the LEFT leg in the same way, BUT the thread is not cut or fastened. In the next step, we will continue knitting the body from her!
BODY:
You must put both legs with the color transition up. We knit on the left leg 3 sb. Next, from the left leg, tie a chain of 6 VP, attach the right leg at the bend of the front and rear parts, 15 PRs along the right leg, 6 PRs along the chain from VP, 15 PRs along the left leg, 6 PRs along the chain from VP (42). Now we set the marker and knit 42 sbn.1 row: (6sbn, pr) x 6 times (48).
2nd row: (7sbn, pr) x 6 times (54).
3-5 rows: 54 sc (54).
6 row: 43 sc, then 6 sc, capturing the tail loops (photo 7). Now move the marker just behind the tail.
7 row: 48 sc, then 6 sc along the tail (54)
The marker remains behind the tail.
8 row: (7sbn, ub) x 6 times (48)
9th row: (6sbn, ub) x 6 times (42)
10-14 row: 5 rows of 42 sbn (42)
15 row: (5sc, ub) x 6 times (36)
16-25 row: 10 rows of 36 sc (36)
26 row: (4sc, ub) x 6 times (30)
27 row: 30sc (30)
28 row : (3sc, ub) x 6 times (24)
29 row: 3 sc, then 5 sc, grabbing the loops of the hand, 7 sc, then 5 sc, grabbing the loops of the second hand, 4 sc (24)
30 row: 3 sc, then 5 sc on the arm, 7 sc, then 5 sc on the second hand, 4 sc (24)
31 row: 24 sc (24)
32 row: (2 sc, ub) x 6 times (18)
33-34 row: 18 sc (18) ...
We fill the body as we knit tightly enough, especially in the neck area. Cut the thread and fasten, leaving a long end for sewing on the head - 25-35 cm.
HEAD:
1. The head is knitted in a circle, without turns. At the end of each row, CC in the first stitch of the row.2. Always make the first column in the same column where you did the SS.
3. The lift loop is not included in the post count.
4. In rows where knitting is in two colors, attach the new color not to the top of the column, but by knitting half of it with a new thread.
Starting from the nose / muzzle ring with amigurumi white yarn:
Row 1: 8 sc in the ring. Pull the tail to close the ring. CC in the first loop of row
Row 2: 1vp
Remove the hook from the loop and place the marker on the post from which work will begin. Move the marker up as you knit. Continue row 2: sc in the next 4 sts, go to orange, sc in the next 4 sts, go to white, ss (8)
NOTE: knit row 2 as follows: 1vp, sbn in a column where the SS was made, 3sbn, finish the last (4th) sbn using an orange thread (color change), 4 sbn, finish the last (8th) sbn with a white thread ( color change again), skip ss and 1vp of the previous row, knit CC in the marked loop. Work in this manner.
Row 3: 1vp (see Figure 1), (1sbn, arr) - 2 times, switch to orange, (see Figure 2) (1sbn, arr) - 2 times, switch to white, SS (12)
Row 4: 1vp, 6sbn, go to orange, 6 sbn, go to white, SS (12)
Row 5: 1vp, (2sbn, arr) - 2 times, orange (2 sbn, surf) - 2 times, white, SS ( 16)
Row 6: 1vp, 8sbn, orange, 8sbn, white, SS (16)
Row 7: 1vp (see Figure 3), (3sbn, prib) - 2 times, orange, (3sbn, prib) - 2 times, white, SS (20)
Row 8: 1vp, 10sbn, orange, 10sbn, white, SS (20)
Row 9: 1vp, (sbn, surf) - 5 times, orange, (sbn, surf) - 5 times, white, SS (30)
Row 10 : 1vp, 15sbn, orange, 15sbn, white, SS (30)
Row 11: 1vp (2sbn, surf) - 5 times, orange, (2sbn, surf) - 5 times, white, SS (40) Cut the blunt thread, further knitting goes orange
Row 12: 1 VP (see Figure 4), 20sbn, (3sbn, arr) - 5 times, SS (45)
Row 13: 1 VP, 20sbn, (4sbn, arr) - 5 times, SS ( 50)
Row 14: 1vp, (4sbn, arr) - in a circle, SS (60)
Row 15-16: 1vp, 60sbn, SS (60)
Row 17: 1vp, (5sbn, pr) - in a circle, SS ( 70)
Row 18-21: 1vp, 70 sbn, SS (70)
Row 22: 1vp, (5sbn, ub) - in a circle (60)
If you are using ready-made eyes, then at this stage they can already be attached. Between the eyes 10sc, place them between 12 and 13 rows.
Row 23: 1vp, (13sbn, decrease) - 4 times, SS (56)
Row 24: 1vp, 56bn (56)
Row 25: 1vp, (5sbn, decrease) in a circle, ss (48)
Row 26: 1vp , 48sbn
Row 27: 1vp, (4sbn, decreasing) in a circle, ss (40)
Row 28: 1vp, 40sbn, SS
Row 29: 1vp, (3sbn, decreasing) in a circle, SS (32)
Row 30: 1 ch, 32 sbn, SS
Row 31: 1 VP, (2sbn, decreasing) in a circle, SS (24)
Row 32: 1vp 24sbn Lightly
fill the muzzle and form it with your fingers giving the desired shape. Pay attention that the muzzle does not twist.
Row 33: 1vp, (sc, decreasing) in a circle, SS (16) Stuff your head
Row 34: 1vp (decrease) in a circle, SS (8)
Row 35: 1vp, (decrease) in a circle, SS (4)
Trim the thread.
Using a needle, pull off 4sc, and hide the tip.
EAR (2 parts):
Knit in a spiral, without CC and lifting loops. Orange yarn.Row 1: 6sbn in the amigurumi ring.
Row 2: (2sbn, arr) in a circle (8)
Row 3: (3sbn, arr) in a circle (10)
Row 4: (4sbn, surf) in a circle (12)
Row 5: (5sbn, arr) in a circle (14)
Row 6: (6sbn, arr) in a circle (16)
Row 7: (7sbn, surf) in a circle (18)
Row 8: (8sbn, arr) in a circle (20)
Row 9: (9sbn, surf) in a circle (22)
Connect the edges of the ear and knit 11 sb, grabbing both halves ... Leave the thread for sewing - 10 cm.
TRIANGLES on ears (2 parts):
We knit a chain of 10 VPs with white yarn. Knitting is done in rotary rows.1 row: starting from the second loop from the hook we knit 9 sbn, 1 ch (9)
2 row: 1ub, 5 sb, 1 kill, 1 ch (7)
3 row: 7 sc, 1 ch (7)
4th row: 1ub, 3 sbn, 1ub, 1 ch (5)
5 row: 5 sbn, 1 ch (5)
6 row: 1b, 1 sbn, 1 kill, 1 ch (3)
7 row: we make a decrease from 3 loops.
Cut and fasten the thread Cut and fasten the thread, leaving 10 cm for sewing.
NOSE:
We knit with black yarn.
1 row: 6 sc in amigurumi ring (6)
2 row: 6 prib (12)
3-4 row: 12 sc (12) Cut the
thread, fasten, leaving 10 cm for sewing.
Now you can collect the head. We sew white triangles on the ears, then we sew the ears themselves to the head. Sew on the nose. We embroider the face. The head is ready!
If you are making a toy for a small child, then you can simply sew the head to the body (having previously stuffed the neck tightly). If the toy is for an older child, you can add a wire frame connecting the head and body to strengthen the neck and head.
BAG:
We collect a chain of 21 VP.1 row: starting from the 2nd from the loop hook we knit 19 sbn, 3 sbn into the last loop of the chain, 18 sbn, 2 sbn into the first loop of the chain (42)
2 row: 1 ave, 18 sbn, 3 ave, 18 sbn, 2 pr (48)
3 row: 48 sc for the back half loop (48)
4 - 16 row: 48 sc for both walls of the loop (48)
17 row: fold the handbag in half, on each side we get 24 sc. Now we knit on one side 6 sbn, 16 VP (over 12 sbn), 6 sbn. Then we knit on the second side 6 sbn, 16 VP (over 12 sbn), 6 sbn.
18 row: 56 sb (56)
19 row: 56 ss (56).
Cut the thread, fasten and hide.
DRESS:
We knit the dress in two colors: main and additional. We start knitting with the main color. Knitting is done in rotary rows. We collect a chain of 35 VP.1 row: starting from the 2nd from the hook of the loop we knit 34 sbn, 1 VP of lifting (34)
2 row: 30 sbn, 3vp (over 2 sbn), 2 sbn, 1 ch (32)
3 row: 2sbn, 2sbn along the chain from 3 VP, 2SBN, 12VP (over 6 SBN), 10 SBN, 12 VP (over 6 SBN), 6 SBN, 1 VP (22)
4 row: 6 SBN, 12 SBN along the chain from VP, 10 SBN, 12 sc on a chain from VP, 6 SBN, 1 VP (46)
5-7 row: 46 SBN, 1 VP (46)
8 row: 42 SBN, 3 VP (over 2 SBN), 2 SBN, 1 VP (44)
9 row: 2 sbn, 2 sbn along a chain of 3 VP, 42 sbn, 1 VP (46)
10-16 row: 46 sbn, 1 VP (46)
Change the color of the yarn from the main to the additional one.
17-18 row: 46 PRS, 1 VP (46)
Change the color of the yarn from secondary to primary.
19 row: we connect the edges of the dress and then we knit in a circle: (1sbn, pr) - in a circle (68)
20-28 row: 2 VP lifts, 1 PSN in the same loop, 67 PSN, 1 SS (68)
Change the color of the yarn from primary to secondary.
Row 29-31: 2 runways lifts, 1 pssn in the same loop, 67 pssn, 1 ss (68)
32 row: we process the edge of the dress as follows: (1 sbn, 1 run) - in a circle (68)
Cut the thread, fix and hide.
Now we decorate the dress and handbag as desired.
NOTE: the description of the dress and handbag is given for Chanterelle knitted from YarnArt Jeans yarn 150m in 50g, hook 2.0. The dress and handbag are knitted of the same yarn. Therefore, if you have a Chanterelle from a different yarn or a dress and a handbag from a different yarn, then you will have to select the initial number of loops that suits you.
Category Popular Posts
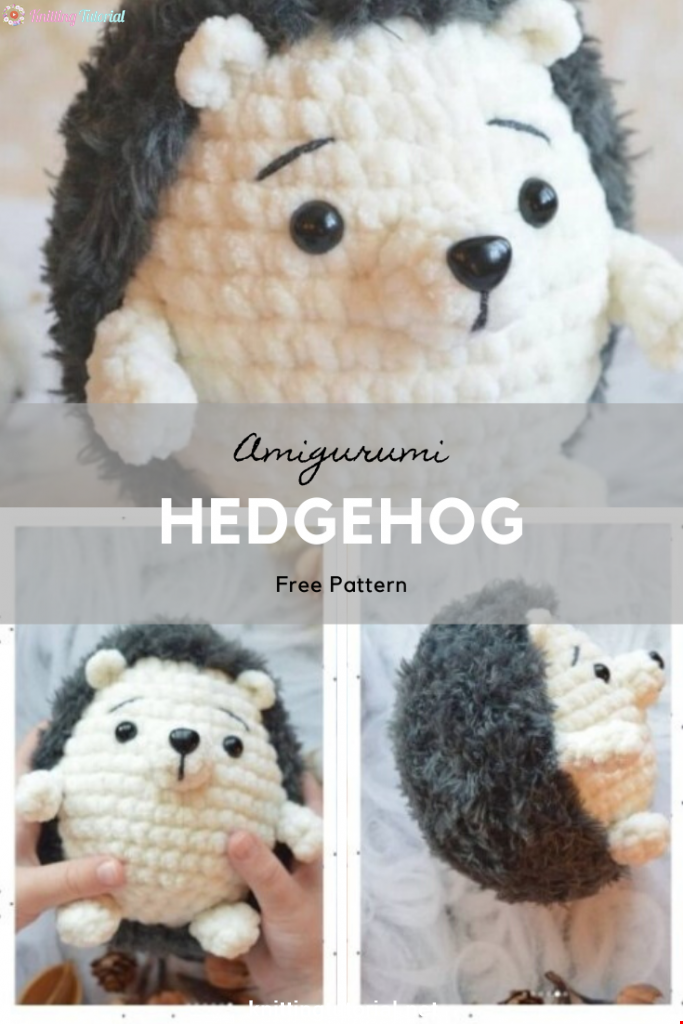
Amigurumi Hedgehog Free Pattern
12 October 2020, 09:52 11510
Making Amigurumi Spiderman
27 January 2022, 20:58 2030
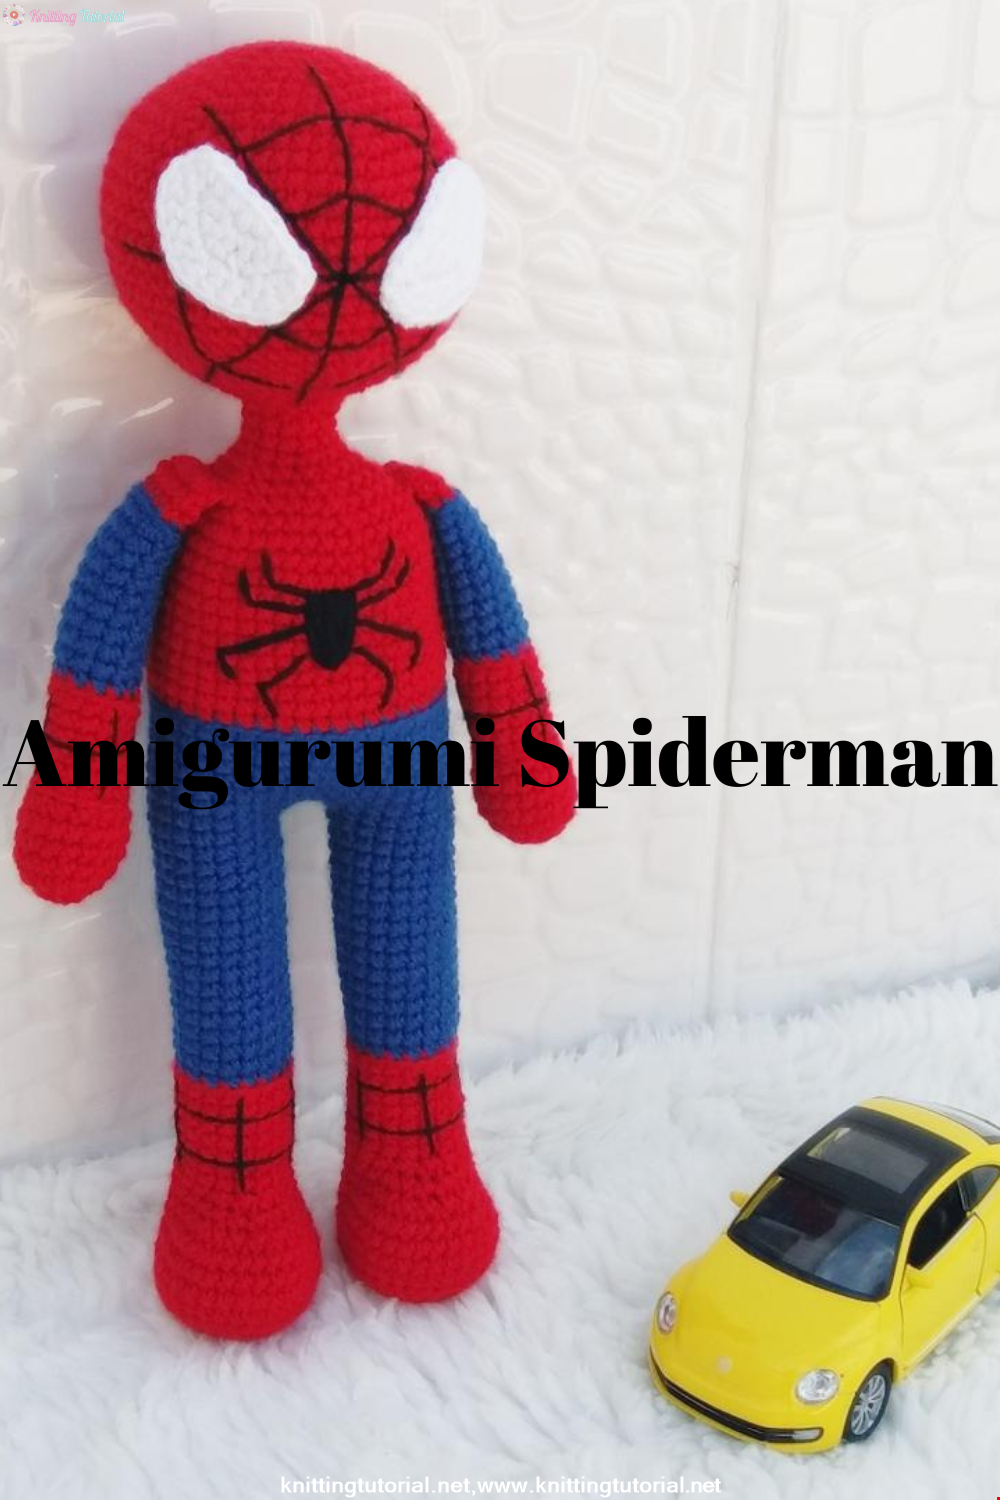
Hello, Are you ready to knit Spiderman, Spider-Man, the children's favorite cartoon character? You will be able to knit easily with detailed explanation. Let's start!
Read More
Amigurumi Princess Mononoke Crochet Pattern
12 December 2020, 21:20 946
Free Crochet Princess Mononoke workshop by Wendy Li. The knitted girl is the hero of the cartoon by Hayao Miazaki. From the description of the diagram, you will also learn how to knit: a cape, a cloak, a dress and a mask for a doll.
Read More
Princess Disney Amigurumi Pattern
8 October 2020, 14:51 5817


Korean Girl in Traditional Dress (Hanbok)
22 September 2020, 11:11 1573

This is the process how I made the amigurumi of Korean Bride in traditional dress Hanbok. Lately I've been watching a lot of Korean dramas and got inspired to make one. I hope you can enjoy the video, and get inspired too!
Read More
Amigurumi Sweet Giraffe Recipe and Preparation
5 January 2022, 14:55 636
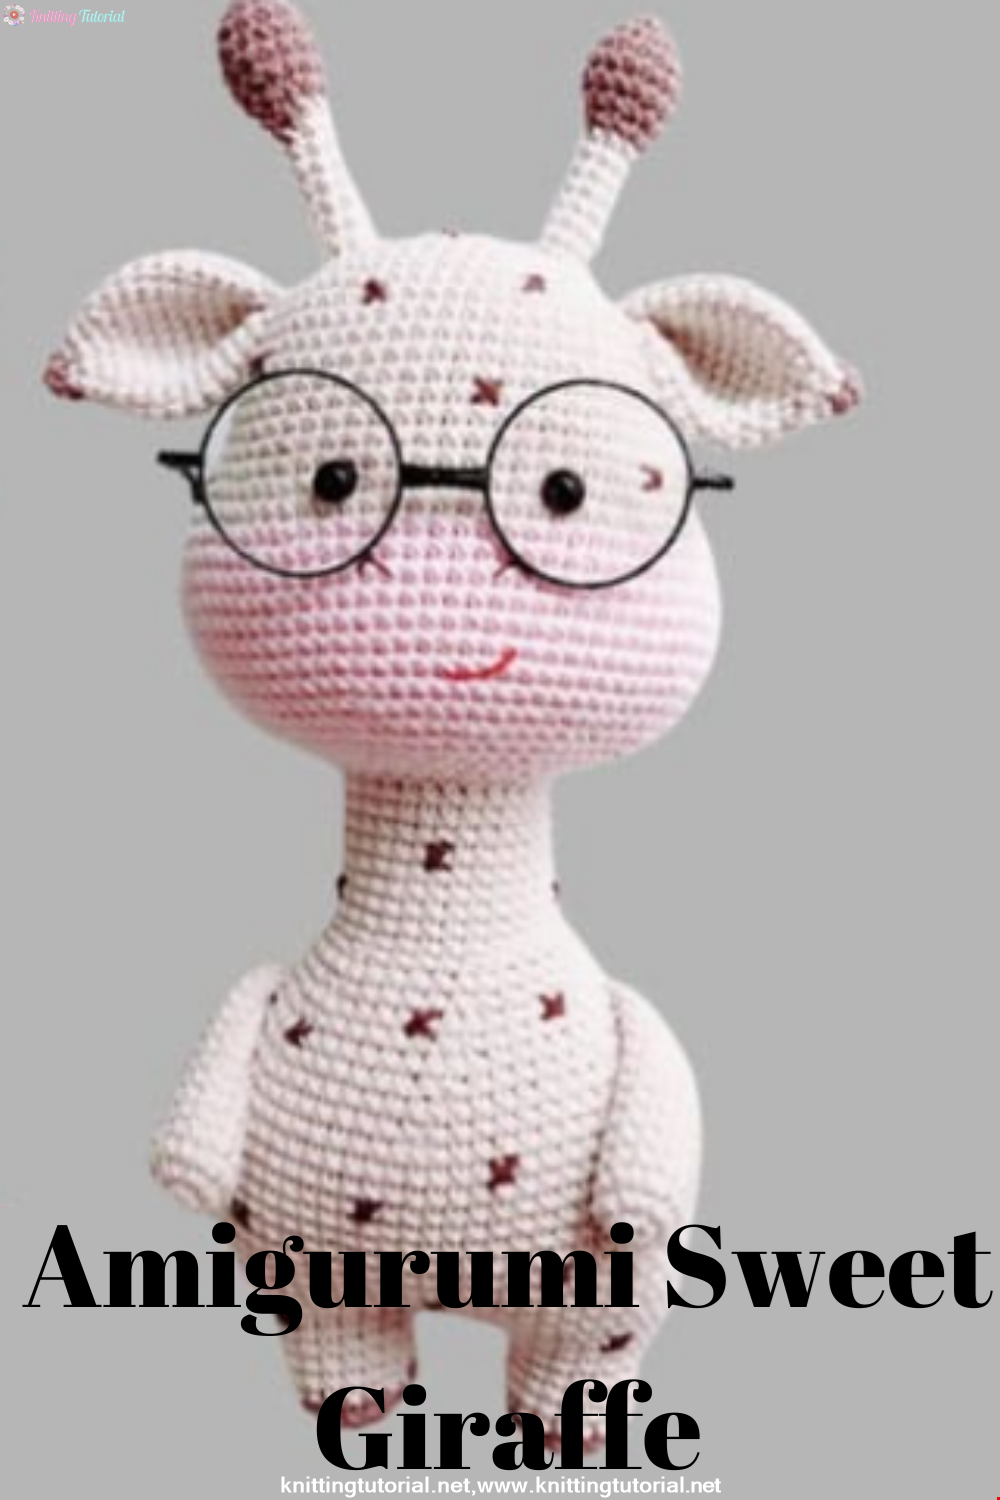
We have come to share with you the most popular model of recent times with the Amigurumi sweet giraffe recipe. I hope it will be an amigurumi animal figure that you like very much and knit with love.
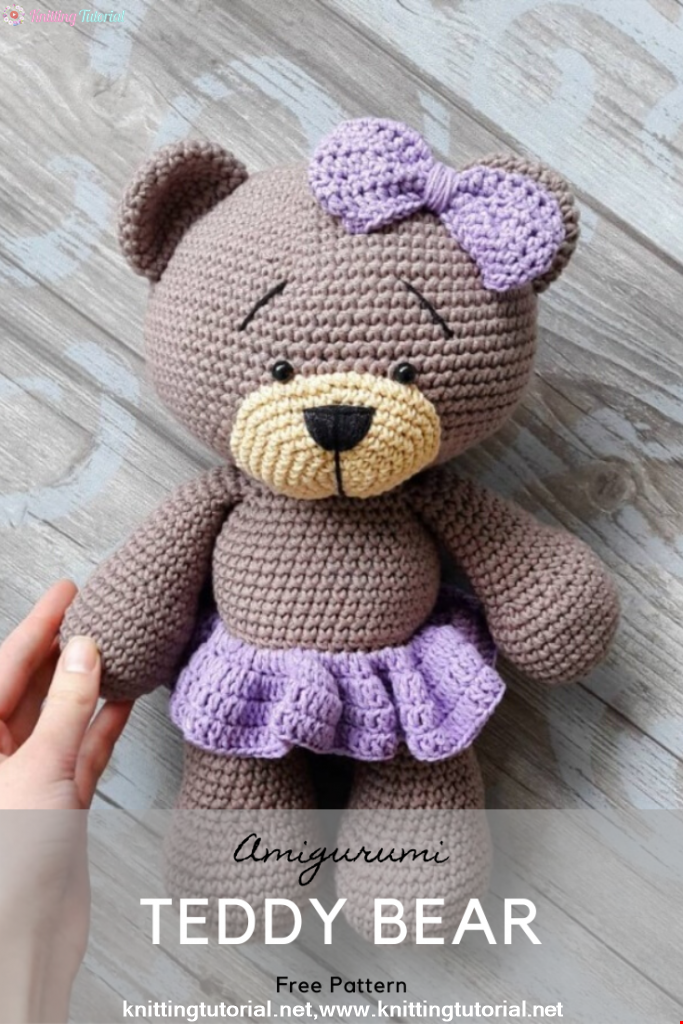
Read MoreLovely Teddy Bear Amigurumi Tutorial
12 October 2020, 10:05 2969