Little Snowman
12 October 2020, 15:02 487
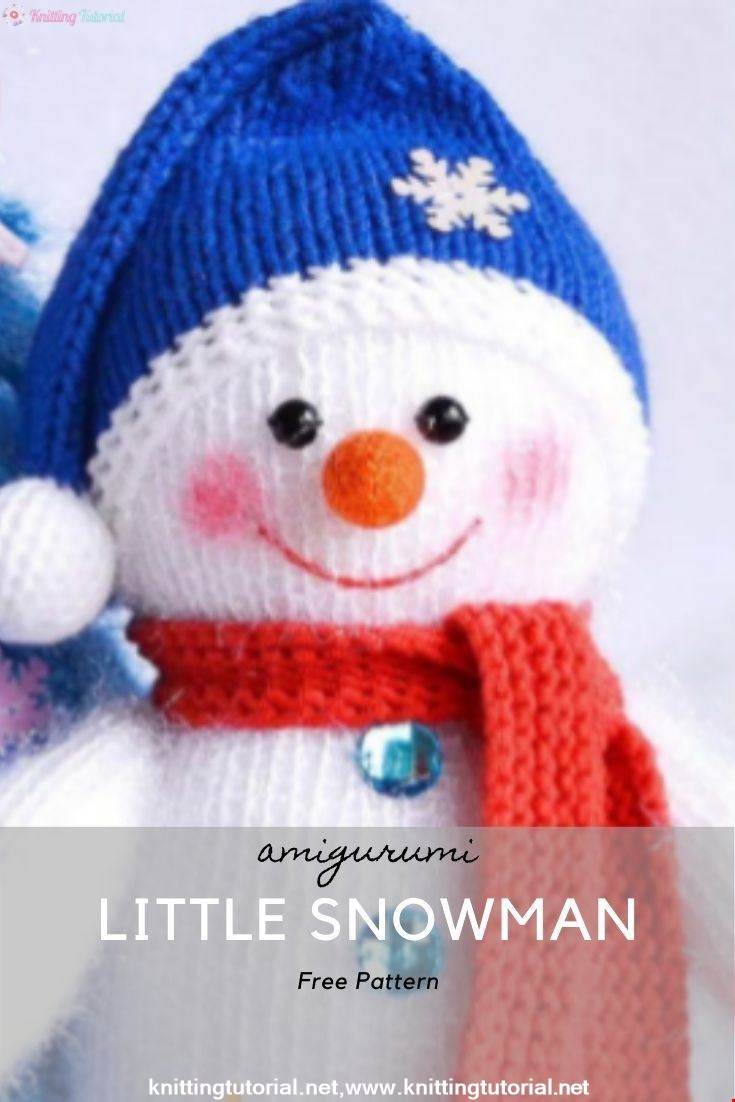
Required Materials:
1. Yarn “Yarn Art Christmas” White 1 Motchek
2. Yarn “Jeans” or “Cotton gold”, you can and any other similar footage for knitting scarves and hats.
3. Orange yarn for knitting carrots. I used the yarn “Pekhorka successful”
4.3-4 Nail Rhinestones
5. Sequins for decoration
6. The beads or beads for the Glashiks
7. At the request of the bell and satin ribbon to form a bow
8. Synthetic Filler
9. Spokes № 2.5 and 3 for knitting snowman and his clothes, Hook № 1.4 for knitting carrots
10. Sewing Needle
11. Artistic pastel pink, red or blush
Stage 1 knitting of the body and head
I knit the body and head of the Snowman knitting Needles № 2.5. It is necessary that the cloth was dense.
1r – Collect 14 loops
2 p. – Purls Loops
3 p.-Kromovyi, from each face loop to knit on 2, Kromovyi. The result should be 26 loops.
4 p. – Purls Loops
5 p. – Kromovyi, “1 obverse, of 1 face to Knit 2” This raport repeat to the end of the series, the crown. As a result we get 38 loops
6 p. – Purls Loops.
Then 28 rows of knit face
35 p.-Kromoemno, 7 facial, 2 together face three times, 10 facial, 2 together face 3 times, 7 facial, Kromoemno
36 P-Purls loops
37 R.-Facial Loops
38 R.-Purls Loops
39 p. – 7 Facial, to knit 3 times from the front loops on 2 loops, 10 facial loops, to knit three times from 3 loops on 2 loops, 7 obverse.
It turns out in this series we go back to the number of loops 38 and Ezhto already we start the head
Touch the front surface of 19 rows
58 the P.- “2 front, 2 together front” repeat to the end of the series, the crown. You must have 29 loops left
59 p.-Purls Loops
60 p. – Cutting, “1 obverse, 2 together obverse”, Kromoskno. The result will be 20 loops.
61 p.-Purls Loops
62 p.- 2 together front. There will be 10 loops.
All loops to translate on a thread. Sew the back seam.As I stitch look at the picture. First, catch the needle arc faces. Located directly next to the crown and then an arc of persons. On the other side of the seam, etc. stitching is necessary without missing a single thread, i.e. connecting sequentially one row with another, working with a right-to-left needle.
Then I erase the detail. I erase all the details of the snowman before packing, wash cap, scarf. In the process of washing all the loops are leveled, the cloth is ennobling. And of course it becomes cleaner besides. After all, small impurities are possible in the process of mating, as well as the yarn that we buy, often until the buyer wait is not so clean as it should be.
Stage 2 knitting handles and legs
Handles (2 identical )
Dial on the spokes № 2.5 16 loops. Knit face stitch 25 rows. Then two reverse together and move the remaining loops on the thread. Stitch is similar to a calf. Loops that are on a thread, addictive. Washing of handles on request. After drying we carry out packing.
I sew usually thread, which is knitting handles in the process. That is, when the knitting handles and I translate loops on the thread, then I tear off the thread, leaving it more authentic, to sew the handle and then it in a circle to walk and pull the upper open part of the handle and it to sew the handle to the calf.
Legs (2 parts)
Type 17 loops on the spokes № 2.5.
1 p.-Purls Loops
2 p.-“1 front, 2 front of the loop” and so to the end of a series of knit, Cromovyi. As a result, there should be 24 loops.
Next, knit 10 rows of facial smoothness.Close loops.
I’m closing the spokes. I divide the loops on 12 and 12 on two spokes and close them on 2 together. For this I take the third spoke. It turns out that one shovchik already at me is ready and then there is only a lateral shovchik of a leg to make. I sew the leg, erase, dry and fill, bring the open part. Thread at stitching take such lengths that they could then pull the leg and sew the leg to the calf.
Category Popular Posts
Amigurumi Hedgehog Free Pattern
12 October 2020, 09:52 11489
Making Amigurumi Spiderman
27 January 2022, 20:58 1987
Hello, Are you ready to knit Spiderman, Spider-Man, the children's favorite cartoon character? You will be able to knit easily with detailed explanation. Let's start!
Read More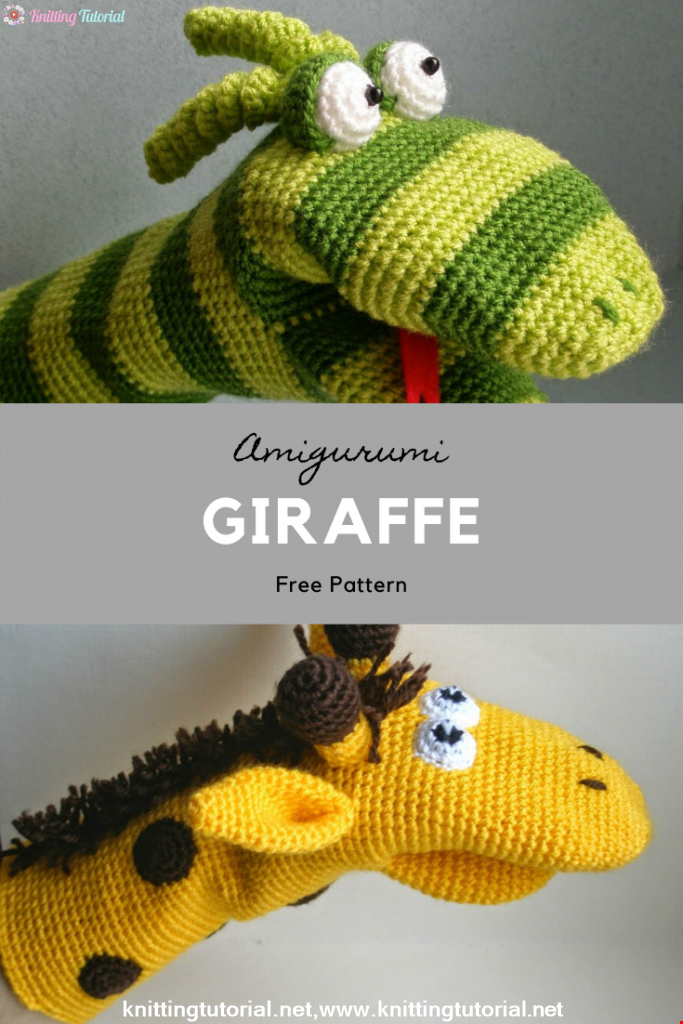
Amigurumi Princess Mononoke Crochet Pattern
12 December 2020, 21:20 942
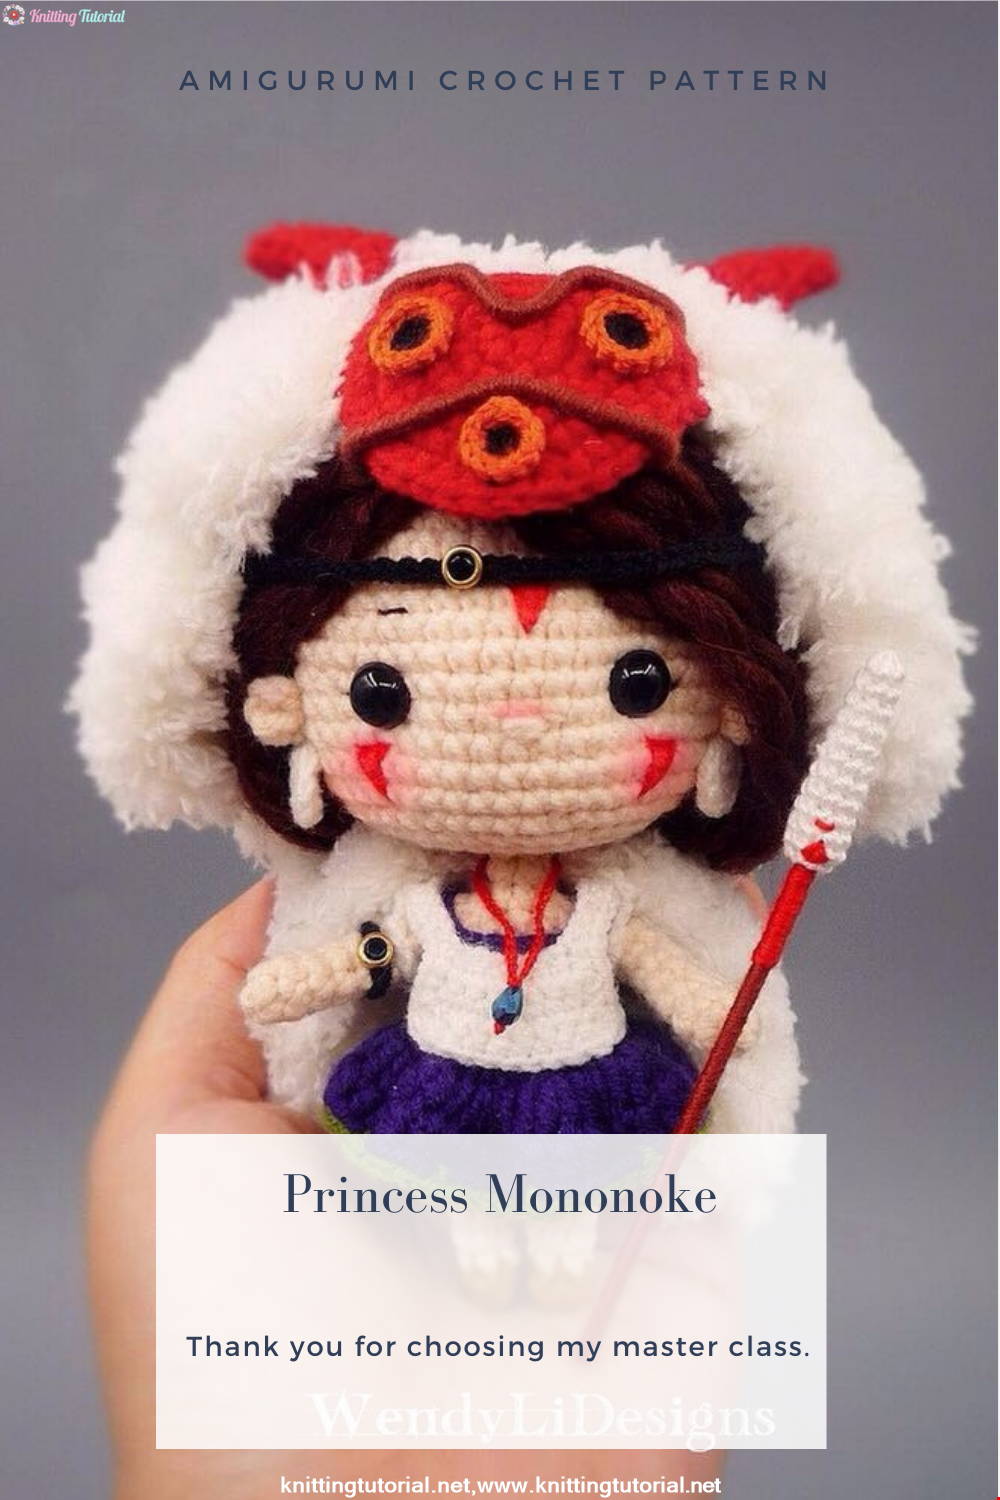
Free Crochet Princess Mononoke workshop by Wendy Li. The knitted girl is the hero of the cartoon by Hayao Miazaki. From the description of the diagram, you will also learn how to knit: a cape, a cloak, a dress and a mask for a doll.
Read More
Princess Disney Amigurumi Pattern
8 October 2020, 14:51 5812


Korean Girl in Traditional Dress (Hanbok)
22 September 2020, 11:11 1572
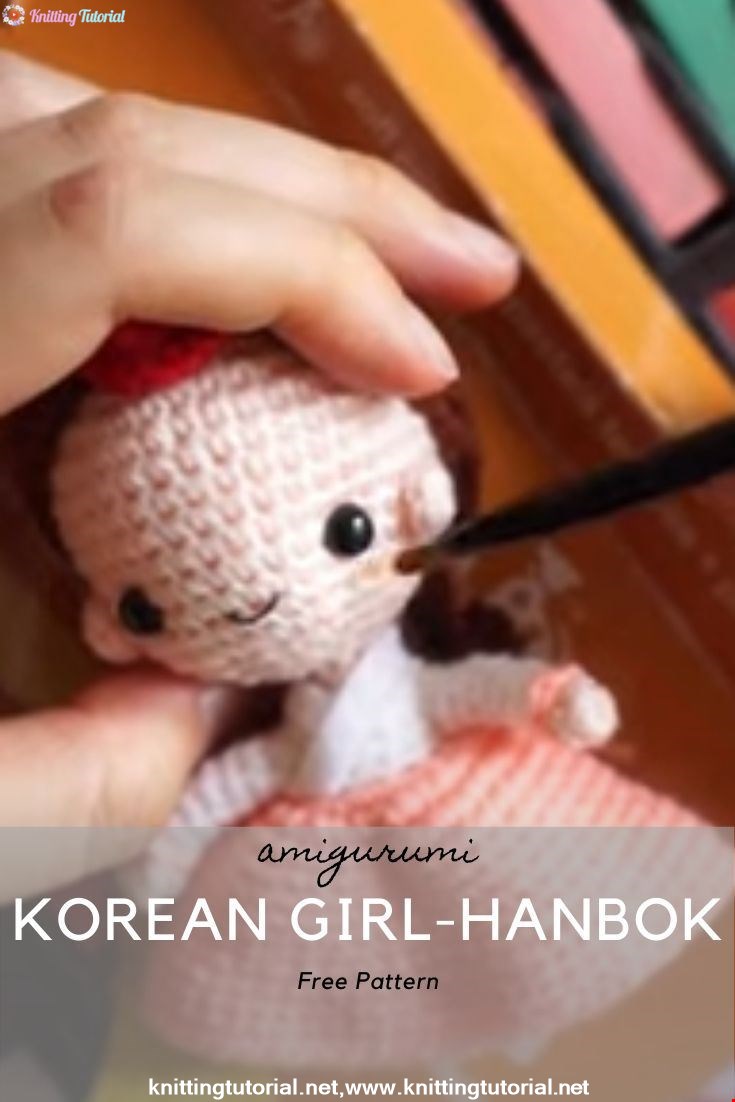
This is the process how I made the amigurumi of Korean Bride in traditional dress Hanbok. Lately I've been watching a lot of Korean dramas and got inspired to make one. I hope you can enjoy the video, and get inspired too!
Read More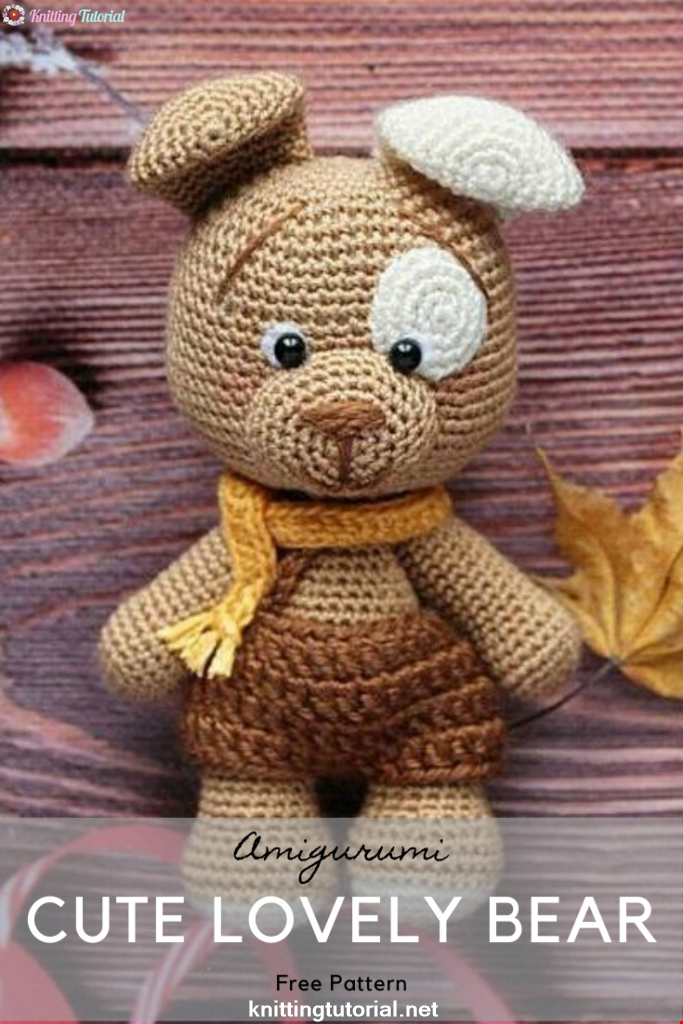
Amigurumi Sweet Giraffe Recipe and Preparation
5 January 2022, 14:55 630
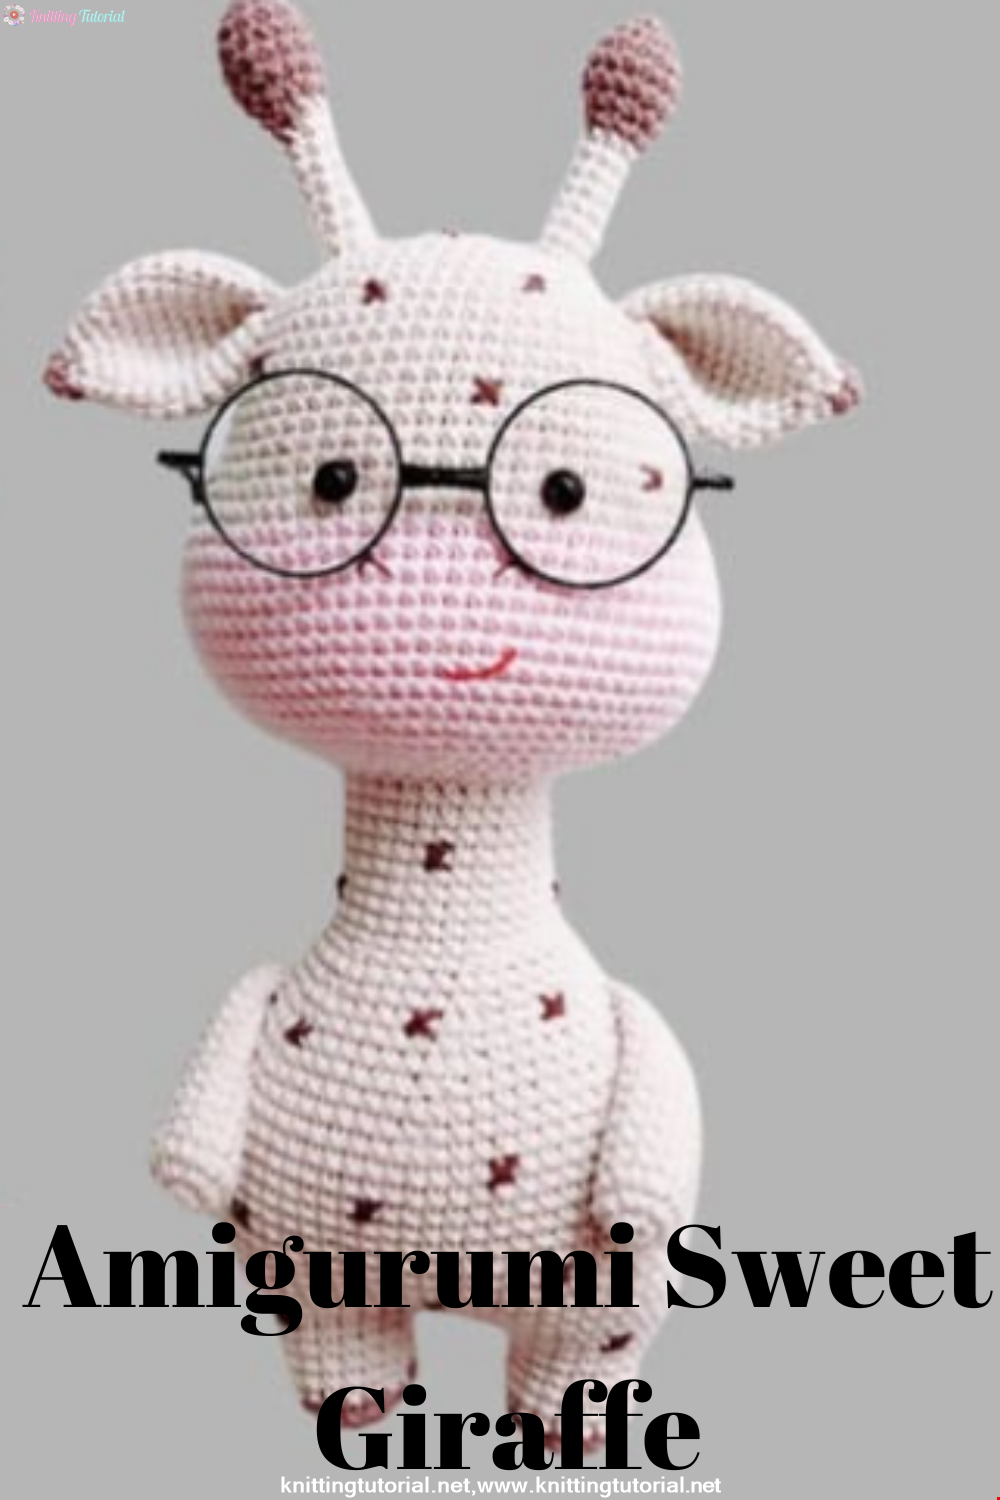
We have come to share with you the most popular model of recent times with the Amigurumi sweet giraffe recipe. I hope it will be an amigurumi animal figure that you like very much and knit with love.
Read MoreLovely Teddy Bear Amigurumi Tutorial
12 October 2020, 10:05 2965