Mimimishki Amigurumi Crochet Pattern
21 October 2020, 16:16 812
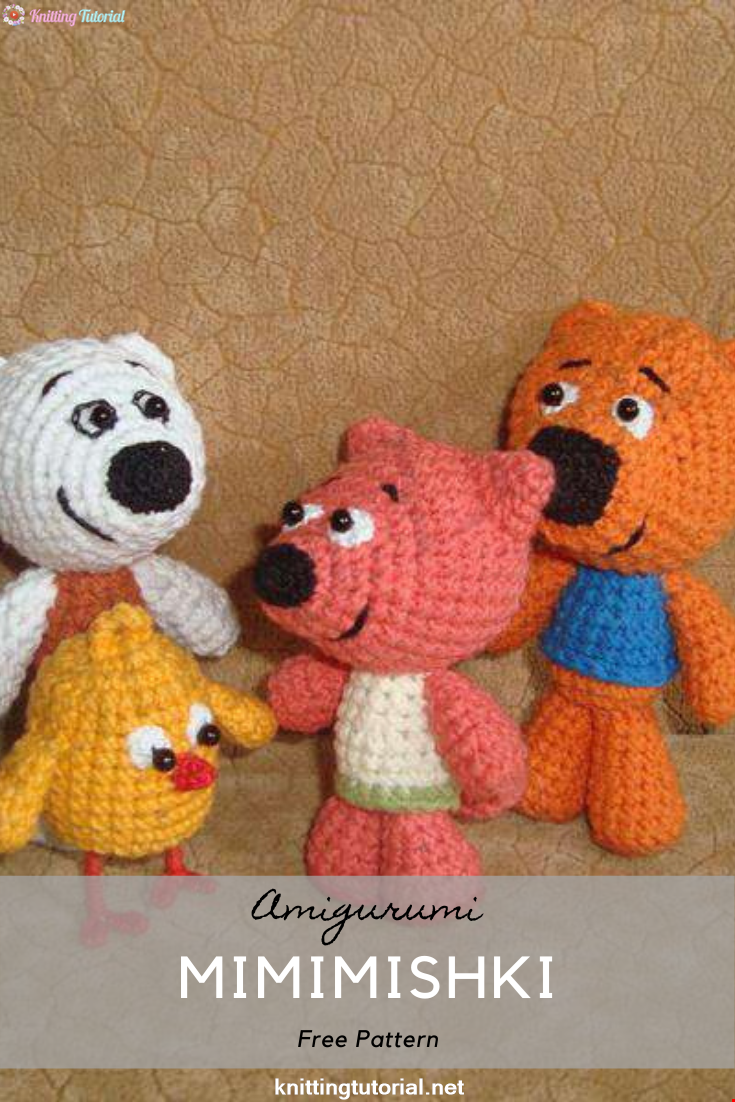
Height of toys: 7 cm chicken, 9 cm chanterelle, 10 cm bears.
Tools and materials:
Hook 2.5 or 2 mm. Hook 1.5 or 1.25 for eyes and noses.
The filler is chlorofiber.
Yarn ALIZE Cotton Gold, 55% cotton, 45% acrylic, 330 m / 100 g. Analogous to the specified yarn
is YarnArt Jeans.
The yarn consumption is small, you can use the remains of existing similar colors.
For a white bear: white, brown, light gray;
For a ginger bear: orange, brown, blue;
For the fox: coral (or another shade of orange), red, milky, marsh;
For the chicken: yellow, red.
A bit of smooth and fine white yarn for the eyes, black for the noses and
red for the beak of the chicken, in this version VITA cotton COCO, you can
(not less than 200 m / 50 g).
Mouline thread black for tying the eyes of a white bear (you can bobbin thread).
Black beads d = 4 mm.
Thin wire for chicken legs.
Glue "moment crystal" (or other transparent).
Legend:
VP () - air loop
SBN () - single crochet
SS () - connecting post
PR () - increase
UB () - decrease
PR 3in1 () - an increase of 3 columns in 1 (3 columns without a crochet, knitted in the same
column of the previous row)
All parts are knitted in a spiral
Fox
Head (coral):
1 p: 6 sc in the amigurumi ring
2 p: 6 PR = 12 sc
3 p: (PR, sc) * 6 = 18 sc () * 6 - repeat 6 times
4 p: (2 sc, OL) * 6 = 24 sc
5 p: (PR, 3 sc) * 6 = 30 sc
6-11 RR: 30 PRS
12 p: (UB, 8 sc) * 3 = 27 sc
13 p: 4 sc, (UB, 7 sc) * 2, UB, 3 sc = 24 sc
14 p: 1 sc, ub, 1 sc, 2 ub, 1 sc, ub, 3 sc, ub, 4 sc, ub, 2 sc = 18 sc
The columns underlined in the description are the middle
muzzles, mark them on knitting, it will be easier
collect the toy.
15 p: (UB, 4 sc) * 3 = 15 sc
16 p: 15 sc
We fill the detail, highlighting the muzzle
17 p: (2 sc, UB, 1 sc) * 3 = 12 sc
18 p: 6 UB = 6 RLS, SS, finish packing
cut off the details of the thread, drag the tip through
all the loops, tighten the hole, fix
the tip of the thread in a knot and put it inside the part.
Body (milk, marsh):
Swamp color is needed for strapping, we knit all dress in milk color.
1 p: 6 sc in the amigurumi ring
2 p: 6 PR = 12 sc
3 p: (PR, 1 sc) * 6 = 18 sc
4p: 18 RLS we knit behind the back wall
5 p: 4 sc, UB, 7 sc, UB, 3 sc = 16 sc
6 p: 16 sc
7 p: (UB, 6 sc) * 2 = 14 sc
8 p: 14 sc
9 p: 3 sc, ub, 5 sc, ub, 2 sc = 12 sc, ss, cut the thread, leaving the end for
sewing and fasten.
Holding the torso with a hole towards you,
attach a marsh-colored thread in a row,
where we have left free front
walls and knit for these front
the walls of the RLS row against the main course
knitting.
Having knitted the last column, cut the thread and
do not fix, but simply take out. Across
remove the first column towards the bottom
details. There we tie the ends of the thread with a knot and
we remove the dress inside.
We fill and sew the body to the head, a little
closer to the back of the head, be sure to make sure that
the marked center of the muzzle did not move anywhere to the side. When sewing on open parts,
almost reaching the end, we push at
need filler and finish
sewing on.
Handles (coral), 2 pcs:
1 p: 6 sc in the amigurumi ring
2 p: 6 PR = 12 sc
3 p: 12 sc
4 p: (UB, 4 sc) * 2 = 10 sc
5 p: 2 sc, ub, 3 sc, ub, 1 sc = 8 sc
6 p: 8 sc
We fill the handle
7 p: (UB, 2 RLS) * 2 = 6 RLS, SS, we finish the packing, cut the thread, leaving the end for
sewing and tighten the hole.
Sew the handles on the sides, stepping back one row from
top of the torso. Sew obliquely, in front and
from behind so that your arms do not stick out to the sides, but
went down.
Legs (red, coral), 2 pcs:
We start knitting in red
1 p: 7 sc in the amigurumi ring
2 p: 7 PR = 14 RLS, make a connecting post, cut and fasten the thread.
Then we knit in coral color:
3 p: 14 PRS knit with purl embossed columns without crochet
http://www.liveinternet.ru/users/2337083/rubric/4221500/
4 p: 3 sc, ub, 5 sc, ub, 2 sc = 12 sc
5 p: 12 sc
6 p: (UB, 4 sc) * 2 = 10 sc
7 p: 2 sc, ub, 3 sc, ub, 1 sc = 8 sc
8 p: 8 sc, ss, cut the thread, leaving
end to be sewn to the body.
We stuff and sew on the legs, fitting them at the bottom
dresses
Tail (coral):
1 p: 6 sc in the amigurumi ring
2 p: (PR, 1 sc) * 3 = 9 sc
3 p: (2 sc, OL) * 3 = 12 sc
4 p: (PR, 3 RLS) * 3 = 15 RLS
5 p: 15SBN
6 p: (3 sc, UB) * 3 = 12 sc
7 p: 12 sc
8 p: (UB, 2 RLS) * 3 = 9 RLS, SS, crop
thread, leaving the end for sewing, fasten. We stuff and sew the tail, driving into
swamp hem of the dress.
Spout (black):
For the nose, take a thin hook (1.5 or 1.25 mm) and thin yarn
1 p: 6 sc in the amigurumi ring
2 p: (PR 3in1, PR, 1 RLS) * 2 = 12 RLS
3 p: 2 PRS, OL, 5 PRS, OL, SS (incomplete row)
6
Pull the nose to the sides so that
more pronounced oval. Sew on,
slightly covering the lower edge of the nose that place
where you finished knitting the head.
Eyes:
For the eyes, we take a thin yarn, a thin hook.
1 p: 6 sc in the amigurumi ring, SS, leave the thread for sewing.
If the yarn is slightly thinner than the specified or rather dense set and the eye turns out
very small kky, you can dial 7 RLS in the ring.
If you first sew a bead to the eye, there is a great risk of pulling off an already small eye.
Therefore, first we sew the whites of the eyes to the head.
Sew on the eyes, stepping back from the nose up 1.5-2
rows, the distance between the eyes is 1.5-2 columns.
The eye must be straightened before each
stitch to make it as close as possible
smooth and round.
Sew the beads from the inner edge of the eye to the center.
Sew on with two stitches with bobbin thread
twice, and after each stitch the thread
neatly but tightly pull the bead
fit tighter. Thread tip can be fastened
imperceptibly on a black nose.
Ears (coral), 2 pcs:
1 p: 4 sc in amigurumi ring
2 p: (PR, 1 sc) * 2 = 6 sc
3 p: (PR, 2 sc) * 2 = 8 sc
4 p: (PR, 3 sc) * 2 = 10 sc
5 p: (PR, 4 RLS) * 2 = 12 RLS, SS, cut the thread, leaving the end for sewing, fasten.
We don't stuff our ears.
Sew on flat, but separately on each side. Sew on, stepping back 6 rows from
nape (beginning of knitting of the head), between the ears, the distance is 3-4 columns.
We embroider a smile and eyebrows with black thin yarn, with which the nose was knitted with a chain stitch.
All babies have a smile 3 stitches with a chain stitch in the gaps between the columns on
distance 3 rows from the nose, approximately from the middle to the side. Eyebrows - one chain stitch
seam 1-1.5 columns long.
Kesha (red bear)
Head (orange):
1 p: 6 sc in the amigurumi ring
2 p: 6 PR = 12 sc
3 p: (PR, RLS) * 6 = 18 RLS
4 p: (2 sc, OL) * 6 = 24 sc
5 p: (PR, 3 sc) * 6 = 30 sc
6 p: 3 sc, (PR, 4 sc) * 5, OL, sc = 36 sc
7-11 RR: 36 PRS
12 p: (2 sc, ub) * 4, 5 sc, ub, 8 sc, ub, 3 sc = 30 sc
13 p: 1 sc, ub, 2 sc, ub, 1 sc, ub, 2 sc, ub, 5 sc, ub, 3 sc, uB, 4 sc = 24 sc
Mark the selected column
14 p: (UB, 1 RLS) * 3, UB, 13 RLS = 20 RLS
15 R: 20 PRS
16 p: (3 sc, UB, 5 sc) * 2 = 18 sc
17 p: 18 sc
We fill the detail, highlighting the muzzle
18 p: (sc, ub) * 6 = 12 sc
19 p: 6 UB = 6 sc, ss, cut the thread, finish
stuffing and tighten the hole.
Torso (orange, blue):
We start in orange
1 p: 6 sc in the amigurumi ring
2 p: 6 PR = 12 sc
3 p: (PR, 1 sc) * 6 = 18 sc
4 p: 18 sc
We switch to blue, leave the initial end of the blue thread ≈ 60 cm, and
leave it before knitting
5 p: 18 sc
6 p: 4 sc, UB, 7 sc, UB, 3 sc = 16 sc
7 p: 16 sc
8 p: (UB, 6 sc) * 2 = 14 sc
9 p: 14 sc
10 p: 3 sc, ub, 5 sc, ub, 2 sc = 12 sc, ss, cut the thread, leaving the end for
sewing and fixing.
With the left blue starting end, we knit a row of CC for the front left hem
the first blue row as you knit.
Having tied a row, we make a connecting post in the first loop of the tying, the end of the thread at
this we pull out completely. The orange spot can be closed by making a couple of regular
stitches. We remove the end of the thread inward and fix it there.
We fill the body and sew it to the head, a little
closer to the back of the head, make sure that the marked
the center of the muzzle did not move sideways.
Legs (brown, orange), 2 pcs:
We start knitting in brown:
1 p: 7 sc in the amigurumi ring
2 p: 7 PR = 14 sc, ss, cut and fasten the thread.
Then we knit in orange:
3 r: 14 RLS we knit with embossed purl RLS (like a fox)
4 p: 14 sc
5 p: 3 sc, ub, 5 sc, ub, 2 sc = 12 sc
6 p: 12 sc
7 p: (UB, 4 sc) * 2 = 10 sc
8 p: 10 sc
9 p: 2 sc, UB, 3 sc, UB, 1 sc = 8 sc
10 p: 8 RLS, SS, cut the thread, leaving the end for sewing, fasten. We stuff
legs.
Handles (orange), 2 pcs:
1 p: 6 sc in the amigurumi ring
2 p: 6 PR = 12 sc
3-4 RR: 12 PRS
5 p: (UB, 4 sc) * 2 = 10 sc
6 p: 10 sc
7 p: 2 sc, ub, 3 sc, ub, 1 sc = 8 sc
8 p: 8 sc
We fill the handles
9 p: (UB, 2 RLS) * 2 = 6 RLS, SS, cut the thread, finish the packing and tighten the hole.
Sew the handles like a fox, stepping back one row from the top of the body. Sew on the legs
below in the middle.
Spout (black):
For the nose, we take a thin hook and thin yarn
1 p: 6 sc in the amigurumi ring
2 p: 6 PR = 12 sc
3 p: (PR, 2 sc) * 4 = 16 sc
4p: (PR, 4 PRS, OL, 2 PRS) * 2 = 20 PRS, SS, thread
cut off, leaving the end for sewing and fasten
We slightly sip the nose in the corners to a square,
sew like a fox, covering with the bottom edge
nose is the place where you finished knitting the head. Exactly
just like in a fox, we knit and sew on eyes.
Ears (orange), 2 pcs:
1 p: 6 sc in the amigurumi ring
2 p: 6 PR = 12 sc
3 p: 12 sc, ss, cut off the thread, leaving
end for sewing, fasten.
We do not stuff the ears, we sew on each side separately. Since the sewing-on edge is not
even, the ears will bend slightly, so we sew in a semicircle (the main thing is to watch
so that they arched evenly and in the right direction). 6 rows
4 columns
We embroider a smile and eyebrows.
White Cloud (white bear)
Head (white):
1 p: 6 sc in the amigurumi ring
2 p: 6 PR = 12 sc
3 p: (PR, RLS) * 6 = 18 RLS
4 p: (2 sc, OL) * 6 = 24 sc
5 p: (PR, 3 sc) * 6 = 30 sc
6-12rr: 30 sc
13 p: 7 sc, ub, 13 sc, ub, 6 sc = 28 sc
14 p: (UB, 12 sc) * 2 = 26 sc
15 p: 6 sc, ub, 11 sc, ub, 5 sc = 24 sc
16 p: 1 sc, ub, 1 sc, 2 ub, 1 sc, ub, 3 sc, ub, 4 sc, ub, 2 sc = 18 sc
We mark the underlined columns, we feed it
Category Popular Posts
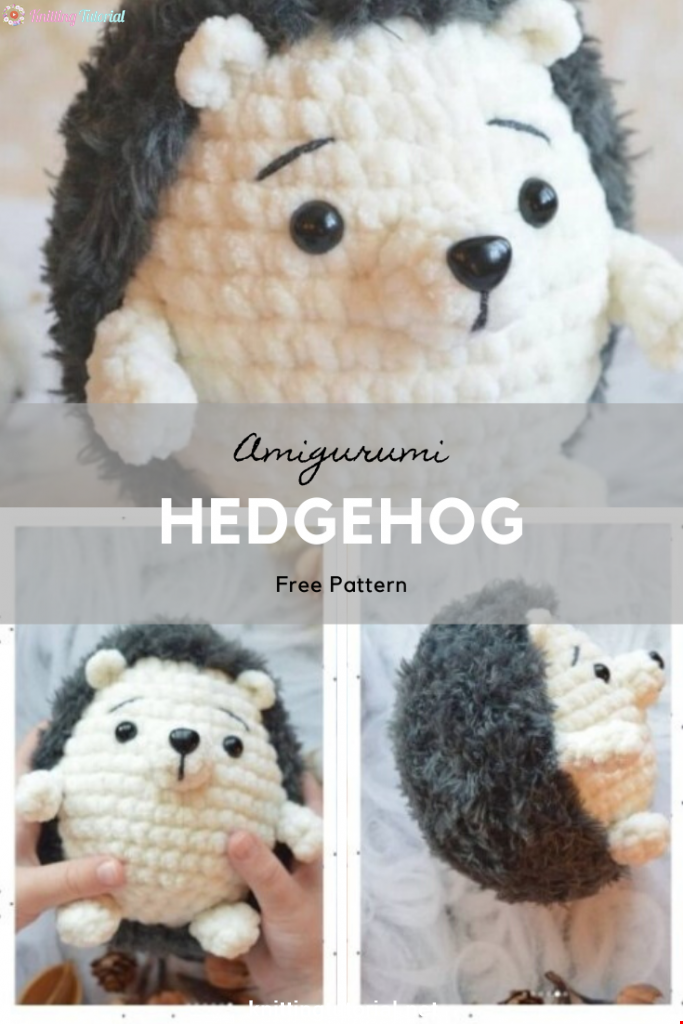
Amigurumi Hedgehog Free Pattern
12 October 2020, 09:52 11505
Making Amigurumi Spiderman
27 January 2022, 20:58 2024
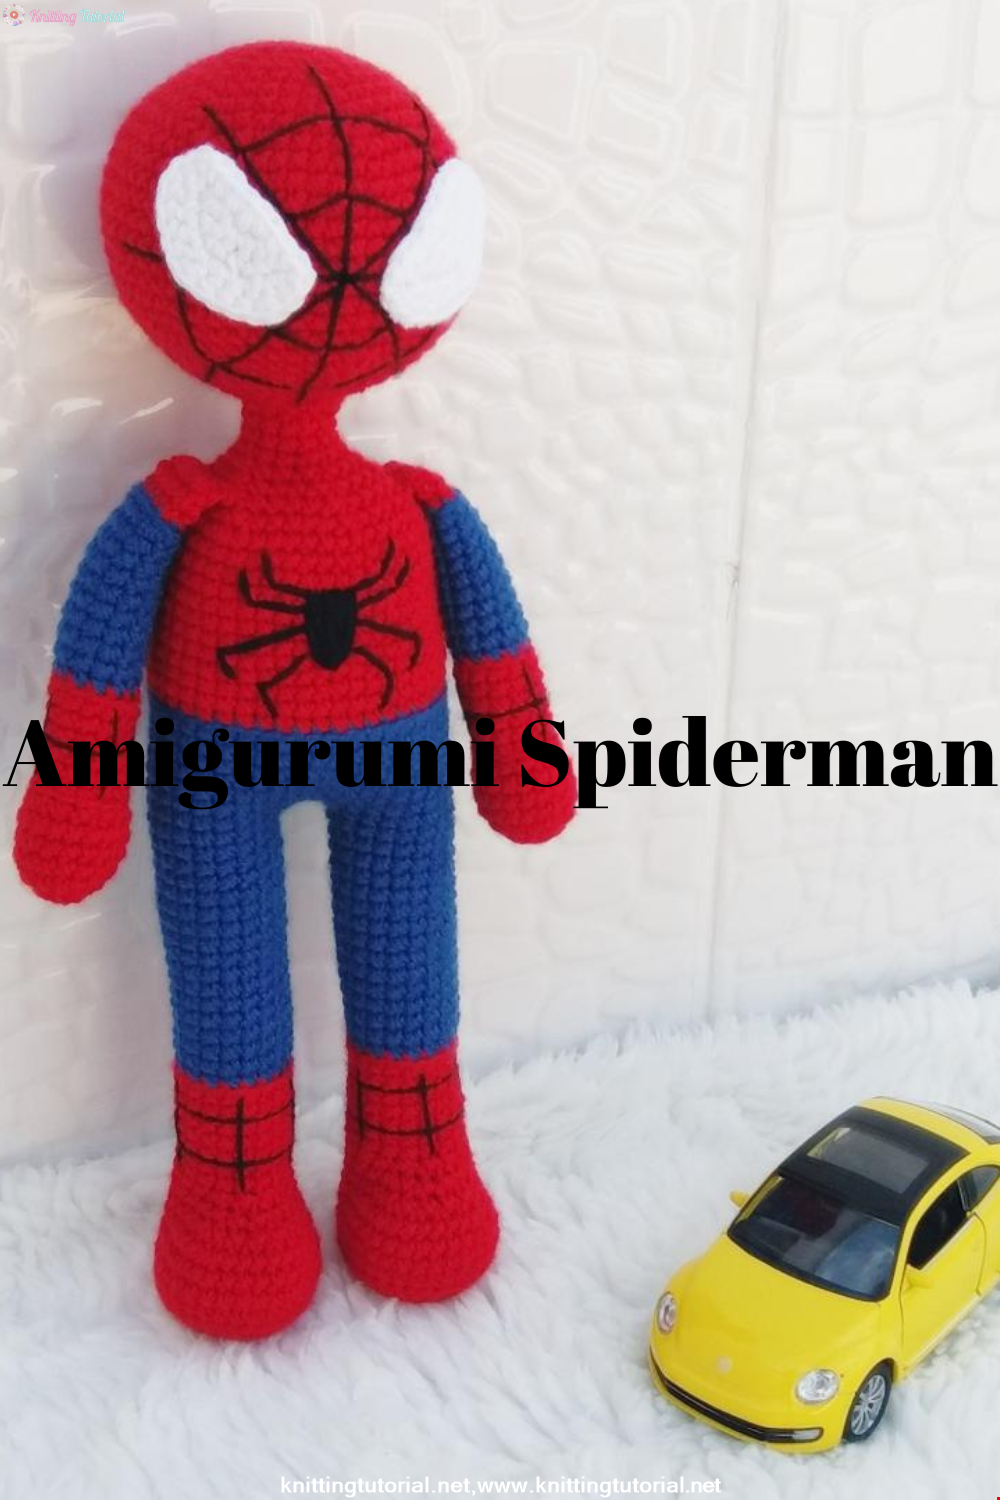
Hello, Are you ready to knit Spiderman, Spider-Man, the children's favorite cartoon character? You will be able to knit easily with detailed explanation. Let's start!
Read More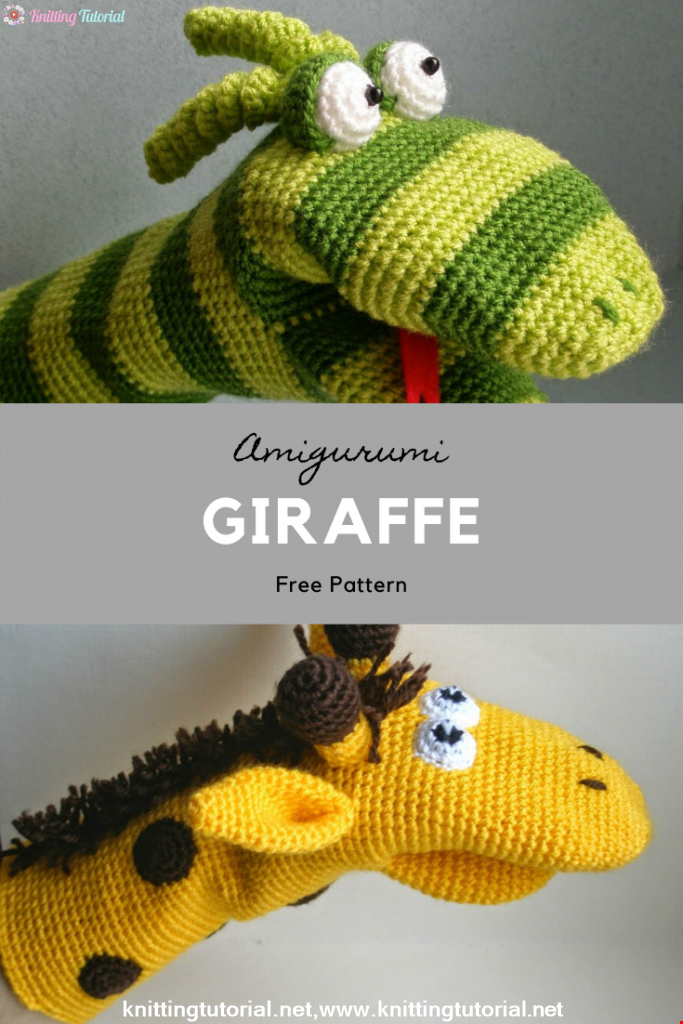
Amigurumi Princess Mononoke Crochet Pattern
12 December 2020, 21:20 946
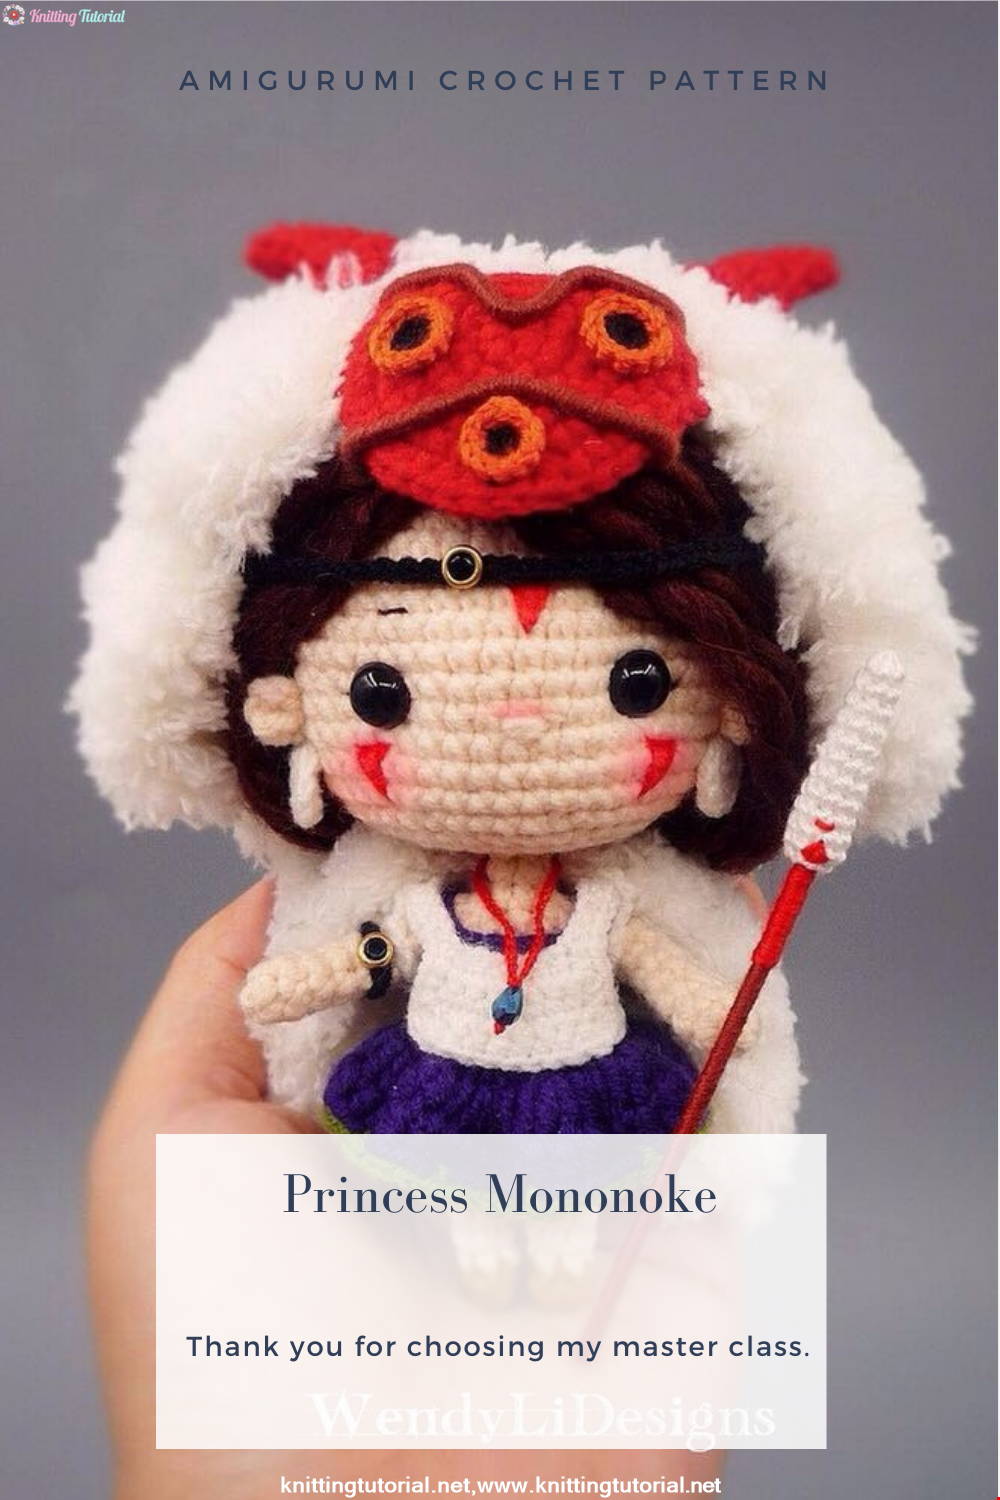
Free Crochet Princess Mononoke workshop by Wendy Li. The knitted girl is the hero of the cartoon by Hayao Miazaki. From the description of the diagram, you will also learn how to knit: a cape, a cloak, a dress and a mask for a doll.
Read More
Princess Disney Amigurumi Pattern
8 October 2020, 14:51 5815


Korean Girl in Traditional Dress (Hanbok)
22 September 2020, 11:11 1573
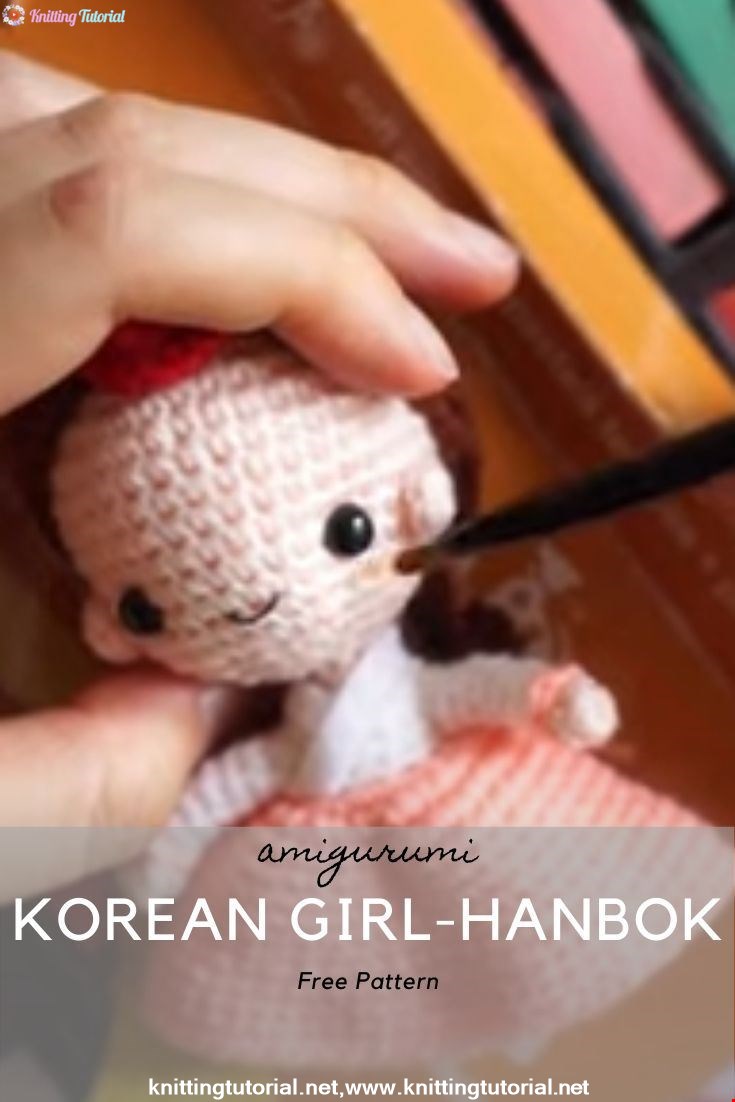
This is the process how I made the amigurumi of Korean Bride in traditional dress Hanbok. Lately I've been watching a lot of Korean dramas and got inspired to make one. I hope you can enjoy the video, and get inspired too!
Read More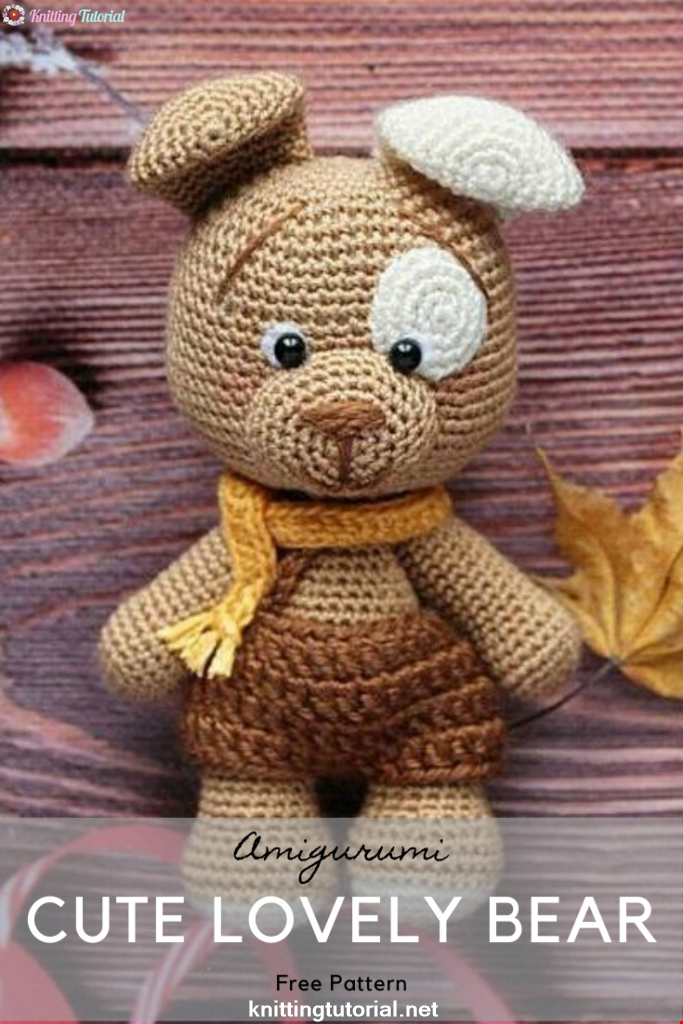
Amigurumi Sweet Giraffe Recipe and Preparation
5 January 2022, 14:55 634
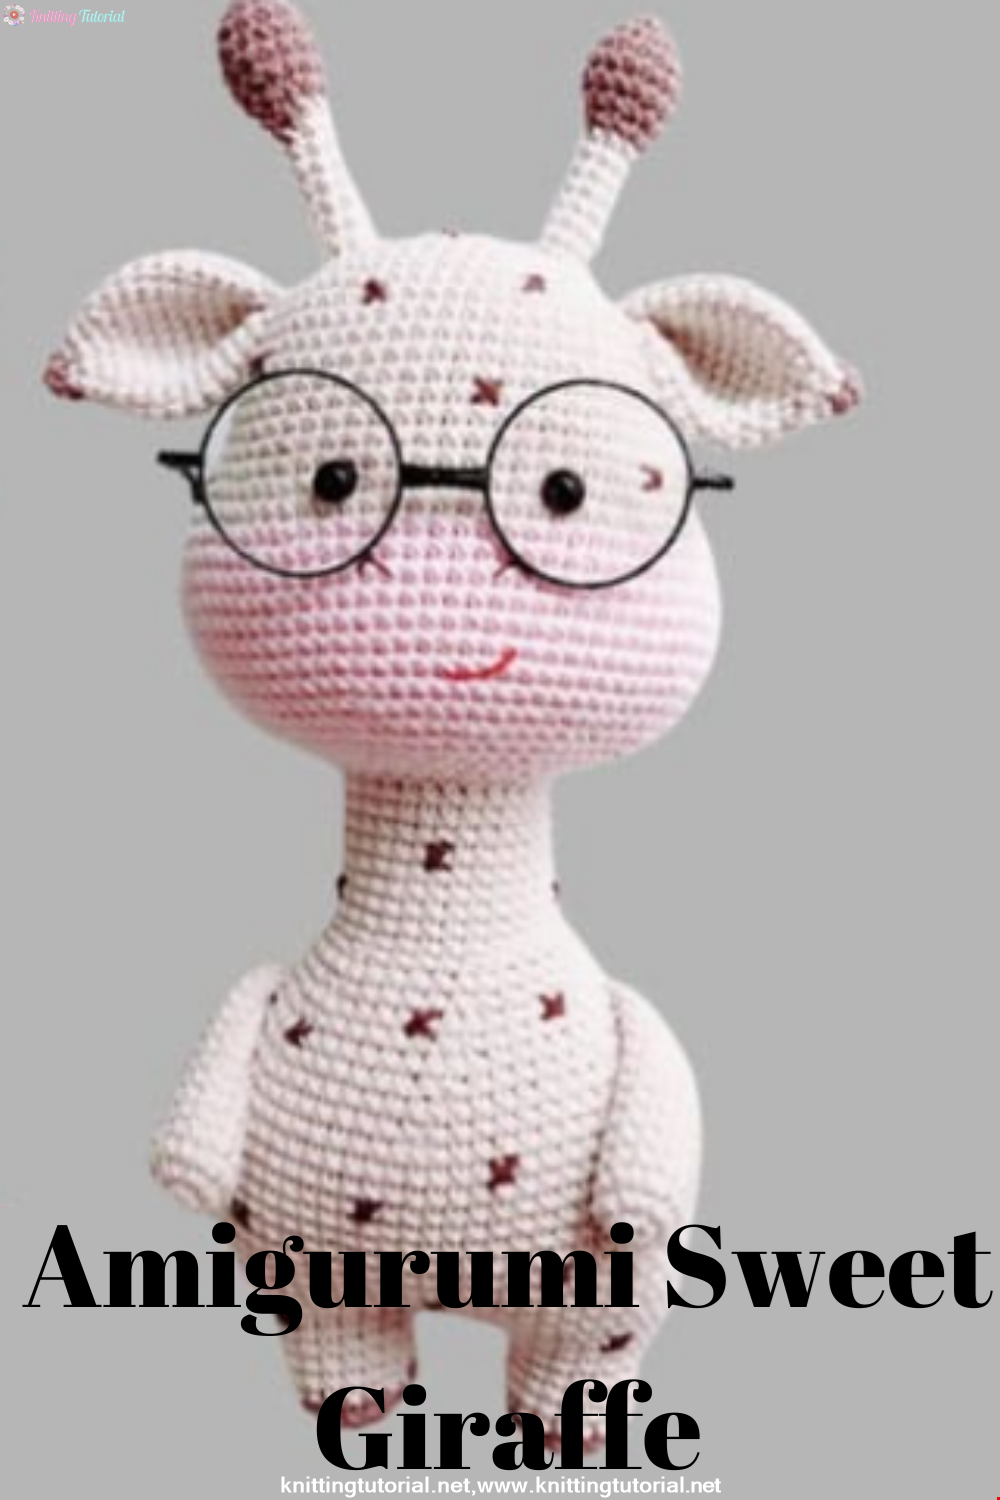
We have come to share with you the most popular model of recent times with the Amigurumi sweet giraffe recipe. I hope it will be an amigurumi animal figure that you like very much and knit with love.
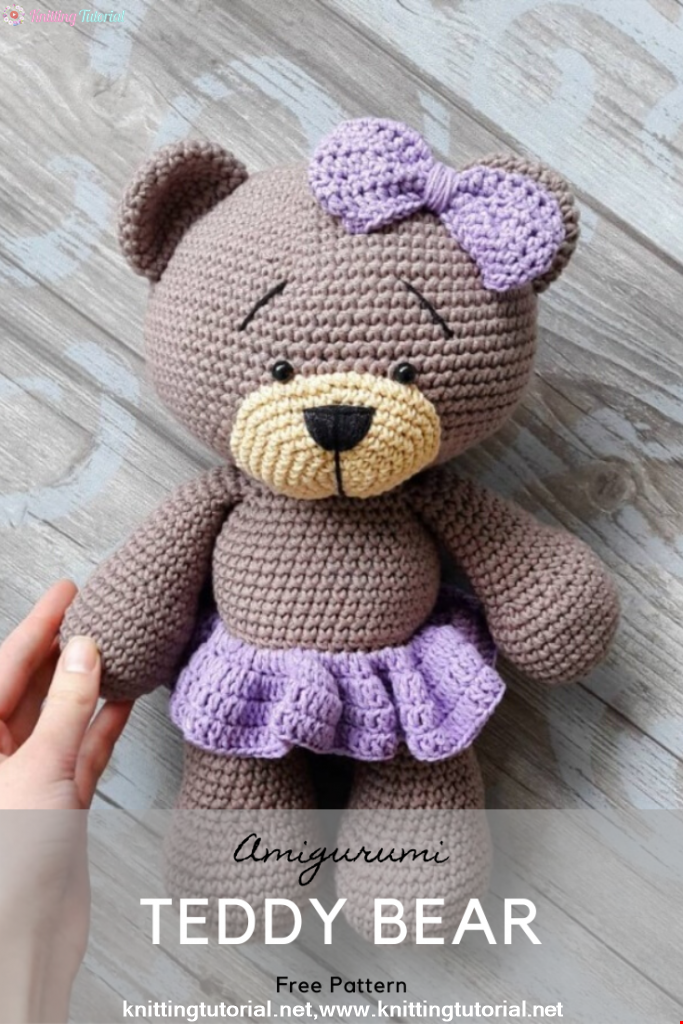
Read MoreLovely Teddy Bear Amigurumi Tutorial
12 October 2020, 10:05 2969