Pink Pillow Pig
30 October 2020, 10:20 582
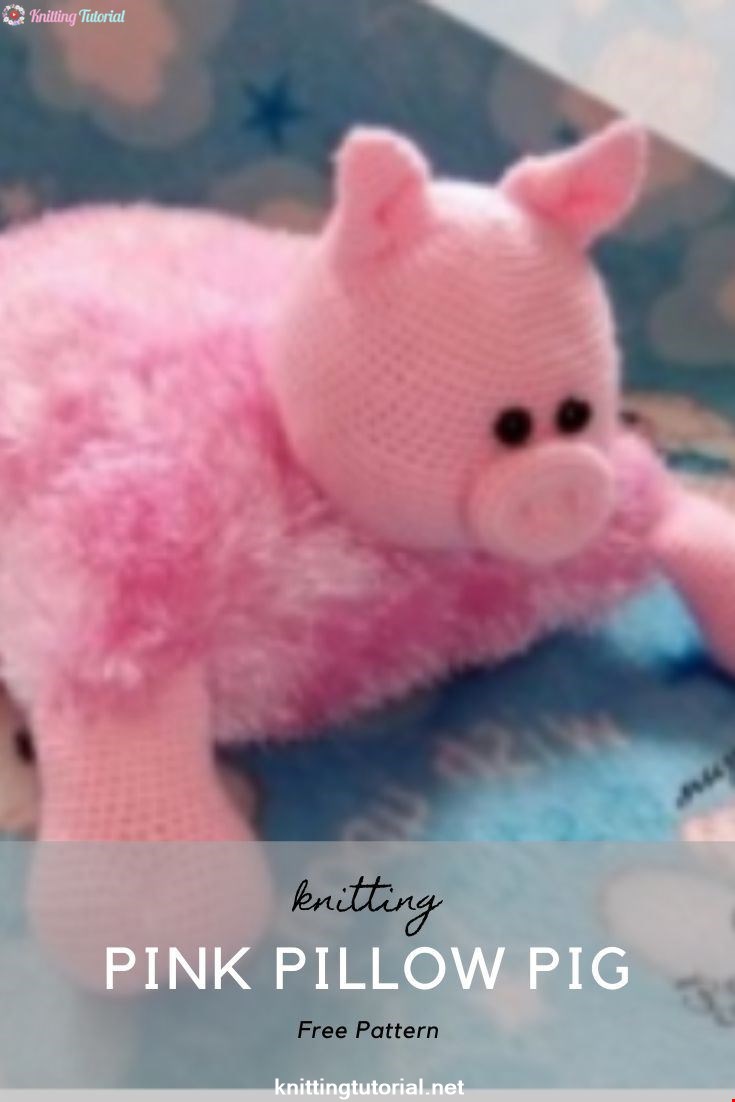
Materials used to create the pillow: – YarnArt Samba yarn (100% polyester); – Pekhorka children’s novelty yarn (100% acrylic); – eyes on a secure mount; – filler – hypoallergenic holofiber The size of the pillow is 27 x 23.5 cm, height is about 9 cm (excluding the head and legs) So, materials: – acrylic yarn Pekhorka children’s Novelty (I have 4 hanks, but I think that a maximum of 2 is useful – 2.5 – depends on your mating density); – weed EarnArt samba (it also has 4 hanks, how many will leave exactly – I won’t say);
– eyes on a secure mount;
– a thick needle for stitching the legs and tail.
Abbreviations:
KA – amigurumi ring
Pr – increase (knit 2 columns in one loop)
Ub – subtract (knit two columns together)
Cbn – column without nakida
Psn – half column
Ccn – crossbar with
Cc – link column STEP ONE
!
Head.
1 row. 6 sbn in spacecraft (6)
2 row. 6 pr (12)
3 row. (1 un, pr) x 6 (18)
4 row. (2 sbn, pr) x 6 (24)
5 row. (3 sbn, pr) x 6 (30)
6 row. (4 sbn, pr) x 6 (36)
7 row. (5 sbn, pr) x 6 (42)
8 row. (6 sbn., Pr) x 6 (48)
9 row. (7 bun, pr) x 6 (54)
10 row. (8 sbn, pr) x 6 (60)
11 row. (9 sbn, pr) x 6 (66)
12-20 rows. 66 Sat (66)
Knit cheeks:
21 row. 9 pr., 9sbn, 9 pr., 39 sbn (84)
22-23 rows. 84 Sat (84)
24 row. 45 sbn, (11sbn, ub) x 3 (81)
25 row. 45 sbn, (10 sbn, ub) x 3 (78)
26 row. (11 sb, sr.) X 6 (72)
27 row. (10 sb, ub) x 6 (66)
28 row. (9 sb, ub) x 6 (60)
29 row. (8 sb, ub) x 6 (54)
30 row. (7sbn, sb.) X 6 (48)
31 series. (6sbn, ub) x 6 (42)
32 row. (5sbn, ub) x 6 (36)
33 series. (4 sb, u) x 6 (30)
34 row. (3sbn, ub) x 6 (24)
35 series. (2sbn, ub) x 6 (18)
36ryad. (1sbn, ub) x 6 (12)
37 row. 6 s. We cut the thread, leaving the thread for tightening, fasten, cut.
So, knit the pillow itself.
We collect 71 VP, we knit on one side 69 buns, in the last loop we knit 3 bunks, we continue on the other side – 67 bunks, in the last loop 2 buns.
And knit in a circle. The process is not fast))
The photo is connected 12 rows. The length of the pillow is 30 cm. Consumption – I have 5 cm of cloth (folded in half as in the photo) and a little more than half of the skein of yarn was taken. So, I think, on the pillow will take about 2.5-3 hanks.
The next stage – muzzle, ears and legs.
Piglet:
1 row. 6СБН in spacecraft (6)
2 row. 3СБН in the first loop, 2СБН, 3СБН in the next loop, 2СБН (10)
3 row. (1СБН, 1П) х 5 (15)
4 row. 2SBN, 1P, 3SBN in the next loop, 5SBN, 3SBN in the next loop, 1P, 4SBN (21)
5 row. 3 sbn, pr, 3СБН to the next loop, 9сбн, пр, 3СБН to the next loop, пр, 4сбн. (28)
6 row. For the rear walls 28 UBN
7-10 rows. 28 sbn We
cut the thread, leaving the tip for stitching.
Oral:
1: 6SBN in the amigurumi ring (6) Do not connect the ring.
2: 1VP, turn knitting and knit (1SBN, 1P) – 3 times (9)
3 row. 1 run, turn, (2 kn, etc.) – 3 times (12)
Finish knitting .
Sew a penny between the cheeks, before completely sew – we stuff with filler, but not very tightly. Piglet sewn, now do the nostrils. From the bottom of the head, we stretch the thread approximately into the second row of one side of the patch, do a stitch and pull out the thread again at the bottom of the head. Then the same with the second nostril.
We sew the mouth from the bottom right against the patch, slightly driving away the edge of the mouth.
Ears – 2 parts.
1 row. 6sbn in KA (6)
2 row. (1sbn, pr) x 3 (9)
3 row. 9sbn (9)
4 row. (2sbn, pr) x 3 (12)
5 row. 12sbn (12)
6 row. (3 sbn, pr) x 3 (15)
7 row. (4sbn, pr) x3 (18)
8 row. (5sbn, pr) x 3 (21)
9 row. (6sbn, pr) x -3 (24)
10 series. (7sbn, pr) x 3 (27)
11 row. (8sbn, pr) x 3 (30)
12 row. (9sbn, pr) x 3 (33)
13 row. (10sbn, pr) x 3 (36)
Now we bend the front parts of the ear, as shown in the photo. We sew so that the ear does not straighten.
We attach to the head, fasten with pins and look – so that everything is exactly the same. If everything suits – sew. Shape the ears, slightly bending the tips. If you wish, you can slightly hem them so that they do not unbend.
Paws (claws) – 4 parts:
1 row. 6 sbn in spacecraft (6)
2 row. 6 pr (12)
3 row. (1 un, pr) x 6 (18)
4 row. (2 sbn, pr) x 6 (24)
5 row: (3 sbn, pr) x 6 (30)
6 row. (4sbn, pr) x 6 (36)
7 row. (5sbn, pr) x 6 (42)
8 row. (6sbn, pr) x 6 (48)
9 row. (7sbn, pr) x 6 (54)
10-11 rows. 54 sat (2 rows)
12 row. (7 Ub, u) x 6 (48)
13 row. (6sbn, ub) x 6 (42)
14 row. (5sbn, ub) x 6 (36)
15 row. (4sbn, ub) x 6 (30)
16 -25 rows. 30 UBN (30) (10 rows)
Fill the foot not up to the end, leave a little free space at the top, connect both sides together, knitting together two sides of the UBN – it turns out 15 UBN. Trim the thread, leaving the tip for stitching.
Girls! My pillow turned out to be 27 cm x 23.5 cm. The yarn
took 2 skeins.
Before closing the loops we fill the pad with filler. We sew. Or you can do it like me – just together knitted both sides.
Tail:
Recruit 25 VP, knit 24 loops (starting from the second from the hook) PSSN (half-column with a crochet). Finish knitting, cutting the thread (leave the tip for stitching)
_______________________________________________________________________________
So, the last step: ASSEMBLY!
To begin with, we apply all the details to our pillow. I placed 2 legs in front and 2 legs in the back. Attached the head and pinned it to the shorter part of the pillow.
Sew tail – on the shorter side exactly in the middle.
Sew hooves as we put them.
From the side of the nape of the head we put pins-markers – note how we will sew the head and the pillow. On the head is about 27-28 series. We do this so that the head is level, not looking down.
On the pillow itself, with the help of a ruler, we mark 5-6 cm from the edge of the pillow, strictly in the middle! That the head was located at the same distance relative to the legs.
That’s all)
Category Popular Posts
How To Knit Elastic Bands With Crossed Facial Loops
17 September 2020, 20:54 1898
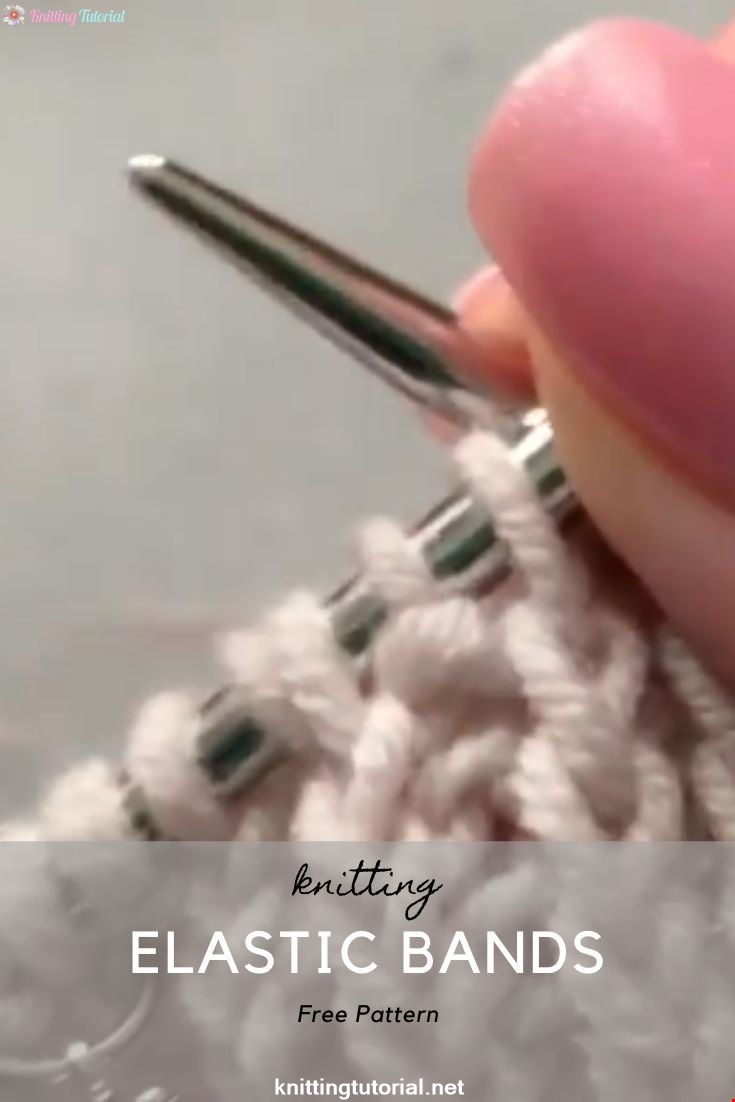
Elastic bands with crossed facial loops are now very popular in products. ... Hats, cuffs, necks look neater with such an elastic band, and it is knitted very simply: we knit all the front loops behind the back wall If you have not tried this method yet, be sure to try it on the nearest product🤗
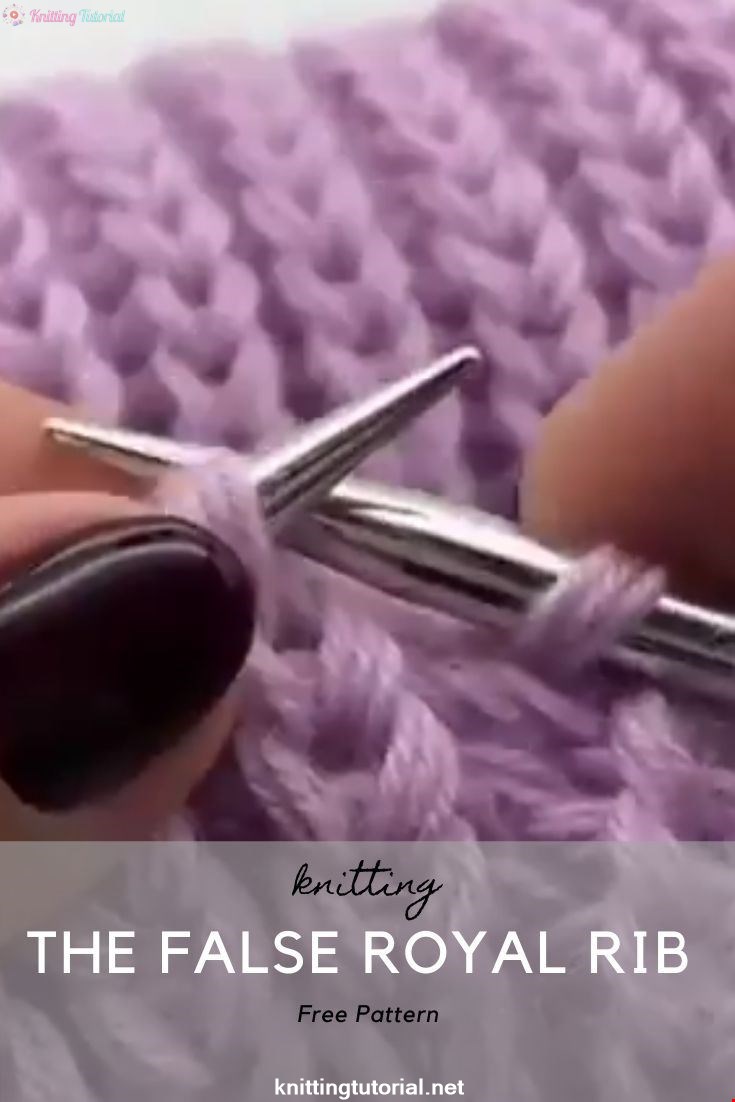
Read MoreHow To Make The False Royal Rib Example
15 September 2020, 17:47 2229
How To Knit The Pattern For My New Hat
17 September 2020, 20:35 1644
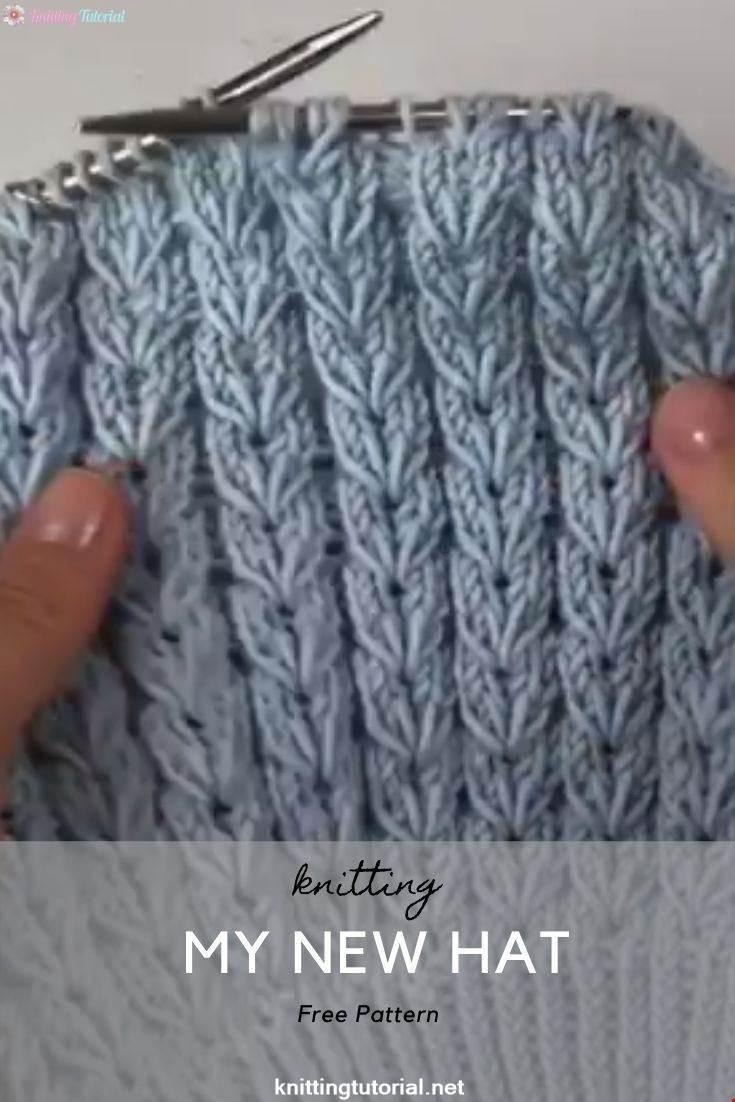
💙 Pattern drop! Again! 💙 Today the #kornblomstluen was released on #ravelry. The sweater is coming this weekend. Do you think the structure looks difficult? It's not! Just look here! // so this is how I knit the pattern for my new hat. #knitting video #grainflower #floetre #knittingvideo #knittingtutorial #knittingpattern #strikkedilla #strikkesida # fylggstrikkere #followknitters #followstrick
Read MoreHow To Knit English Scarf
17 September 2020, 21:30 1321
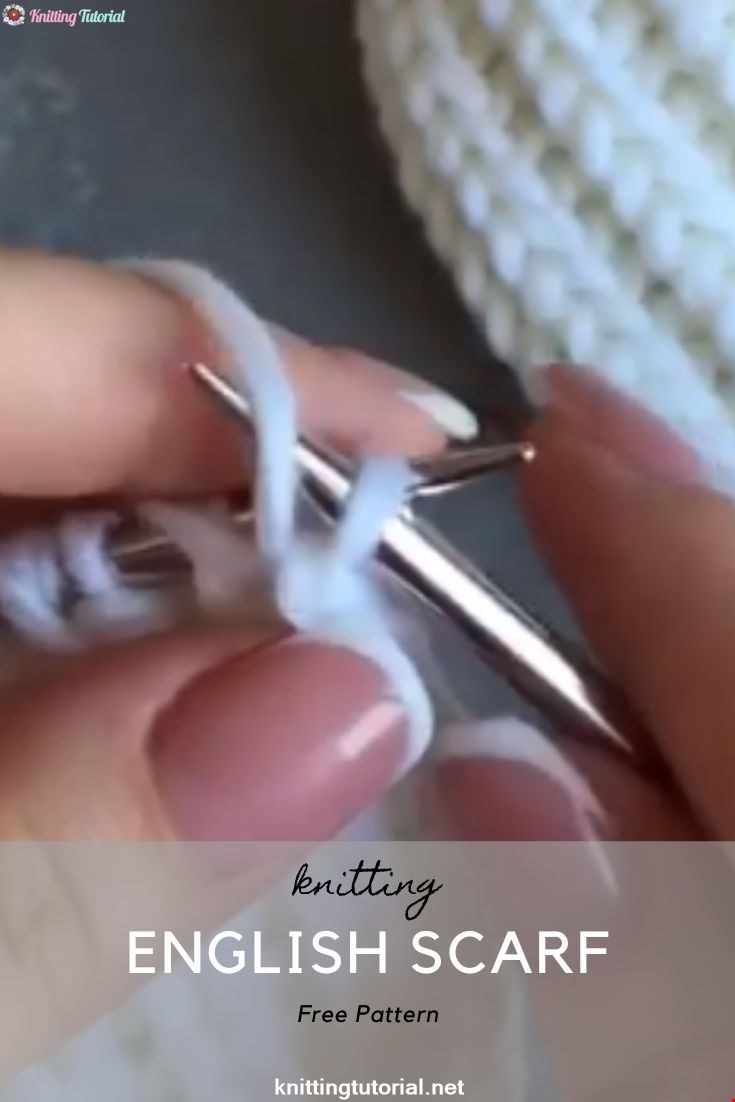
Hello everyone👋 English Scarf💕 Stylish and timeless accessory 💯 It is knitted very simply ... no dancing edging👌😅 ... and such a scarf looks just bombastic😋 Have a great Sunday everyone😘
Read MoreHow To Make Royal Rib
15 September 2020, 17:30 1196
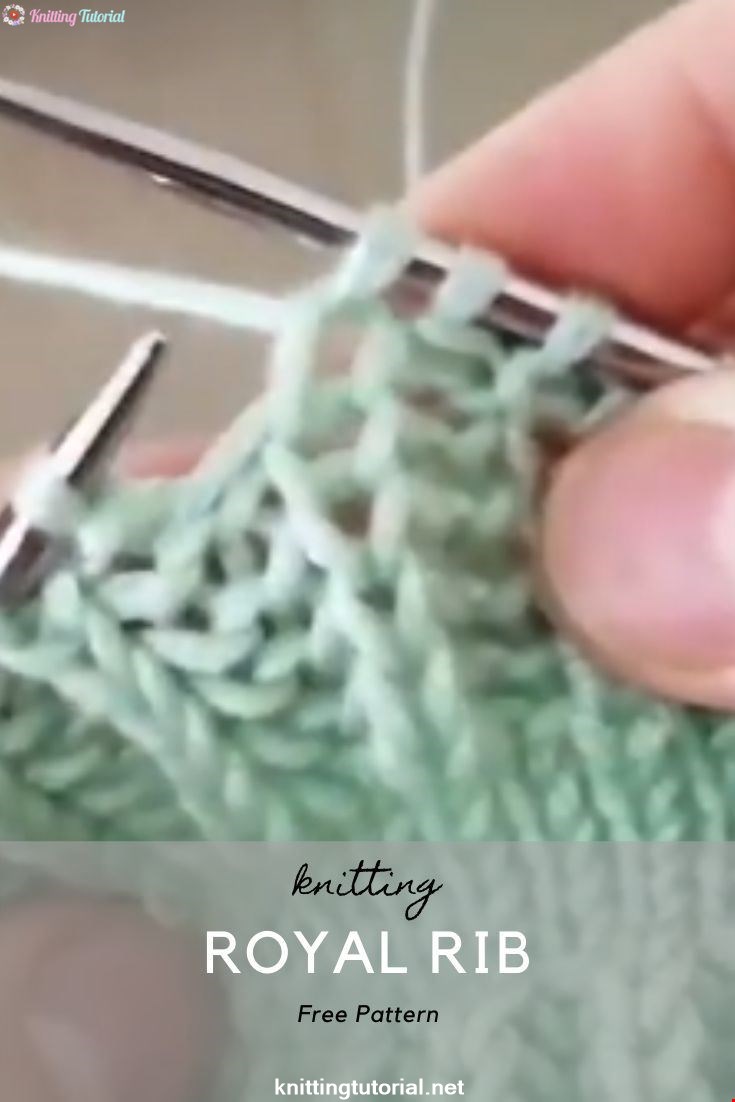
This time, I took a shot of how to make # selanik knitting ... because most people think that a rubber is a reverse flat .. Model 1 is installed on reverse 1 straight. You repeat the same process as many as you want from the front and back.
Read MoreLemon Peel Stitch
21 September 2020, 12:05 928

This weeks stitch is a super easy one row repeat pattern with just enough texture to give it the perfect look for baby afghans hats, sweaters, scarves or just about anything. I will walk you step by step through how to make this stitch pattern.
Read MoreHow to Make Easy Crochet Fingerless Gloves
31 January 2022, 23:09 1440
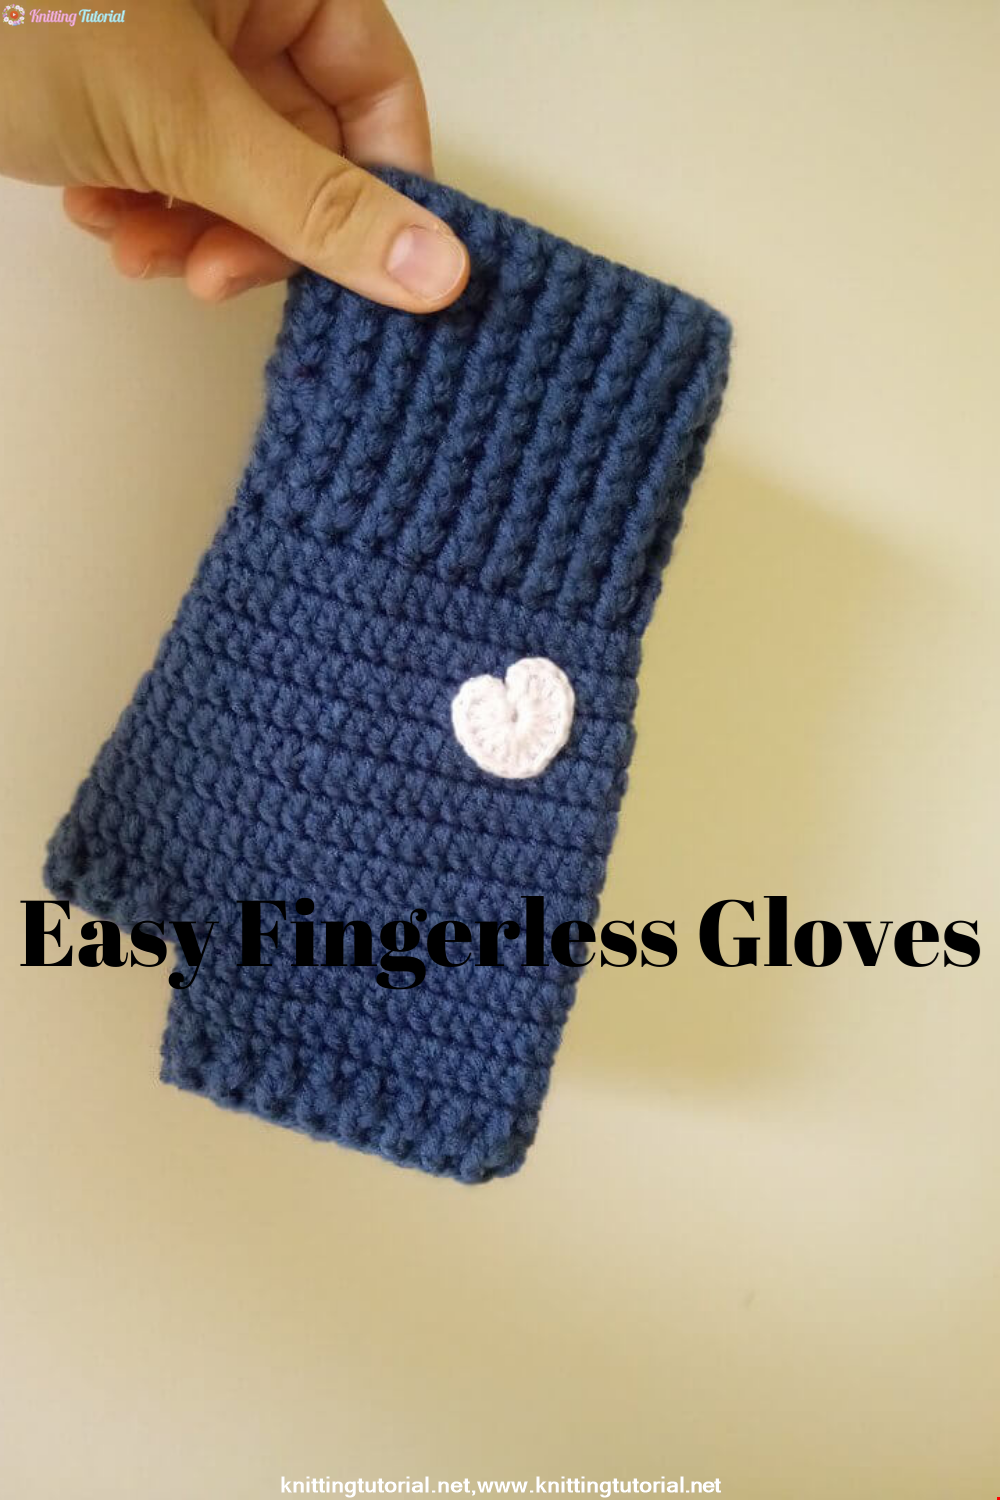
You can make easy and fast knitting patterns with crochet braids. You can use this fingerless glove knitting model for yourself or your loved ones.
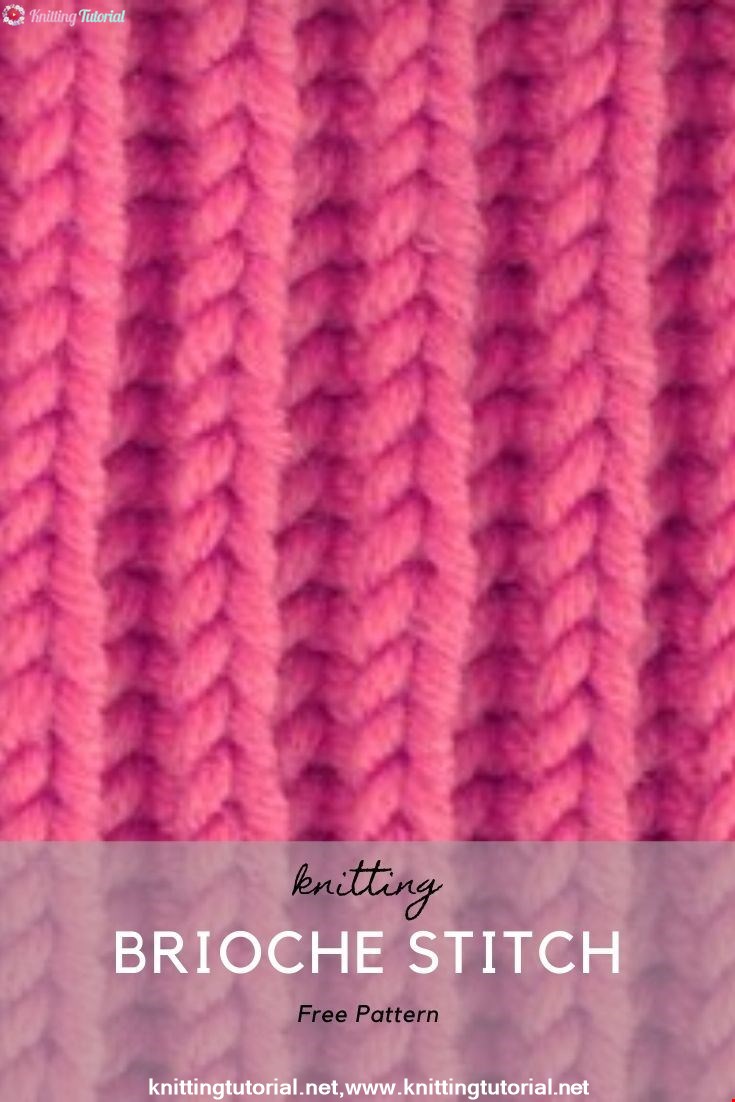
Read MoreBrioche Stitch
18 September 2020, 19:51 1261
This technique is useful for making seamless items, like cowls, hats, or sleeves for a sweater.
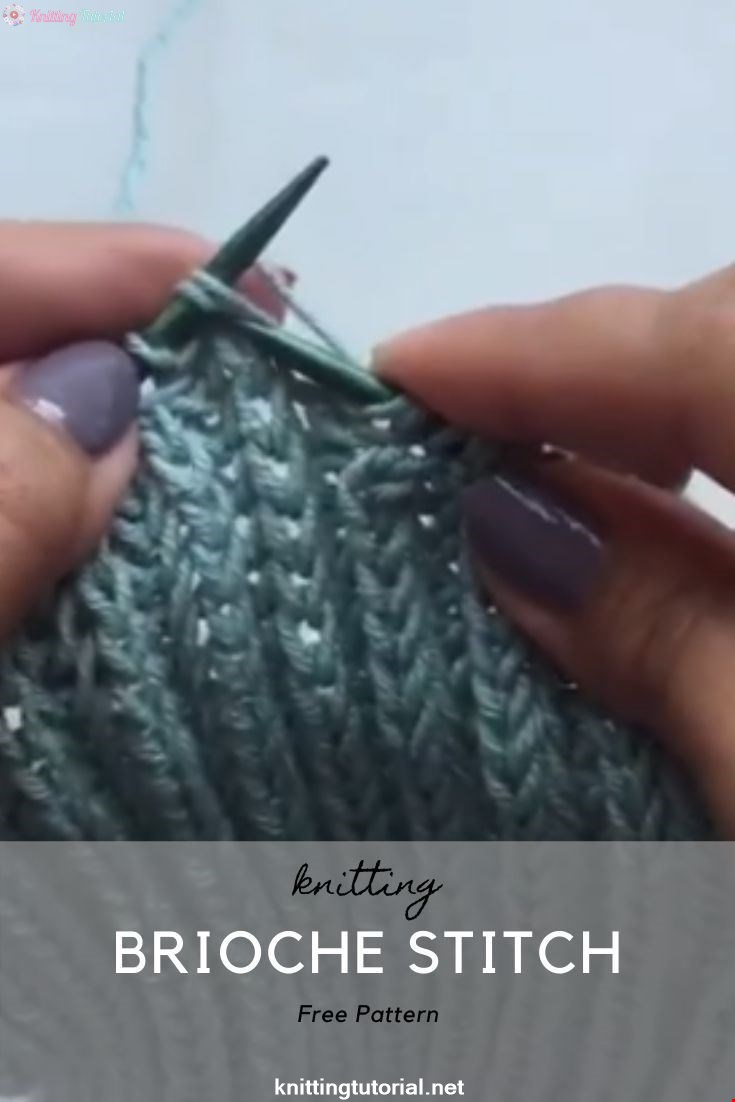
Read MoreHow to Knit the Brioche Stitch
12 September 2020, 11:17 1564
This video knitting tutorial will help you learn how to knit the brioche stitch. This reversible pattern creates a thick, lofty, stretchy fabric, that looks similar to a 1x1 rib. It is a great choice for hats, scarves, and sweaters.
Read MoreKorean Girl in Traditional Dress (Hanbok)
22 September 2020, 11:11 1573

This is the process how I made the amigurumi of Korean Bride in traditional dress Hanbok. Lately I've been watching a lot of Korean dramas and got inspired to make one. I hope you can enjoy the video, and get inspired too!
Read More