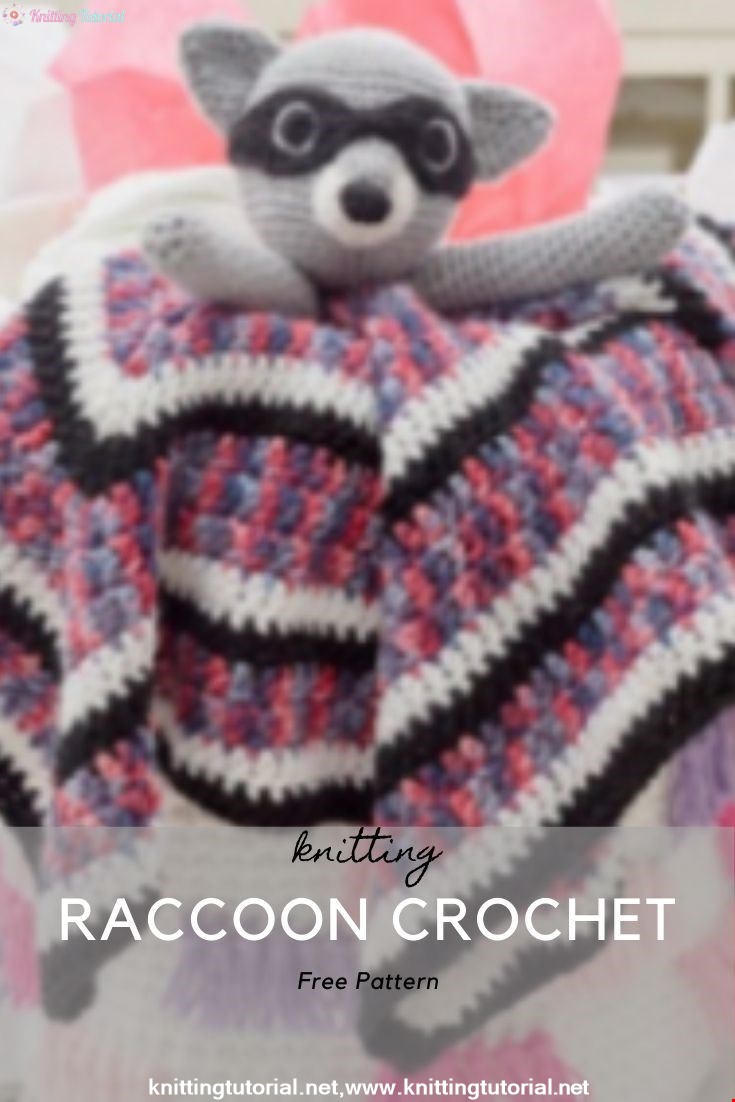
Raccoon Crochet
28 October 2020, 14:12 584
CROCHET SKILL LEVEL : EASY
Every baby needs a lovey for comfort and companionship. Our cute crochet raccoon is a true charmer and is just the right size to take wherever baby goes.
Notes
1. Raccoon head, muzzle, ears, and arms are worked in continuous (spiral) rounds with right side facing at all times. Do not join at end of rounds unless stated otherwise. Place marker for beginning of round and move marker up as each round is completed.
2. Blankie is worked in joined rounds with right side facing at all times
3. To prevent a choking hazard, do not glue any eye pieces in place. Sew securely as instructed. Special Stitch sc2tog = [Insert hook in next stitch, yarn over and pull up a loop] twice, yarn over and draw through all 3 loops on hook.
Special Techniques
Adjustable-ring method = Wrap yarn into a ring, ensuring that the tail falls behind the working yarn. Grip ring and
tail firmly between middle finger and thumb. Insert hook through center of ring, yarn over (with working yarn) and
draw up a loop. Work stitches of first round in the ring, working over both strands (the tail and the ring). After the
first round of stitches is worked, pull gently, but firmly, on tail to tighten ring. Join with sc = Place a slip knot on hook, insert hook in indicated stitch, yarn over and pull up a loop, yarn over and draw through both loops on hook.
LOVEY
Raccoon Head With smaller hook and A, make an adjustable ring.
Round 1: Ch 1, 6 sc in ring—6 sc. Place marker on first stitch and move up as each round is completed.
Round 2: Work 2 sc in each st around—12 sc.
Round 3: *Sc in next st, 2 sc in next st; repeat from * around—18 sc.
Round 4: *Sc in next 2 sts, 2 sc in next st; repeat from * around—24 sc.
Round 5: *Sc in next 3 sts, 2 sc in next st; repeat from * around—30 sc.
Round 6: *Sc in next 4 sts, 2 sc in next st; repeat from * around—36 sc.
Round 7: *Sc in next 5 sts, 2 sc in next st; repeat from * around—42 sc.
Round 8: *Sc in next 6 sts, 2 sc in nex st; repeat from * around—48 sc.
Round 9: *Sc in next 7 sts, 2 sc in next st; repeat from * around—54 sc.
Rounds 10–19: Sc in each st around.
Round 20: *Sc in next 7 sts, sc2tog; repeat from * around—48 sc.
Round 21: *Sc in next 6 sts, sc2tog; repeat from * around—42 sc.
Round 22: *Sc in next 5 sts, sc2tog; repeat from * around—36 sc.
Stuff firmly with fiberfill and continue stuffing as rounds are completed.
Round 23: *Sc in next 4 sts, sc2tog; repeat from * around—30 sc.
Round 24: *Sc in next 3 sts, sc2tog; repeat from * around—24 sc.
Round 25: *Sc in next 2 sts, sc2tog; repeat from * around—18 sc.
Round 26: *Sc in next st, sc2tog; repeat from * around; join with slip st in first sc—12 sc. Fasten off, leaving a long tail.
Muzzle
With smaller hook and B, make an adjustable ring.
Round 1: Ch 1, 4 sc in ring—4 sc. Place marker on first stitch and move up as each round is completed.
Round 2: Sc in each st around—4 sc.
Round 3: Working in back loops only, *sc in next st, 2 sc in next st; repeat from * once; change to C—6 sc.
Round 4: Work 2 sc in each st around—12 sc.
Round 5: Sc in each st around.
Round 6: *Sc in next st, 2 sc in next st; repeat from * around—18 sc.
Rounds 7 and 8: Sc in each st around; at end of last round, join with slip st in first sc.
Fasten off, leaving a long tail.
Muzzle Blaze (Stripe)
Row 1 (right side): With smaller hook and working in unworked front loops of Round 3 of Muzzle, join A with sc in any st, sc in next st, turn—2 sc.
Row 2: Ch 1, 2 sc in each st across, turn—4 sc.
Rows 3–5: Ch 1, sc in each st across, turn.
Fasten off, leaving a long tail.
Eye (make 2)
With smaller hook and B, make an adjustable ring.
Round 1: Ch 1, 4 sc in ring; join with slip st in first sc. Fasten off, leaving a long tail.
Eye Mask
With smaller hook, B, and leaving a long tail, ch 27.
Row 1: Working in back bars, slip st in 2nd ch from hook and in next 2 ch, sc in next 2 ch, hdc in next 2 ch, dc in next 2 ch, hdc in next ch, sc in next ch, slip st in next 4 ch, sc in next ch, hdc in next ch, dc in next 2 ch, hdc in next 2 ch, sc in next 2 ch, slip st in last 3 ch, turn—26 sts.
Row 2 (right side): Ch 1, sc in first 3 sts, hdc in next 2 sts, dc in next 3 sts, hdc in next 2 sts, sc in next st, slip st in next 4 sts, sc in next st, hdc in next 2 sts, dc in next 3 sts, hdc in next 2 sts, sc in last 3 sts. Fasten off.
Row 3: With wrong side of Row 1 facing and working in opposite side of foundation ch, join B with slip st in first
ch, slip st in next 2 ch, sc in next 2 ch, hdc in next 2 ch, dc in next 2 ch, hdc in next ch, sc in next ch, slip st in next 4 ch, sc in next ch, hdc in next ch, dc in next 2 ch, hdc in next 2 ch, sc in next 2 ch, slip st in last 3 ch, turn.
Row 4: Repeat Row 2. Fasten off, leaving a long tail
Ear (make 2)
With smaller hook, A, and leaving a long tail, ch 16; join with slip st in first ch.
Round 1: Sc in each ch around—16 sts. Place marker on first stitch and move up as each round is completed.
Round 2: *Sc2tog, sc in next 6 sts; repeat from * around—14 sts.
Round 3: *Sc2tog, sc in next 5 sts; repeat from * around—12 sts.
Round 4: Sc in each st around.
Round 5: *Sc2tog, sc in next 4 sts; repeat from * around—10 sts.
Round 6: [Sc2tog] 5 times; join with slip st in first sc—5 sts. Fasten off, leaving a long tail.
Arm (make 2)
With smaller hook and A, make an adjustable ring.
Round 1: Ch 1, 6 sc in ring—6 sc. Place marker on first stitch and move up as each round is completed.
Round 2: Work 2 sc in each st around—12 sts.
Rounds 3–24: Sc in each st around, inserting fiberfill as work progress.
Fasten off, leaving a long tail.
Blankie
With larger hook and D, make an adjustable ring.
Round 1: Ch 1, 12 dc in ring; join with slip st in first dc—12 dc.
Round 2: Ch 3 (counts as first dc here and throughout), *(2 dc, tr) in next dc, (tr, 2 dc) in next dc, dc in next dc; repeat from * twice, (2 dc, tr) in next dc, (tr, 2 dc) in next dc; join with slip st in top of beginning ch—20 dc and 8 tr.
Round 3: Ch 3, *dc in each dc around to next tr, (2 dc, tr) in next tr, (tr, 2 dc) in next tr; repeat from * 3 times, dc in each remaining dc; join with slip st in top of beginning ch —36 dc and 8 tr.
Rounds 4 and 5: Repeat Round 3—68 dc and 8 tr.
Round 6: Repeat Round 3; change to C—84 dc and 8 tr.
Round 7: Repeat Round 3; change to B—100 dc and 8 tr.
Round 8: Repeat Round 3; change to D—116 dc and 8 tr.
Rounds 9–13: Repeat Rounds 4–8—196 dc and 8 tr.
Rounds 14–16: Repeat Rounds 5–7—244 dc and 8 tr.
Round 17: Repeat Round 3—260 dc and 8 tr. Fasten off.
FINISHING
Refer to photograph as a guide for placement of pieces.
Nose: With strand of B, embroider straight stitches vertically over Rounds 2 and 3 of muzzle. Weave in end tail to
wrong side and secure.
Ears: Weave end tail through last round and pull gently to close. Secure and weave in end. Flatten ear and hold
with edges of Round 1 together. With beginning tail, sew edges together, then sew edges to top of head, placing
corner of each ear at round 7.
Muzzle: With blaze at top, align muzzle at Round 16. Holding blaze away from stitching, sew muzzle to head with
C-colored end tail, stuffing with fiberfill as work progress. With A-colored end tail, sew blaze to top of muzzle and
head.
Eyes: Weave in ends. Cut 2 circles of felt slightly larger than each eye. With sewing needle and thread, sew each eye
to felt piece.
Eye Mask: Position inner curve of mask over seamline of blaze, pin mask in place across head and whipstitch edges
with end tails. Pin eye pieces in place and sew with needle and thread.
Arms: Weave beginning tail through stitches of Round 1 and pull gently to close. Hold edges of last round together and, with end tail, sew edges together. Spread blankie on flat surface. Place flat edge of each arm between Rounds
1 and 2; positioning rounded endstowards opposite corners. Sew arms securely in place with end tails.
Head: Add additional stuffing if needed. Weave end tail through last round, pull gently to close, knot securely.
Center head on Round 1 between arms. With end tail, sew securely in place through last rounds so head is not
floppy. Weave in ends.
ABBREVIATIONS
A, B, C = Color A, Color B, Color C, etc.; ch = chain(s); dc = double crochet; hdc = half double crochet; sc = single
crochet; st(s) = stitch(es); tr = treble (triple) crochet; ( ) = work directions in parentheses into same st; [ ] = work
directions in brackets the number of times specified; * = repeat whatever follows the * as indicated.
Category Popular Posts
How to Make Easy Crochet Fingerless Gloves
31 January 2022, 23:09 1429
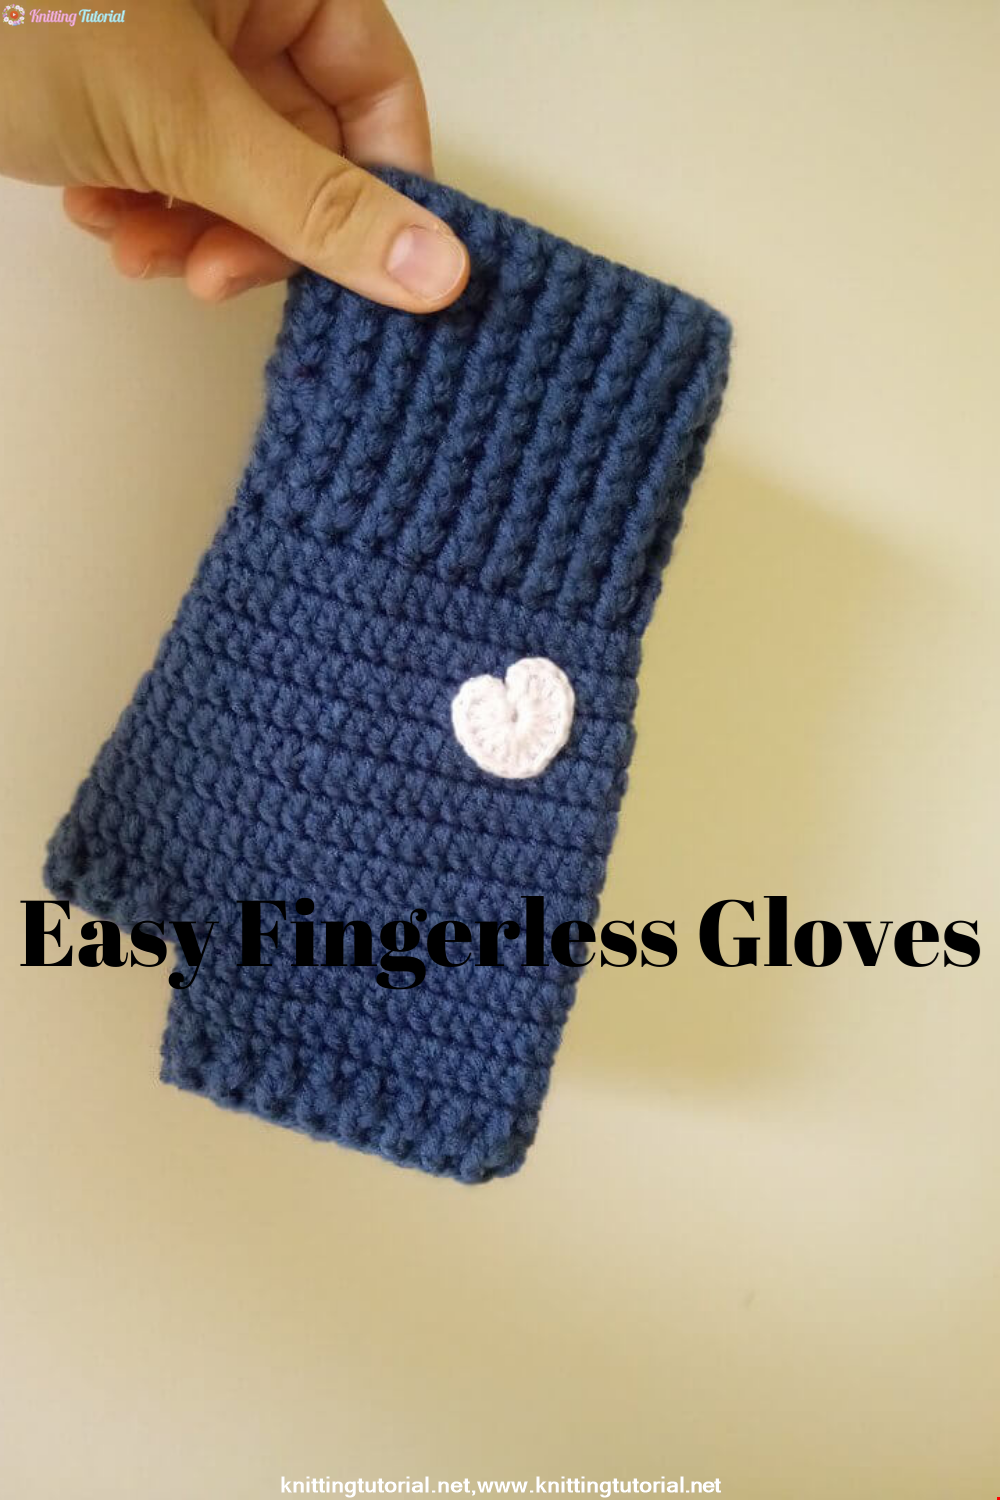
You can make easy and fast knitting patterns with crochet braids. You can use this fingerless glove knitting model for yourself or your loved ones.
Read MoreKorean Girl in Traditional Dress (Hanbok)
22 September 2020, 11:11 1572

This is the process how I made the amigurumi of Korean Bride in traditional dress Hanbok. Lately I've been watching a lot of Korean dramas and got inspired to make one. I hope you can enjoy the video, and get inspired too!
Read MoreCrochet Harlequin Stitch
18 September 2020, 13:23 1081

Amigurumi Rabbit Family Making and Recipe
16 January 2022, 18:14 822
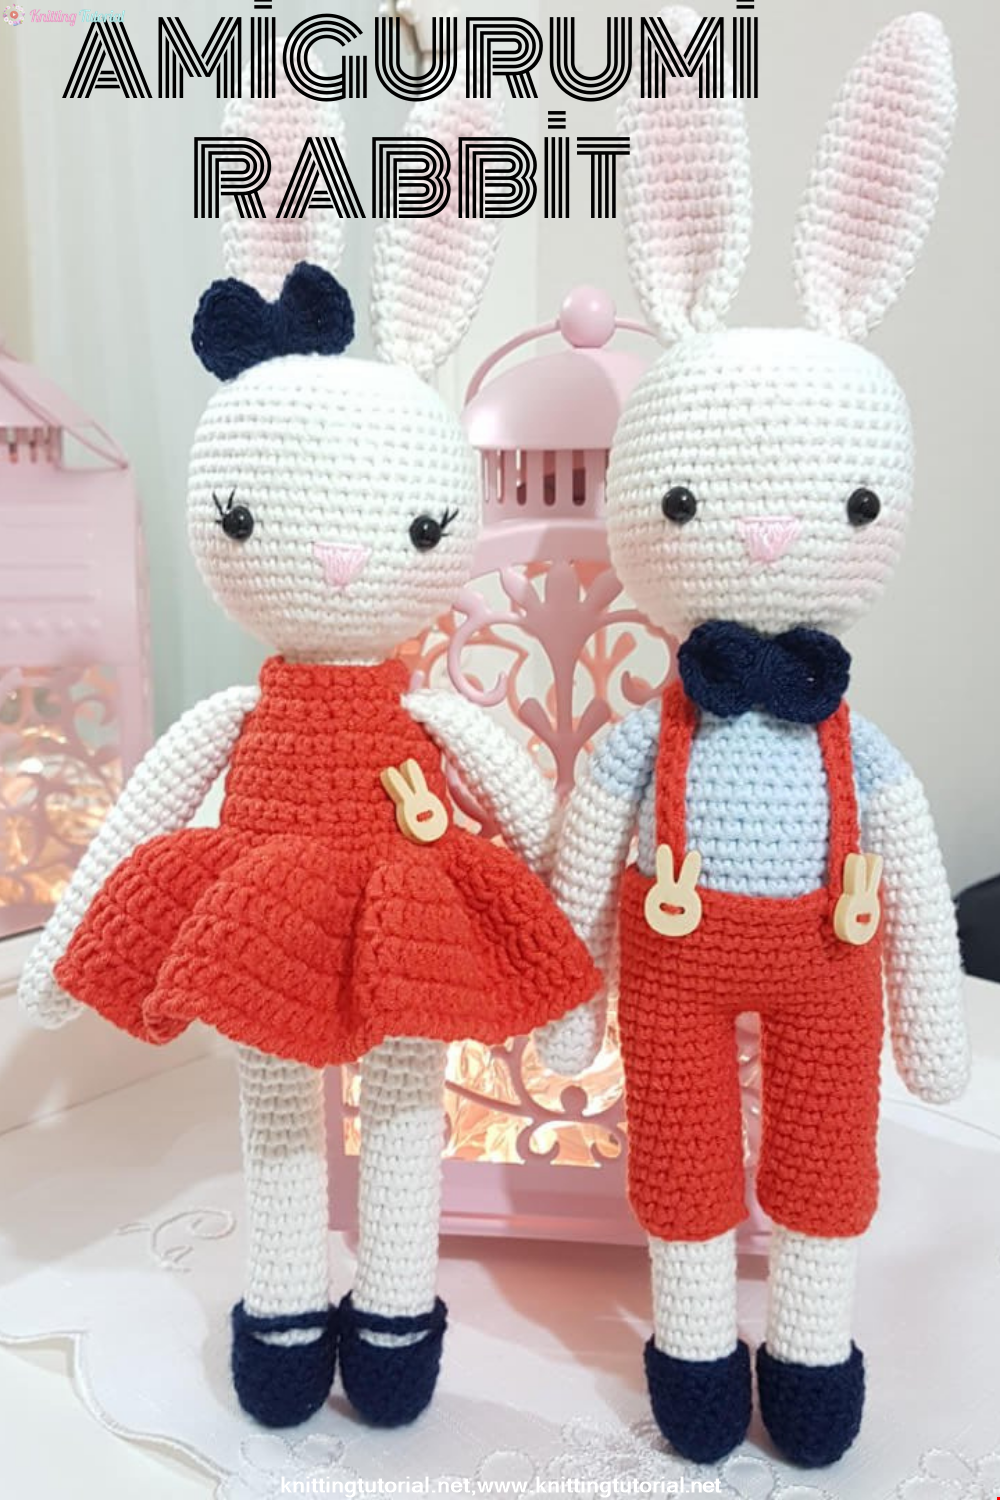
With this knitting pattern that even beginners can do, you can make knitting toys very easily.
Read More
Twisted Beret Making
18 January 2022, 20:13 1101
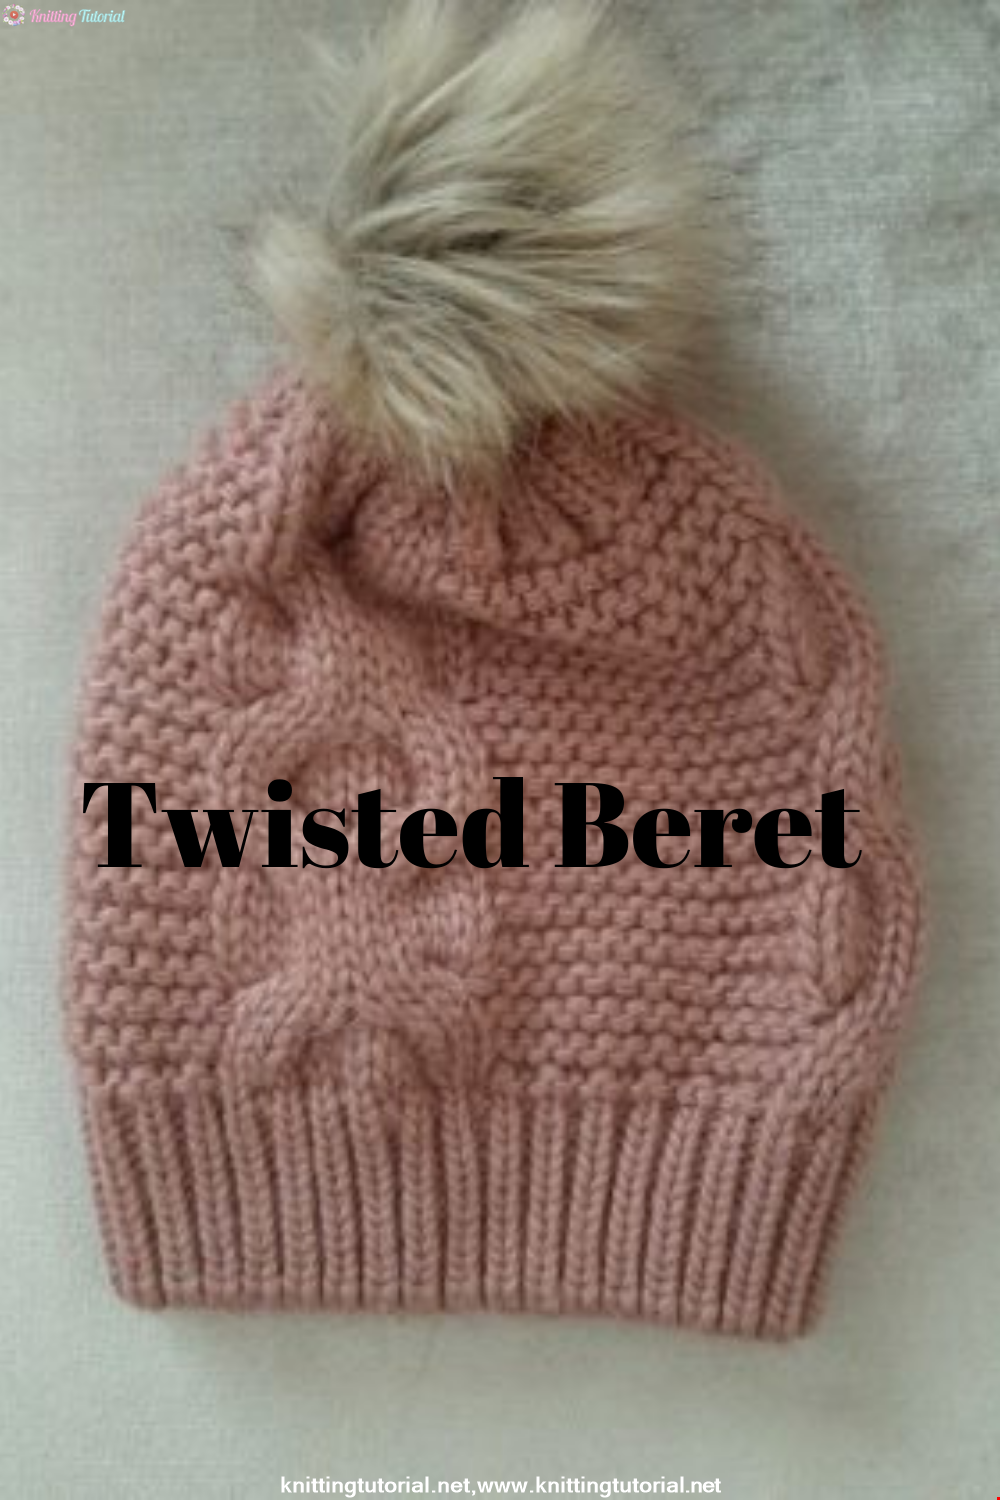
Hello! Today we will tell you how to make a different-looking, twisted beret. So let's start!
Read MorePonponlu Patik Yapımı
18 January 2022, 20:45 1600
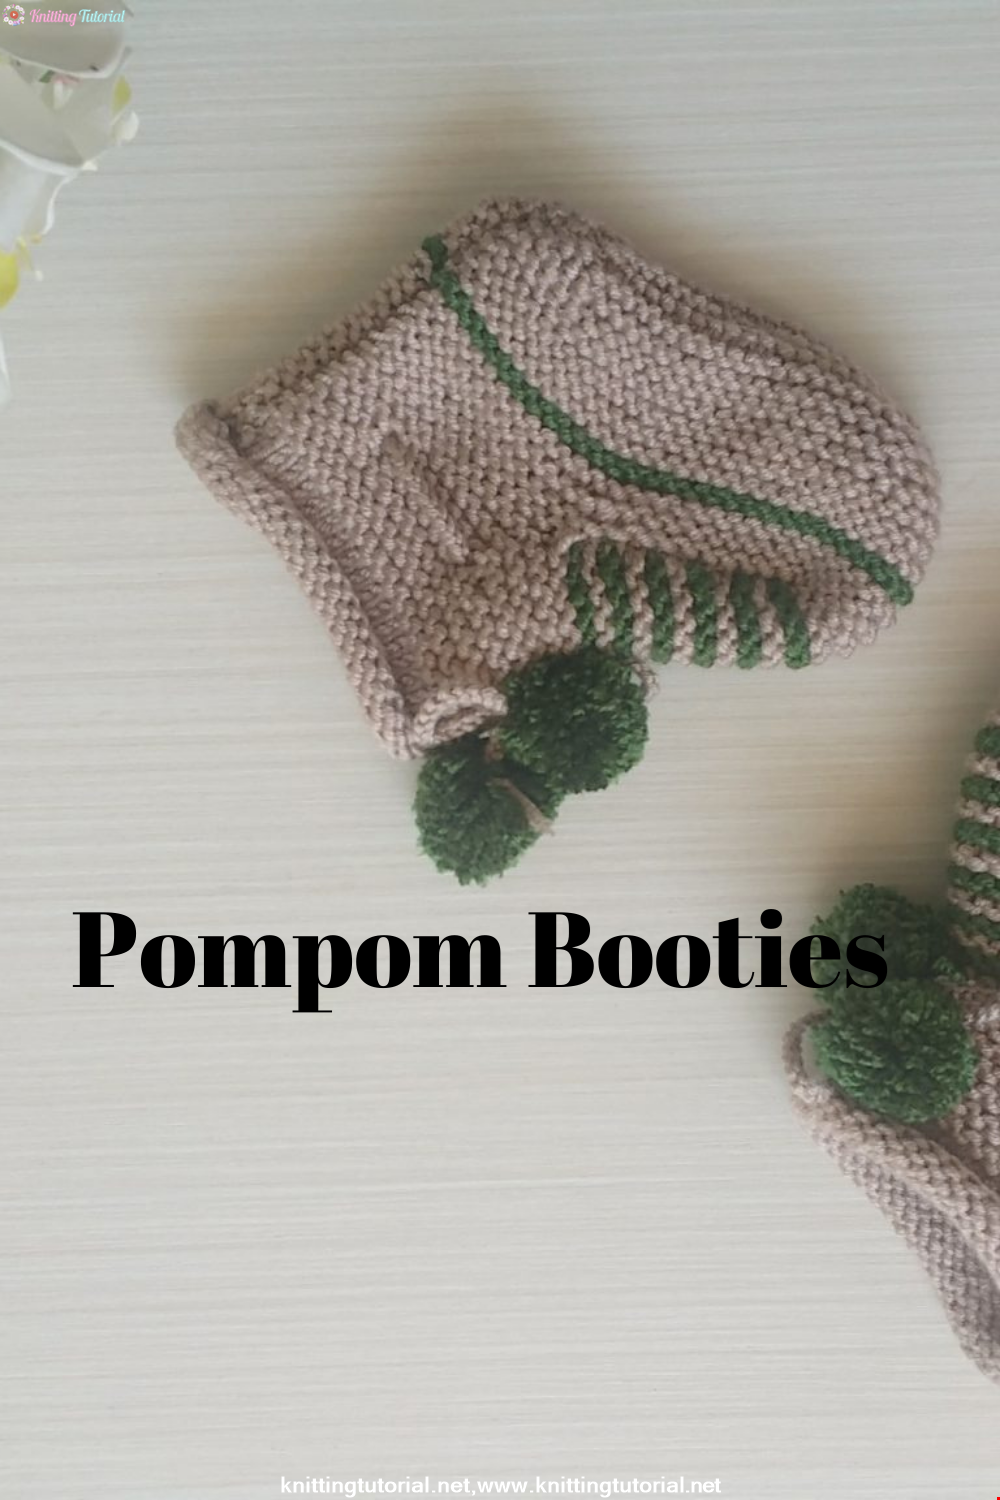
Hello! We will tell you how to make very cute baby shoes. You can knit this cute bootie in color and dress it up for your child. Let's start knitting now!
Read MoreY Auger construction
27 January 2022, 21:16 1237
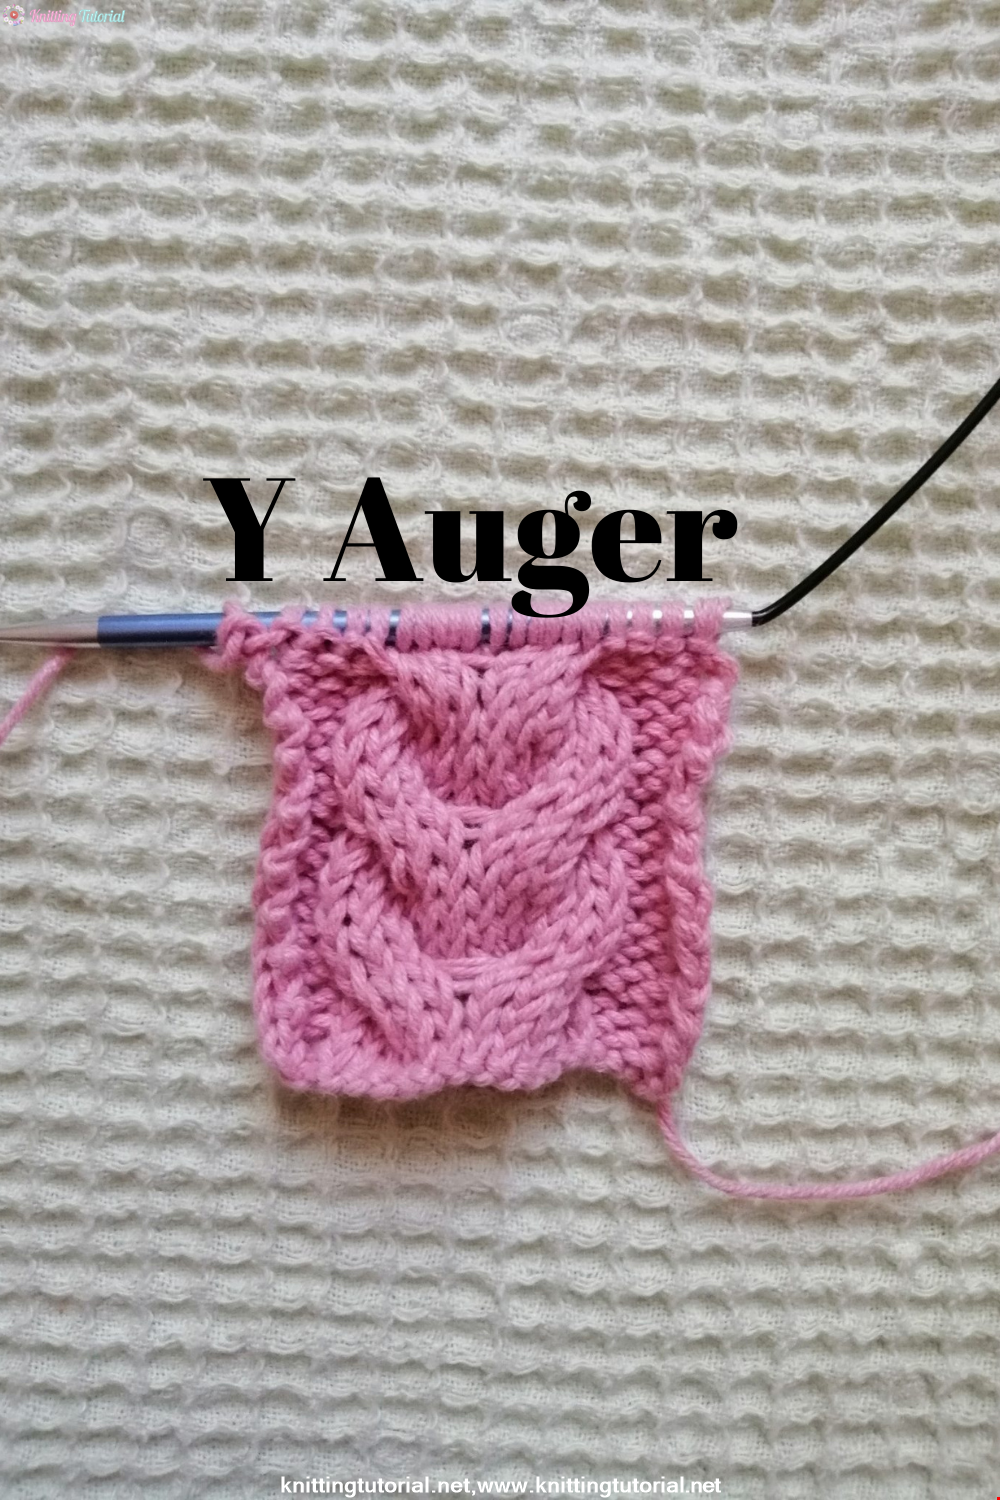
Hello everyone! We have prepared a Y twist model, which is very suitable for vests and cardigans, for you. This model is actually very easy to make! Let's start knitting this beautiful model right now!
Read More

Dear Little Bear Making
31 January 2022, 22:56 1262
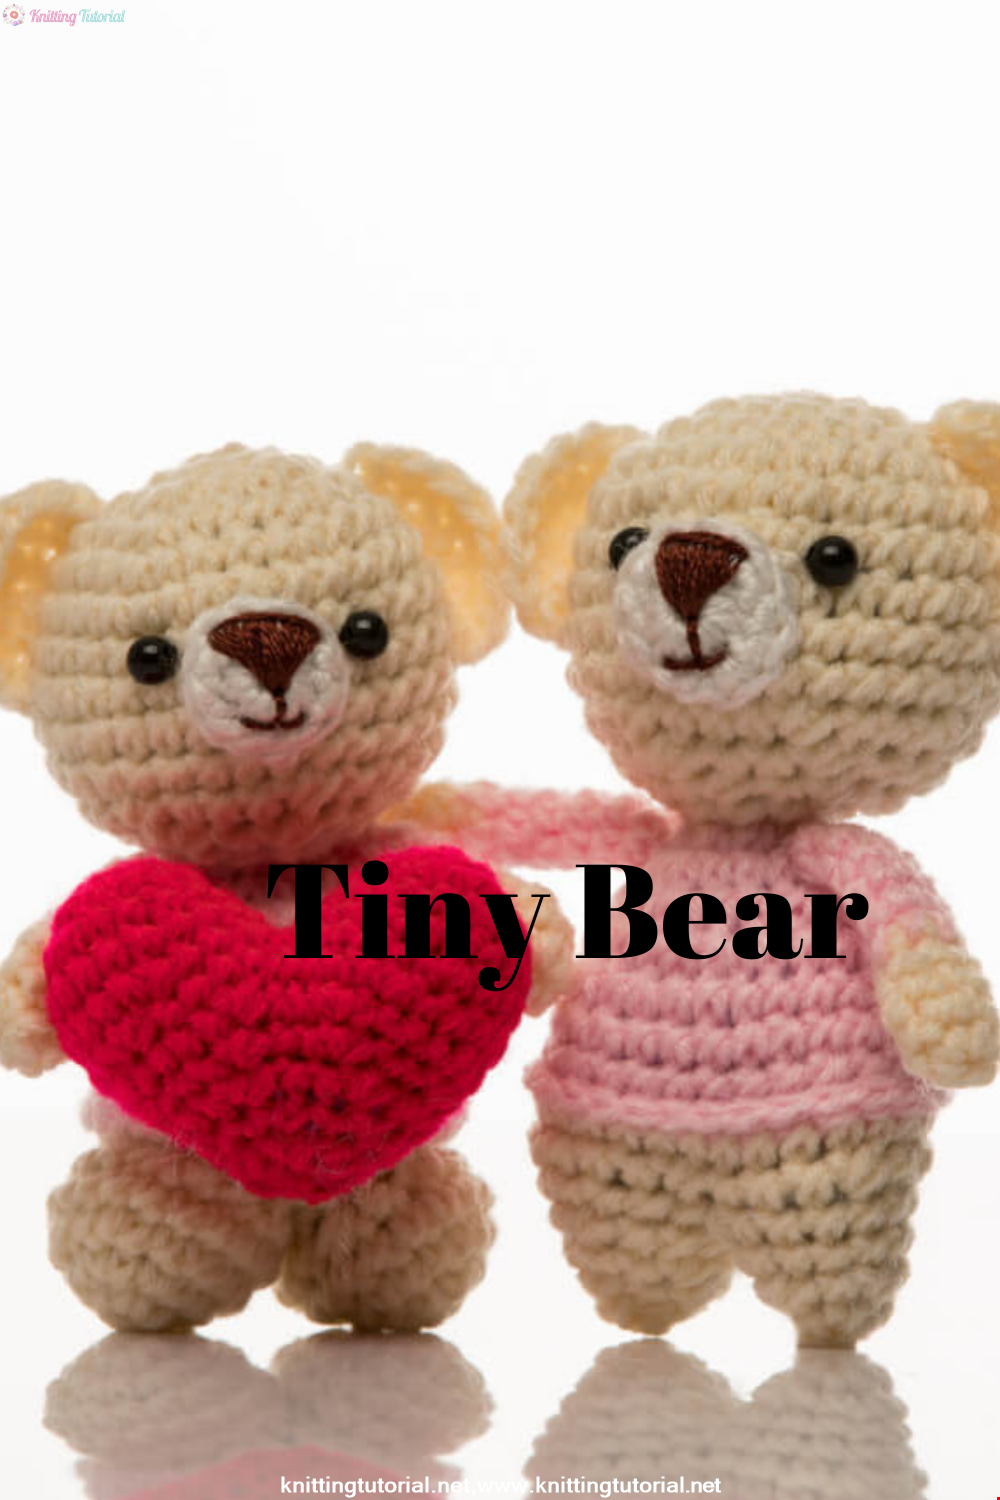
In these days when Valentine's Day is approaching, we have brought you a hearty double amigurumi teddy bear recipe. You will knit it with love and give it as a gift.
Read More