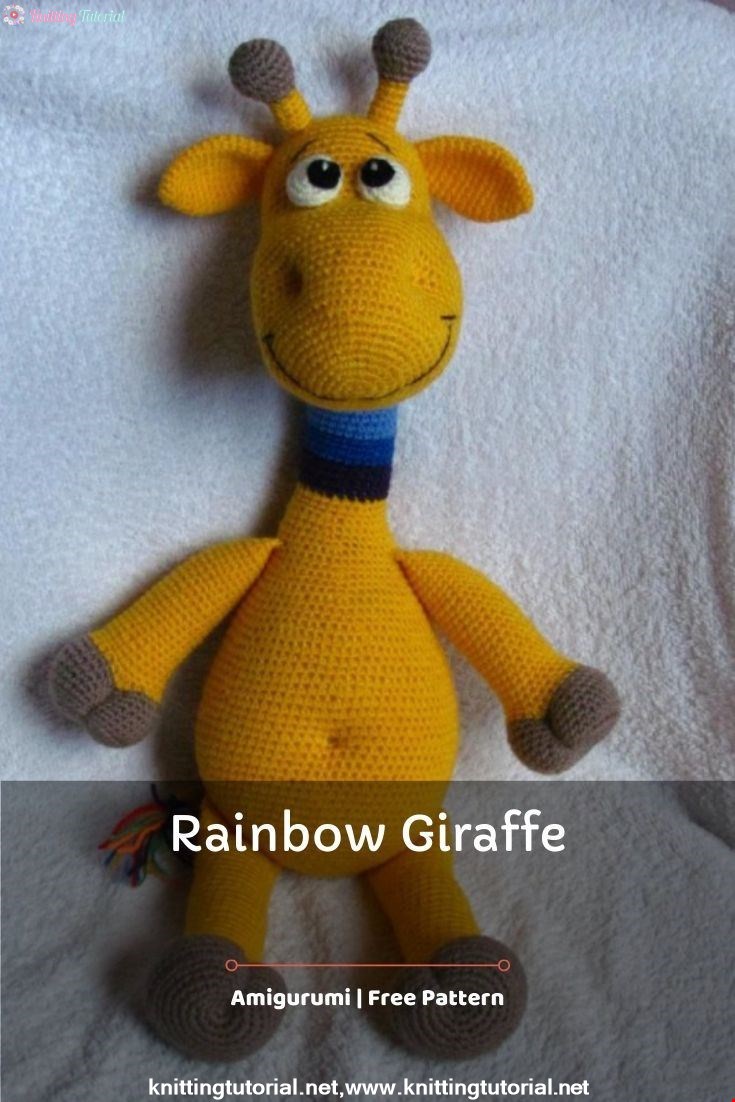
Rainbow giraffe
24 September 2020, 15:30 578
For work I used:
- acrylic yarn (100 g - 400 m) in different colors;- a hook of a suitable size;
- padding polyester;
- pins for fitting parts;
- an embroidery needle with a wide eye and a blunt end for sewing parts.
Abbreviations:
sbn - single crochet;add - an increase (2 sc in one loop of the base);
ub - decrease (knit 2 sbn together for the front walls of the loops).
Head
Yellow thread:1 row: into the ring 6 sbn = 6
2 row: 6 arr = 12
3 row: (sbn, arr) x6 = 18
4 row: (2 sbn, arr) x6 = 24
5 row: (3 sbn, arr ) x6 = 30
6 row: (4 sbn, arr) x6 = 36
7 row: (5 sbn, arr) x6 = 42
8 row: (6 sbn, arr) x6 = 48
9 row: (7 sbn, arr) x6 = 54
10 row: (8 sc, prib) x6 = 60
11 row: (9 sc, prib) x6 = 66
12-22 rows: 66 sc
23 row: (9 sc, ub) x6 = 60
24 row: (8 sc, dec) x6 = 54
25 row: (7 sc, dec) x6 = 48
26 row: (6 sc, dec) x6 = 42
27-35 rows: 42 sc
36 row: (5 sc, dec) x6 = 36
37 row: (4 sc, dec) x6 = 30
38 row: (3 sc, dec) x6 = 24
39 row: (2 sc, dec) x6 = 18
40 row: (sbn, ub) x6 = 12
41 row: 6 ub
Tighten, fasten and cut the thread.
Horns (2 parts)
Gray thread:1 row: in the ring 6 sbn = 6
2 row: 6 arr = 12
3 row: (sbn, arr) x6 = 18
4-6 rows: 18 sbn
7 row: (sbn, ub) x6 = 12
8 row : (2 sc, dec) x3 = 9
Change the thread to yellow, continue knitting with yellow thread.
Rows 9-14: 9 sb Fasten
and cut the thread, leaving the end for sewing.
Ears (2 parts)
Yellow thread:
1 row: in the ring 6 sbn = 6
2 row: (sbn, arr) x3 = 9
3 row: (2 sbn, arr) x3 = 12
4 row: (3 sbn, arr) x3 = 15
5 row: (4 sbn, arr) x3 = 18
6 row: (5 sb, arr) x3 = 21
7-13 rows: 21 sb
14 row: (5 sb, ub) x3 = 18
15 row: (4 sb, ub) x3 = 15
16 row: (3 sbn, ub) x3 = 12
Fasten and cut the thread, leaving the end for sewing.
Here's a head. The horns and ears are pinned with pins approximately in the places where they will be sewn.

Torso
1 row: in the ring 6 sbn = 62 row: 6 arr = 12
3 row: (sbn, arr) x6 = 18
4 row: (2 sbn, arr) x6 = 24
5 row: (3 sbn, arr) x6 = 30
6 row: (4 sbn, arr) x6 = 36
7 row: (5 sbn, arr) x6 = 42
8 row: (6 sbn, arr) x6 = 48
9 row: (7 sbn, arr) x6 = 54
10 row: (8 sbn, arr) x6 = 60
11 row: (9 sbn, arr) x6 = 66
12 row: (10 sbn, arr) x6 = 72
13 row: (11 sbn, arr) x6 = 78
14-29 Rows: 78 sbn
30 row: (11 sbn, ub) x6 = 72
31-33 rows: 72 sbn
34 row: (10 sbn, ub) x6 = 66
35-37 rows: 66 sbn
38 row: (9 sbn, ub ) x6 = 60
39-40 rows: 60 sbn
41 row: (8 sbn, ub) x6 = 54
42-43 rows: 54
44 row: (7 sbn, ub) x6 = 48
45-46 rows: 48 sbn
47 row: (6 sbn, ub) x6 = 42
48 row: 42 sbn
49 row: (5 sbn, ub) x6 = 36
50 row : 36 sb
51 row: (4 sbn, ub) x6 = 30
52-53 row: 30 sb
Change the thread to purple:
54-57 rows: 30 sb
Change the thread to blue:
58-61 rows: 30 sb
Change the thread to blue :
62-65 rows: 30 sc
Change the thread to green:
66-69 rows: 30 sc
Change the thread to yellow:
70-73 rows: 30 sc
Change the thread to orange:
74-77 rows: 30 sc
Change the thread to red:
78 -81 rows: 30 sbn
Change the thread to yellow:
82-83 rows: 30 sbn
Tighten the thread and cut, leaving the end to be sewn.

Tail
Yellow thread:1 row: in the ring 6 sbn = 6
2 row: (sbn, prib) x3 = 9
3-4 row: 9 sbn
Change the thread to purple:
5-7 rows: 9 sb
Change the thread to blue:
8-10 Rows: 9 sbn
Change the thread to blue:
11-13 rows: 9 sbn
Change the thread to green:
14-16 rows: 9 sbn
Change the thread to yellow:
17-19 rows: 9 sbn
Change the thread to orange:
20-22 rows: 9 sbn
Change the thread to red:
23-25 rows: 9 sbn
Change the thread to yellow:
26 row: 9 sbn
Tighten and cut the thread, leaving the long end for sewing. With this end, we will also do the navel duck.

Eyes
Squirrels (2 parts)
White thread:
1 row: in the ring 6 sb = 6
2 row: 6 approx = 12
3 row: (sbn, prib) x6 = 18
4-5 rows: 18 sb
We fasten and cut the thread. We leave the end long - we will embroider the glare on the pupils with it, and sew the eyes to the head.
Pupils (2 parts)
Black thread:
1 row: into the ring 6 sbn = 6
2 row: 6 prib = 12
Fasten and cut the thread. The tail length should be enough to sew the pupil to the squirrel.
Hind feet (2 parts)
Gray thread:1 row: in the ring 6 sbn = 6
2 row: 6 arr = 12
3 row: (sbn, arr) x6 = 18
4 row: (2 sbn, arr) x6 = 24
5 row: (3 sbn, arr ) x6 = 30
6 row: (4 sbn, prib) x6 = 36
7 row: (5 sbn, prib) x6 = 42
8 row: 42 sbn behind the back wall of the loop.
9-12 rows: 42 sbn
13 row: (5 sbn, ub) x6 = 36
14 row: (4 sbn, ub) x6 = 30
Change the thread to yellow. We leave the end of the gray thread
15 centimeters long. 15 row: 30 sbn
We carry out a hoof tightening. We bring the end of the thread out to the beginning of knitting (amigurumi ring). Make sure the thread is not taut inside the hoof. It should lie freely on the inner wall of the part.

We stuff the hoof. We fasten the thread at the base of the hoof.
Then we thread the thread into the needle and insert it between the posts into the base of the first yellow row. We pierce the packing and bring the needle back into the base ring. We fix the thread.

Better to make two of these stitches. Hide the end of the thread in the hoof :) We
continue knitting with a yellow thread.
16 row: (3 sbn, ub) x6 = 24
17-40 rows: 24 sbn
Next, we will knit in rotary rows without lifting loops at the beginning of each next row.
The giraffe's paw at the top will be flat, but with a bevel. So that the sewn paws do not stick out in different directions.
41 row: do not tie to the end. It is difficult to name the exact number of columns, due to the offset when knitting in a spiral, the number may differ.
We orient ourselves like this. We turn the leg with the hoof towards ourselves. We bend the “pipe” along the stitch line of the hoof - that’s behind the desired column.
Here is an example on a paper tube (red arrow):


42 row: 10 sb, turn
43 row: 8 sb, turn
44 row: 6 sb, turn
45 row: 4 sb, turn
46 row: 2 sb
Fold the part and tie a number of columns without nakida for both walls.
For the second part, the rotary rows are made in the same way, only they start from the white arrow.

Front feet (2 parts)
Gray thread:
1 row: in the ring 6 sbn = 6
2 row: 6 arr = 12
3 row: (sbn, arr) x6 = 18
4 row: (2 sbn, arr) x6 = 24
5 row: (3 sbn, arr ) x6 = 30
6th row: (4 sbn, approx) x6 = 36
7th row: 36 sbn behind the back wall of the loop.
8-12 rows: 36 sbn
13 row: (4 sbn, ub) x6 = 30
Change the thread to yellow.
14th row: 30 sbn We
carry out a hoof tightening and continue knitting with a yellow thread.
15 row: (3 sbn, ub) x6 = 24
16-39 rows: 24 sbn
40 row we knit to the white arrow.

Fold along the stitch line of the hoof and tie a row of single crochet stitches on both sides of the knitting.

Assembly
In addition to sewing parts to each other, three tightenings must be performed: eyes, nostrils and navel.I'll show you with the example of the eyes. All other tightenings are performed in the same way.
We mark with pins the places of future tightenings.

At the bottom of the head (where the neck will be sewn later) we fix the thread.

We stretch the thread through the parts and bring it to the place of the tightening. In no case do we tighten the thread. At this stage, the part should not deform.

We take out the pin. We insert a hook under the column and grab the thread.

We pull the thread into the resulting loop and tighten.

We pass the thread through the head to where it was originally attached. And now we are tightening.
We fasten the thread at the bottom, where the neck will be.
Here's what happened:

We pass the thread through the head to where it was originally attached. And now we are tightening.
We fasten the thread at the bottom, where the neck will be.
Here's what happened:

With the same thread, in the same way, we tighten the second eye.

We choose the places where the nostrils will be. It is better to "put" in place the eyes on the pins to find the best position of the nostrils. Every centimeter is important here. With each shift, a different expression of the face is obtained.
Using the eyes as an example:


We tighten the nostrils.
The same thread was enough for me. I brought it out in the place where the first nostril will be located. I fixed it. I took it to the place where the second will be. I pulled it down, fixed it. Brought to the first. Drawn away.
We bring the end of the thread back into the neck. And we hide there.
It is better to tighten the navel after sewing on the finished head. That is, first we make out the whole giraffe without arms, legs, tail. We choose where and how to attach the ears, horns and eyes. We make highlights in the eyes. We embroider the mouth and eyebrows.
I hide the ends of the threads when embroidering under some kind of eye.

Sew on the tail.
And only after that we outline the place where the navel will be located.
We bring there the end of the thread from the tail sewing. We fix it. We bring it to the tail (or to the base of the body) and pull it down.

Sew on the paws.
Category Popular Posts
Amigurumi Hedgehog Free Pattern
12 October 2020, 09:52 11498
Making Amigurumi Spiderman
27 January 2022, 20:58 2015
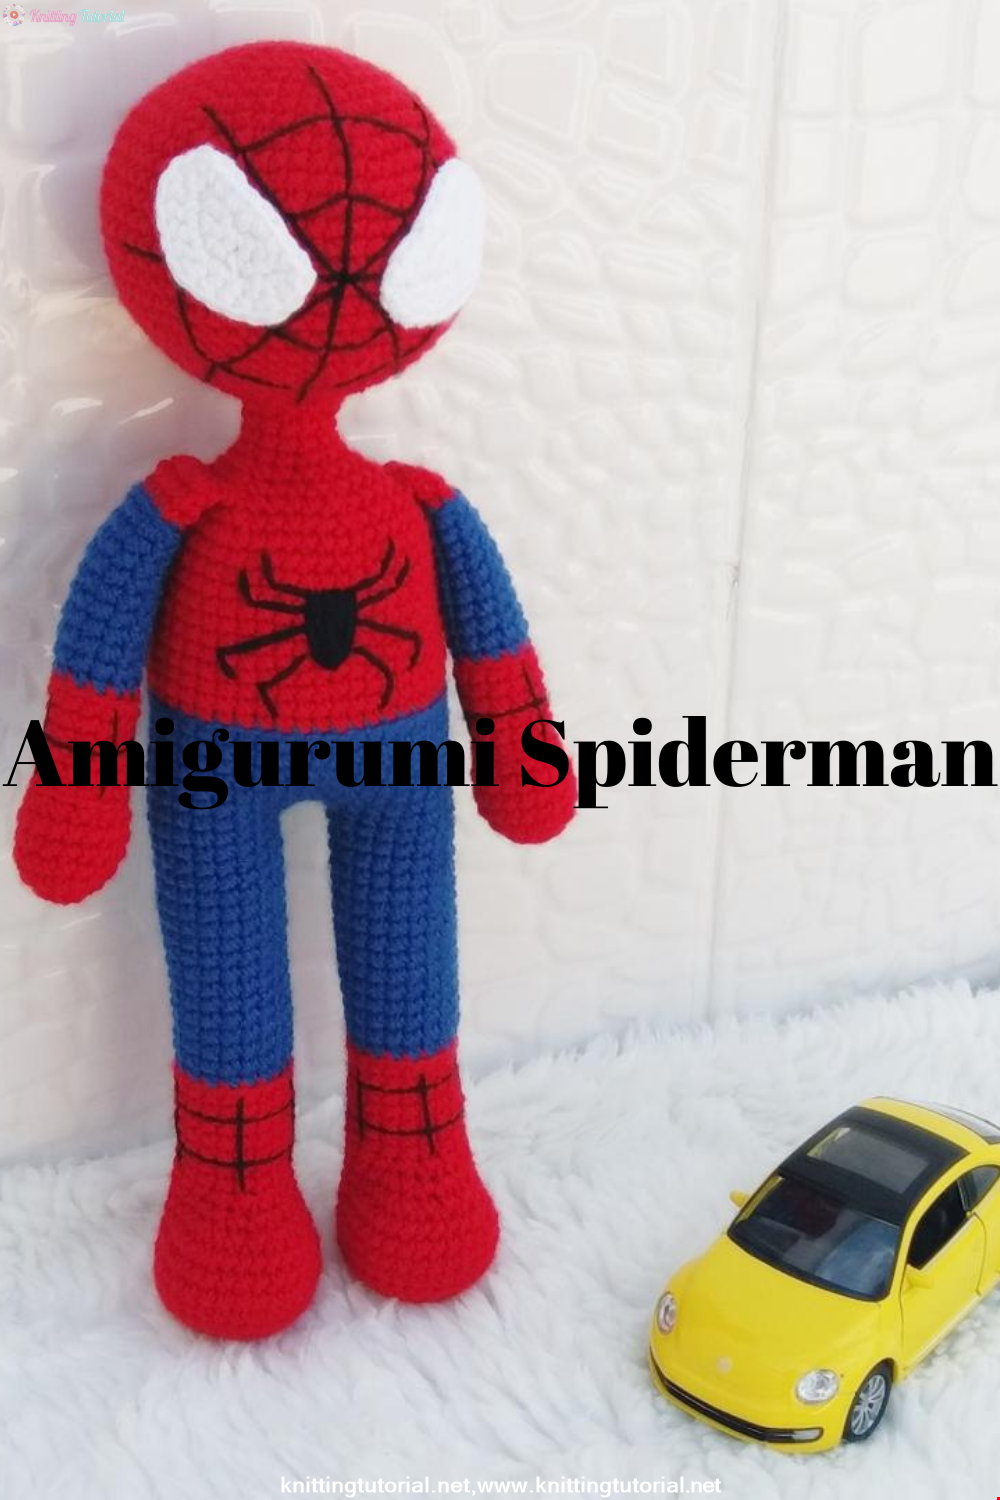
Hello, Are you ready to knit Spiderman, Spider-Man, the children's favorite cartoon character? You will be able to knit easily with detailed explanation. Let's start!
Read More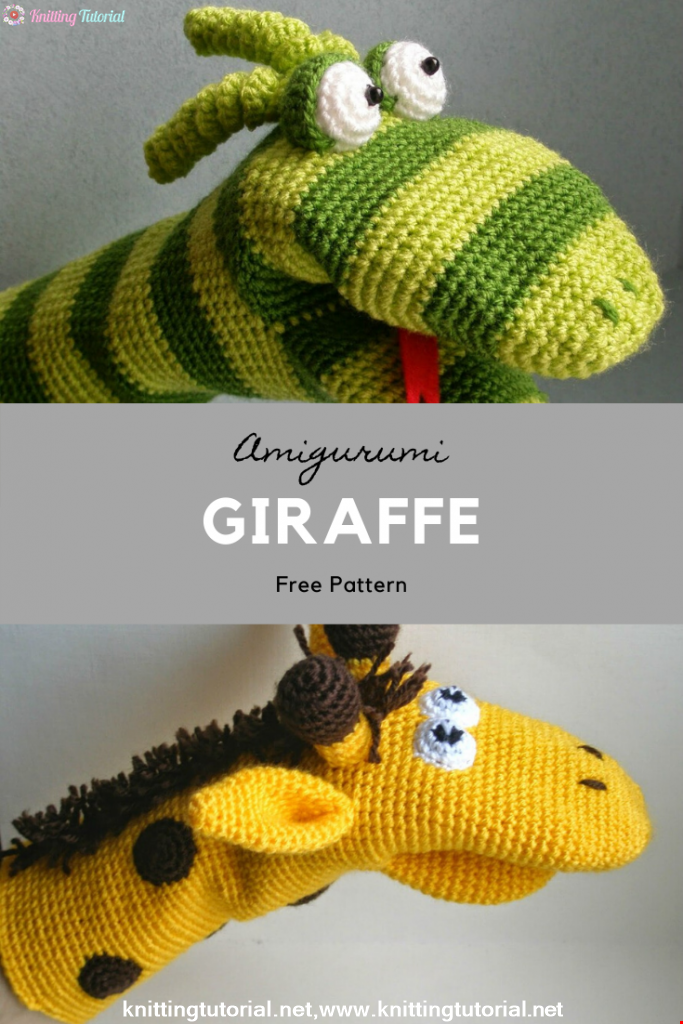
Amigurumi Princess Mononoke Crochet Pattern
12 December 2020, 21:20 944
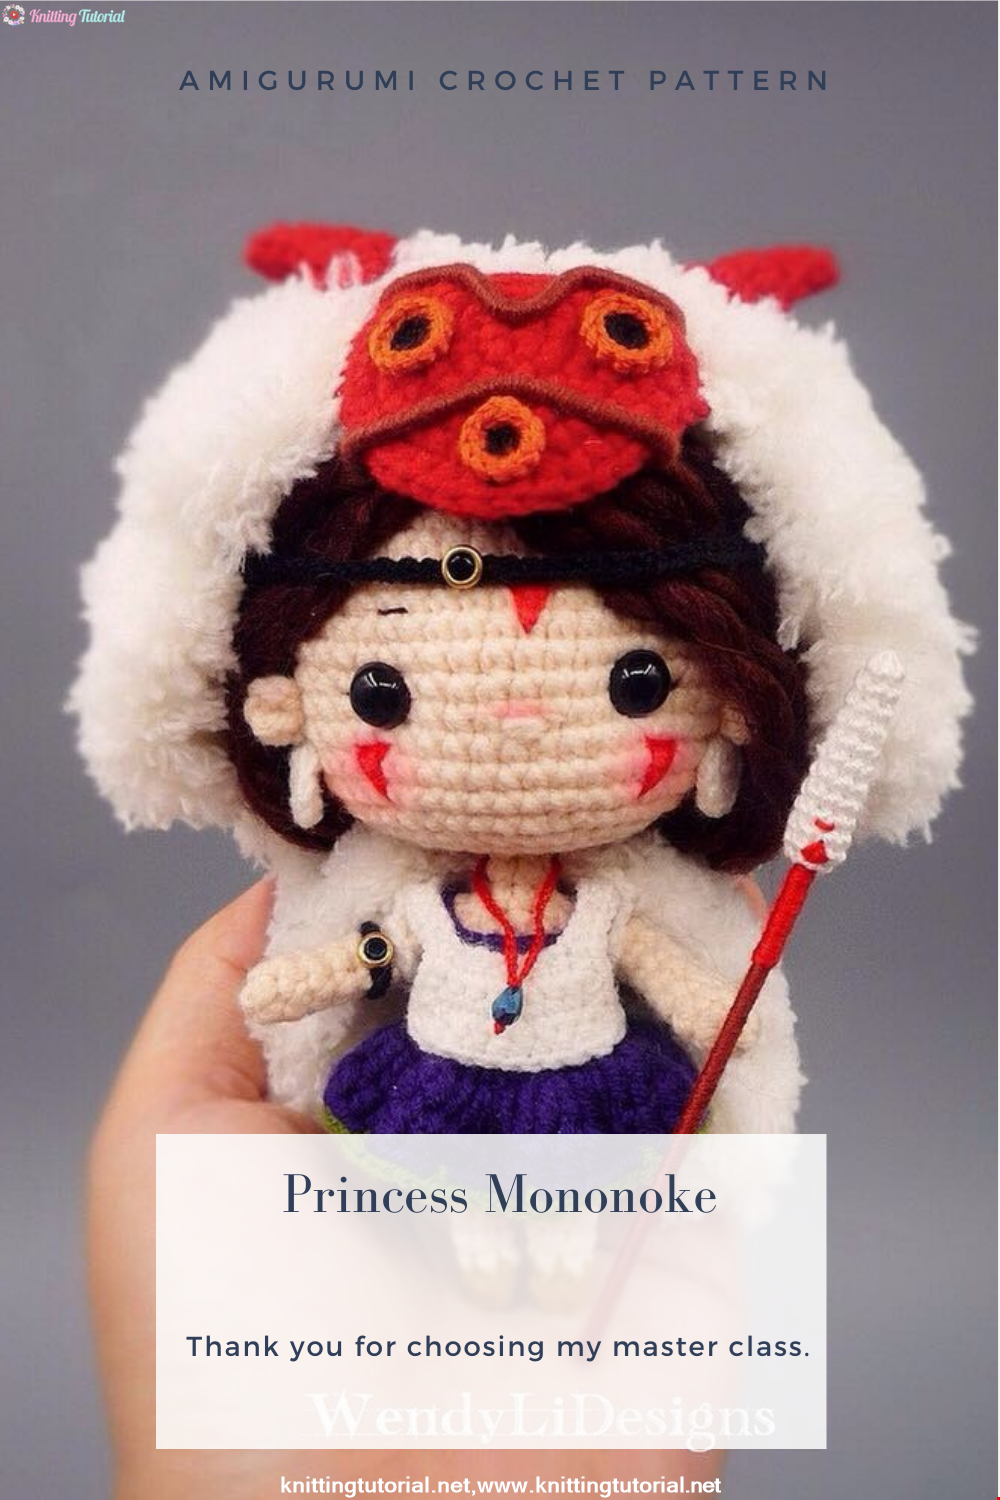
Free Crochet Princess Mononoke workshop by Wendy Li. The knitted girl is the hero of the cartoon by Hayao Miazaki. From the description of the diagram, you will also learn how to knit: a cape, a cloak, a dress and a mask for a doll.
Read More
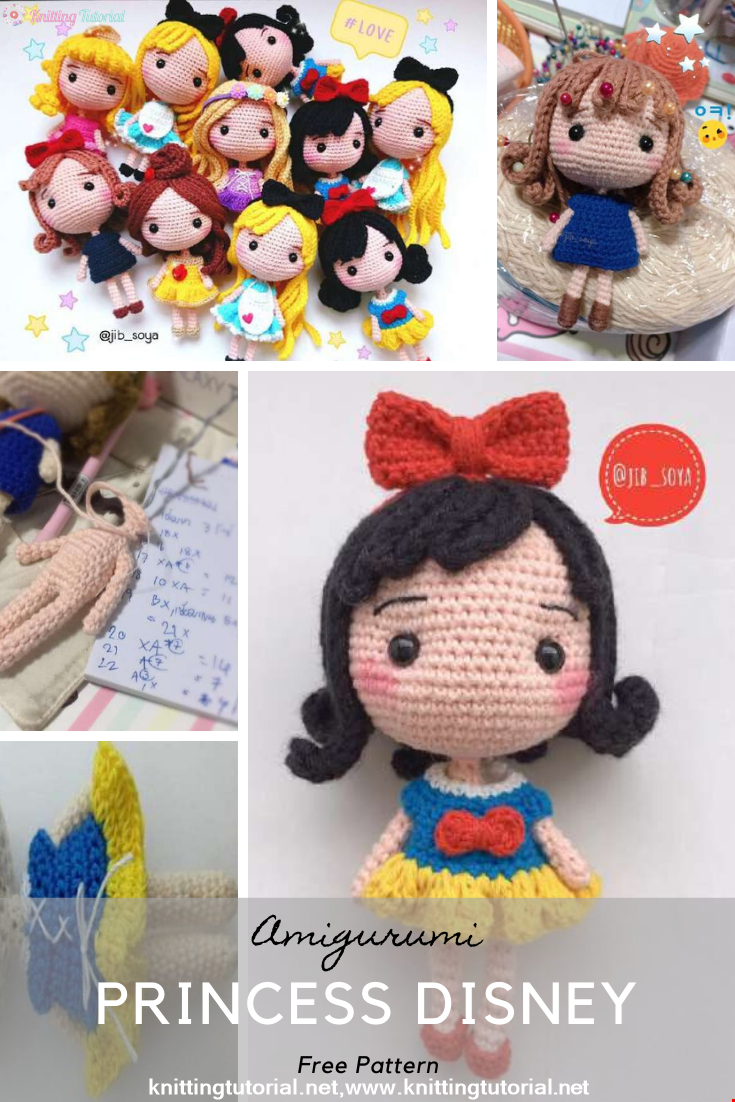
Princess Disney Amigurumi Pattern
8 October 2020, 14:51 5813

Korean Girl in Traditional Dress (Hanbok)
22 September 2020, 11:11 1572

This is the process how I made the amigurumi of Korean Bride in traditional dress Hanbok. Lately I've been watching a lot of Korean dramas and got inspired to make one. I hope you can enjoy the video, and get inspired too!
Read More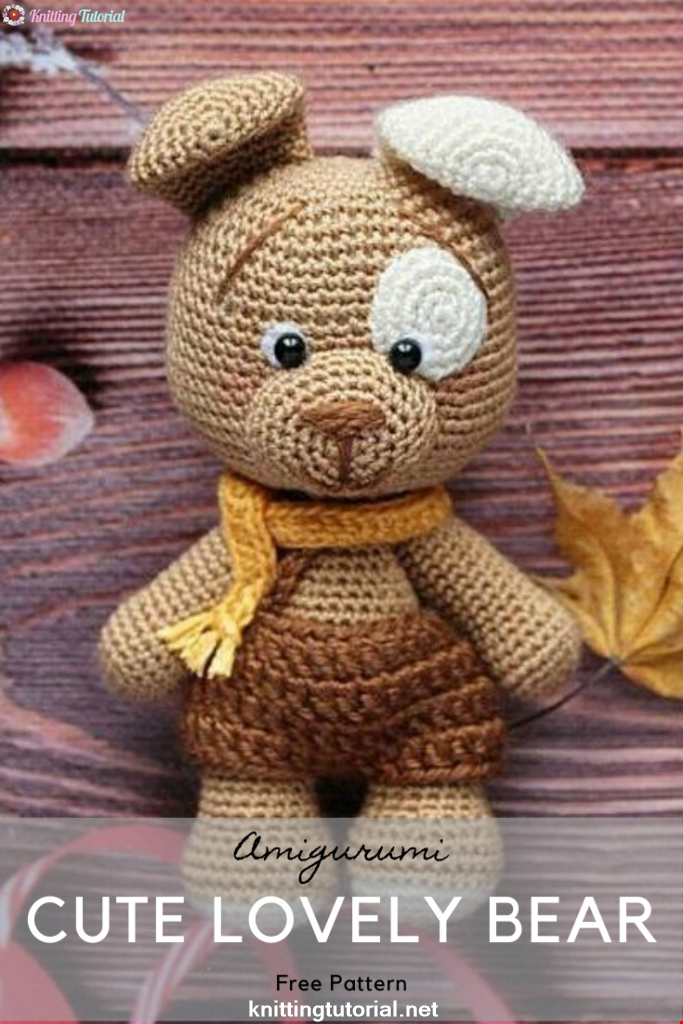
Amigurumi Sweet Giraffe Recipe and Preparation
5 January 2022, 14:55 633
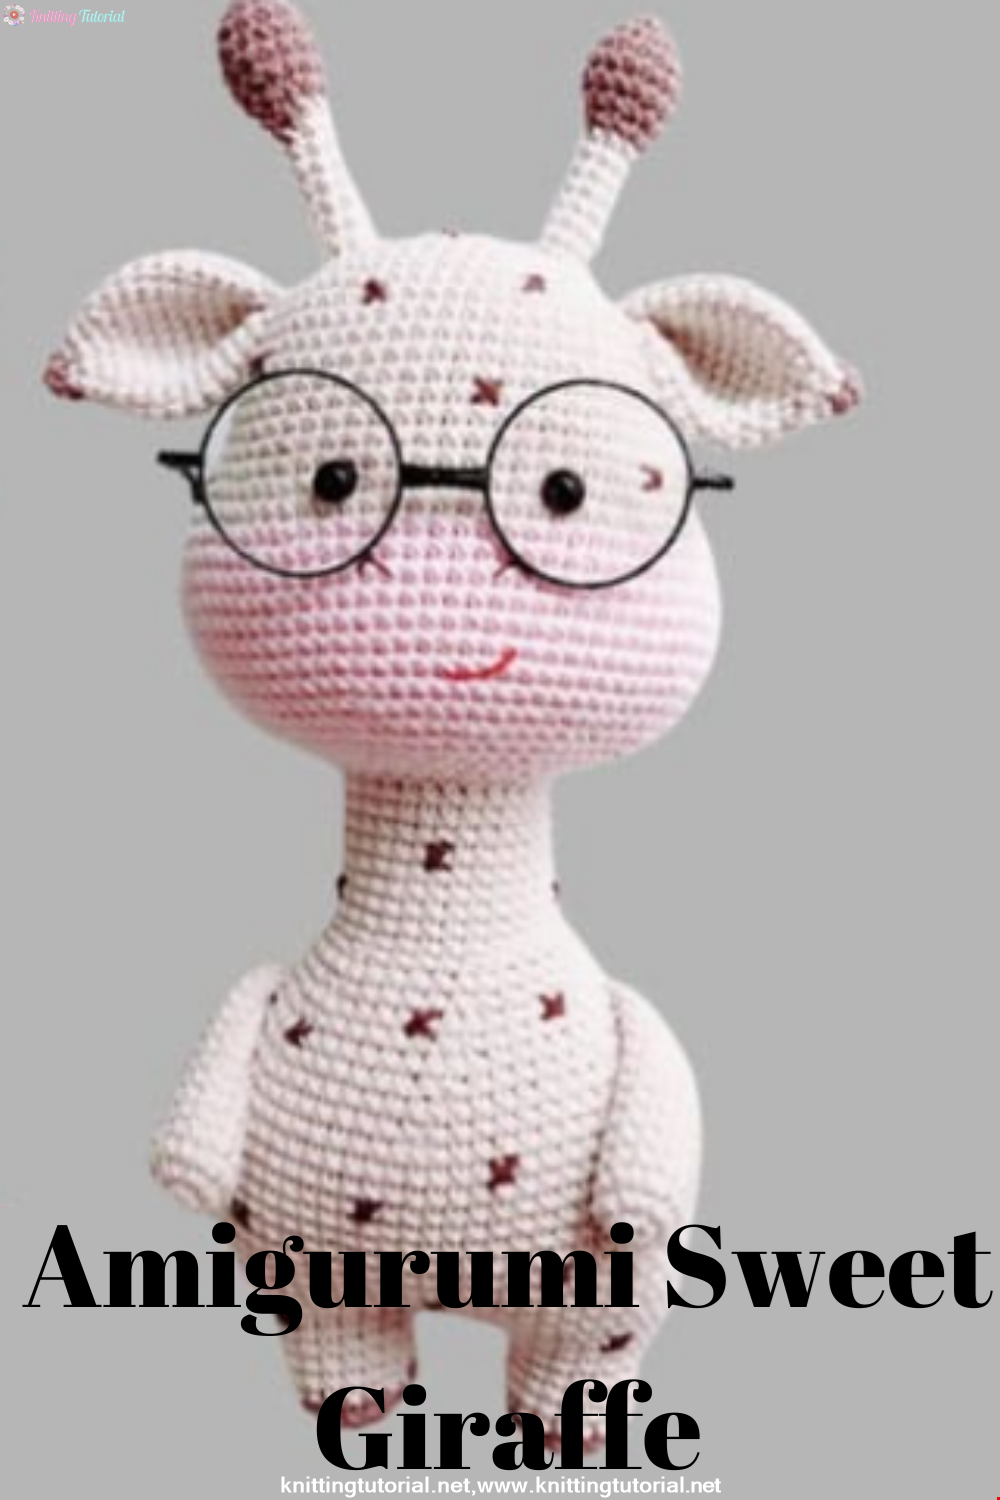
We have come to share with you the most popular model of recent times with the Amigurumi sweet giraffe recipe. I hope it will be an amigurumi animal figure that you like very much and knit with love.
Read MoreLovely Teddy Bear Amigurumi Tutorial
12 October 2020, 10:05 2969