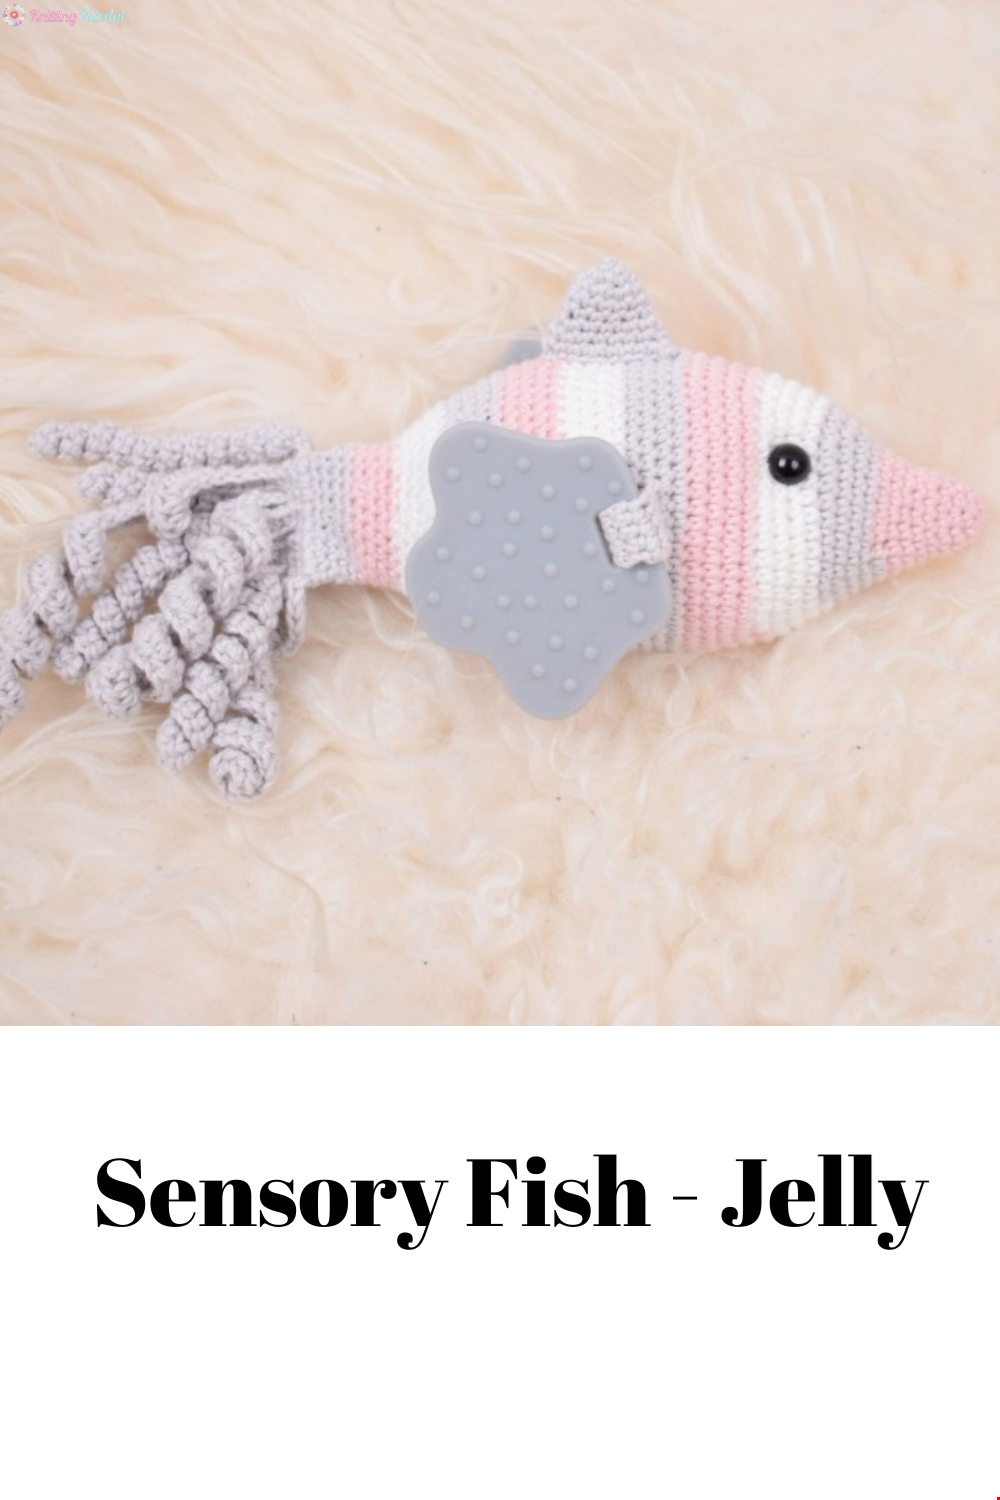
Sensory Fish - Jelly
5 January 2022, 08:57 445
Materials:
Rainbow 8/4
Hook size B/1
Rattle ball
Teether - animal foot
Safety eyes 0.04 inches (10 mm)
Stuffing
Length approx. 7 inches without the curly tail,
height approx 4 inches incl. the finn.
Approx. supplies:
Colour no 1: 10g
Colour no 2: 20g
Colour no 3: 10g
Abbreviations:
St: Stitch
Sc: Single crochet
Hdc: Half double crochet
Mr: Magic ring
Ch: Chain
Tog: Together
Sl st: Slip stitch
Fin:
Made using colour no 2.
1. Make a mg and sc 4 into the ring. (4)
2. Sc 2 in each stitch all round. (8)
3. “Sc 1 in next st, sc 2 in the following st”. Repeat from “ to “ the rest of the round. (12)
4. Sc 1 in each st all round. (12)
5. Sc 1 in each st all round. (12)
6. “Sc 1 in the next 2 st, sc 2 in the following st”. Repeat from “ to “ the rest of the round. (16)
7. Sc 1 in each st all round. (16)
8. “Sc 1 in the next 3 st, sc 2 in the following st”. Repeat from “ to “ the rest of the round. (20). Cut
the yarn. Leave a long end for assembly.
Strap for the fins:
Make 2 using colour no 2.
1. Ch 5. Sc 1 in the second ch from the hook. Sc the rest of the row. (4)
2. Ch 1 and turn. Sc the rest of the row. (4)
3. Ch 1 and turn. Sc the rest of the row. (4)
4. Ch 1 and turn. Sc the rest of the row. (4)
5. Ch 1 and turn. Sc the rest of the row. (4)
6. Ch 1 and turn. Sc the rest of the row. (4)
7. Pull the strap through the hole in the fin and crochet it together like this: Sc 2 in first st, sc 1 in
the next 2 st, sc 2 in last st. Fasten off and weave in ends.
Fish:
1. Using colour no 1. Make a mr and sc 6 into the ring. (6)
2. “Sc 1, sc 2 in next st”. Repeat from “ to “ the rest of the round. (9)
3. “Sc 1 in the next 2 st, sc 2 in next st”. Repeat from “ to “ the rest of the round. (12)
4. “Sc 1 in the next 3 st, sc 2 in next st”. Repeat from “ to “ the rest of the round. (15)
5. Sc 1 in each st all round. (15)
6. “Sc 1 in the next 4 st, sc 2 in next st”. Repeat from “ to “ the rest of the round. (18)
7. “Sc 1 in the next 5 st, sc 2 in next st”. Repeat from “ to “ the rest of the round. (21)
8. “Sc 1 in the next 6 st, sc 2 in next st”. Repeat from “ to “ the rest of the round. (24)
9. Change to colour no 2. “Sc 1 in the next 7 st, sc 2 in next st”. Repeat from “ to “ the rest of the
round. (27)
10. “Sc 1 in the next 8 st, sc 2 in next st”. Repeat from “ to “ the rest of the round. (30)
11. “Sc 1 in the next 9 st, sc 2 in next st”. Repeat from “ to “ the rest of the round. (33)
12. “Sc 1 in the next 10 st, sc 2 in next st”. Repeat from “ to “ the rest of the round. (36)
13. Change to colour no 3. “Sc 1 in the next 11 st, sc 2 in next st”. Repeat from “ to “ the rest of the
round. (39)
14. “Sc 1 in the next 12 st, sc 2 in next st”. Repeat from “ to “ the rest of the round. (42)
15. “Sc 1 in the next 13 st, sc 2 in next st”. Repeat from “ to “ the rest of the round. (45)
16. “Sc 1 in the next 14 st, sc 2 in next st”. Repeat from “ to “ the rest of the round. (48)
17. Change to colour no 1. “Sc 1 in the next 15 st, sc 2 in next st”. Repeat from “ to “ the rest of the
round. (51)
18. “Sc 1 in the next 16 st, sc 2 in next st”. Repeat from “ to “ the rest of the round. (54)
19. Sc 1 in each st all round. (54)
20. Sc 1 in each st all round. (54)
21. Change to colour no 2. Sc 1 in each st all round. (54)
22. Sc 1 in the next 11 st. Now attach one fin over the next 6 st using sc. Sc 1 in the next 21 st. Now
attach the second fin over the next 6 st using sc. Sc 1 in the remaining 10 st. (54)
23. Sc 1 in each st all round. (54)
24. Sc 1 in each st all round. (54)
25. Change to colour no 3. Sc 1 in each st all round. (54)
26. Sc 1 in each st all round. (54)
27. Sc 1 in each st all round. (54)
28. Sc 1 in each st all round.(54)
29. Change to colour no 1. Sc 1 in each st all round. (54)
30. Sc 1 in each st all round. (54)
31. Sc 1 in each st all round. (54)
32. Sc 1 in each st all round. (54)
33. Change to colour no 2. Sc 1 in each st all round. (54) Add the eyes either side between row 14
and 15.
34. “Sc 1 in the next 16 st, sc the following 2 tog”. Repeat from “ to “ the rest of the round. (51)
35. “Sc 1 in the next 15 st, sc the following 2 tog”. Repeat from “ to “ the rest of the round. (48)
36. “Sc 1 in the next 14 st, sc the following 2 tog”. Repeat from “ to “ the rest of the round. (45)
37. Change to colour no 3. “Sc 1 in the next 13 st, sc the following 2 tog”. Repeat from “ to “ the
rest of the round. (42)
38. “Sc 1 in the next 5 st, sc the following 2 tog”. Repeat from “ to “ the rest of the round. (36)
39. “Sc 1 in the next 4 st, sc the following 2 tog”. Repeat from “ to “ the rest of the round. (30)
40. Sc 1 in each st all round. (30)
41. Change to colour no 1. “Sc 1 in the next 3 st, sc the following 2 tog”. Repeat from “ to “ the rest
of the round. (24)
42. Sc 1 in each st all round. (24)
43. Sc 1 in each st all round. (24)
44. “Sc 1 in the next 6 st, sc the following 2 tog”. Repeat from “ to “ the rest of the round. (21)
45. Change to colour no 2. Sc 1 in each st all round. (21)
46. Sc 1 in each st all round. (21) Add stuffing and if applicable, the rattle ball.
47. “Sc 1 in the next 5 st, sc the following 2 tog”. Repeat from “ to “ the rest of the round. (18)
48. Sc 1 in each st all round and finish with a sl st. (18)
49. Now crochet the tail together: sc 2 in each st. (16)
Now to make the curly tail.
1. Ch 46. Sc 2 in the 2nd ch from the hook. Sc 2 in each ch the rest of the row. Skip 1 st and sl st 1
into the next st of the tail piece.
2. Ch 46. Hdc 2 in the 3rd st from the hook. Hdc 2 in each ch the rest of the row. Skip 1 st and sl st
1 into the next st of the tail piece.
3. Ch 40. Sc 2 in the 2nd ch from the hook. Sc 2 in each ch the rest of the row. Skip 1 st and sl st 1
into the next st of the tail piece.
4. Ch 36. Hdc 2 in the 3rd st from the hook. Hdc 2 in each ch the rest of the row. Skip 1 st and sl st
1 into the next st of the tail piece.
5. Ch 36. Sc 2 in the 2nd ch from the hook. Sc 2 in each ch the rest of the row. Skip 1 st and sl st 1
into the next st of the tail piece.
6. Ch 32. Hdc 2 in the 3rd st from the hook. Hdc 2 in each ch the rest of the row. Skip 1 st and sl st
1 into the next st of the tail piece.
7. Ch 32. Sc 2 in the 2nd ch from the hook. Sc 2 in each ch the rest of the row. Skip 1 st and sl st 1
into the next st of the tail piece.
8. Ch 28. Hdc 2 in the 3rd st from the hook. Hdc 2 in each ch the rest of the row. Skip 1 st and sl st
1 into the next st of the tail piece.
Adding the fin and eye indentations:
Sew on the fin across colour change 5 and 6 as shown below in the picture.
If you wish you can make indentations under the eyes by pulling a thread out one side of the eye and
back in on the other side. Repeat on the other eye and tighten lightly. Fasten off and weave in ends.
Enjoy☺
Category Popular Posts
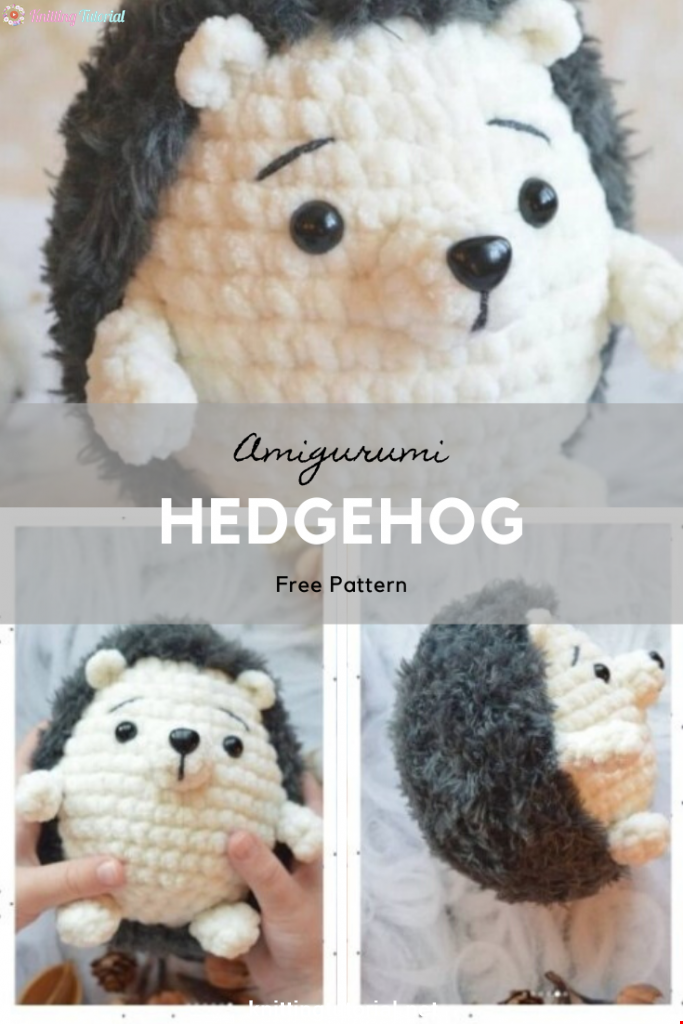
Amigurumi Hedgehog Free Pattern
12 October 2020, 09:52 11508
Making Amigurumi Spiderman
27 January 2022, 20:58 2030
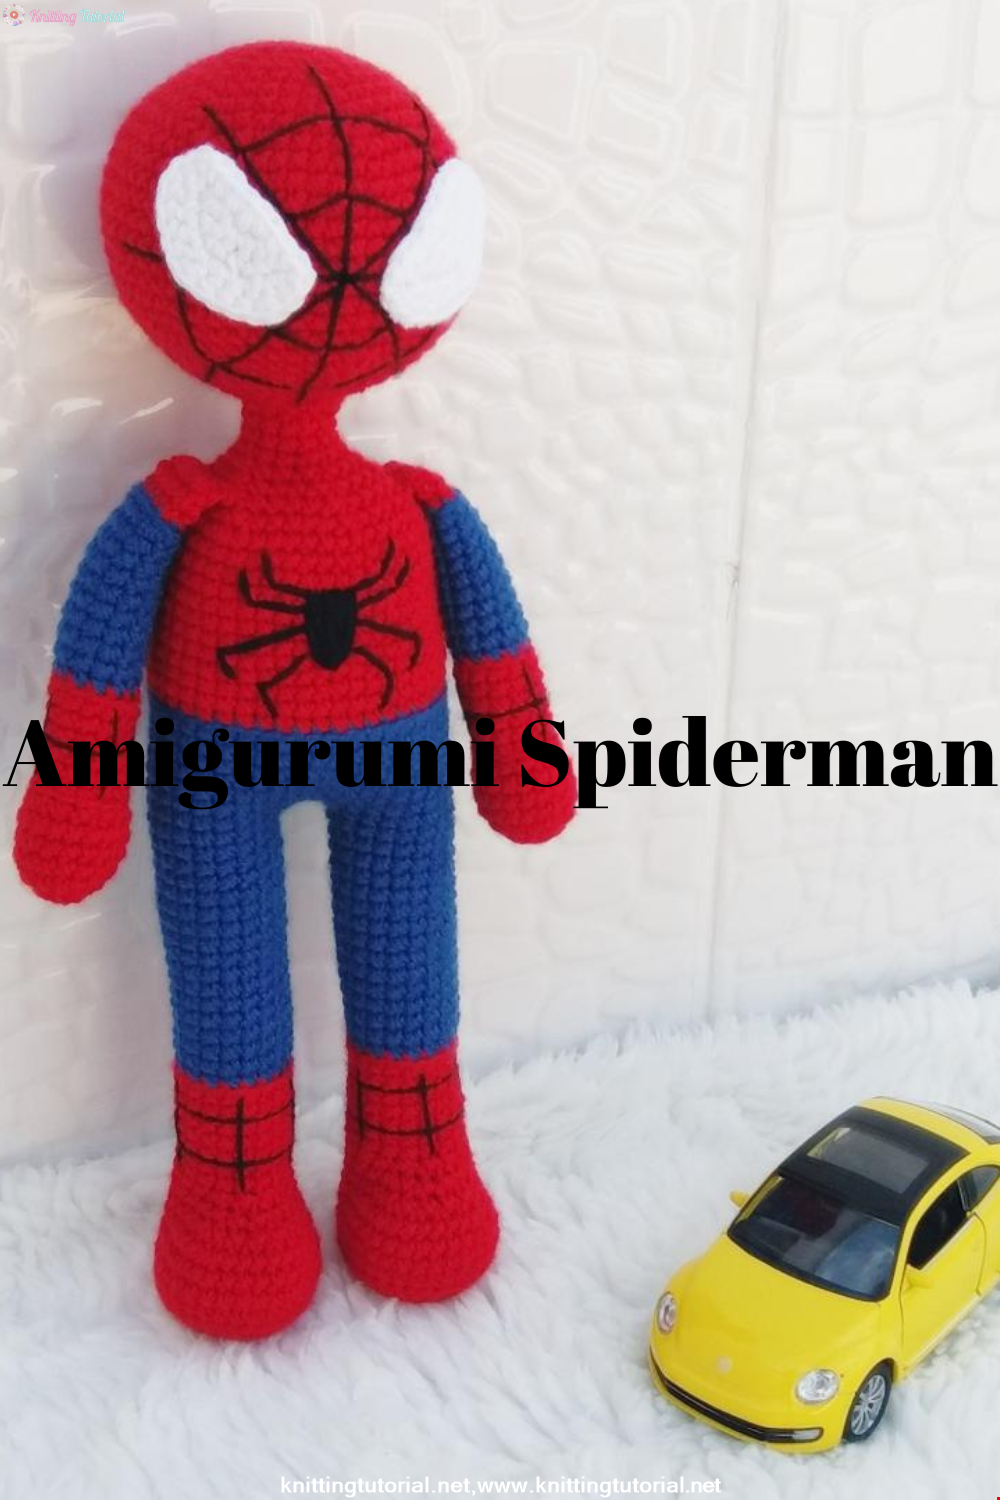
Hello, Are you ready to knit Spiderman, Spider-Man, the children's favorite cartoon character? You will be able to knit easily with detailed explanation. Let's start!
Read More
Amigurumi Princess Mononoke Crochet Pattern
12 December 2020, 21:20 946
Free Crochet Princess Mononoke workshop by Wendy Li. The knitted girl is the hero of the cartoon by Hayao Miazaki. From the description of the diagram, you will also learn how to knit: a cape, a cloak, a dress and a mask for a doll.
Read More
Princess Disney Amigurumi Pattern
8 October 2020, 14:51 5817


Korean Girl in Traditional Dress (Hanbok)
22 September 2020, 11:11 1573

This is the process how I made the amigurumi of Korean Bride in traditional dress Hanbok. Lately I've been watching a lot of Korean dramas and got inspired to make one. I hope you can enjoy the video, and get inspired too!
Read More
Amigurumi Sweet Giraffe Recipe and Preparation
5 January 2022, 14:55 634
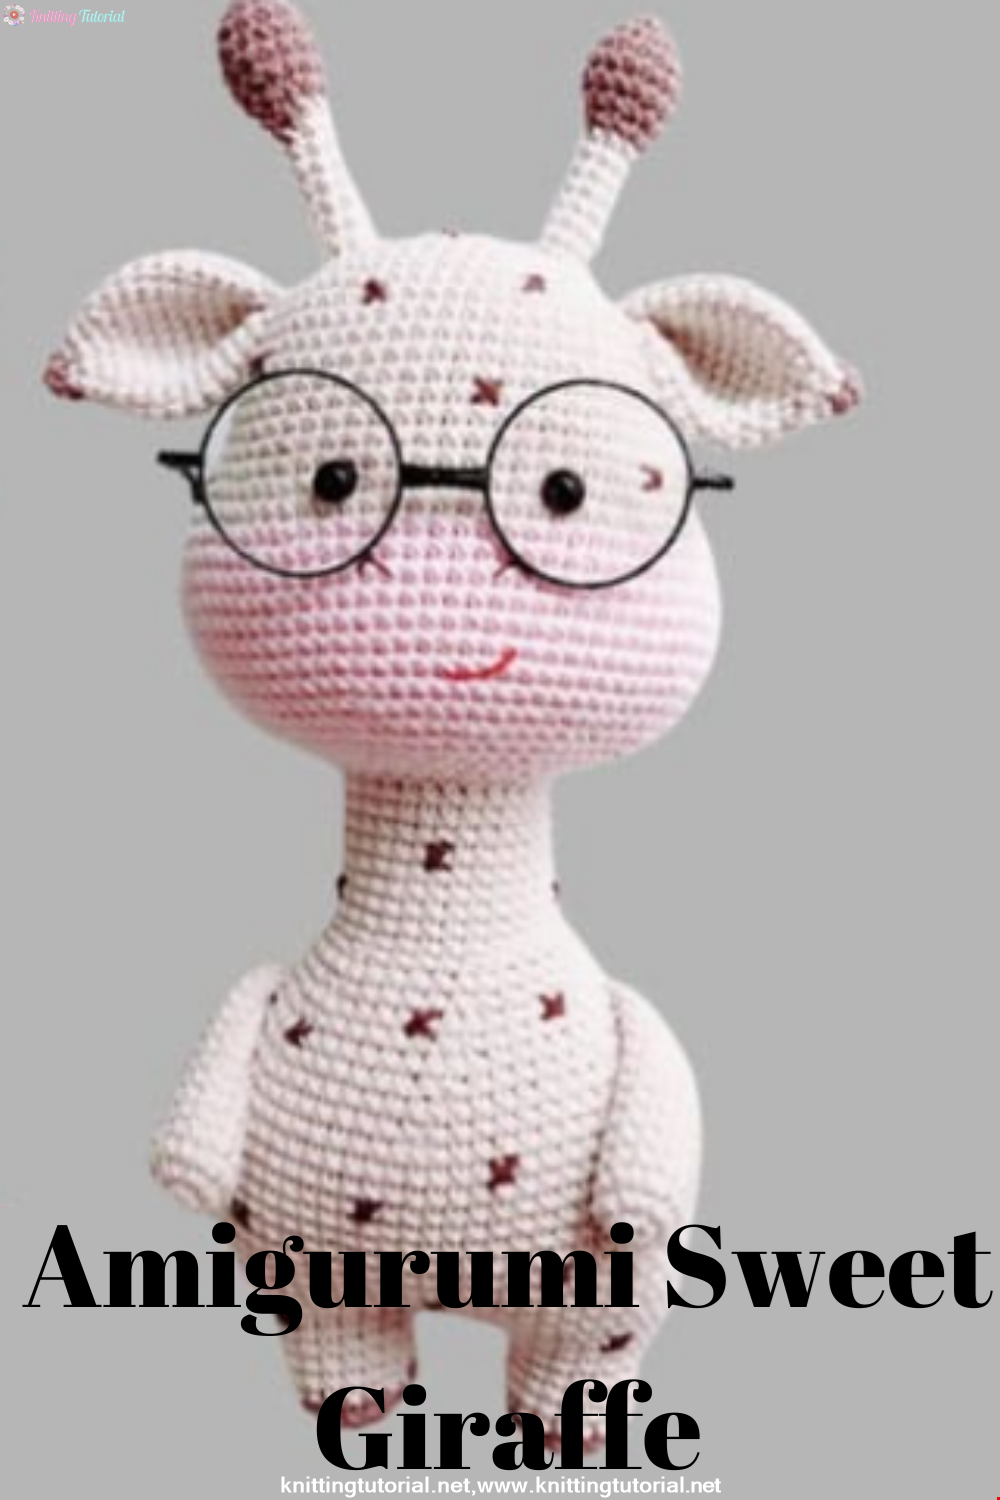
We have come to share with you the most popular model of recent times with the Amigurumi sweet giraffe recipe. I hope it will be an amigurumi animal figure that you like very much and knit with love.
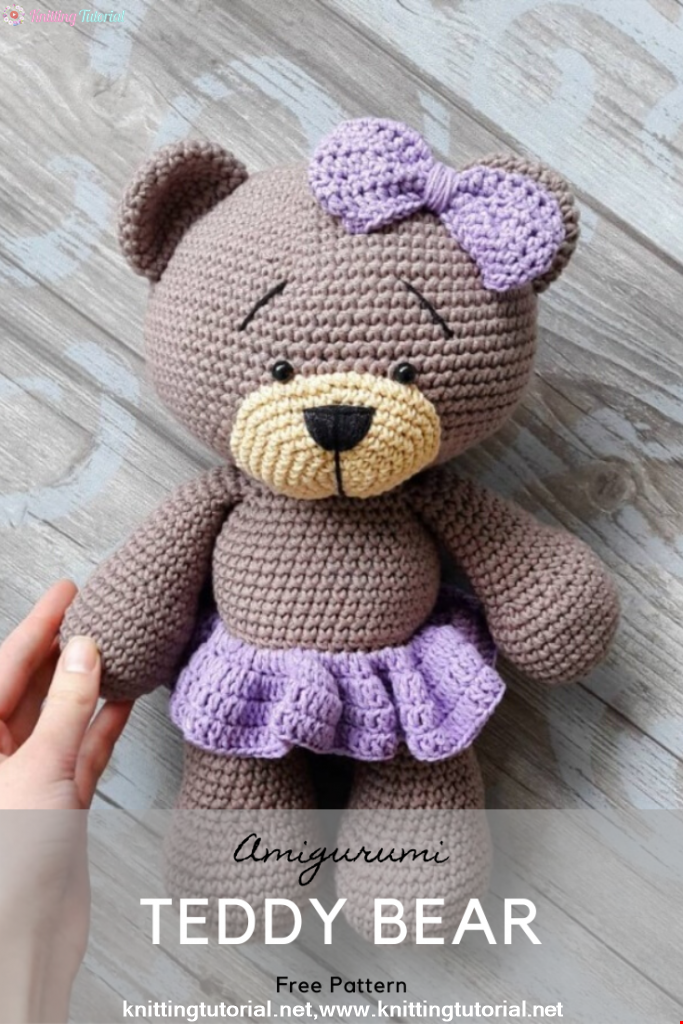
Read MoreLovely Teddy Bear Amigurumi Tutorial
12 October 2020, 10:05 2969