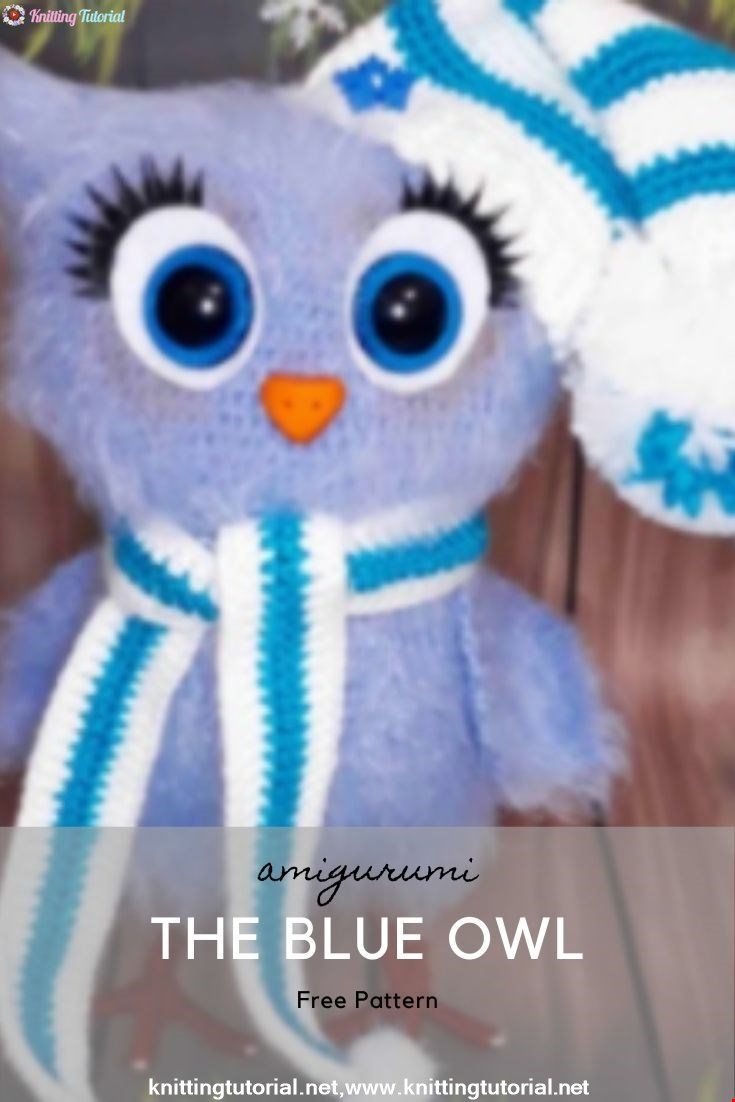
The Blue Owl
3 November 2020, 09:19 638
🌸Stage 1. Taurus
Knit from yarn hook number 3.
Row 1: recruit a chain of 19 VP + 1 runway, with the second loop from the hook, we knit along the chain 18 SNs, into the last loop 3 SNS, 18 SNs on the other side of the chain, VP (42)
2 : Runway, ScN in the same loop, 18 Sc, 3 Pr Sc, 18 Sc, 2 Pr Sc, SS (48)
3 row: Runway, Sc in the same loop, Sc, 18 Sc, (Pr Sc, Sc) * 3, 18 SCN, (PR SNS, SCN) * 2, SS (54)
Further, we do not do CC at the end of the row, we knit it in a spiral.
4–23 (20 rows): 54 sc (54)
24 row: (7 sc, UB sc) * 6 (48)
25 row: 48 sc (48)
26 row: (6 sc, Ub sc) * 6 (42 )
27th row: 42 ScN (42)
28 row: 3 ScN, Pr ScN, (6 ScN, Pr Sc) * 5, 3 ScN (48)
29 row: (7 ScN, Pr Sc) * 6 (54)
30 Row: 4 ScN, Pr ScN, (8 ScN, Pr Sc) * 5, 4 ScN (60)
31 row: (9 ScN, Pr Sc) * 6 (66)
32 Row: 5 ScN, Pr Sc, (10 Sc, Pr Sc) * 5, 5 Sc (72)
33 Row: (11 Sc, Pr Sc) * 6 (78)
34 – 53 (20 rows): 78 Sc (78) We are not cutting the thread yet.
We turn the canvas inside out, because it’s more fluffy there (optional) and set aside for the time being.
🌸Stage 2. Feet.
We take a wire with a diameter of 2 mm and a length of about 60 cm and make the workpiece legs according to the scheme (see photo 1). Then we smear the finger with glue and tightly wrap with brown (or black) threads. Thus we wind all 4 fingers and the leg itself to a height of about 6 to 7 cm, fix the ends of the thread with glue. The second leg is doing the same.
We put the finished legs into the knitted body in the first row of knitting from the bottom, retreating from the edges of 2 cm. We adjust the legs to the desired height, it can be from 3 to 6 cm, and fix the body inside with a tape, winding it with a thick layer on the leg (see ). We twist the wire from the legs together, isolate it. After that we fill the body with filler. We connect the upper edges of the calf CC (see photo), we fix the thread, cut it.
🌸Stage 3. Wings and tail.
KEYS (2 pcs.)
Knit from the same threads as the body, turning rows.
1 row: we dial 2 VP, in the second loop we knit 2 SBN, VP, turn (2)
2 row: 2 PR SBN, VP, turn (4)
3 row: PR SBN, 2 SBN, PR SBN, VP, turn (6 )
4th row: OLS SN, 4 SNS, OL SNS, VP, turn (8)
5th row: PR Sc, 6 Sc, Pr Sc, VP, Turn (10)
6 row: Pr Sc, 8 Sc, Pr Sc, VP, Turn (12)
7 – 11 (5 rows): 12 Sc, Sw, Turn (12)
12th row: UB SBN, 8 SBN, UB SBN, VP, turn (10)
13 row: UB SBN, 6 SBN, UB SBN, VP, turn (8)
14 row: UB SBN, 4 SBN, UB SBN (6) We
fix the thread, leave the end for sewing the wing, cut off.
The second wing knit similarly.
We sew the wings on the sides of the body, departing about 3 rows of RLS from the neck.
TAIL:
Knit from the same thread as the body, turning rows.
1 row: recruit a chain of 11 VP, with the second loop from the hook we knit along the chain 10 SBN, VP, turn (10)
2 – 4 (3 rows): 10 SBN, VP, turn (10)
5th row: UB SBN, 6 SBN, UB SBN, VP, turn (8)
6 – 10 (5 rows): 8 SBN, VP, turn (8)
In the 10th row we do not cut the thread, continue to tie the tail:
First we knit Scon on the side of the tail, then 2 sc in the lower corner, 5 ssn in the next loop on the bottom of the tail, ss skip, sc sv, ss skip, 5 ss in the next loop, ss skip, ss, 5 ss lower corner of the tail, then again knit RNS on the side of the tail to the upper corner. We fix the thread, leave the end for sewing tail, cut off.
Sew tail in the center of the back.
🌸Stage 4. Design.
EYES
Cut out from a white felt 2 blanks for eyes of size (W * H) 3 * 4 cm. We make small cuts with scissors in the blanks in the center. We insert into the incisions blue (or any other) pupil eyes with a diameter of 25 mm. Glue the pupils to the felt detail of the eye with super glue. On top of the felt part of the eyes we glue the false eyelashes.
Ready eyes trying on owl head, placing them in the 17th row from the top row of knitting. The distance between the eyes can be made whatever you like best. Glue the eyes with transparent super glue to the head. Make a tint around the eyes with brown dry pastel (optional).
BEAK:
Option 1. Polymer clay.
We make a beak from polymer clay of yellow, orange or brown color. I got a beak in the form of an equilateral triangle with sides of about 1 cm. You can make a beak of any size at will. With the other side of a thick needle, we make two holes on top of the beak that imitate the nostrils. Ready bake bake according to the instructions, let cool and glue with super-glue to the head between the eyes.
Option 2. Knitted beak.
Knit with yellow, orange or brown threads (optional). I took the yarn with a density of 150m / 50g, hook number 2.
1 row: we dial 2 VP, in the second loop from the hook we knit 2 SBN, VP, turn (2)
2 row: 2 PR SBN, VP, turn (4)
3 row: PR SBN, 2 SBN, PR SBN (6)
Thread we do not cut, we tie the beak along the contour of the SS, then we fix the thread and cut it.
We sew the crochet beak with black threads with small stitches in the places where the nostrils are located.
After the owl is fully prepared, we comb it with Velcro or comb with rare teeth.
🌸Stage 5. Clothes.
CAP
First, knit the bottom of the gum cap with white threads.
1 Range: recruit 4 VP + 1 runway, the second from the hook loop knit 4 sc, VI, rotation (4)
2 – 54 (53 series) of the FOD 4 sc, VI, rotation (4)
The yarn is not cut off, connect edges gum: 4 SS for both half loops.
We continue to knit, tie the gum on top of the sc.
1 row: 54 sc (54) and then we knit in a spiral.
2 – 3 row: 54 Sc (54)
Change the color of the thread to turquoise (optional).
Note! If you want to tie a striped cap, like me, then change the color of the thread every 4 rows of white and 3 rows of turquoise.
4 row: (7 SBN, UB SBN) * 6 (48)
5 – 7 (3 rows): 48 SBN (48)
8 row: (6 SBN, UB SBN) * 6 (42)
9 – 11 (3 rows) : 42 SBN (42)
12 row: (5 SBN, UB SBN) * 6 (36)
13 – 15 (3 rows): 36 SBN (36)
16 row: (4 SBN, UB SBN) * 6 (30)
17 – 20 (4 rows): 30 Sc (30)
21 rows: (3 Sc, UB Sc) * 6 (24)
22 – 25 (4 rows): 24 Sc (24)
26 row: (2 Sc, Ub Sc) * 6 (18)
27 – 30 (4 rows): 18 Sc (18)
31 row: (Sc, UB Sc) * 6 (12)
32 – 35 (4 rows): 12 Sc (12)
36 row: 6 UB Sc (6)
The remaining hole is tightened, the thread is fastened, cut off.
Sew on top of the pompom cap, decorate the cap with buttons or other decorative elements (optional).
SCARF:
Knit with white threads.
Row 1: recruit 150 VP + 2 runways, with the third loop from the hook we knit 150 SSN, VP, turn (150)
Change the thread for turquoise (optional).
2 row: 2 runways, 149 SSN, VP, turn (150)
Change the thread to white.
3 row: 2 runways, 149 CCH (149) We
fasten the thread, cut it.
The ends of the scarf are decorated with pompoms or fringe (optional).
We put on a cap and a scarf on an owl.
Category Popular Posts
Amigurumi Hedgehog Free Pattern
12 October 2020, 09:52 11504
Making Amigurumi Spiderman
27 January 2022, 20:58 2022
Hello, Are you ready to knit Spiderman, Spider-Man, the children's favorite cartoon character? You will be able to knit easily with detailed explanation. Let's start!
Read More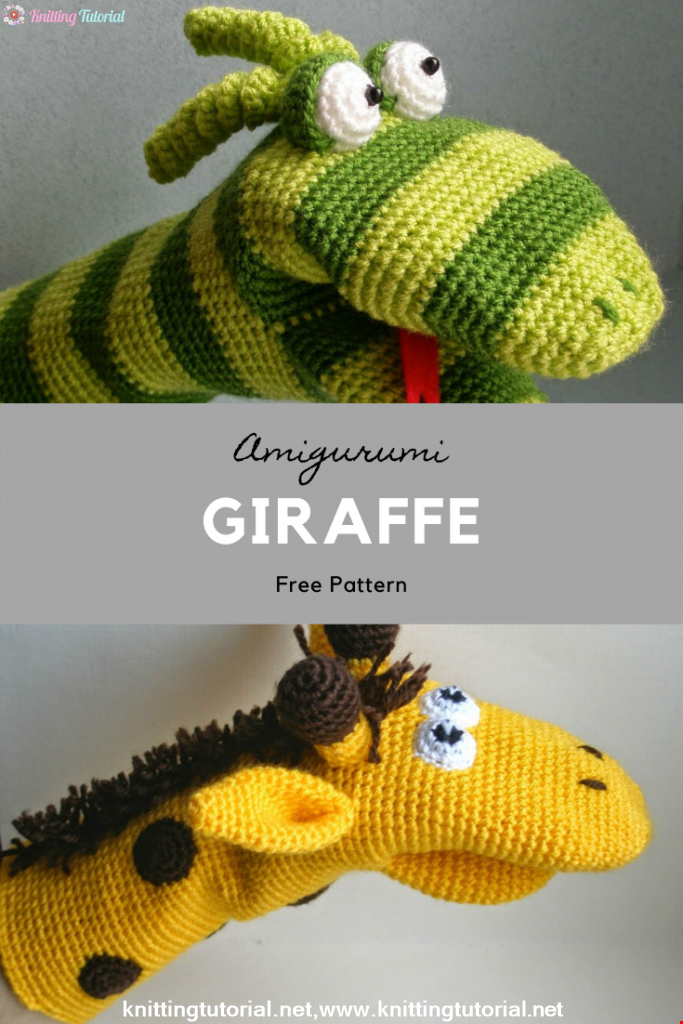
Amigurumi Princess Mononoke Crochet Pattern
12 December 2020, 21:20 944
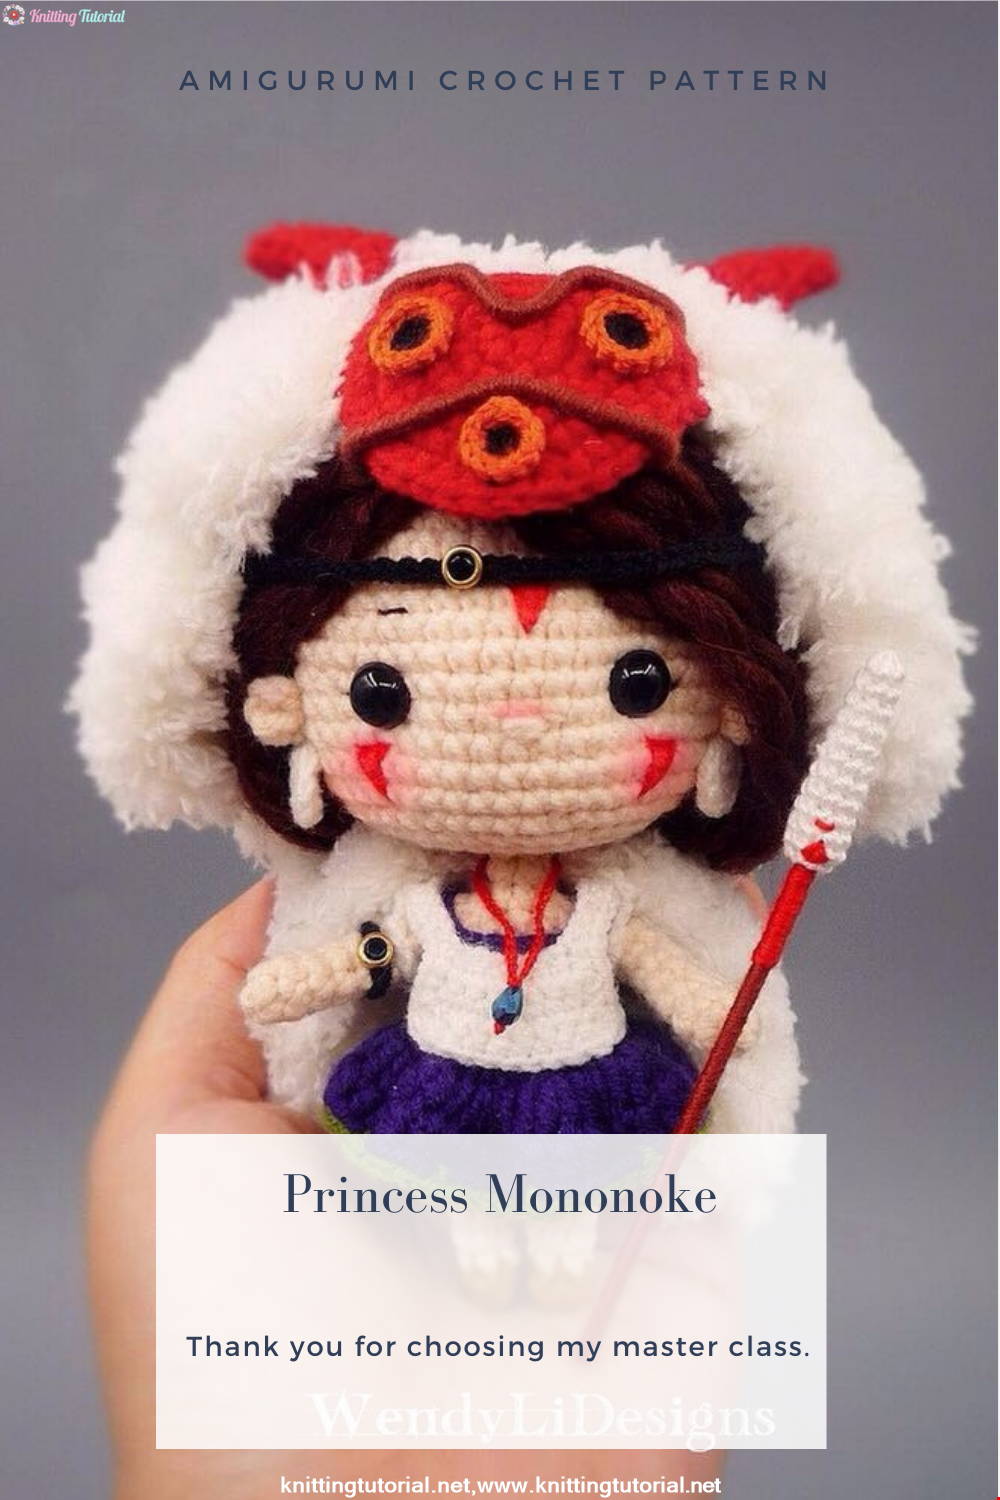
Free Crochet Princess Mononoke workshop by Wendy Li. The knitted girl is the hero of the cartoon by Hayao Miazaki. From the description of the diagram, you will also learn how to knit: a cape, a cloak, a dress and a mask for a doll.
Read More
Princess Disney Amigurumi Pattern
8 October 2020, 14:51 5815


Korean Girl in Traditional Dress (Hanbok)
22 September 2020, 11:11 1573

This is the process how I made the amigurumi of Korean Bride in traditional dress Hanbok. Lately I've been watching a lot of Korean dramas and got inspired to make one. I hope you can enjoy the video, and get inspired too!
Read More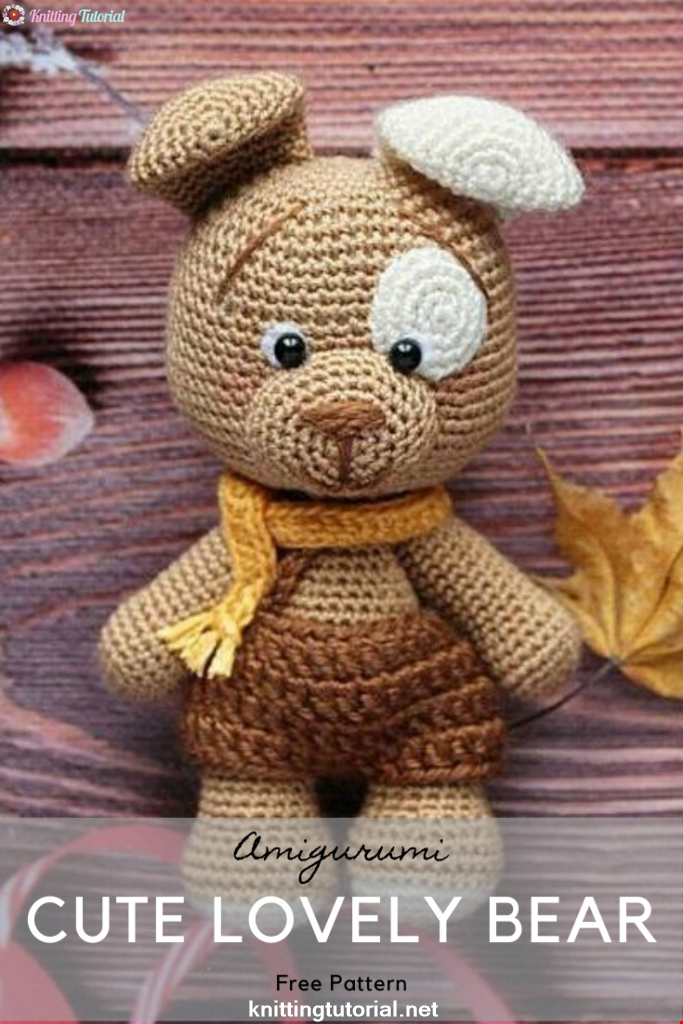
Amigurumi Sweet Giraffe Recipe and Preparation
5 January 2022, 14:55 634
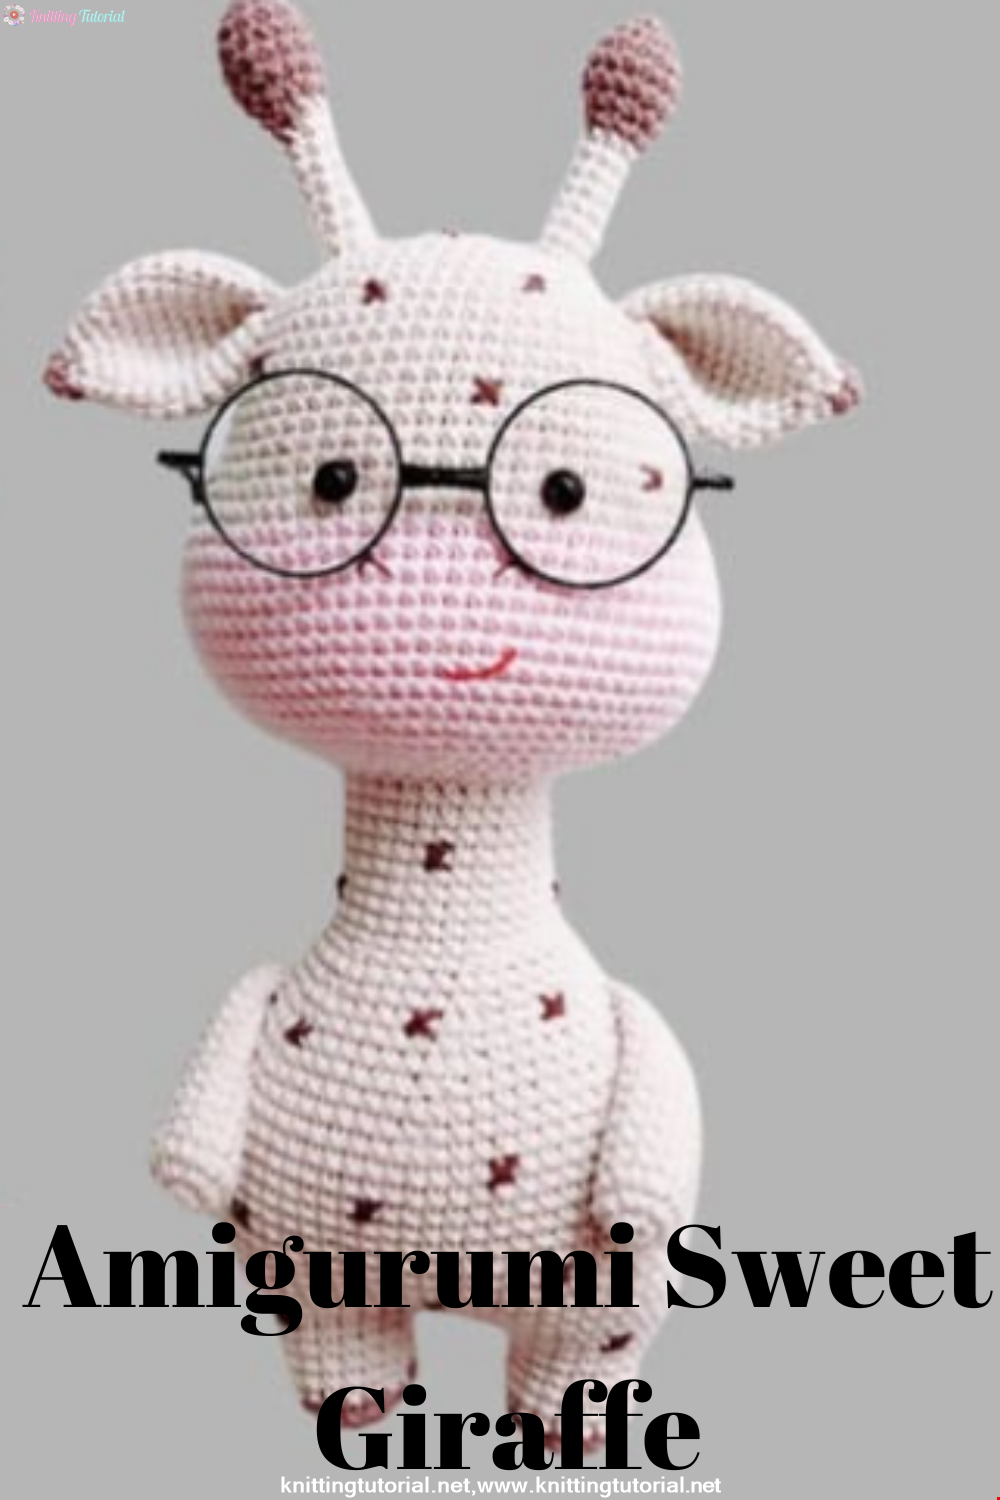
We have come to share with you the most popular model of recent times with the Amigurumi sweet giraffe recipe. I hope it will be an amigurumi animal figure that you like very much and knit with love.
Read MoreLovely Teddy Bear Amigurumi Tutorial
12 October 2020, 10:05 2969