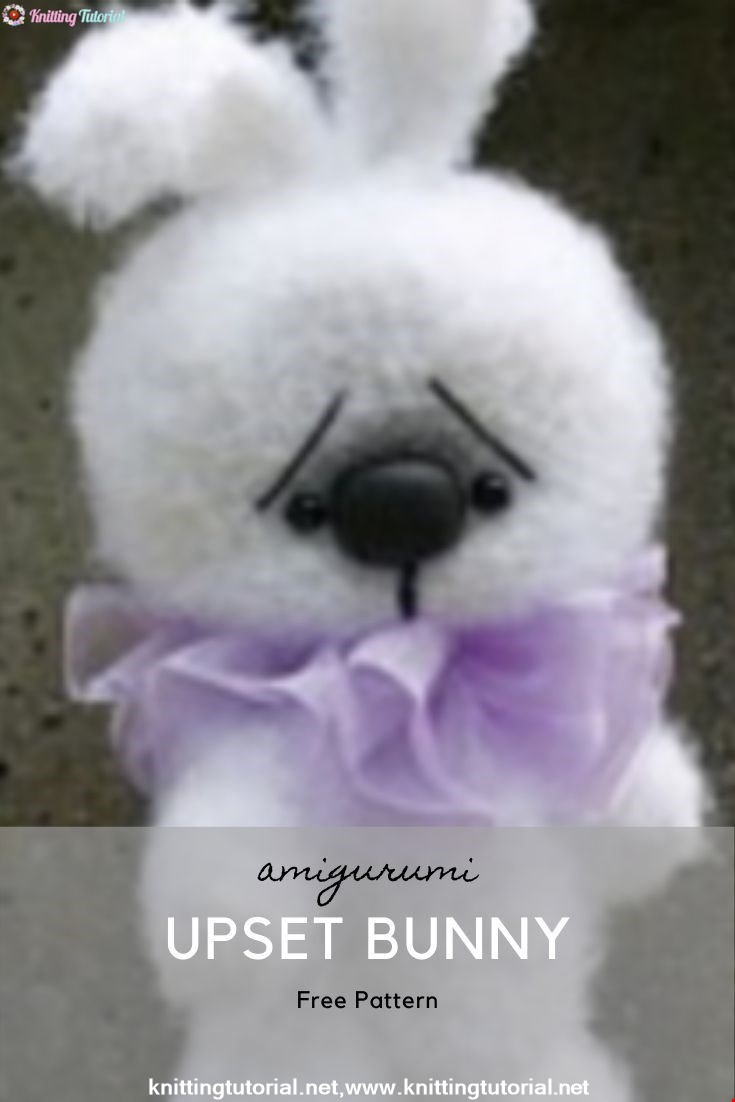
Upset Bunny
23 September 2020, 13:31 583
To tie a rabbit crochet, we will need:
– Lotus Grass Stretch yarn (50 gr = 80 m);
– hook number 3;
– filler (best sintepon);
– some cardboard for the base of the legs;
– beads and a button for muzzle decoration.
Legend:
Addition = 2 tbsp. b / n in one loop of the previous row;
Reduction = skip 1 tbsp. b / n of the previous row, tie 1 tbsp. b / n;
Description of knitting:
Head:
1st row: dial 2p. and close in the ring. To drink 6 tbsp. b / n. [= 6 tbsp. b / n]. Then knit in a circle.
2 row: * addition *. Repeat * 6 times [= 12 tbsp. b / n].
3 row: * increase, 1 tbsp. b / n *. Repeat * 6 times [= 18 tbsp. b / n].
4 row: * increase, 2 tbsp. b / n *. Repeat * 6 times [= 24 tbsp. b / n].
5 row: * increase, 3 tbsp. b / n *. Repeat * 6 times [= 30 tbsp. b / n].
6 row: * increase, 4 tbsp. b / n *. Repeat * 6 times [= 36 tbsp. b / n].
7-13 series: unchanged [= 36 st. b / n].
14 row: * 4 tbsp. b / n, reduction *. Repeat * 6 times [= 30 tbsp. b / n].
15 row: * 3 tbsp. b / n, reduction *. Repeat * 6 times [= 24 tbsp. b / n].
16 row: * 2 tbsp. b / n, reduction *. Repeat * 6 times [= 18 tbsp. b / n]. Fill with filler.
17 row: * 1 tbsp. b / n, reduction *. Repeat * 6 times [= 12 tbsp. b / n].
18 row: * reduction *. Repeat * until the hole is completely closed.
Torso:
1st row: dial 2 cp. and close in the ring. To drink 6 tbsp. b / n. [= 6 tbsp. b / n]. Then knit in a circle.
2 row: * addition *. Repeat * 6 times [= 12 tbsp. b / n].
3 row: * increase, 1 tbsp. b / n *. Repeat * 6 times [= 18 tbsp. b / n].
4 row: * increase, 2 tbsp. b / n *. Repeat * 6 times [= 24 tbsp. b / n].
5-7 series: unchanged [= 24 tbsp. b / n].
8 row: 6 deductions, * 1 tbsp. b / n, reduction *. Repeat * 4 times [= 14 tbsp. b / n].
9-11 series: unchanged [= 14 tbsp. b / n]. Fill with filler.
12 row: * Decrease, 1 tbsp. b / n *. Repeat * 6 times [= 8 tbsp. b / n].
13 row: * reduction *. Repeat * until the hole is completely closed.
Ear (2 parts):
1 row: dial 10 bp. and tie up art. b / n. the second from the hook loop, 4 st.b / n, 3 polostolbika s / n, 6 st s / n in the last loop. Turn knitting. 3 polostolbika s / n, 5 st b / n, 1 connecting loop [= 23 st].
2 row: 5 connecting loops, 13 tbsp. b / n, 5 connecting loops [= 23 st].
Lower foot (2 parts):
1 row: dial 7 bp. and tie up art. b / n. the second from the hook loop, 4 st.b / n, 3 tbsp. b / n in one loop, turn the knitting clockwise, 4 st b / n, 1 tbsp. b / n in the first loop [= 14 tbsp. b / n].
2 series: an increase, 4 st.b / n, 3 increases, 4 st.b / n, 2 increases [= 20 tbsp. b / n].
3 row: 4 connecting bars, 10 st.b / n. 6 connecting posts [= 20 items]
4 rows: tie 20 tbsp. b / n behind the back of the hinge of the previous row [= 20 tbsp. b / n]
5 row: unchanged [= 20 tbsp. b / n]. Attach a cardboard base.
6 row: 3 st.b / n, (decrease, 1 item b / n) * 3 times, 8 st.b / n [= 17 tbsp. b / n]
7 row: * reduction, 1 tbsp. b / n *. Repeat * 6 times [= 11 tbsp. b / n]
8-9 series: unchanged [= 11 tbsp. b / n]. Fill with filler.
10 row: decrease, 3 st b / n, decrease, 4 st b / n [= 9 tbsp. b / n]
11 series: unchanged [= 9 tbsp. b / n]
12 row: * reduction *. Repeat * until the hole is completely closed.
Upper foot (2 parts):
1 row: dial 4 bp. and tie up art. b / n. the second from the hook loop, 1 st.b / n, 3 tbsp. b / n in one loop, rotate the knitting clockwise, 1 st b / n, 2 tbsp. b / n in the first loop [= 8 tbsp. b / n].
2 row: * 1 st.b / n, the increase *. Repeat * 4 times [= 12 tbsp. b / n].
3 row: unchanged [= 12 tbsp. b / n]
4 row: 2 decreases, 8 tbsp. b / n [= 10 tbsp. b / n].
5-9 row: unchanged [= 10 tbsp. b / n]. Fill with filler.
10 row: * reduction *. Repeat * until the hole is completely closed.
For the second attempt: I use white yarn and plan to make a nose made of polymer clay FIMO.
Here are some tips for knitting and assembling:
1. Do not stuff your head too hard. A heavy head will shift the center of gravity and the bunny will not stand, but will fall under the weight of its head. In this case, the trunk and legs should be filled more tightly.
2. Insert the cardboard base into the legs for stability. When you knit up to 5 rows of legs, cut 2 pieces from the cardboard to the size of the resulting foot and put them into the foot, and then do the adjustments and fill with filler.
3. Note that the 4th row of the legs must be tied only behind the back of the hinge. This moment also greatly affects the stability of the toy, because With this method of knitting, the base of the foot (foot) is completely flat.
4. At the stage of assembly, first pin the legs to the trunk with a needle and make sure that the toy stays stable. Then make a mobile ligamental clamping of the paws (I will not go into details, because I have already talked a lot about this type of attachment, for example, here). Pull the strands of the fastener and check the stability of the toy while standing and sitting. Do not be lazy to remake if the toy is not worth it. My toy becomes stable, probably only with 2-3 attempts.
White bunny in the process of assembly:
As a spout, you can use round buttons, best of all – volumetric with a foot recessed inside:
Or you can make a spout of any shape from polymer clay FIMO:
1. Roll a ball out of FIMO and cut it in half with a knife. Give each detail the right shape.
2. From the staple clip, make a fastening: bend both ends of the paper clip inwards, so that two circles form (the clip now resembles the shape of the glasses), and then rotate both circles 90 degrees.
3. Gently push the mount into the spout, but not deep, and so that the needle can pass through both holes. You can fasten the mount in a nozzle by attaching a small piece of clay between the circles.
4. Bake the spouts in the oven at 110 degrees 20-25 minutes.
We design the face of the bunny:
1. When you sew the eyes and the spout, I recommend that the ends of the threads be drawn to one point in the upper part of the head where the ears are fastened, and in the lower part (near the neck). By pulling these threads, you can slightly drown the eyes and spout, and also give the head the desired flattened flattened shape;
2. Lightly tint the muzzle near the nose. I used the usual eye shadow for a dark gray color;
3. We embroider eyebrows. Although the eyebrows look very simple – this is just one stitch – but the expression of the toy’s muzzle depends very much on their location, length and angle. Therefore, I recommend trying different options. I do this as follows: I cut off pieces of thread along the length of the eyebrows, apply them to my face and look for that position that I like;
You can comb a bunny with a comb, a puerper, and the easiest way is a Velcro, more precisely that part of it that consists of hooks. It turns out quickly, simply and you can scratch any hard-to-reach places.
If you do not like short ears you can tie a bunny with a long one .
For long ears:
1 row – 2 flaps,
2 rows – 2 tbsp. b / n in the second from the hook loop, air. loop, turn,
3 row – increase, 1 tbsp. b / n (= 3 items b / n), resp., turn,
4th row – 3 tbsp. b / n, air. loop, turn,
5 row – 1 tbsp. b / n, increase, 1 tbsp. b / n (= 4 items b / n), air. loop, turn,
6-7 row – 4 tbsp. b / n, air. loop, turn,
8 row – 1 tbsp. b / n, increase, 2 tbsp. b / n (= 5 items b / n), air. loop, turn,
9-10 row – 5 tbsp. b / n, air. loop, turn,
11 row – 2 tbsp. b / n, increase, 2 tbsp. b / n (= 6 items b / n), air. loop, turn,
12-13 row – 6 tbsp. b / n, air. loop, turn,
14 row – 2 tbsp. b / n, increase, 3 tbsp. b / n (= 7 items, b / n), air. loop, turn,
15-16 row – 7 tbsp. b / n, air. loop, rotate,
17 row – 3 tbsp. b / n, increase, 3 tbsp. b / n (= 8 items b / n), air. loop, turn,
18 row – 8 tbsp. b / n, air. loop, turn,
19 row – 1 tbsp. b / n in the second from the hook loop, 6 tbsp. b / n, air. loop, turn,
20 row – 1 tbsp. b / n in the second from the hook loop, 5 tbsp. b / n, air. loop, turn,
21 row – 1 tbsp. b / n in the second from the hook loop, 4 tbsp. b / n, air. loop, turn,
22 row – 1 tbsp. b / n in the second from the hook loop, 3 tbsp. b / n, air. loop, turn,
23 row – 1 tbsp. b / n in the second from the hook loop, 2 tbsp. b / n, air. loop, turn,
24 row – 1 tbsp. b / n in the second from the hook loop, 1 tbsp. b / n, air. loop, turn,
25 row – 1 tbsp. b / n in the second from the hook loop,
26 row – tie the two remaining loops together, tighten the knot.
Tie the ear with bars b / n. Sew to the head A knitted bunny is ready
Category Popular Posts
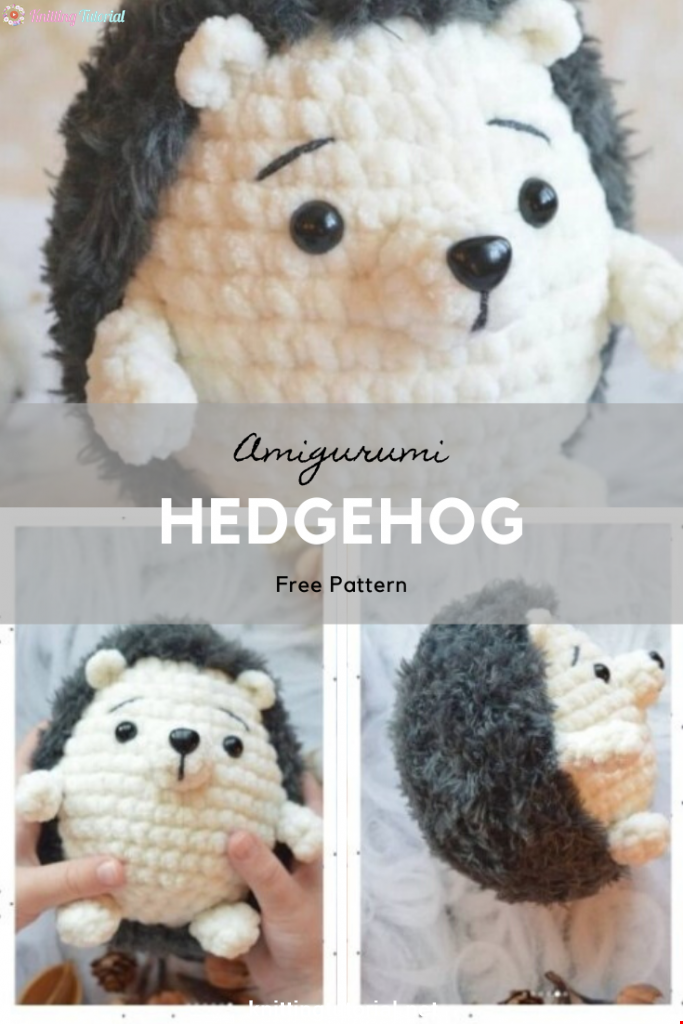
Amigurumi Hedgehog Free Pattern
12 October 2020, 09:52 11505
Making Amigurumi Spiderman
27 January 2022, 20:58 2026
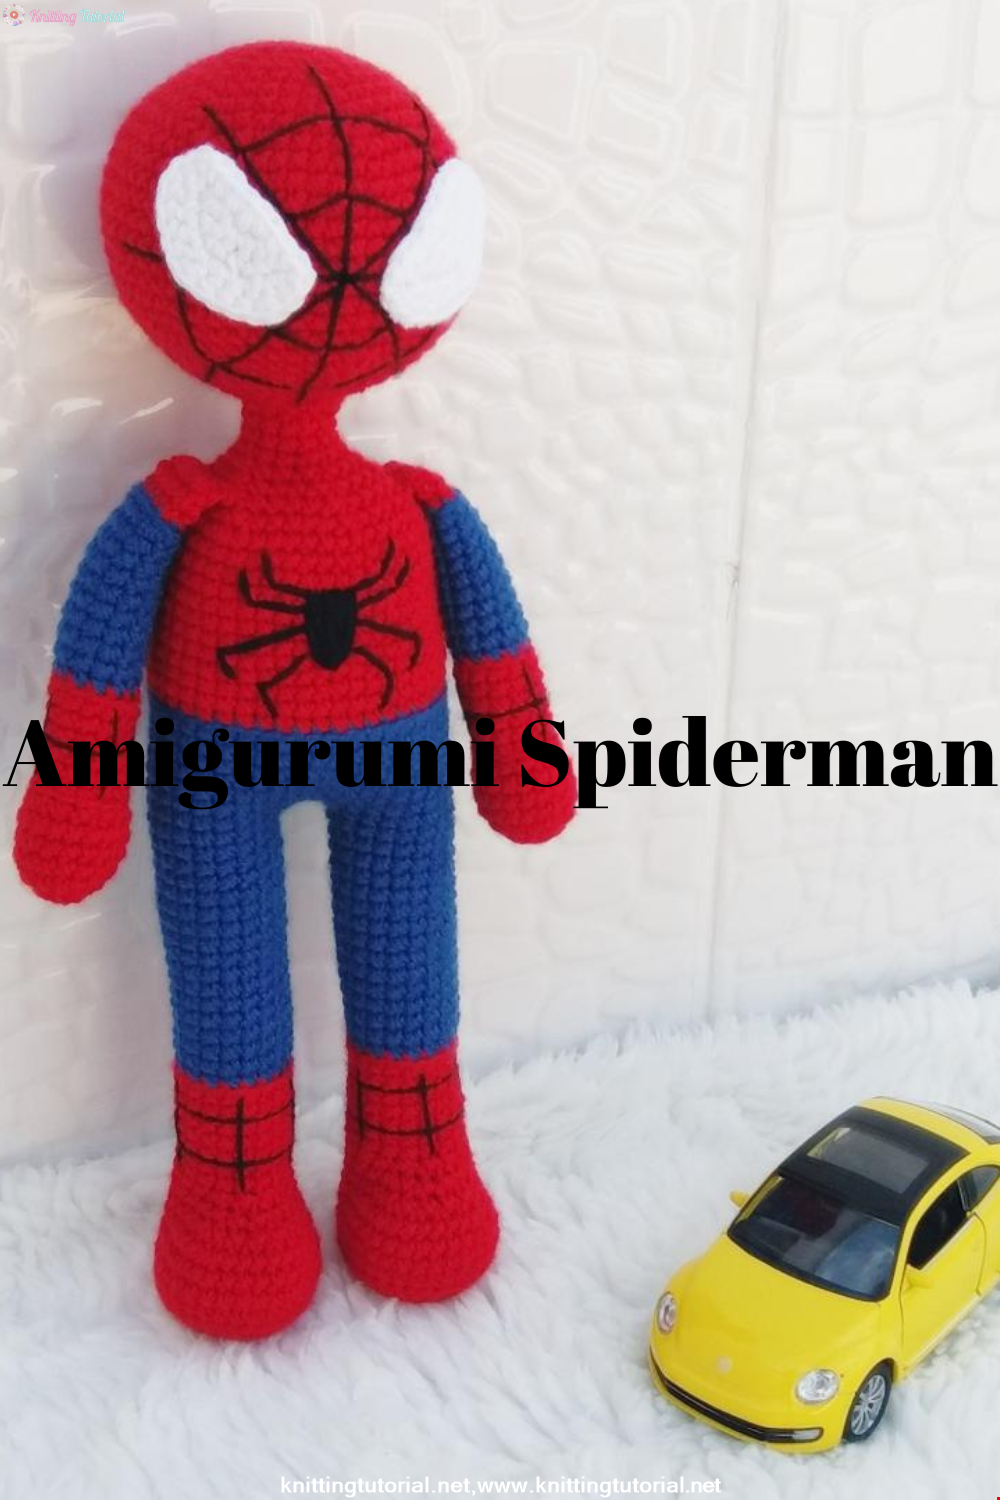
Hello, Are you ready to knit Spiderman, Spider-Man, the children's favorite cartoon character? You will be able to knit easily with detailed explanation. Let's start!
Read More
Amigurumi Princess Mononoke Crochet Pattern
12 December 2020, 21:20 946
Free Crochet Princess Mononoke workshop by Wendy Li. The knitted girl is the hero of the cartoon by Hayao Miazaki. From the description of the diagram, you will also learn how to knit: a cape, a cloak, a dress and a mask for a doll.
Read More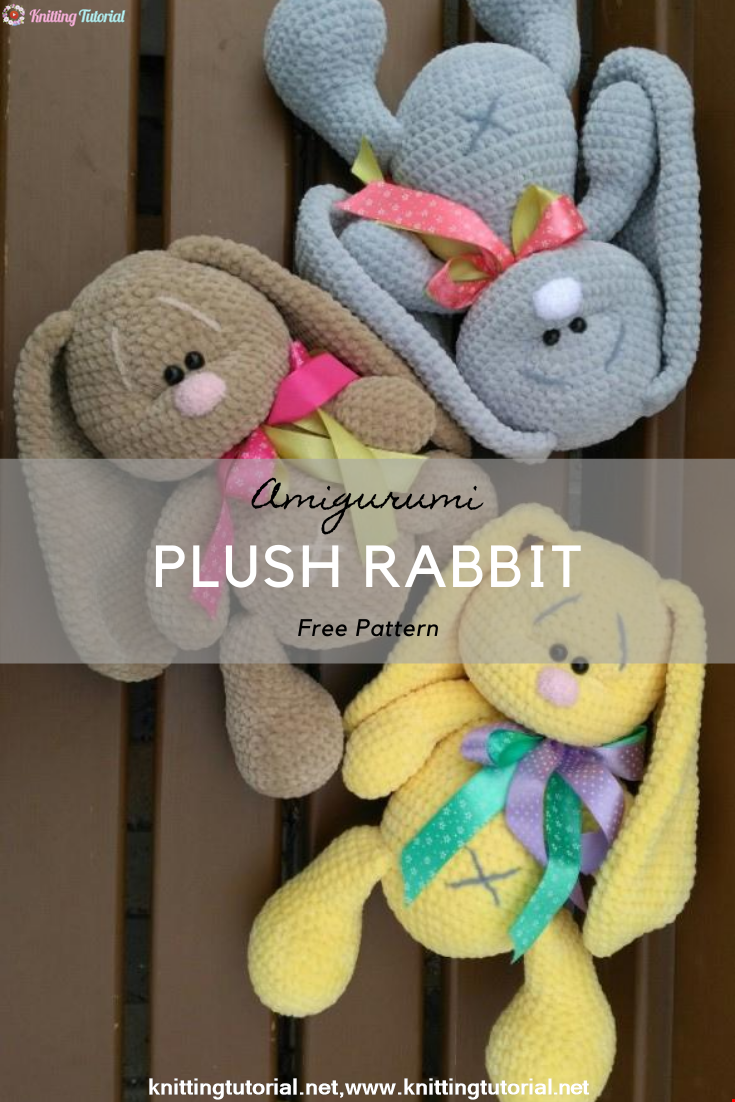
Princess Disney Amigurumi Pattern
8 October 2020, 14:51 5815


Korean Girl in Traditional Dress (Hanbok)
22 September 2020, 11:11 1573

This is the process how I made the amigurumi of Korean Bride in traditional dress Hanbok. Lately I've been watching a lot of Korean dramas and got inspired to make one. I hope you can enjoy the video, and get inspired too!
Read More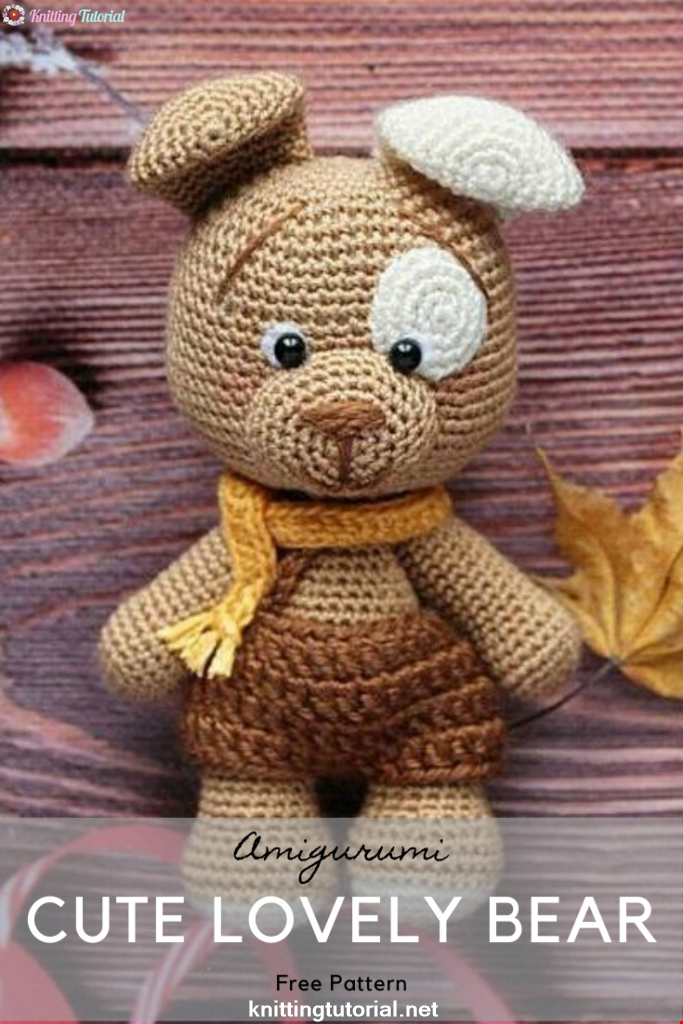
Amigurumi Sweet Giraffe Recipe and Preparation
5 January 2022, 14:55 634
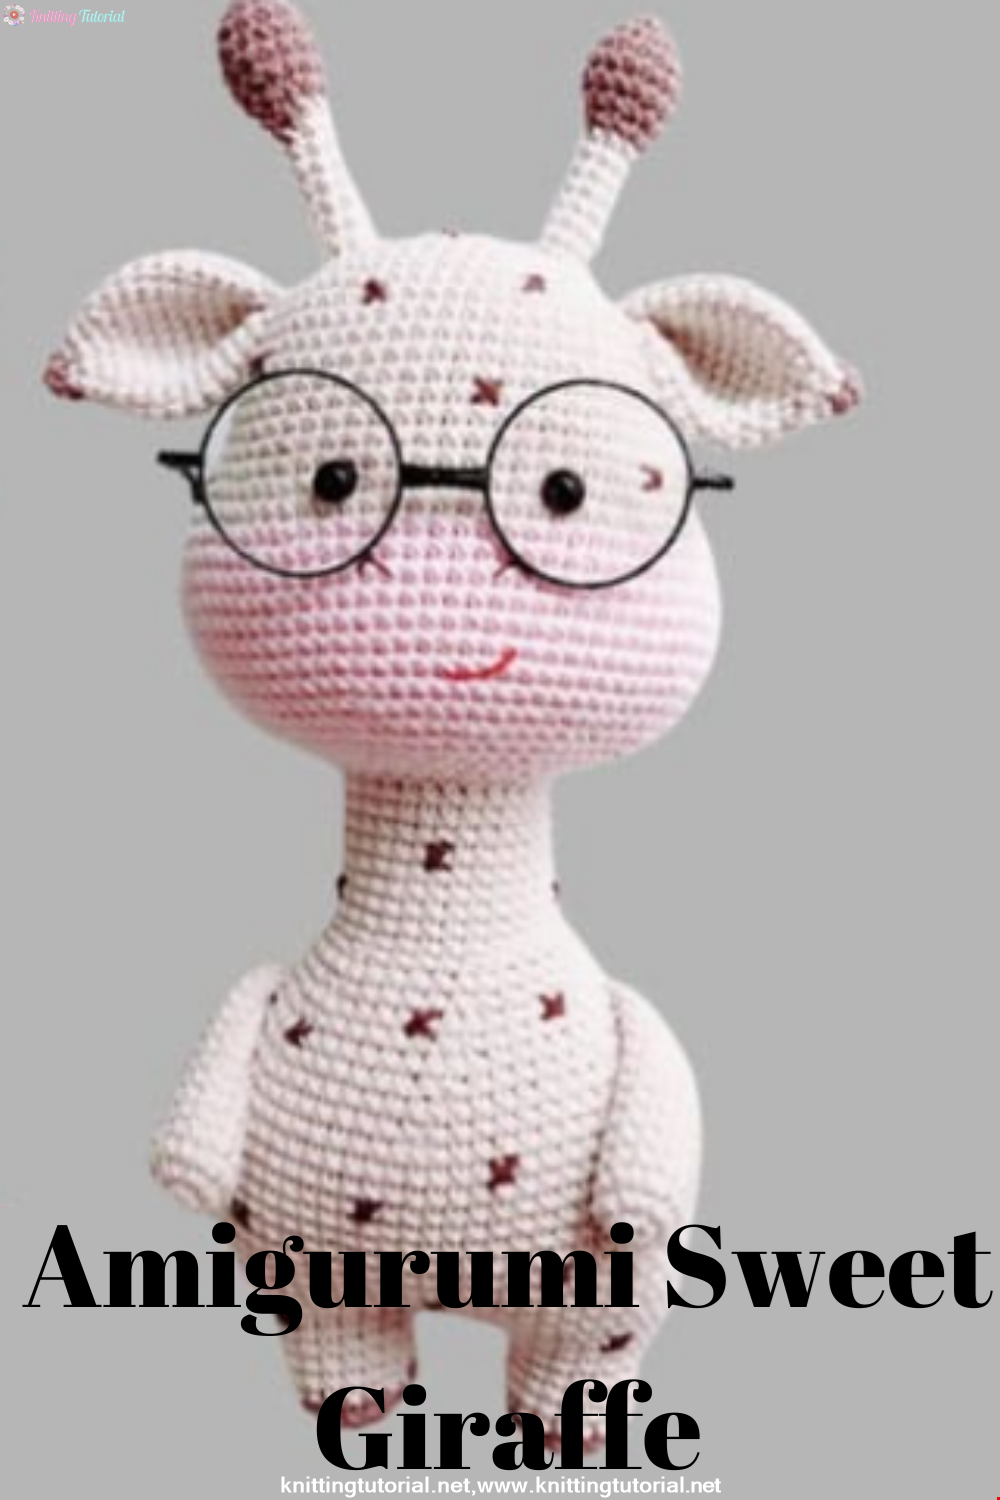
We have come to share with you the most popular model of recent times with the Amigurumi sweet giraffe recipe. I hope it will be an amigurumi animal figure that you like very much and knit with love.
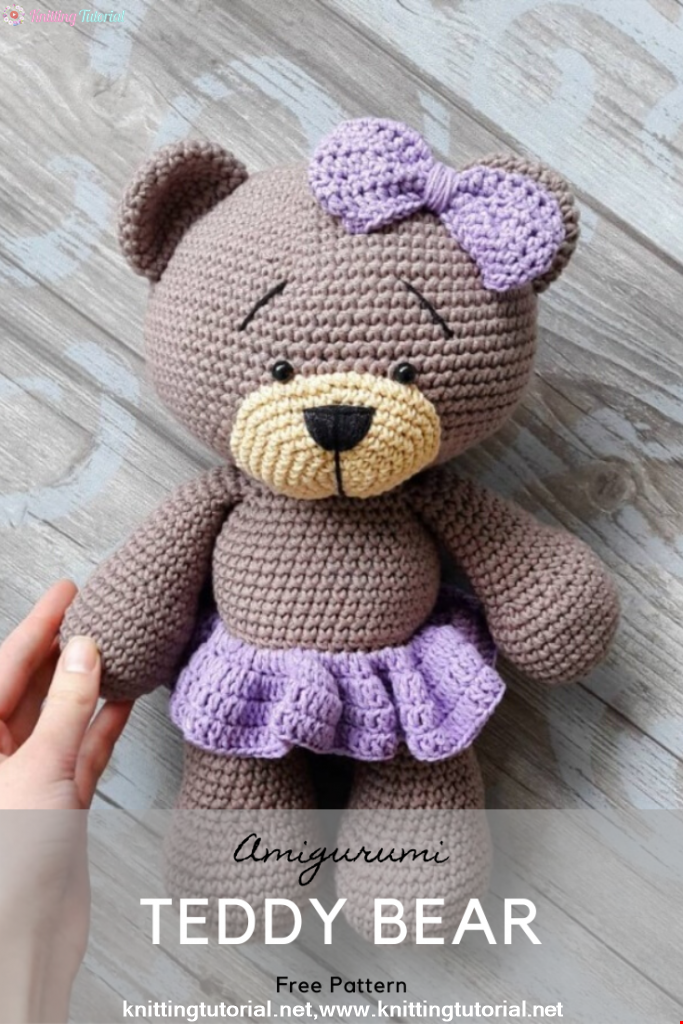
Read MoreLovely Teddy Bear Amigurumi Tutorial
12 October 2020, 10:05 2969