Crocheted Elf Couple
4 January 2022, 13:59 430
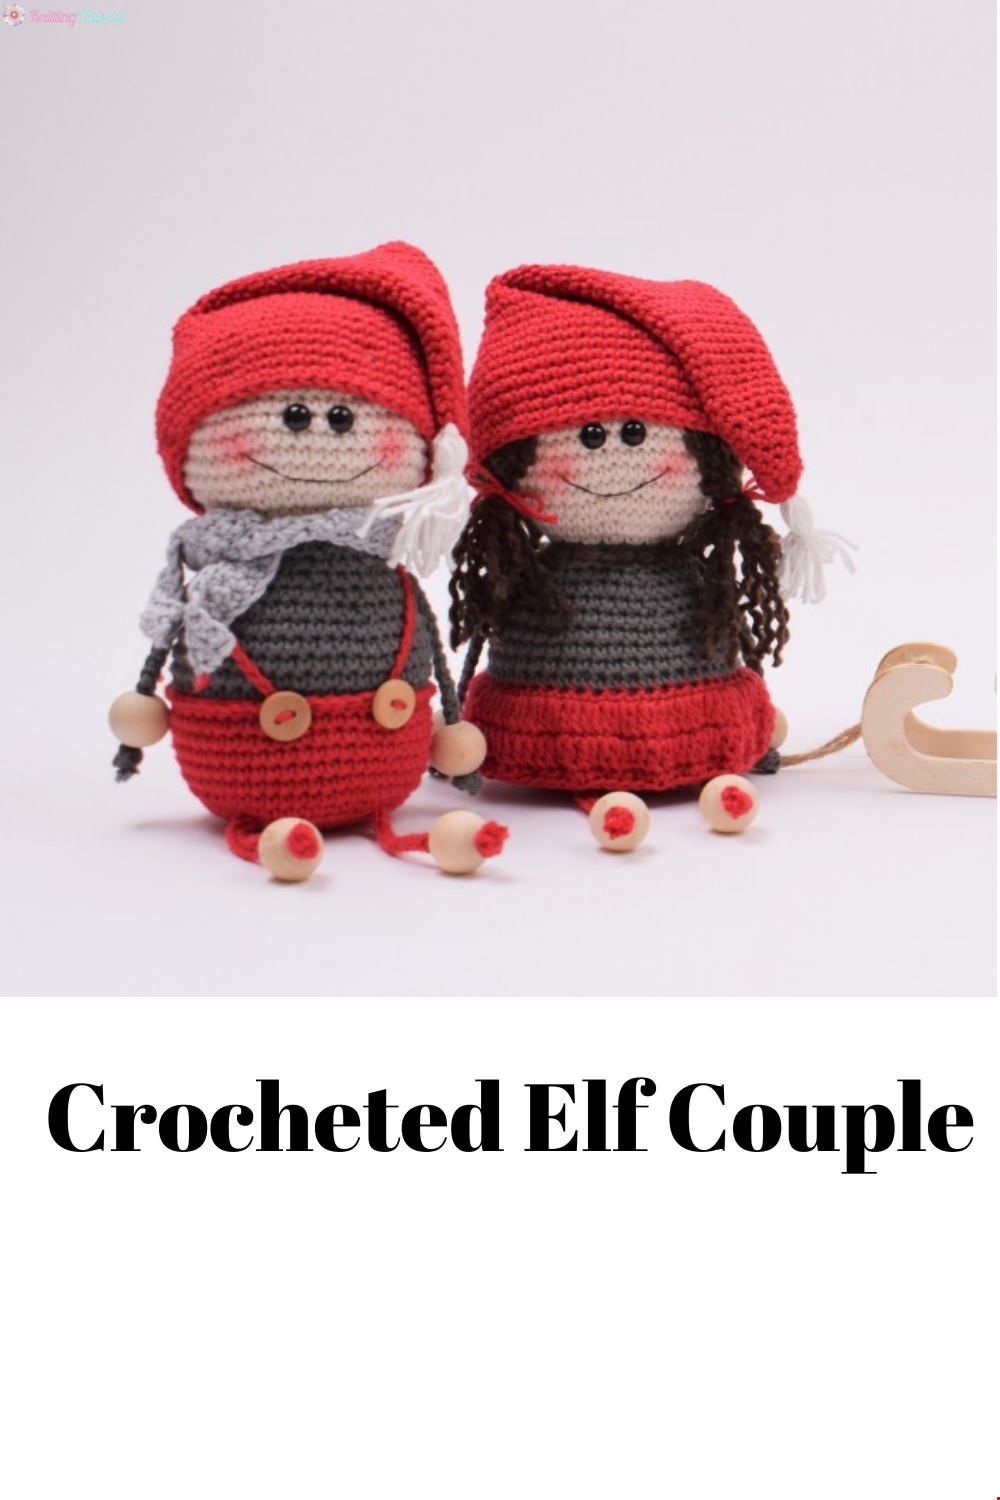
Materials: Crochet hook: B/1-C2 (2.5 mm) Rainbow Cotton 8/4 Twist yarn from Go Handmade 2 set of safety eyes 0.3 inches (7 mm) 8 wooden pearls 0.6 inches (15 mm) Fiberfill Plastic pellets 2 wooden buttons 0.5 inches (12 mm) Sewing thread or embroidery yarn Measurements: 5.5- 5.9 inches (14-15 cm)
Usage: - boy/girl Dark red approx. 1/1.2 oz (25g/30g) Dark gray approx. 0.3/0.3 oz (8g/8g) Nude approx. 0.4/0.4 oz (10g/10g) Nature approx. 0.07/0.07 oz. (2g/2g) Light gray approx. 0.16 oz (4g) Dark brown Twist yarn approx. 4 yards (4 meter) Abbreviations: ch: chain stitch s: stitch sts: stitches sc: single crochet dc: double crochet ss: slip stitch
Basic pattern – used for both boy and girl. Legs and arms: Ch 60 into a foundation chain in the color: red. This chain is for the legs. Work ss back in each ch s. Cut the yarn and weave in ends. Ch 60 into a foundation chain in dark gray. This is for the arms. Work ss back in each ch s. Cut the yarn and weave in ends. We will return to these pieces when they are going to be joined. Body: With red 1. Start with a magic ring and work 6 sc into the ring (6) 2. Work 2 sc in each s the entire round (12) 3. Work *1 sc, 2 sc in the next s*. Repeat till the end of the round (18) 4. Work *1 sc in the next 2 sts, 2 sc in next s*. Repeat till the end of the round (24) 5. Work *1 sc in the next 3 sts, 2 sc in the next s*. Repeat till the end of the round (30) 6. Work *1 sc in the next 4 sts, 2 sc in the next s*. Repeat till the end of the round (36) 7. Work *1 sc in the next 5 sts, 2 sc in the next s*. Repeat till the end of the round (42) 8. This round work in the back loop only. Work *1 sc in the next 6 sts, 2 sc in the next s*. Repeat around (48) 9. Work *1 sc in the next 7 sts, 2 sc in the next s*. Repeat around (54) 10. Work sc in each s till the end of the round (54) 11. Work sc in each s till the end of the round (54) 12. Work sc in each s till the end of the round (54) 13. Work sc in each s till the end of the round (54) 14. Work sc in each s till the end of the round (54) 15. Work *1 sc in the next 7 sts, 2 sc tog*. Repeat around (48) 16. Change to gray yarn. Work sc around in the back loop only (48) 17. Work sc in each s till the end of the round (48) 18. Work sc in each s till the end of the round (48) 19. Work sc in each s till the end of the round (48) 20. Work sc in each s till the end of the round (48) 21. Work *1 sc in the next 6 sts, 2 sc tog*. Repeat around (42) 22. Work sc in each s till the end of the round (42) 23. Work *1 sc in the next 5 sts, 2 sc tog*. Repeat around (36) 24. Work *1 sc in the next 4 sts, 2 sc tog*. Repeat around (30) 25. Work *1 sc in the next 3 sts, 2 sc tog*. Repeat around (24) 26. Work *1 sc in the next 2 sts, 2 sc tog*. Repeat around (18)
Fill the base of the body with plastic pellets and then fill it with fiberfill. Head: Now continue in the color: nude. 1. Work 2 sc in each s till the end of the round (36) 2. Work *1 sc in the next 5 sts, 2 sc in the next s*. Repeat till the end of the round (42) 3. Work *1 sc in the next 6 sts, 2 sc in the next s*. Repeat till the end of the round (48) 4. Work *1 sc in the next 7 sts, 2 sc in the next s*. Repeat till the end of the round (54) 5. Work *1 sc in the next 8 sts, 2 sc in the next s*. Repeat till the end of the round (60) 6. Work sc in each s till the end of the round (60) 7. Work sc in each s till the end of the round (60) 8. Work sc in each s till the end of the round (60) 9. Work sc in each s till the end of the round (60) 10. Work sc in each s till the end of the round (60) 11. Work *1 sc in the next 8 sts, 2 sc tog*. Repeat till the end of the round (54) 12. Work *1 sc in the next 7 sts, 2 sc tog*. Repeat till the end of the round (48) 13. Work *1 sc in the next 6 sts, 2 sc tog*. Repeat till the end of the round (42) – Place the eyes between round 9-10 with an interspace of 2 sts. 14. Work *1 sc in the next 5 sts, 2 sc tog*. Repeat till the end of the round (36) 15. Work *1 sc in the next 4 sts, 2 sc tog*. Repeat till the end of the round (30) 16. Work *1 sc in the next 3 sts, 2 sc tog*. Repeat till the end of the round (24) Stuff the head with fiberfill before closing the hole. 17. Work *1 sc in the next 2 sts, 2 sc tog*. Repeat till the end of the round (18) 18. Work *1 sc, 2 sc together*. Repeat till the end of the round (12) 19. Work 2 sc together till the end of the round (6) Sew the hole shut.

Christmas Hat: in red 1. Start with a magic ring, work 6 sc into the ring (6) 2. Work *1 sc, 2 sc in the next s*. Repeat around (9) 3. Work sc in each s till the end of the round (9) 4. Work sc in each s till the end of the round (9) 5. Work *1 sc in the next 2 sts, 2 sc in the next s*. Repeat around (12) 6. Work sc in each s till the end of the round (12) 7. Work sc in each s till the end of the round (12) 8. Work *1 sc in the next 3 sts, 2 sc in the next s*. Repeat around (15) 9. Work sc in each s till the end of the round (15) 10. Work sc in each s till the end of the round (15) 11. Work *1 sc in the next 4 sts, 2 sc in the next s*. Repeat around (18) 12. Work sc in each s till the end of the round (18) 13. t Work sc in each s till the end of the round (18) 14. Work *1 sc in the next 5 sts, 2 sc in the next s*. Repeat around (21) 15. Work sc in each s till the end of the round (21) 16. Work sc in each s till the end of the round (21) 17. Work *1 sc in the next 6 sts, 2 sc in the next s*. Repeat around (24) 18. Work sc in each s till the end of the round (24) 19. Work sc in each s till the end of the round (24) 20. Work *1 sc in the next 7 sts, 2 sc in the next s*. Repeat around (27) 21. Work sc in each s till the end of the round (27) 22. Work sc in each s till the end of the round (27) 23. Work *1 sc in the next 8 sts, 2 sc in the next s*. Repeat around (30) 24. Work sc in each s till the end of the round (30) 25. Work sc in each s till the end of the round (30) 26. Work *1 sc in the next 4 sts, 2 sc in the next s*. Repeat around (36) 27. Work sc in each s till the end of the round (36) 28. Work sc in each s till the end of the round (36) 29. Work *1 sc in the next 5 sts, 2 sc in the next s*. Repeat around (42) 30. Work sc in each s till the end of the round (42) 31. Work sc in each s till the end of the round (42) 32. Work *1 sc in the next 6 sts, 2 sc in the next s*. Repeat around (48) 33. Work sc in each s till the end of the round (48) 34. Work sc in each s till the end of the round (48) 35. Work *1 sc in the next 7 sts, 2 sc in the next s*. Repeat around (54) 36. Work sc in each s till the end of the round (54) 37. Work sc in each s till the end of the round (54) 38. Work *1 sc in the next 8 sts, 2 sc in the next s*. Repeat around (60) 39. Work sc in each s till the end of the round (60) 40. Work sc in each s till the end of the round (60) 41. Work sc in each s till the end of the round (60) 42. Work sc in each s till the end of the round (60) 43. Work *1 sc in the next 8 sts, 2 sc tog*. Repeat till the end of the round (54) 44. Work sc in each s till the end of the round (54) Leave a long tail to sew the christmas hat on top of the head. If you’d like, make a small tassel to sew on to th etip of the hat
Pattern – Boy: Follow the basic pattern written above regarding arms, legs, body and head, and continue like with the overalls
Overalls: in red This round is worked in the s from round 16. Insert the yarn in one of the sts. Work ss around. Cut the yarn and weave in the end. Insert the yarn in front of the elf where you wish one of the straps to be, make ch sts lon until the strap is able to reach the back of the elf. Make the straps cross each other, if you like. Sew strap onto the body and weave in the end. Do the same with the other strap. Sew buttons on the front side of the overalls, if you like. Place the hat on the head and sew around its edge so it stays in place. If you like, sew the tip of the hat onto the hat, so it stays folded to one side of the head. Scarf: in light gray 1. Ch 60. Work 1 sc in the 2nd ch s from the needle, and work sc till the end of the row. 2. Turn by ch 1. Work sc till the end of the row. 3. Turn by ch 1. Work sc till the end of the row. cut the yarn and weave in the end. Embroider the mouth and add some rouge to the cheeks, if you like. Pattern – girl: Follow the basic pattern above regarding the arms, legs, body and head and continue with the skirt. Skirt: in red 1. Turn the elf upside down. Insert the yarn in the sts of round 16. This round is worked in the s from round 16. Work sc around. Finish with 1 ss. 2. Ch 2, work 1 dc in the same s, work 2 dc around. Finish with 1 ss. 3. Ch 2, work dc around. Finish with 1 ss. 4. Ch 1, work *1 sc in the next 2 sts, 2 sc tog*. Repeat around. Finish with 1 ss. Cut the yarn and weave in the end. Hair: in dark brown twist yarn Cut 20 pieces of dark brown twist yarn of approx. 7.87 inches (20 cm). Place it over the head. Attach the hair to the head by sewing a few stitches over the middle. Place the hat on top and sew it onto the head with a few sewing stitches. Make 2 ponytails or give the hair a “haircut”, if you like. Embroider the mouth and add red cheeks with some rouge.
Category Popular Posts
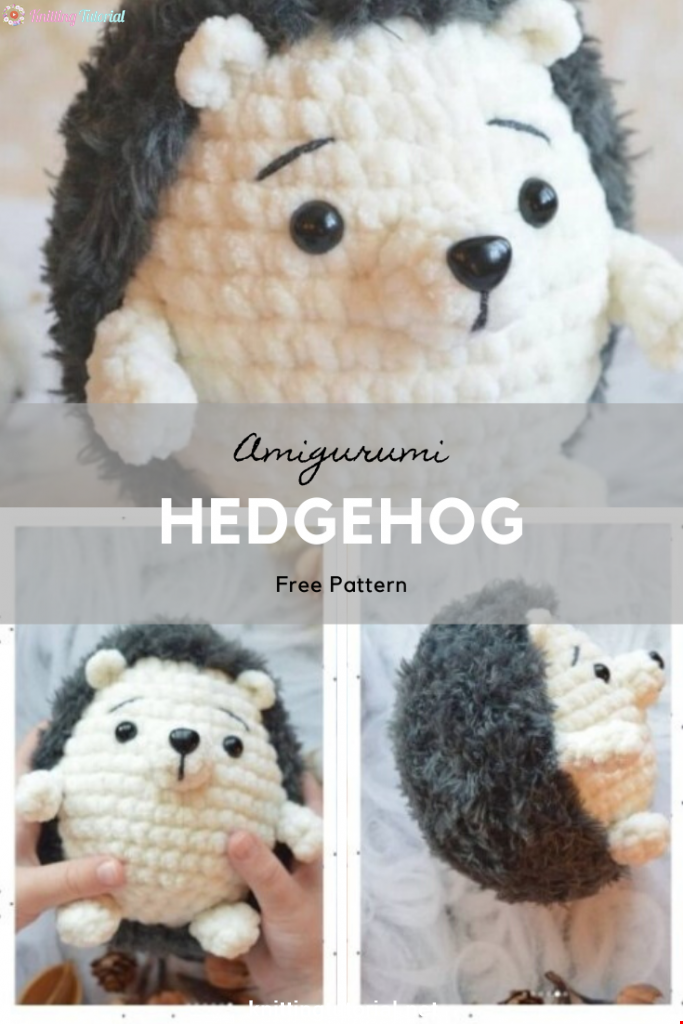
Amigurumi Hedgehog Free Pattern
12 October 2020, 09:52 11524
Making Amigurumi Spiderman
27 January 2022, 20:58 2041
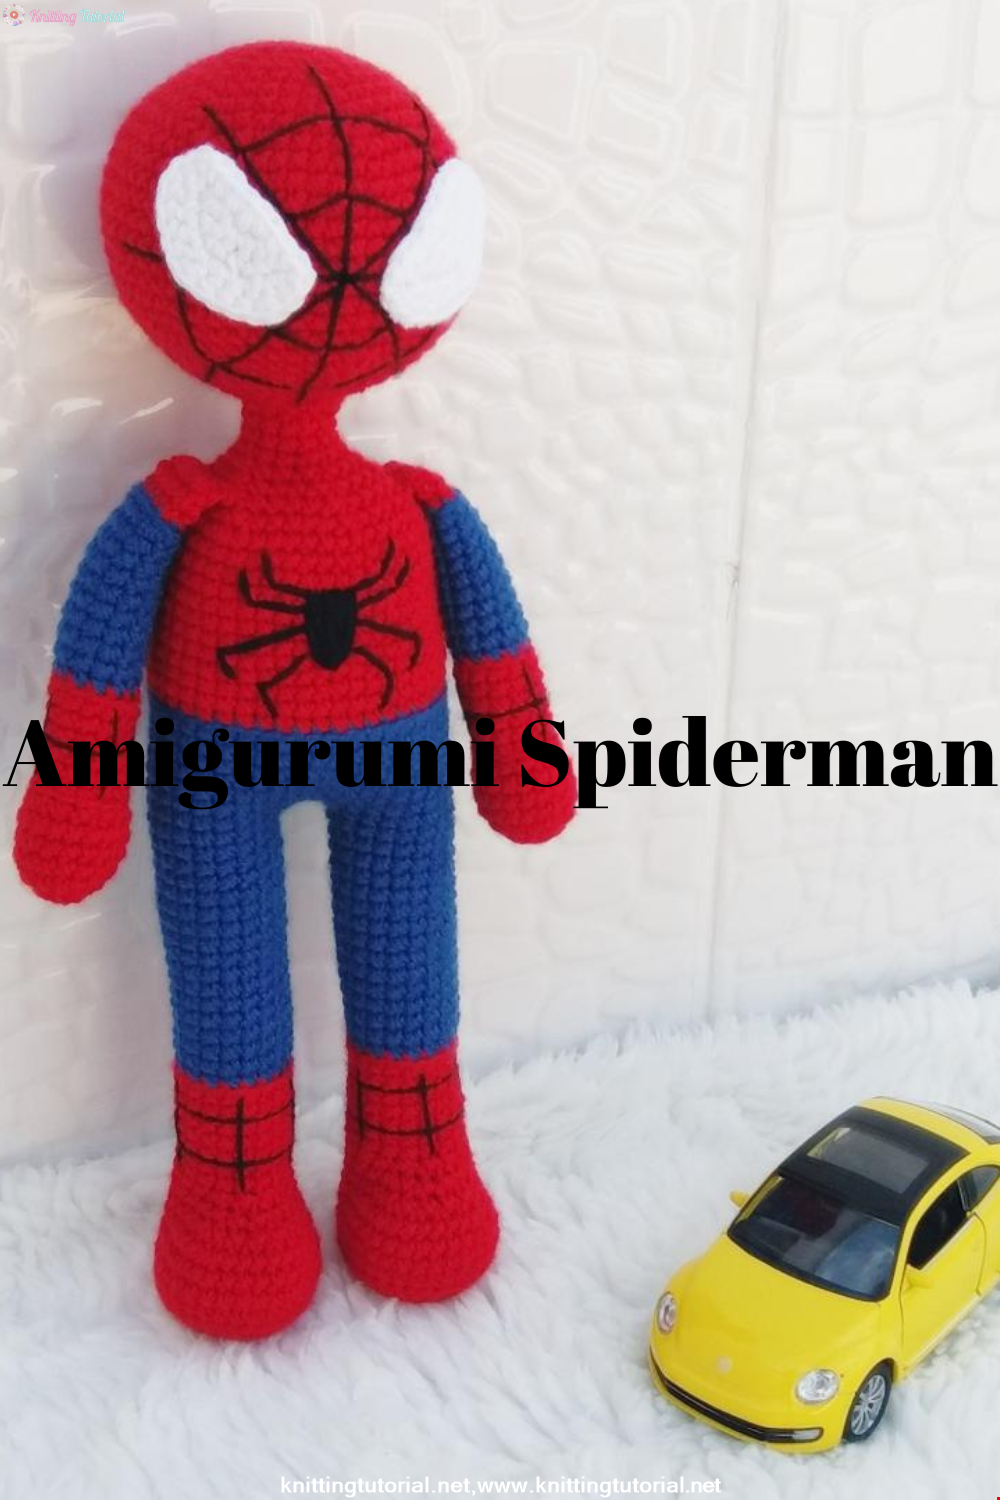
Hello, Are you ready to knit Spiderman, Spider-Man, the children's favorite cartoon character? You will be able to knit easily with detailed explanation. Let's start!
Read More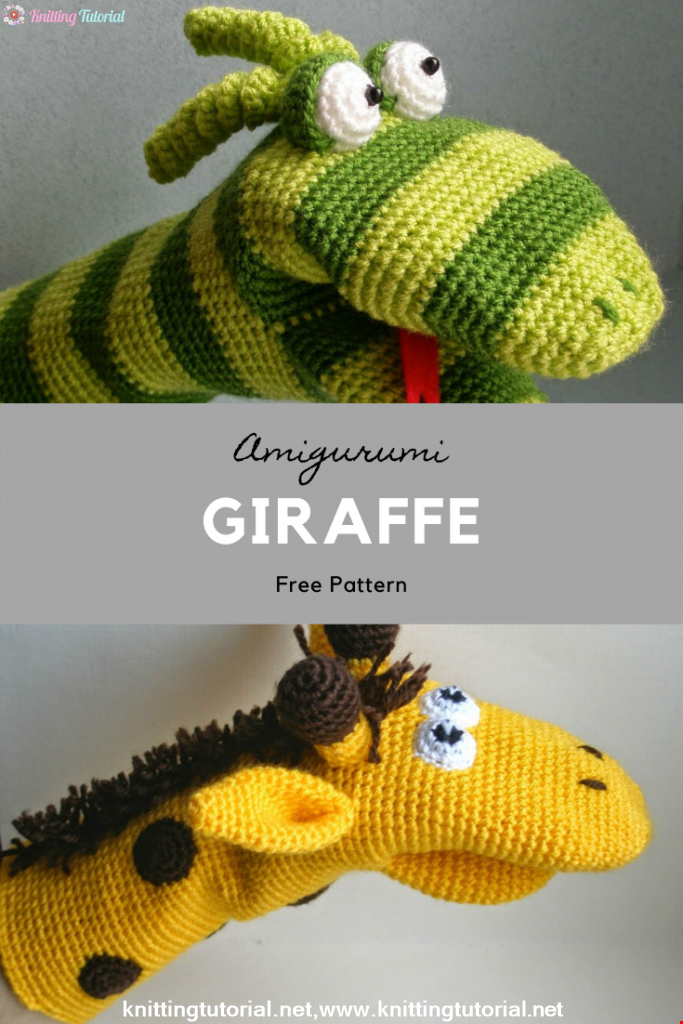
Amigurumi Princess Mononoke Crochet Pattern
12 December 2020, 21:20 949
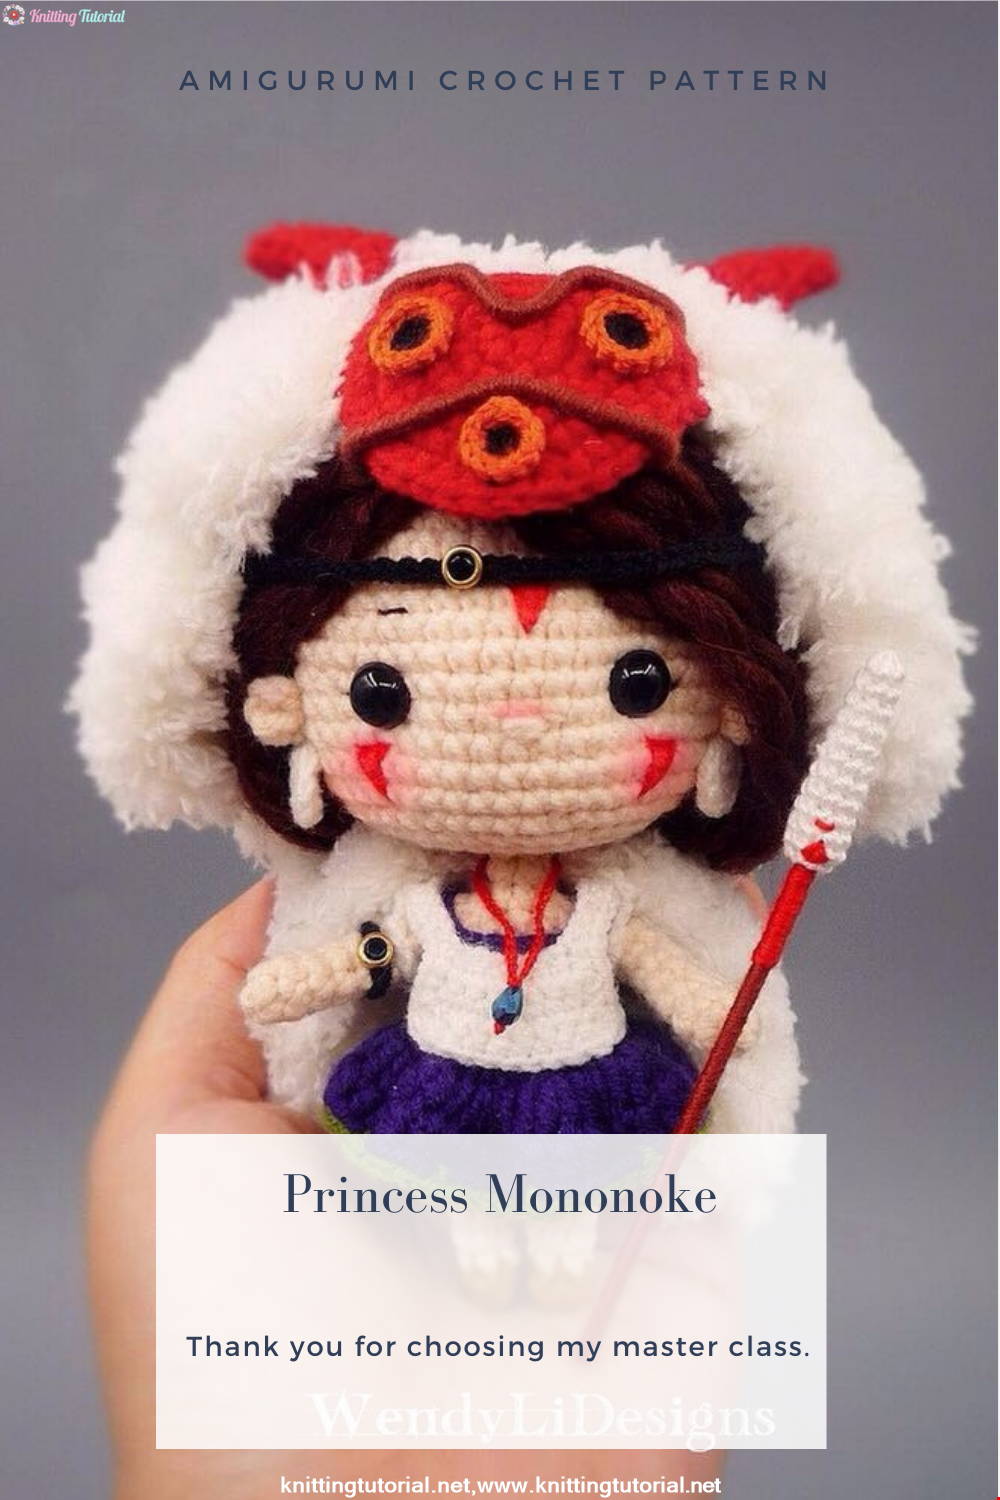
Free Crochet Princess Mononoke workshop by Wendy Li. The knitted girl is the hero of the cartoon by Hayao Miazaki. From the description of the diagram, you will also learn how to knit: a cape, a cloak, a dress and a mask for a doll.
Read More
Princess Disney Amigurumi Pattern
8 October 2020, 14:51 5823


Korean Girl in Traditional Dress (Hanbok)
22 September 2020, 11:11 1578

This is the process how I made the amigurumi of Korean Bride in traditional dress Hanbok. Lately I've been watching a lot of Korean dramas and got inspired to make one. I hope you can enjoy the video, and get inspired too!
Read More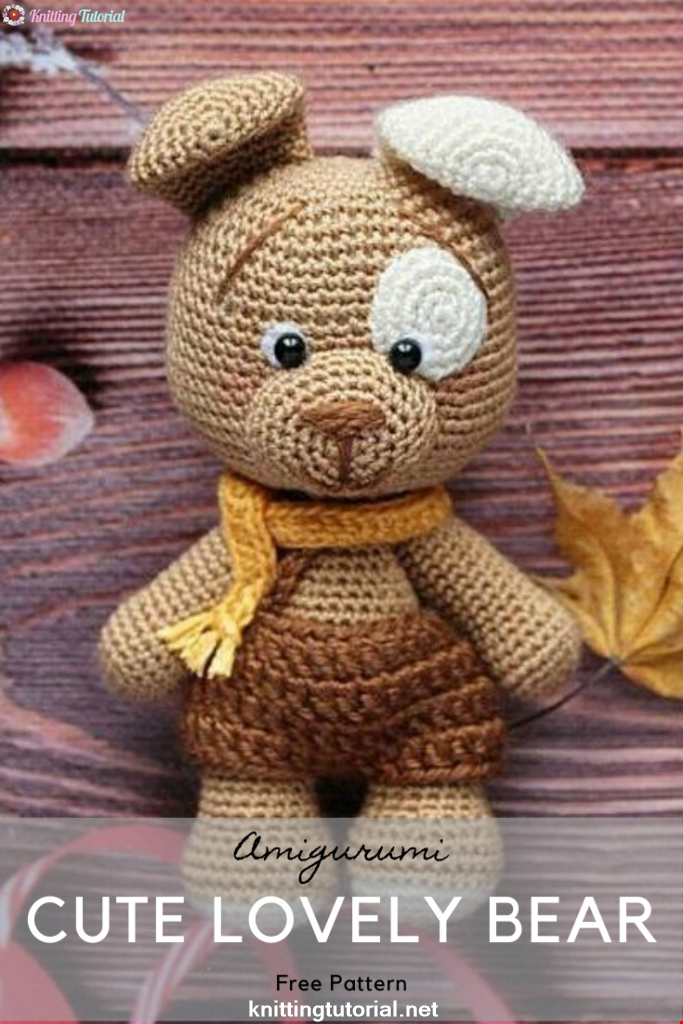
Amigurumi Sweet Giraffe Recipe and Preparation
5 January 2022, 14:55 639
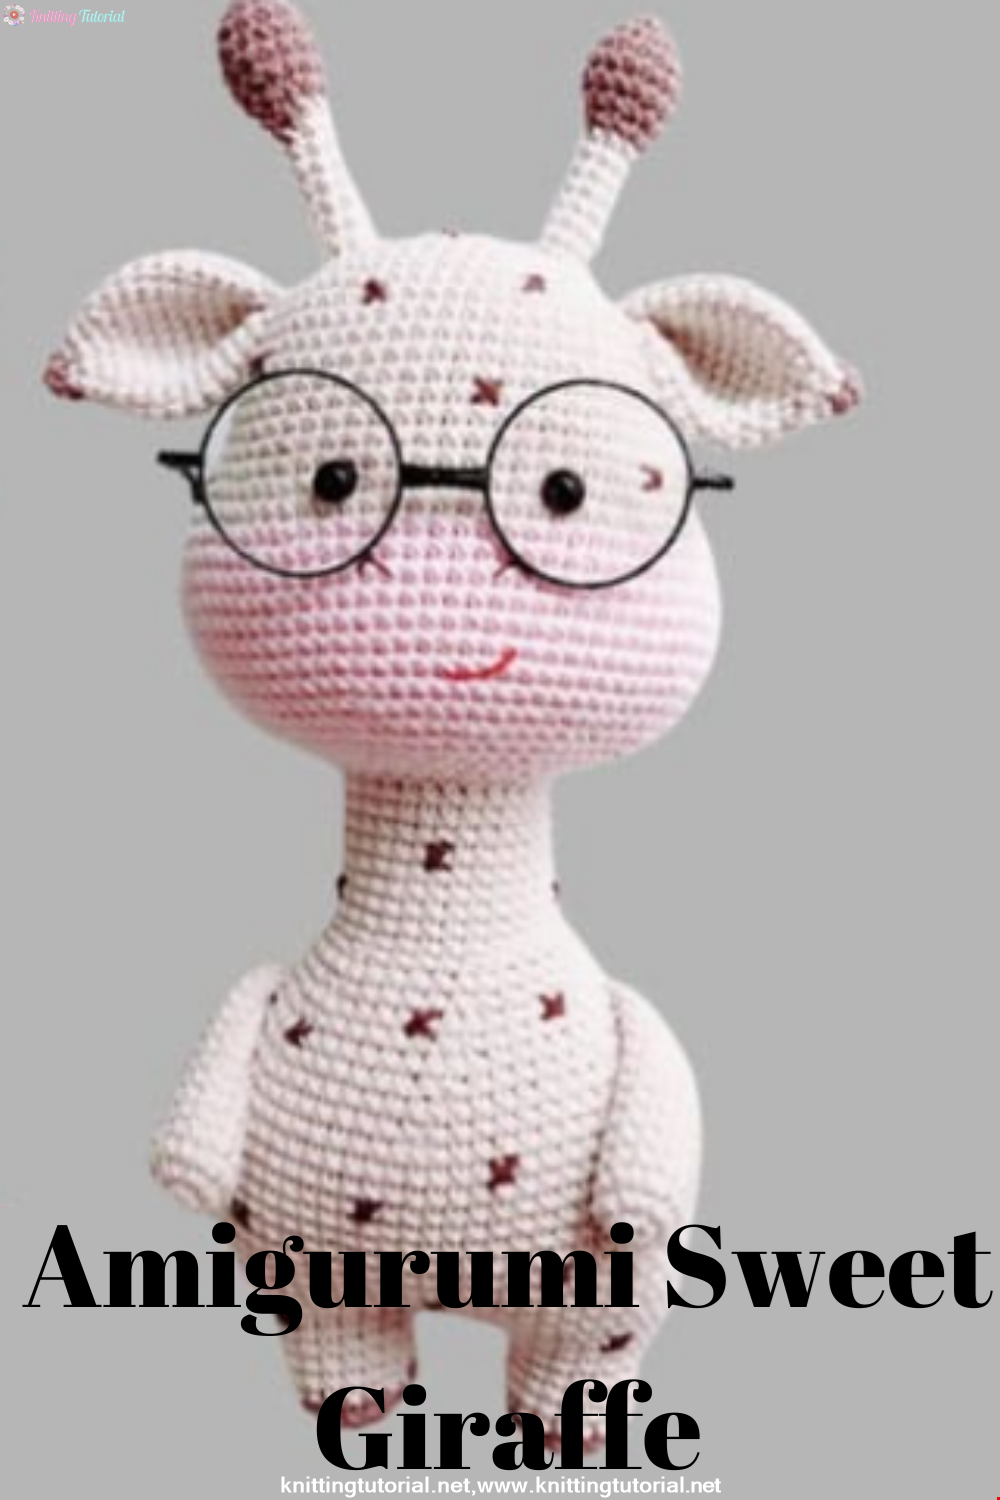
We have come to share with you the most popular model of recent times with the Amigurumi sweet giraffe recipe. I hope it will be an amigurumi animal figure that you like very much and knit with love.
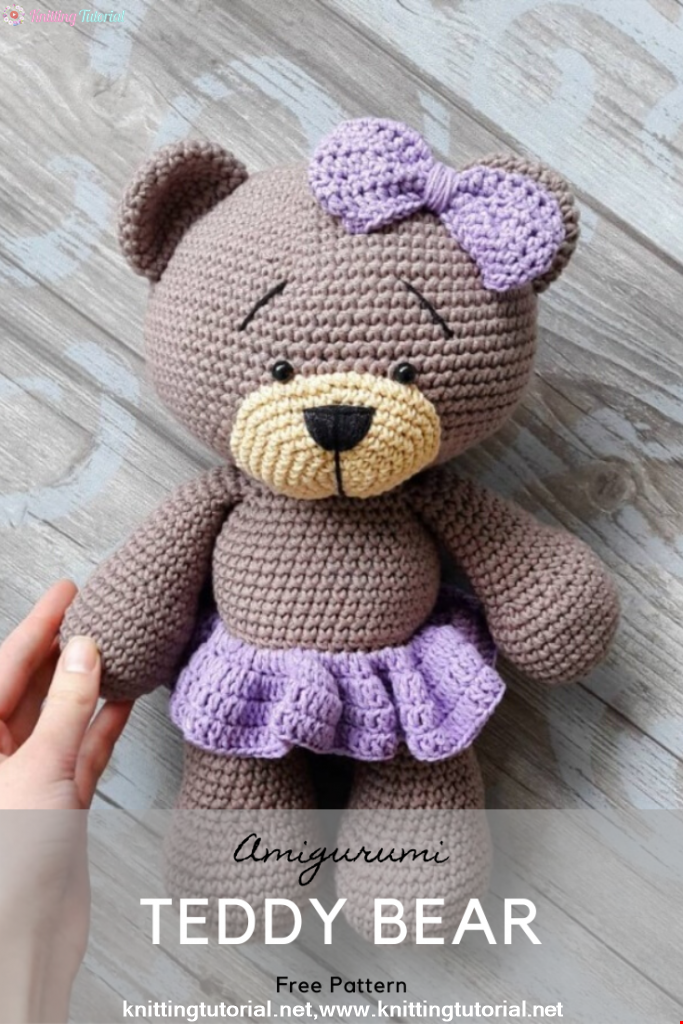
Read MoreLovely Teddy Bear Amigurumi Tutorial
12 October 2020, 10:05 2974