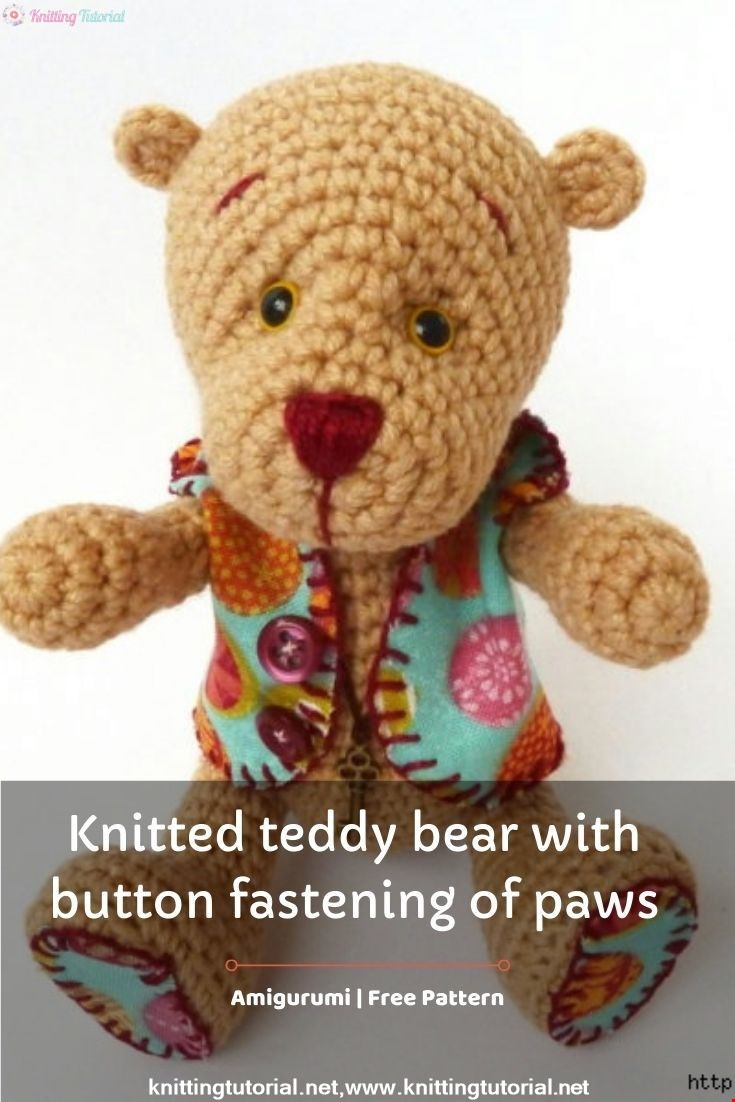
Knitted teddy bear with button fastening of paws
24 September 2020, 15:46 627
Materials:
For knitting, I recommend using YarnArt Jeans yarn or similar and hook number 1.5. You will also need: filler, eyes, buttons for attaching handles and legs, needles, scissors.Torso (1 piece)
We make a sliding knot and knit 2 VP (air loops).1 row 6 sc (single crochet) in the second from the hook VP [6]
2 row 6 P (increments) [12]
3 row (1 P, 1 sc) repeat 6 times [18]
4 row (1 P, 2 sc ) Repeat 6 times [24]
5 row (1 P, 3 RLS) repeat 6 times [30]
6 row 30 RLS [30]
7 row (1 P, 9 RLS) repeat 3 times [33]
8 row 33 RLS [33 ]
9 row (1 P, 10 PRS) repeat 3 times [36]
10 row 36 PRS [36]
11 row (1 P, 5 PRS) repeat 6 times [42]
12-14 row 42 PRS [42]
15 row 13 RLS, (1 Y, 1 RLS) repeat 5 times, 1 Y, 12 RLS [36]
16 row 36 RLS [36]
17 row (1 Y, 10 RLS) repeat 3 times [33]
18 row 33 RLS [33]
19 row (1 Y, 9 RLS) repeat 3 times [30]
20 row 30 RLS [30]
21 row (1 Y, 8 RLS) repeat 3 times [27]
22 row (1 Y, 7 RLS) repeat 3 times [ 24]
Begin filling the body with filler, continue adding filler as needed.
23 row (1 Y, 6 RLS) repeat 3 times [21]
24 row (1 Y, 5 RLS) repeat 3 times [18]
25 row (1 Y, 1 RLS) repeat 6 times [12]
26 row 6 Y [ 6]
Head (1 piece)
We make a sliding knot and knit 2 VP (air loops).
1 row 6 sc (single crochet) in the second from the hook VP [6]
2 row 6 P (increase) [12]
3 row (1 p, 3 sc) repeat 3 times [15]
4 row (1 p, 4 sc ) repeat 3 times [18]
5 row (1 P, 5 RLS) repeat 3 times [21]
6 row (1 P, 6 RLS) repeat 3 times [24]
7 row 7 RLS, 4 P, 13 RLS [28]
8 row 28 sc [28]
9 row 7 sc, 1 p, (2 sc, 1 p) repeat 3 times, 11 sc [32]
10-11 row 32 sc [32]
12 row 3 sc, 1 p, (5 PRS, 1 P) repeat 4 times, 4 PRS [37]
13 row 37 PRS [37]
14 row 3 PRS, 1 P, (6 PRS, 1 P) repeat 4 times, 5 PRS [42]
15-16 row 42 RLS [42]
17 row (5 RLS, 1 Y) repeat 6 times [36]
18 row 36 sc [36]
19 row (4 sc, 1 y) repeat 6 times [30]
20 row (3 sc, 1 y) repeat 6 times [24]
We start to fill our head with filler, continue adding filler as needed.
21 row (2 sc, 1 y) repeat 6 times [18]
22 row (1 sc, 1 y) repeat 6 times [12]
23 row 6 y [6]
Upper legs (2 parts)
Make a sliding knot and knit 2 VP ...
1 row 6 sc in the second from the hook VP [6]
2 row 6 p [12]
3 row (1 p, 3 sc) repeat 3 times [15]
4 row 15 sc [15]
5 row (1 y, 3 sc) repeat 3 times [12]
6 row (1 Y, 4 RLS) repeat 2 times [10]
7 - 8 row 1 Y, 3 RLS, 1 P, 4 RLS [10]
9 - 10 row 1 RLS, 1 Y, 3 SBN, 1 P, 3 SB [10]
11 - 14 row 1 Y, 3 RLS, 1 P, 4 RLS [10]
Loosely fill the foot with filler so that it remains soft and mobile.
15 row 5 Y [5]
Ears (2 parts)
We make a sliding knot and knit 2 VP.8 sc in the second from the VP hook. We leave the thread for sewing the ears to the head.
Tail (1 piece)
We make a sliding knot and knit 2 VP.
1 row 6 RLS in the second from the hook VP [6]
2 row 6 P (increase) [12]
3 - 4 row 12 RLS [12]
We fill the tail with filler.
Hind feet (2 parts)
We make a sliding knot and knit 2 VP.1 row 6 sc in the second from the hook VP [6]
2 row (3 sc in the first loop, 2 sc) repeat 2 raa [10]
3 row 2 sc, 3 sc in the next loop, 4 sc, 3 sc in the next loop, 2 СБН [14]
4 row 2 СБН, 3 П, 5 СБН, 3 СБН in the next loop, 3 СБН [19]
5 row 19 СБН behind the back wall [19]
Draw the sole on thick cardboard, cut out and insert inside. Better to use a hot glue gun and glue the cardboard sole with hot glue, so it will hold tight and become even more stable.
6 - 8 row 19 sc [19]
9 row 2 sc, 3 y, 8 sc [13]
10 row 2 sc, 1 y, 9 sc [12]
11 - 18 row 12 sc [12]
Fill the base of the foot tightly and loose the upper part so that it remains soft and mobile.
19 row 6 Y [6]

Assembly
Let's start with the head. We choose the place where the bear's eyes will be located. If you are using safety-secured eyes, they must be inserted before the head is full and completely finished. Bead eyes can be sewn on after the knitting of the head is completed. So, the place where the eyes are attached must be slightly drowned inward so that the muzzle becomes more like the real one. To do this, we use a needle and thread, slightly tighten the distance between the eyes, and also slightly pull the eyes inward. When everything is ready, we sew on our beads, embroider the nose, eyebrows and sew on the ears. The head is ready!We sew the head to the body. Now is the time to attach the arms and legs. We use ordinary plastic buttons and using a strong thread (I used Iris cotton threads to match the color of the main threads) we attach the arms and legs, having previously selected their location.
It remains only to sew the tail and our bear is ready!
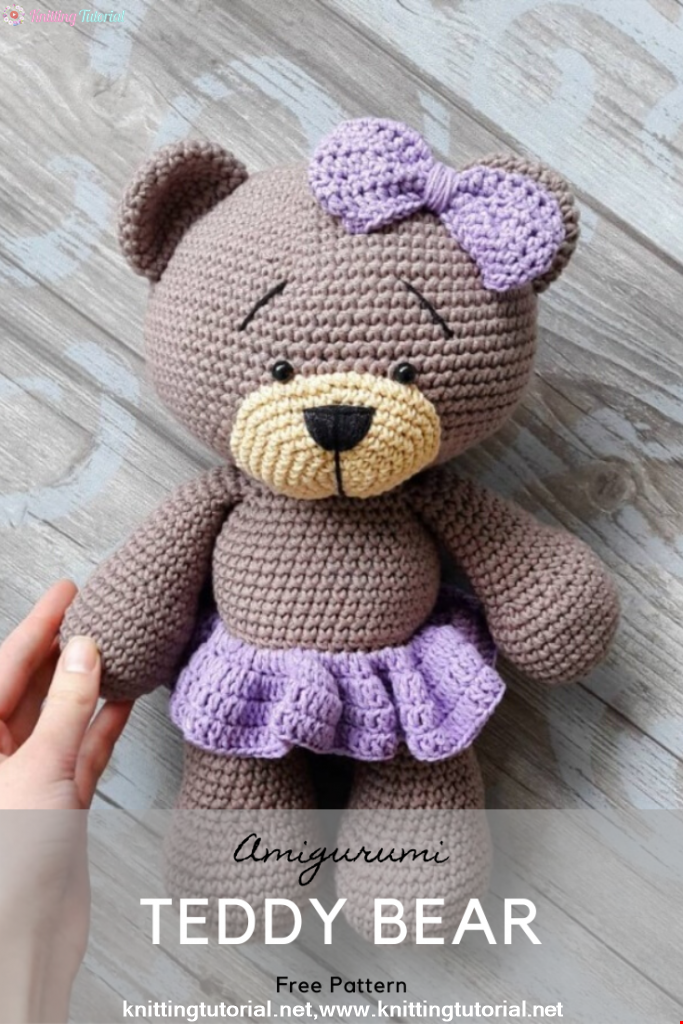
For decoration, you can sew a vest or a skirt if your teddy bear is a girl. Also, various pendants, beads, scarves, a hat, a bow are quite suitable, in general, everything that comes to your mind.
Below is a template of a very simple vest, only the shoulder seams are sewn, everything else is one-piece. You can print this vest on a printer on an A4 sheet, it is suitable for a bear knitted with YarnArt Jeans threads or yarn of the same thickness.
Category Popular Posts
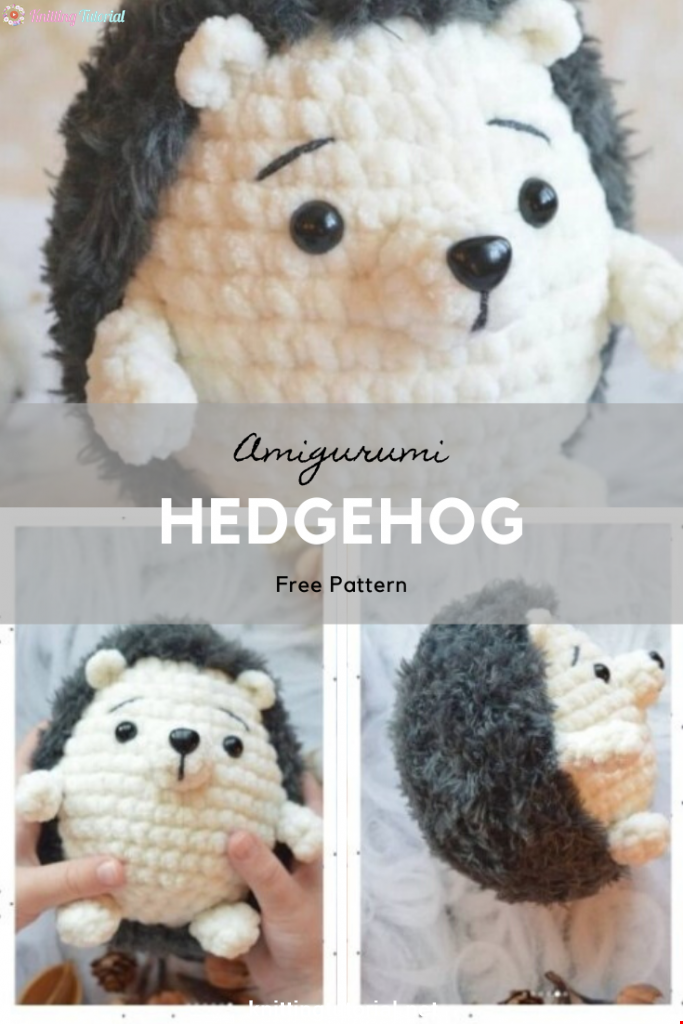
Amigurumi Hedgehog Free Pattern
12 October 2020, 09:52 11523
Making Amigurumi Spiderman
27 January 2022, 20:58 2041
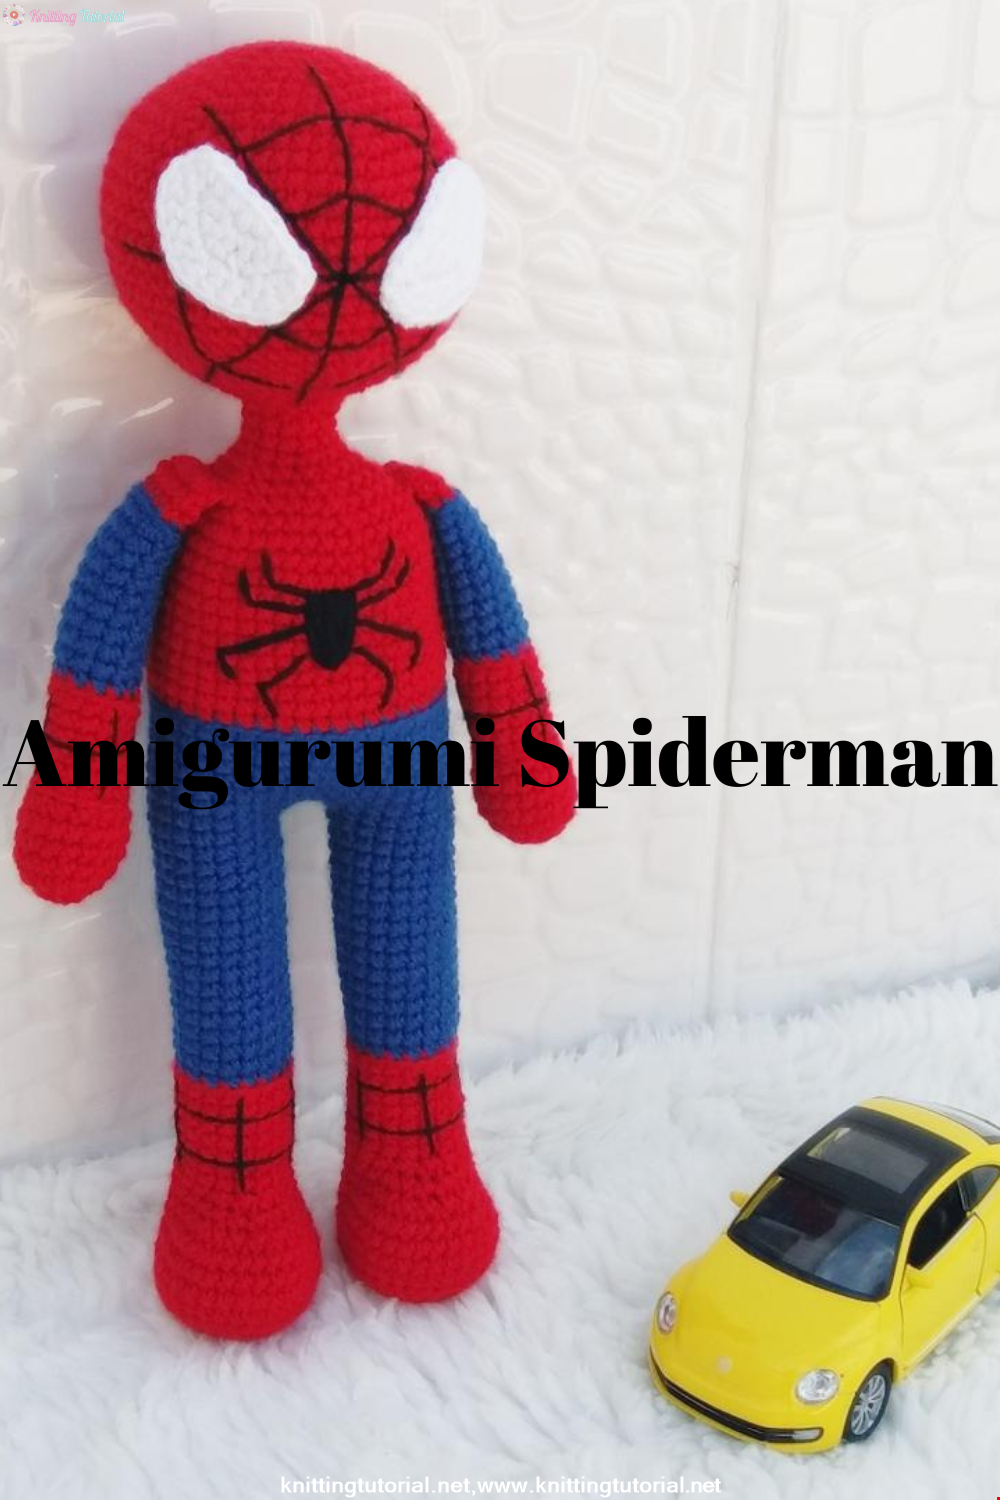
Hello, Are you ready to knit Spiderman, Spider-Man, the children's favorite cartoon character? You will be able to knit easily with detailed explanation. Let's start!
Read More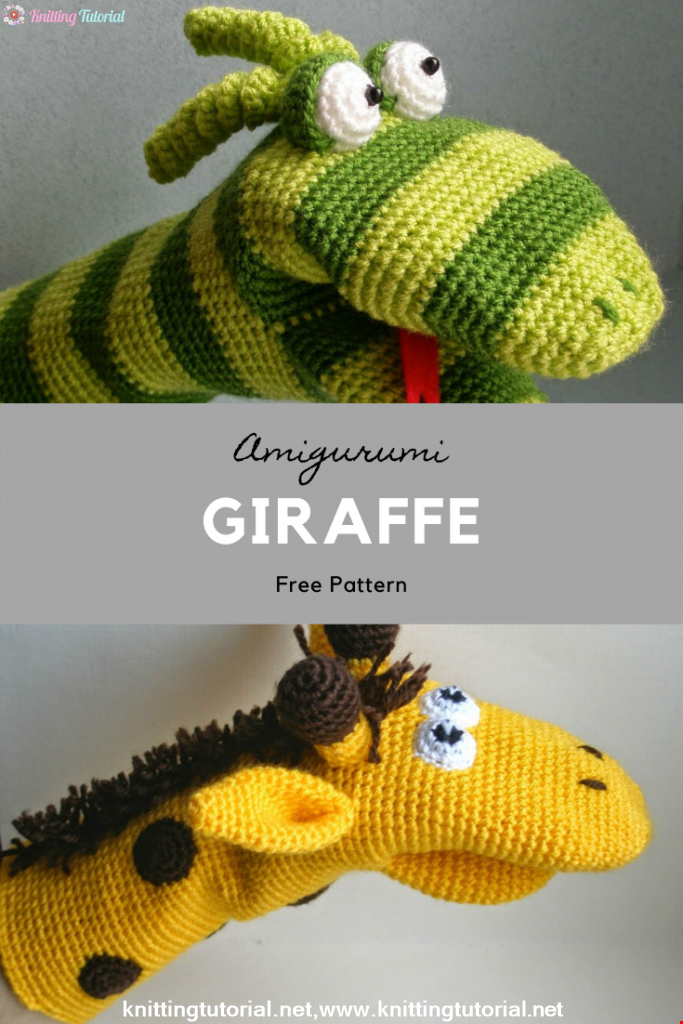
Amigurumi Princess Mononoke Crochet Pattern
12 December 2020, 21:20 949
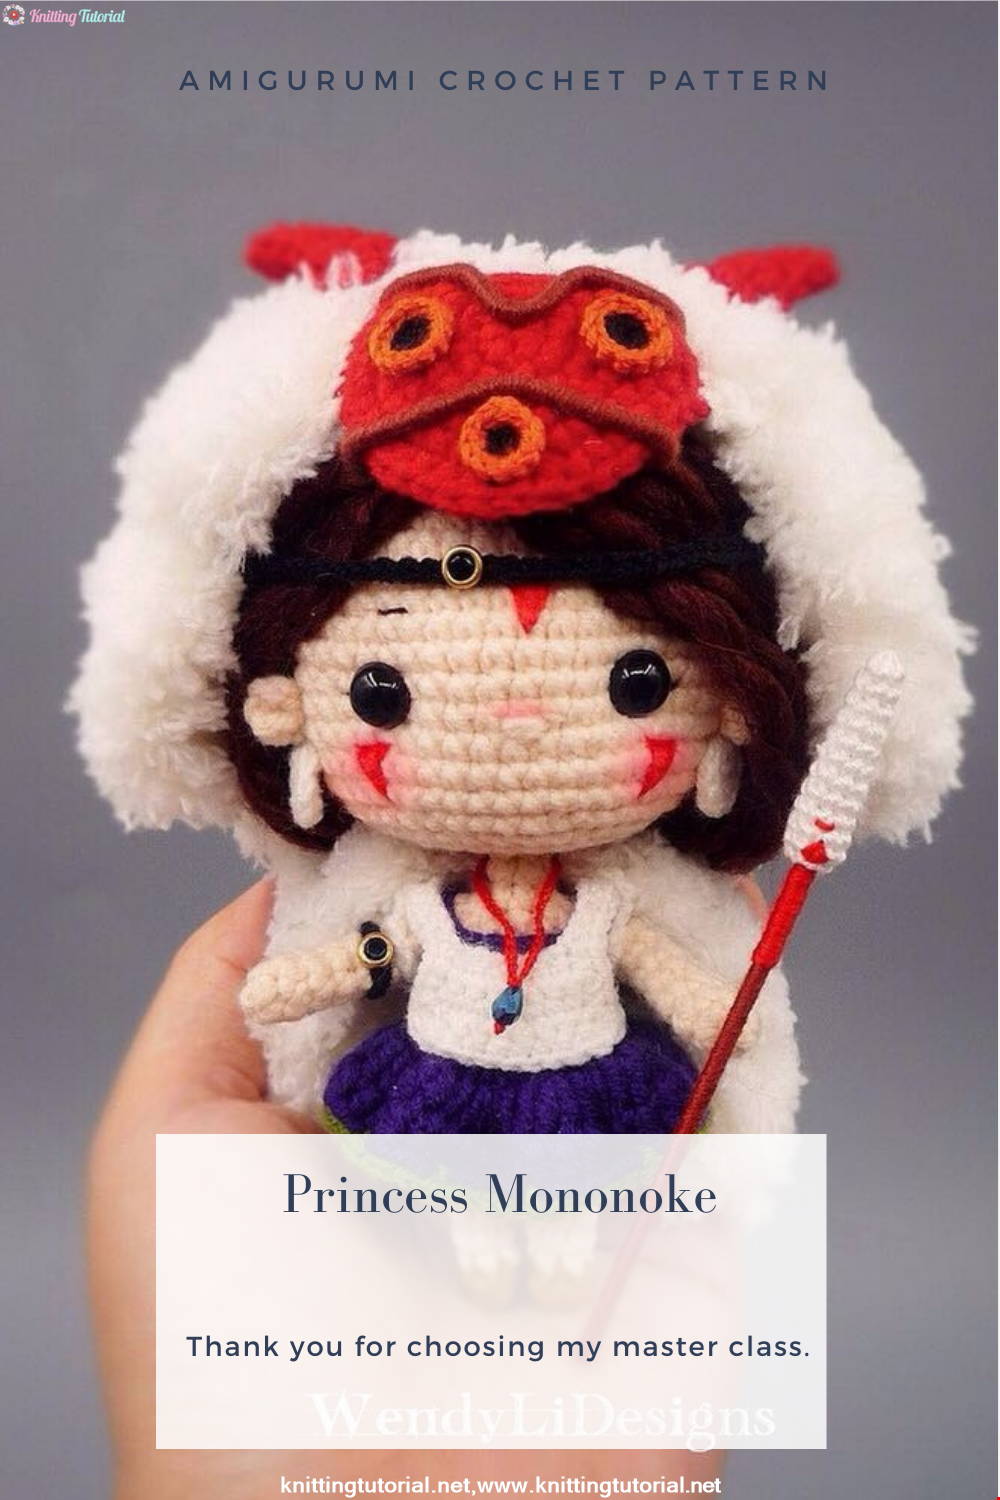
Free Crochet Princess Mononoke workshop by Wendy Li. The knitted girl is the hero of the cartoon by Hayao Miazaki. From the description of the diagram, you will also learn how to knit: a cape, a cloak, a dress and a mask for a doll.
Read More
Princess Disney Amigurumi Pattern
8 October 2020, 14:51 5822


Korean Girl in Traditional Dress (Hanbok)
22 September 2020, 11:11 1577
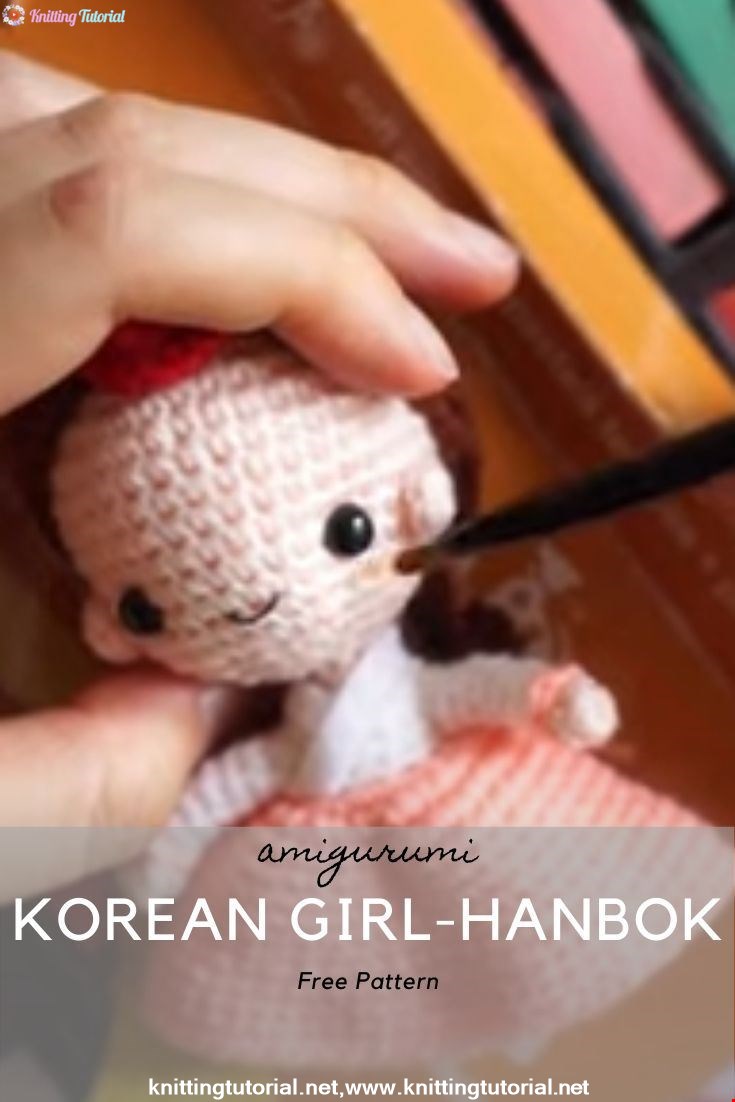
This is the process how I made the amigurumi of Korean Bride in traditional dress Hanbok. Lately I've been watching a lot of Korean dramas and got inspired to make one. I hope you can enjoy the video, and get inspired too!
Read More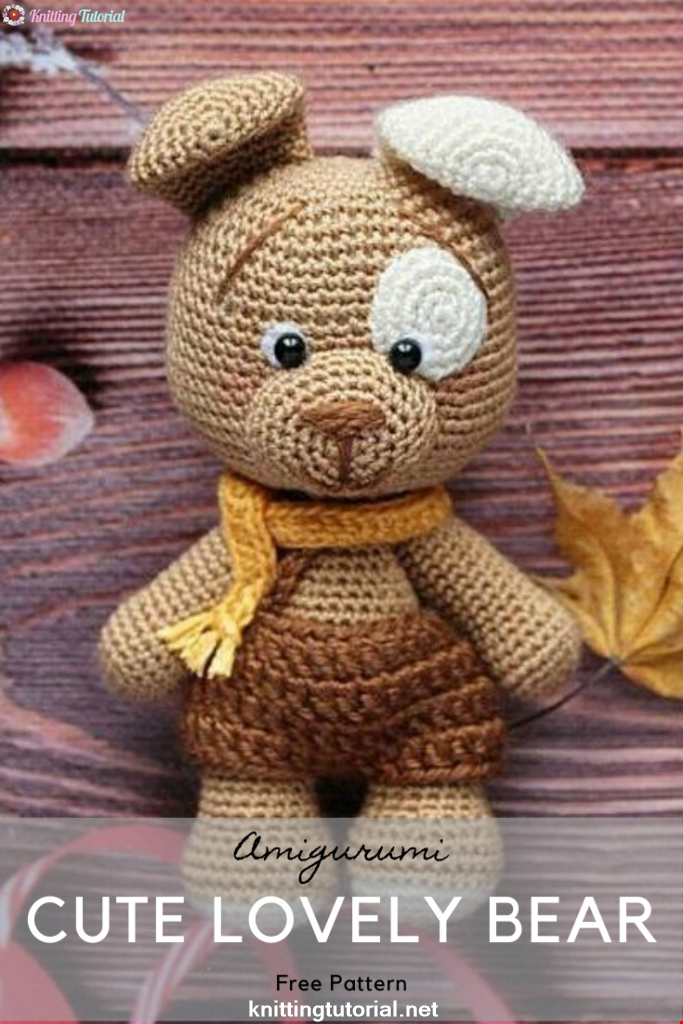
Amigurumi Sweet Giraffe Recipe and Preparation
5 January 2022, 14:55 639
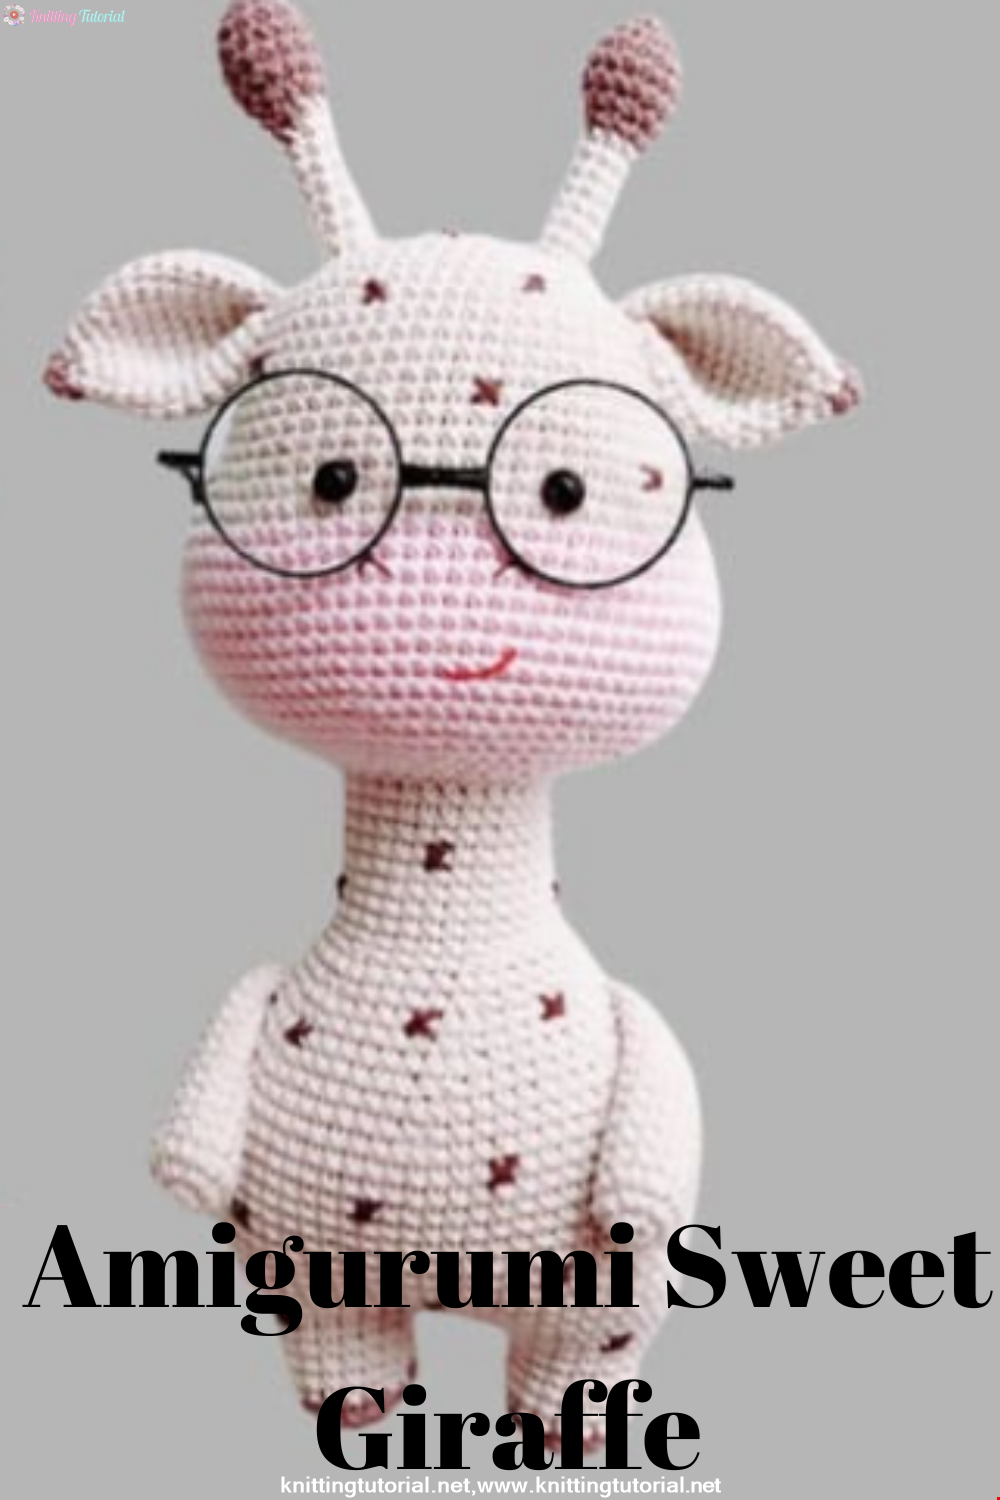
We have come to share with you the most popular model of recent times with the Amigurumi sweet giraffe recipe. I hope it will be an amigurumi animal figure that you like very much and knit with love.
Read MoreLovely Teddy Bear Amigurumi Tutorial
12 October 2020, 10:05 2973