Mitered Colorblock Baby Cardigan
30 October 2020, 07:50 756
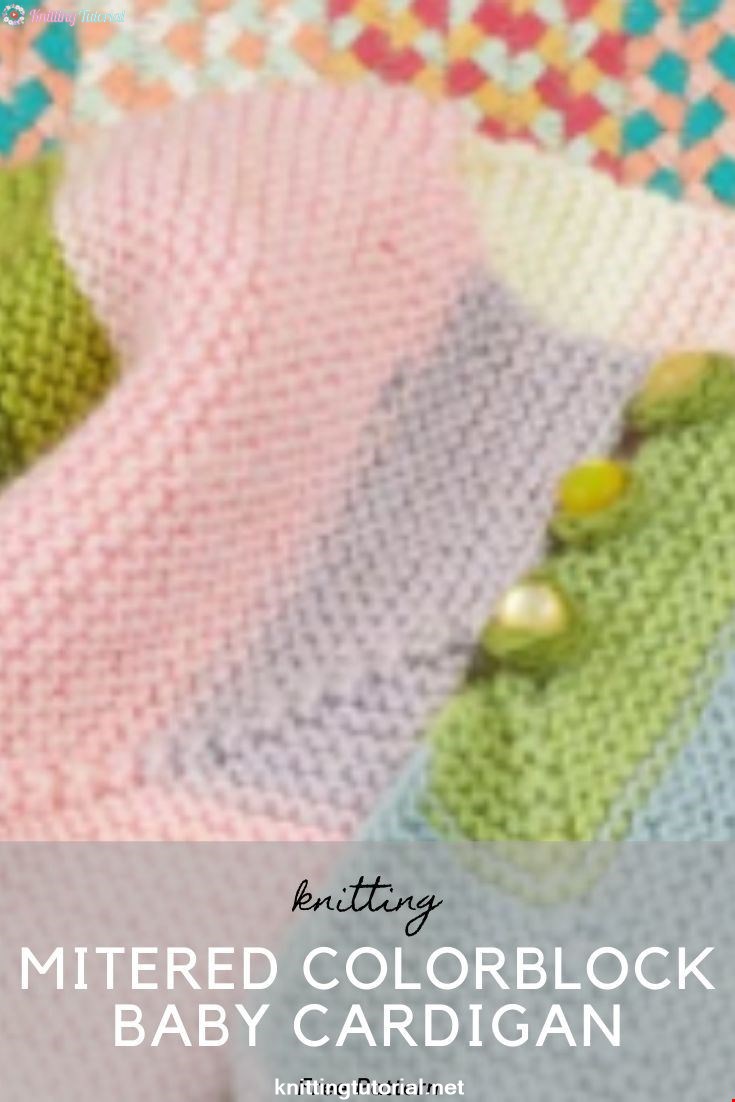
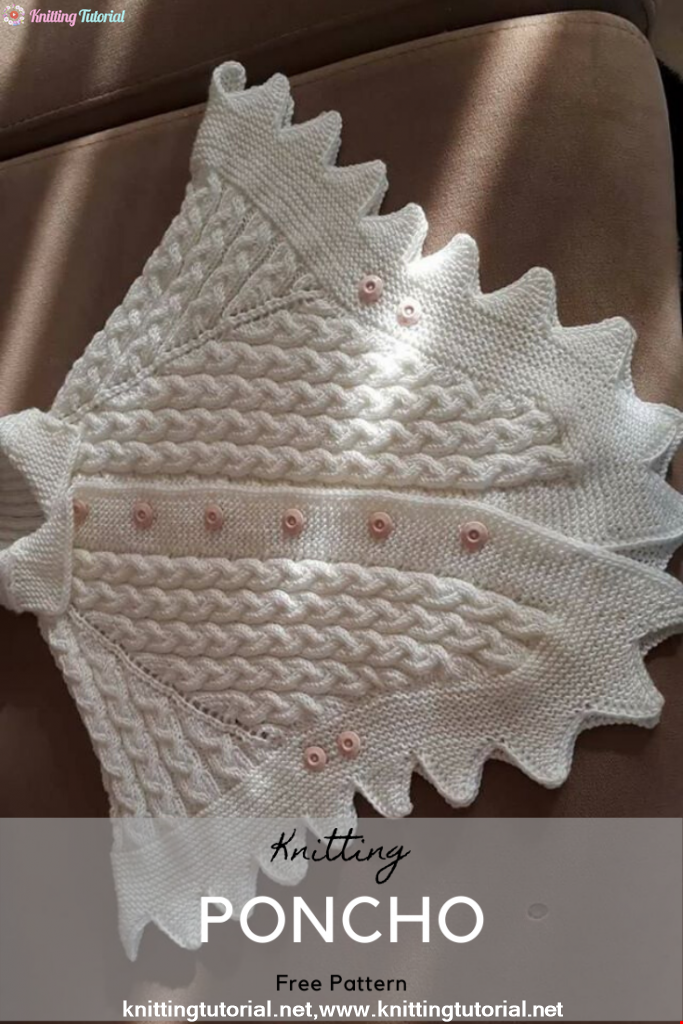
This sweet, cozy sweater features mitered front and back that are perfect for this yarn. Choose from contemporary striping effects with unexpected color combinations.
GAUGE: 20 sts = 4″ [10 cm]; 40 rows = 4″ [10 cm] in Garter stitch (knit every row). CHECK YOUR GAUGE. Use any size needles to obtain the gauge.
Directions are for size 6 months; changes for sizes 12 months, 18 months, and 24 months are in parentheses.To Fit Chest: 17 (18, 19, 21)” [43 (45.5, 48.5, 53.5) cm]
Finished Chest: 18 (20, 22, 24)” [45.5 (51, 56, 61) cm]
Finished Length: 9 (9½, 10, 11)” [23 (24, 25.5, 28) cm]
Notes
1. Cardigan is worked in 5 pieces: Back, left front, right front, and two sleeves.
2. Removable stitch markers are used to mark decrease locations. Place each marker on the indicated stitch, noton the needle. As work progresses, pause every few rows to move the marker up to closer to the needle so that it is easy to identify the decrease stitches to be marked.
3. Back and fronts are worked from the lower edge upwards. Decreases are used to shape the miter(s) and begin at lower corner(s) of each piece.
Special Stitches
kfb (Knit into front and back) = Knitnext stitch but do not remove fromneedle, knit into back loop of same stitch and remove from needle – 1 st increased.
s2kp (slip 2, knit, pass 2 slipped stitches over) = Slip 2 stitches as if to k2tog, k1, pass the 2 slipped stitches over the knit stitch and off the needle –2 sts decreased.
ssk (slip, slip, knit) = Slip next 2 stitches, one at a time, as if to knit to right needle, insert point of left needle through front of stitches, knit these sts together through back loop – 1 st decreased.
Special Technique
3-needle bind off = Hold needles of stitches to be seamed parallel and with right sides together, with 3rd needle knit together first stitch from each needle, *knit together next stitch from each needle, pass first stitch over 2nd stitch and off right needle; repeat from * until all stitches have been knit from the 2 parallel needles and only one stitch remains on the right needle. Fasten off. BACK
Cast on 140 (148, 158, 174) sts. Set-Up Row (wrong side): K47 (49, 51, 57), place a removable marker on last stitch just knit, k47 (51, 57, 61), place a removable marker on last stitch just knit, knit to end of row—46 (50, 56, 60)
sts between marked sts and 46 (48, 50, 56) sts on each side of markers (not counting marked sts)..
Row 1 (right side – decrease row): [Knit to 1 st before next marked st, s2kp] twice, knit to end of row—136 (144, 154, 170) sts.
Row 2: Knit.
Row 3: [Knit to 1 st before next marked st, s2kp] twice, knit to end of row—132 (140, 150, 166) sts. Repeat Rows 2 and 3 for 21 (23, 26, 28) more times—a total of 48 (48, 46, 54) sts remain with no stitches between the marked stitches. Slip the first 24 (24, 23, 27) sts onto a spare needle. With wrong side facing, join center back seam using 3-needle bind off.
LEFT FRONT
Cast on 70 (74, 79, 87) sts.
Set-Up Row (wrong side): K24 (26, 29, 31), place marker on last stitch just knit, knit to end of row.
Row 1 (right side – decrease row): Knit to 1 st before marked st, s2kp knit to end of row—68 (72, 77, 85) sts.
Row 2: Knit.
Row 3 (decrease row): Knit to 1 st before marked st, s2kp knit to end of row—66 (70, 75, 83) sts. Repeat Rows 2 and 3 for 11 (11, 13, 13) more times—a total of 44 (48, 49, 57) sts remain with 10 (12, 13, 15) sts on one side of the marked stitch and 33 (35, 35, 41) stitches on the other side of the marked stitch (not counting marked st).
Next Row (wrong side): Knit.
Shape Front Neck
Row 1 (right side): Bind off 4 (4, 5, 5) sts, knit to 1 st before marked st, s2kp, knit to end of row—38 (42, 42, 50) sts.
Row 2: Knit.
Row 3: K1, ssk, knit to 1 st before marked st, s2kp, knit to end of row—35 (39, 39, 47) sts.
Repeat Rows 2 and 3 for 3 (4, 4, 5) more times—a total of 26 (27, 27, 32) sts remain with 5 (6, 7, 8) sts on one side of the marked stitch and 20 (20, 19, 23) sts on the other side of the marked stitch.
Next Row (wrong side): Knit.
Next Row (right side): Knit to 1 st before marked st, s2kp, knit to end of row—24 (25, 25, 30) sts.
Next Row: Knit.
Repeat last 2 rows 3 (4, 5, 6) more times—a total of 18 (17, 15, 18) sts remain with 1 st on one side of the markedstitch and 16 (15, 13, 16) sts on the other side of the marked stitch. Remove marker.
Bind off: Bind off to last 3 sts, s2kp, pass 2nd st on right needle over s2kp and off needle. Fasten off last st.
RIGHT FRONT
Cast on 70 (74, 79, 87) sts. Set-Up Row (wrong side): K47 (49, 51, 57), place marker on last stitch just knit, knit to end of row.
Row 1 (right side – decrease row): Knit to 1 st before marked st, s2kp knit to end of row—68 (72, 77, 85) sts.
Row 2: Knit.
Row 3 (decrease row): Knit to 1 st before marked st, s2kp knit to end of row—66 (70, 75, 83) sts. Repeat Rows 2 and 3 for 11 (11, 13, 13) more times—a total of 44 (48, 49, 57) sts remain with 10 (12, 13, 15) sts on one side of the marked stitch and 33 (35, 35, 41) stitches on the other side of the marked stitch.
Shape Front Neck
Row 1 (wrong side): Bind off 4 (4, 5, 5) sts, knit to end of row—40 (44, 44, 52) sts.
Row 2: Knit to 1 st before marked st, s2kp, knit to last 3 sts, k2tog, k1—37 (41, 41, 49) sts.
Row 3: Knit.
Repeat Rows 2 and 3 for 3 (4, 4, 5) more times—a total of 28 (29, 29, 34) sts remain with 6 (7, 8, 9) sts on one side of the marked stitch and 21 (21, 20, 24) sts on the other side of the marked stitch.
Next Row (right side): Knit to 1 st before marked st, s2kp, knit to end of row—26 (27, 27, 32) sts.
Next Row: Knit.
Repeat last 2 rows 4 (5, 6, 7) more times—a total of 18 (17, 15, 18) sts remain with 1 st on one side of the marked stitch and 16 (15, 13, 16) sts on the other side of the marked stitch. Remove marker.
Bind off: S2kp (1 st decreased), k1, pass s2kp over knit st and off right needle (1 st bound off), bind off remaining sts.
SLEEVES (make 2)
Cast on 26 (28, 30, 32) sts. Work in Garter stitch (knit every row) for 2 (4, 6, 6) rows.
Increase Row (right side): K1, kfb, knit to last 2 sts, kfb, k1—28 (30, 32, 34) sts.
Work in Garter stitch for 11 (11, 13, 15)rows.
Repeat Increase Row—30 (32, 34, 36) sts.
Repeat last 12 (12, 14, 16) rows 3 more times—36 (38, 40, 42) sts.
Work even in Garter stitch until piece measures 6½ (7, 8, 9)” [16.5 (18, 20.5, 23) cm] from beginning, ending with a wrong side row.
Bind off.
BUTTON LOOPS (make 3)
Leaving a 4″ [10 cm] beginning tail, cast on 3 sts.
Cord: K3, *slip the 3 knit sts back to the left needle, bring the yarn tightly behind the sts, k3; repeat from * until cord measures 1″ [2.5 cm].
Cut yarn, leaving a 4″ [10 cm] tail. Thread ending tail through remaining 3 sts on needle and pull tight and knot to secure end of cord.
FINISHING
Sew shoulder seams. Sew sleeves to sides, matching center of bound-off edge of sleeve to shoulder seam. Sew side and sleeve seams. Fold button loop cords in half and position them evenly spaced along bound-off edge of right front. Using yarn tails, sew cords in place. Sew buttons to left front, opposite button loops.Weave in ends.
Category Popular Posts
How To Knit Elastic Bands With Crossed Facial Loops
17 September 2020, 20:54 1900
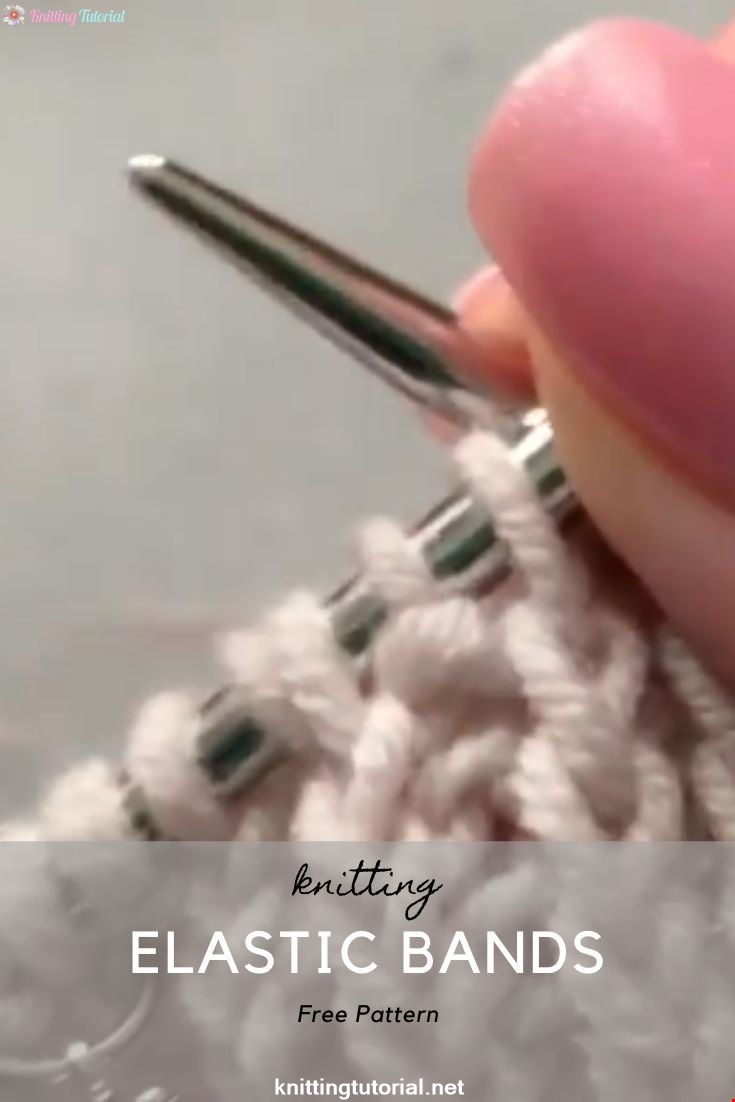
Elastic bands with crossed facial loops are now very popular in products. ... Hats, cuffs, necks look neater with such an elastic band, and it is knitted very simply: we knit all the front loops behind the back wall If you have not tried this method yet, be sure to try it on the nearest product🤗
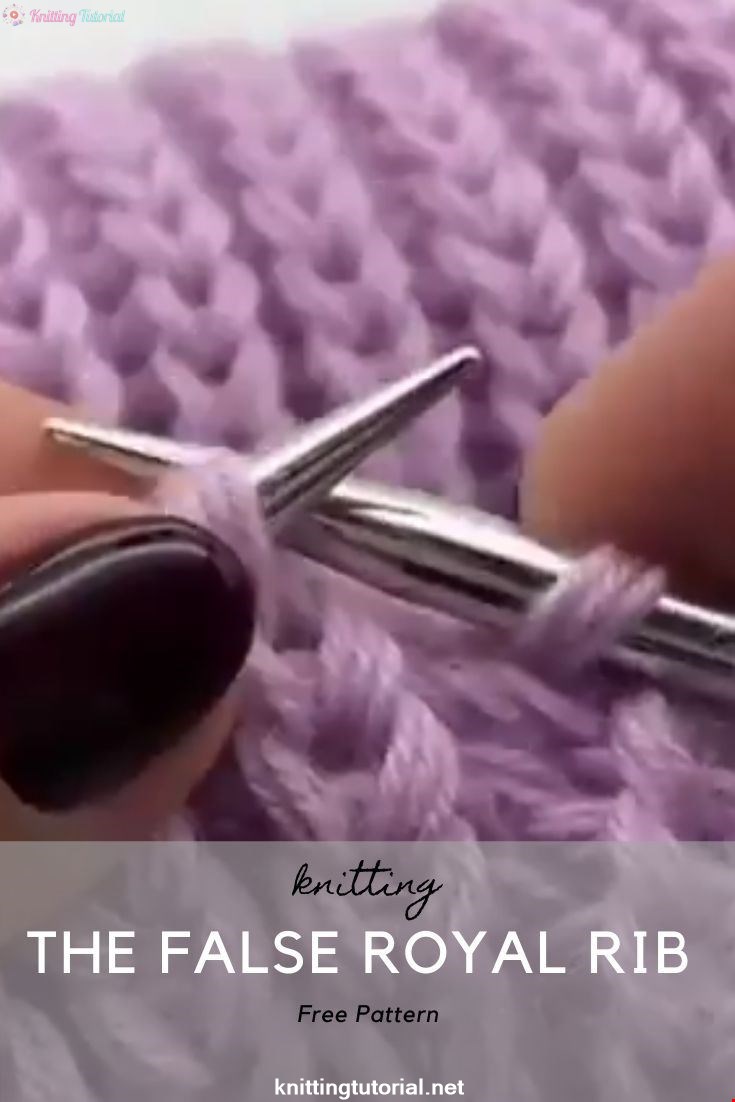
Read MoreHow To Make The False Royal Rib Example
15 September 2020, 17:47 2231
How To Knit The Pattern For My New Hat
17 September 2020, 20:35 1658
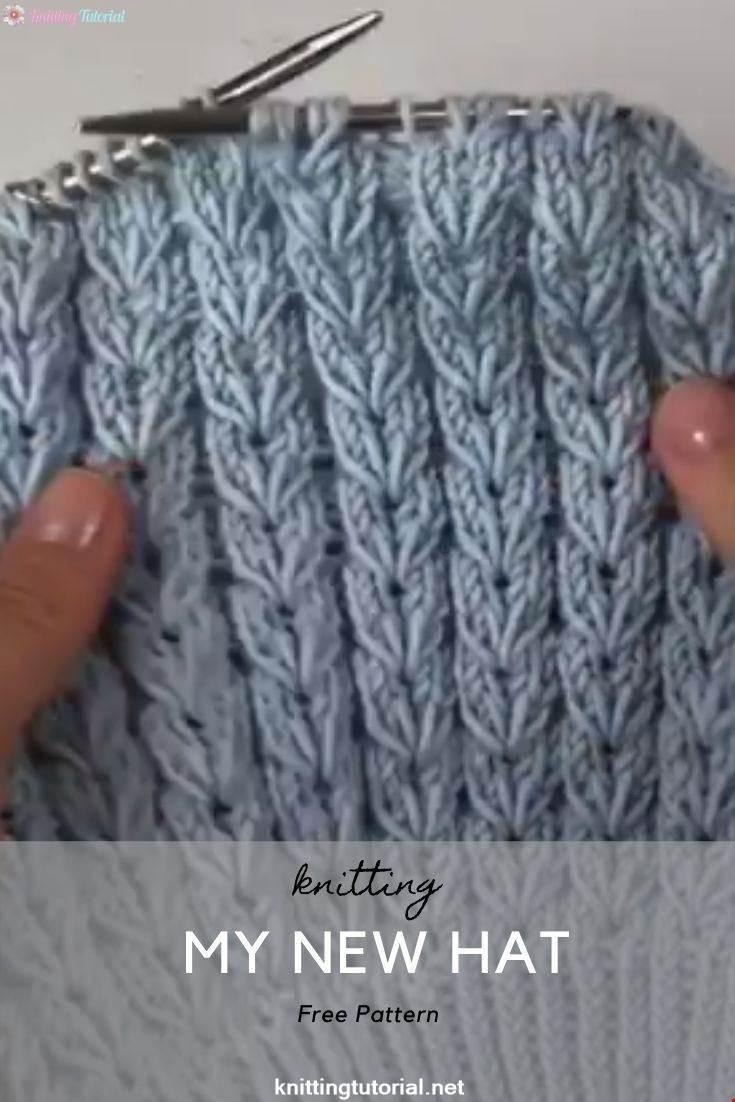
💙 Pattern drop! Again! 💙 Today the #kornblomstluen was released on #ravelry. The sweater is coming this weekend. Do you think the structure looks difficult? It's not! Just look here! // so this is how I knit the pattern for my new hat. #knitting video #grainflower #floetre #knittingvideo #knittingtutorial #knittingpattern #strikkedilla #strikkesida # fylggstrikkere #followknitters #followstrick
Read MoreHow To Knit English Scarf
17 September 2020, 21:30 1338
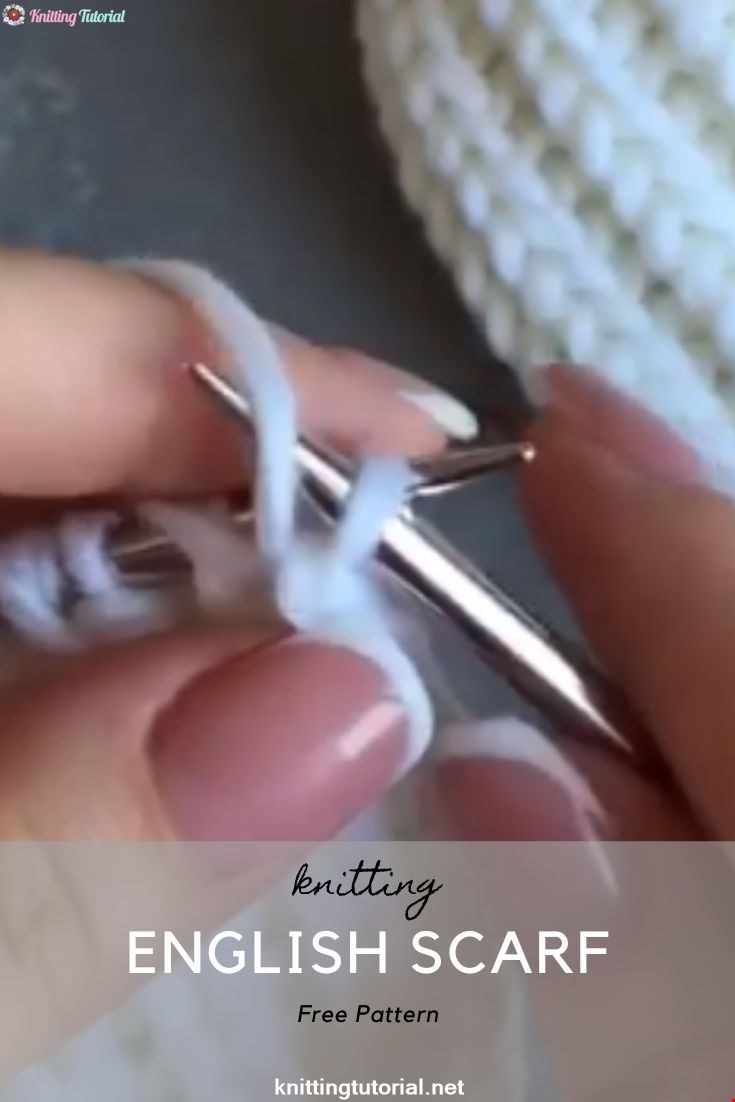
Hello everyone👋 English Scarf💕 Stylish and timeless accessory 💯 It is knitted very simply ... no dancing edging👌😅 ... and such a scarf looks just bombastic😋 Have a great Sunday everyone😘
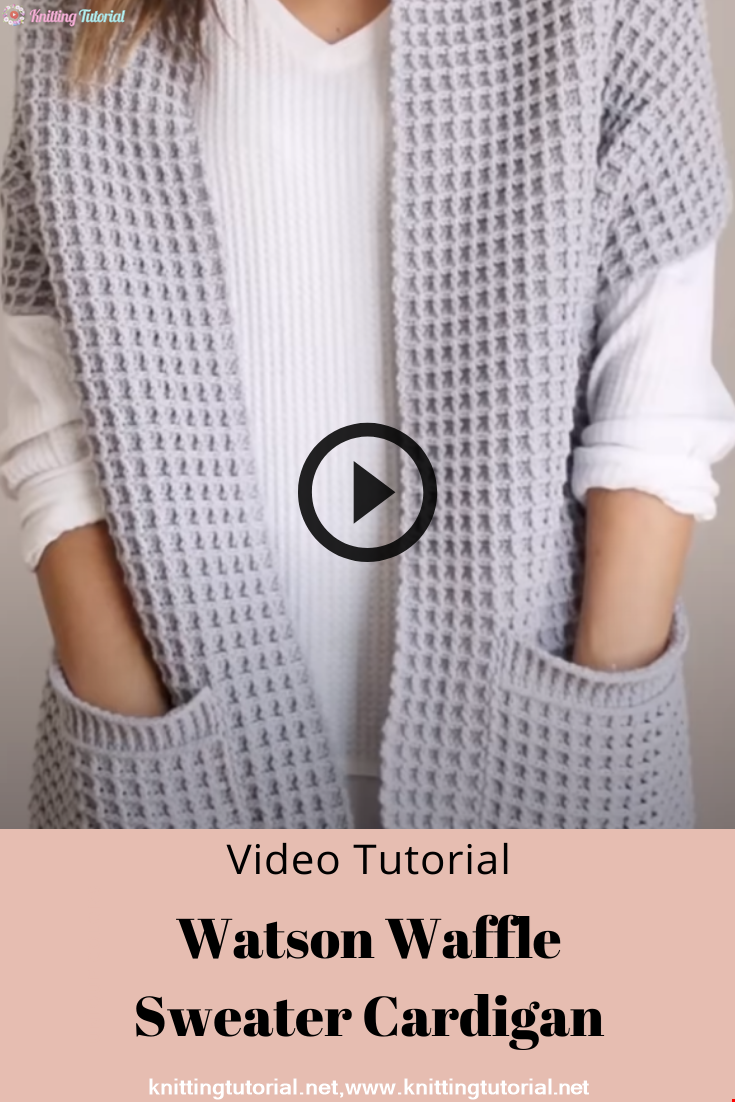
Read MoreWatson Waffle Sweater Cardigan
15 October 2020, 14:38 30485
How To Make Royal Rib
15 September 2020, 17:30 1198
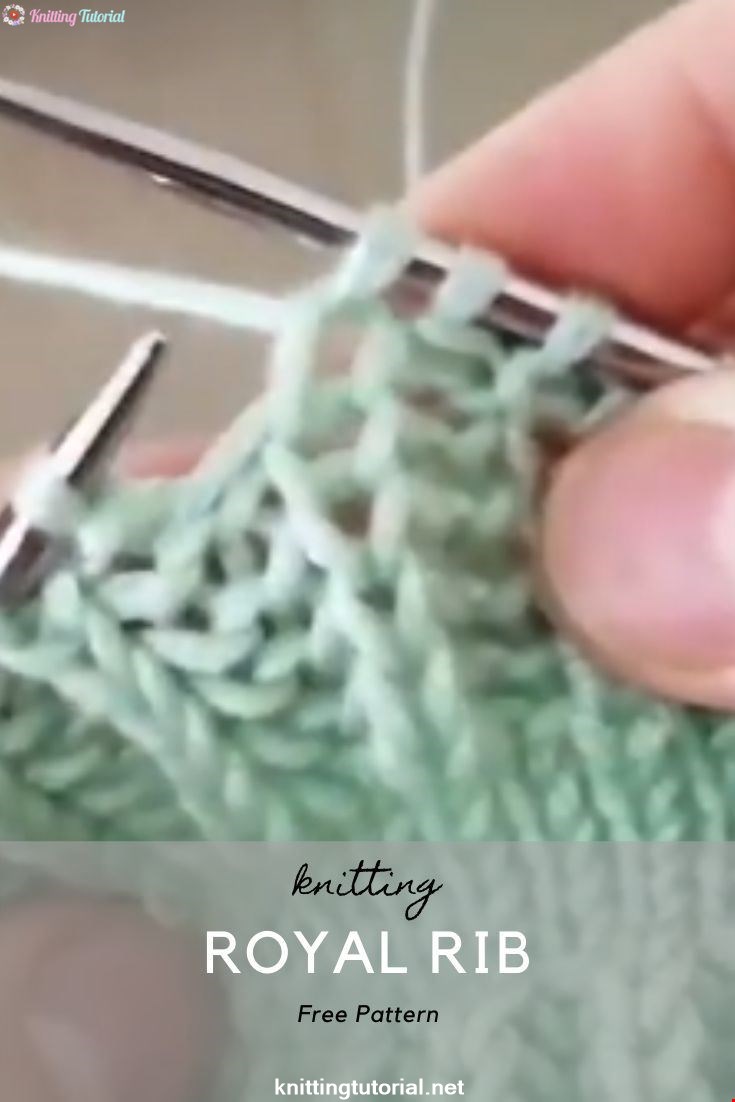
This time, I took a shot of how to make # selanik knitting ... because most people think that a rubber is a reverse flat .. Model 1 is installed on reverse 1 straight. You repeat the same process as many as you want from the front and back.
Read MoreLemon Peel Stitch
21 September 2020, 12:05 931

This weeks stitch is a super easy one row repeat pattern with just enough texture to give it the perfect look for baby afghans hats, sweaters, scarves or just about anything. I will walk you step by step through how to make this stitch pattern.
Read MoreBrioche Stitch
18 September 2020, 19:51 1266
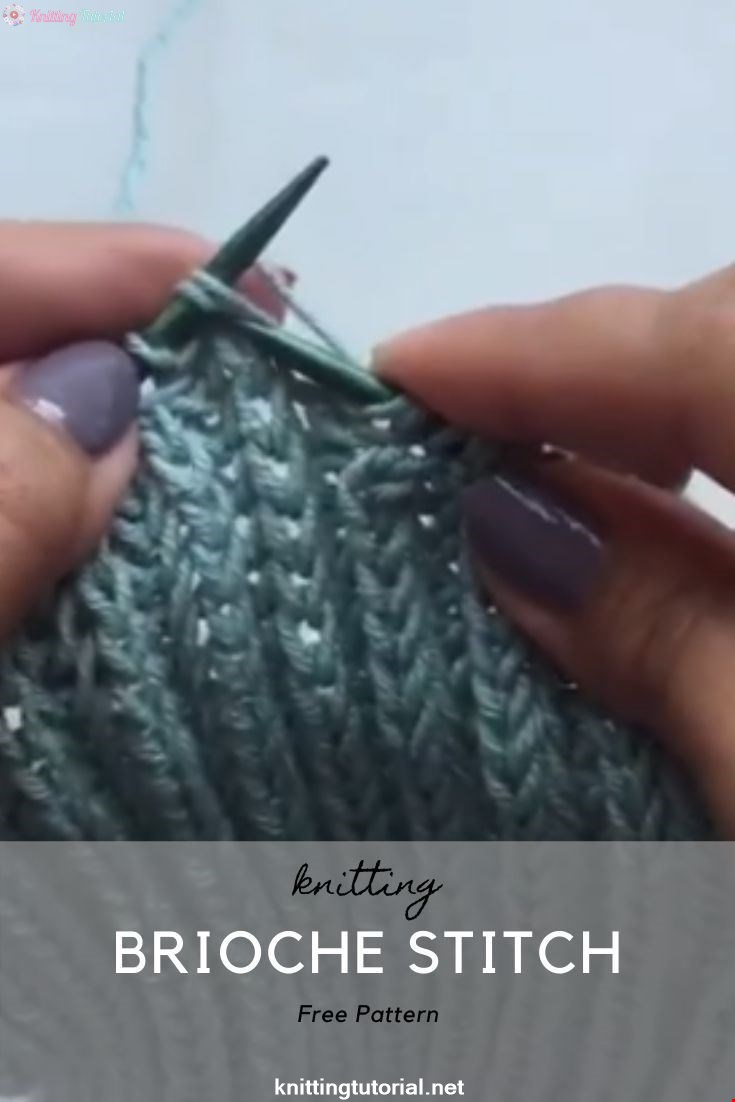
This technique is useful for making seamless items, like cowls, hats, or sleeves for a sweater.
Read MoreHow to Knit the Brioche Stitch
12 September 2020, 11:17 1568
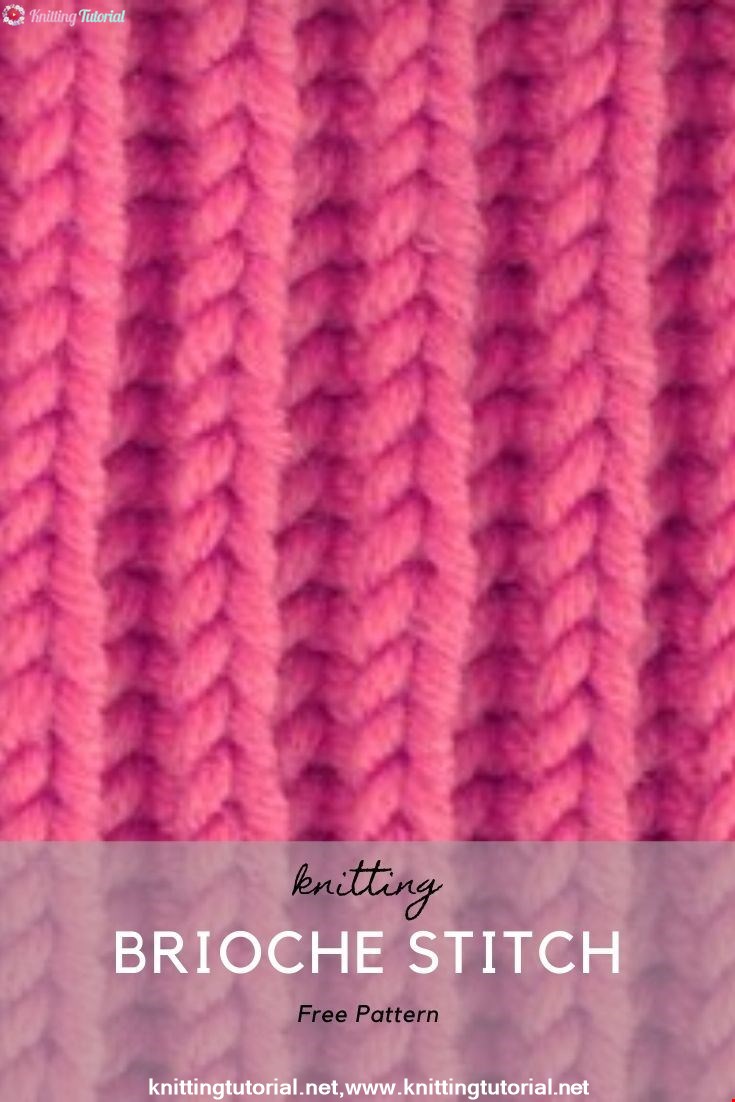
This video knitting tutorial will help you learn how to knit the brioche stitch. This reversible pattern creates a thick, lofty, stretchy fabric, that looks similar to a 1x1 rib. It is a great choice for hats, scarves, and sweaters.
Read MoreKorean Girl in Traditional Dress (Hanbok)
22 September 2020, 11:11 1576

This is the process how I made the amigurumi of Korean Bride in traditional dress Hanbok. Lately I've been watching a lot of Korean dramas and got inspired to make one. I hope you can enjoy the video, and get inspired too!
Read More