CROCHET KOALA HAT
12 October 2020, 09:39 5737
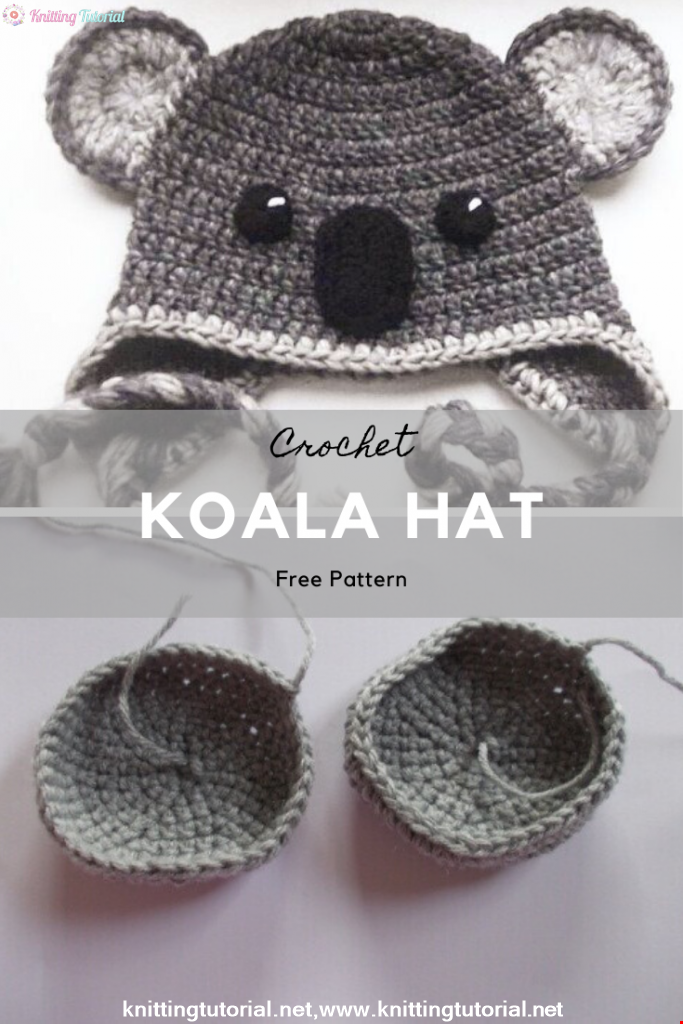
Hello friends! We are all love the BOYS! Well what are little boys made of snips and snails and puppy dogs tails. if you’ve been reading jennyandteddy for a while, you know we are waiting for our little boy to arrive! So there will be all things boyish pattern coming. Today we are going to make a Koala bear hat! This pattern is so simple to make you can easily whip them up in an hour.
Let’s get start!
Special thanks to Jennifer Jayne photography for super cute photo.
Sizes:
Newborn-3 months (fits up to 14 inch)
3-6 months (fits 14- 17 inch)
6 months-1 year (fits 16- 19 inch)
Materials:
You will need
MC: weight of yarn to be use 100 grams/231 meters. Sample using Marvel Brand Moda Vera 100% acrylic). You can substitute any yarn that gives you gauge.
CC: Fancy yarn
Black: small amount
White: small amount
Crochet hook size 3.00 mm
Sewing yarn needle
Removable stitch markers or contrasting colour yarn
Gauge: 3 hdc x 3 rows = 1 square inch
Skill and abbreviations:
You will need to know how to make:
Chain (ch)
Slip stitch (sl st)
Single crochet (sc)
Half double crochet (hdc)
Magic ring or adjustable ring
Main Colour (MC)
Contrasting Colour (CC)
If you don’t understand any of those technical word, don’t worry I got you cover!
Here a video free crochet class on craftsy or the free pdf the beginner guide to crochet.
My beginner tutorial check it out here
How to start magic ring or adjustable ring
Note:
In this pattern, you will work in the round continuously. You may use a removable stitch marker or a short piece of yarn of contrasting colour to mark the beginning of each round. At the end of each round, you will not join, but begin the next round in the next stitch.
The stitch counts at the end of each round are given.
Hat body (all size)
You will work from top to bottom
Round1. Make magic ring or adjustable ring and 7sc in ring (7 sts)
Round2. 2hdc in each st around (14 sts)
Round3. *hdc in next st, 2hdc in next st*, repeat from * around (21 sts)
Round4. *hdc in next 2 st, 2hdc in next st*, repeat from * around (28 sts)
Round5. *hdc in next 3 st, 2hdc in next st*, repeat from * around (35 sts)
Round6. *hdc in next 4 st, 2hdc in next st*, repeat from * around (42 sts)
Round7. *hdc in next 5 st, 2hdc in next st*, repeat from * around
(49 sts)
0 – 3 months only:
Rounds 8 – 16. hdc in each st around (49 sts). Finish off.
3 – 6 months and 6 months – 1 years sizes:
Round8. *hdc in next 6 st, 2hdc in next st*, repeat from * around (56 sts)
3 – 6 months only:
Round9-20. hdc in each st around (56 sts). Finish off.
6 months – 1 years sizes:
Round9. *hdc in next 7 st, 2hdc in next st*, repeat from * around (63 sts)
Round10. *hdc in next 8 st, 2hdc in next st*, repeat from * around (70 sts)
6 months – 1 years only:
Round11-24. hdc in each st around (70 sts). Finish off.
Shape earflap all size:
Use two stitch markers to mark the stitch in the middle of each side of the hat. Join MC at the first marker with sl st.
Row1. Ch 1 (counts as first hdc here and throughout), hdc 15, ch1, turn (16 sts)
Row2. hdc in next 14 sts, ch1, turn (15 sts)
Row3. hdc in next 13 sts, ch1, turn (14 sts)
Row4. hdc in next 12 sts, ch1 turn (13 sts)
Row5. hdc in next 11 sts, ch1 turn (12 sts)
Row6. hdc in next 10 sts, ch1 turn (11 sts)
Row7. hdc in next 9 sts, ch1 turn (10 sts)
Row8. hdc in next 8 sts, (9 sts) and fasten off. Join MC at second marker with sl st and repeat as above for second earflap.
Edging:
Join MC at any st along the edging with sl st and work hdc around the edge, including the earflaps. Fasten off.
Ties:
With Main Colour, loop yarn into approximately 18-20 inch long loops as shown in the picture.
Note. Please use these pictures only as a guide.
Using a crochet hook, pull the folded side of the yarn through the centre stitch at the bottom of the earflap, making a loop. Pull the free ends of the yarn through this loop and pull tight.
Divide yarn in to three parts, plaint or braid to the end, and tie a knot to finish up. One tie is made. Repeat on the other earflap to make second tie.
See photo tutorial of how to adding braids or ties to the earflap.
Nose (all size): Make 1 piece with (black)
Start with Chain 7. (7sts)
Round1. sc in next st from hook and around (12sts).
Round2. *sc in next st, 2sc in next st*, repeat from * around (18 sts)
Round3. sc in each st around (18 sts)
Then finish off and leave long tail for sewing.
Outer Ears( all size):
Make 2 pieces with MC
Round1. Make magic ring or adjustable ring and 7sc in ring (7 sts)
Round2. 2sc in each st around. (14 sts)
Round3. *sc in next st, 2sc in next st*, repeat from * around (21 sts)
Round4. *sc in next 2 st, 2sc in next st*, repeat from * around (28 sts)
Round5. *sc in next 3 st, 2sc in next st*, repeat from * around (35sts)
Round6. *sc in next 4 st, 2sc in next st*, repeat from * around (42 sts)
Round7-8. sc in next st around. (42 sts). Then finish off and leave long tail for sewing.
Inner ear(all size): CC: fancy yarn.
Make 2 pieces with CC
Round1. Make magic ring or adjustable ring and 7sc in ring (7 sts)
Round2. 2sc in each st around. (14 sts)
Round3. *sc in next st, 2sc in next st*, repeat from * around (21 sts)
Round4. *sc in next 2 st, 2sc in next st*, repeat from * around (28 sts)
Round5. *sc in next 3 st, 2sc in next st*, repeat from * around (35 sts). Then finish off.
Put white (inner ear) and grey (outer ear) parts together, work with grey colour Hdc around the entire ear.
Eyes (all size):
Make 2 pieces with Black
Round1. Make magic ring or adjustable ring and 6sc in ring (6 sts)
Round2. 2sc in each st around. (12 sts)
Round3. *sc in next st, 2sc in next st*, repeat from * around (18 sts)
Round4. sc in next 12st and pick up white colour sc in the last 6 st. (18 sts).
Finishing:
Attach eyes follow by nose and ears by sewing use yarn needle.
Category Popular Posts
CROCHET KOALA HAT
12 October 2020, 09:39 5738
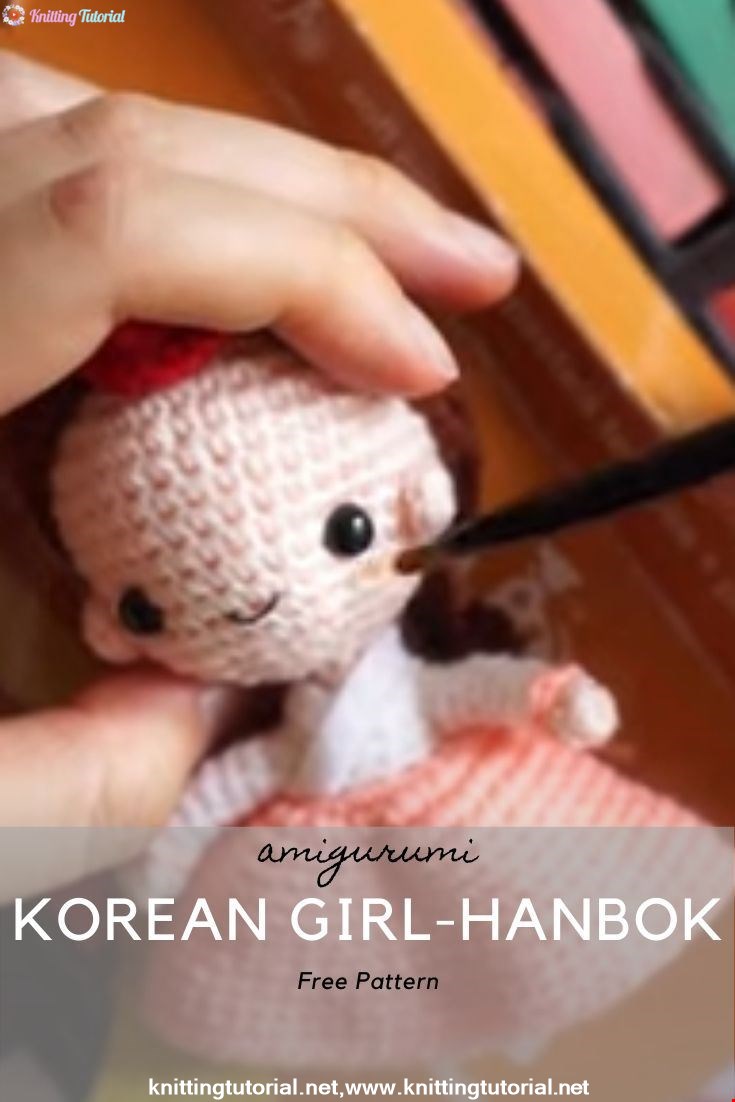
Korean Girl in Traditional Dress (Hanbok)
22 September 2020, 11:11 1831
This is the process how I made the amigurumi of Korean Bride in traditional dress Hanbok. Lately I've been watching a lot of Korean dramas and got inspired to make one. I hope you can enjoy the video, and get inspired too!
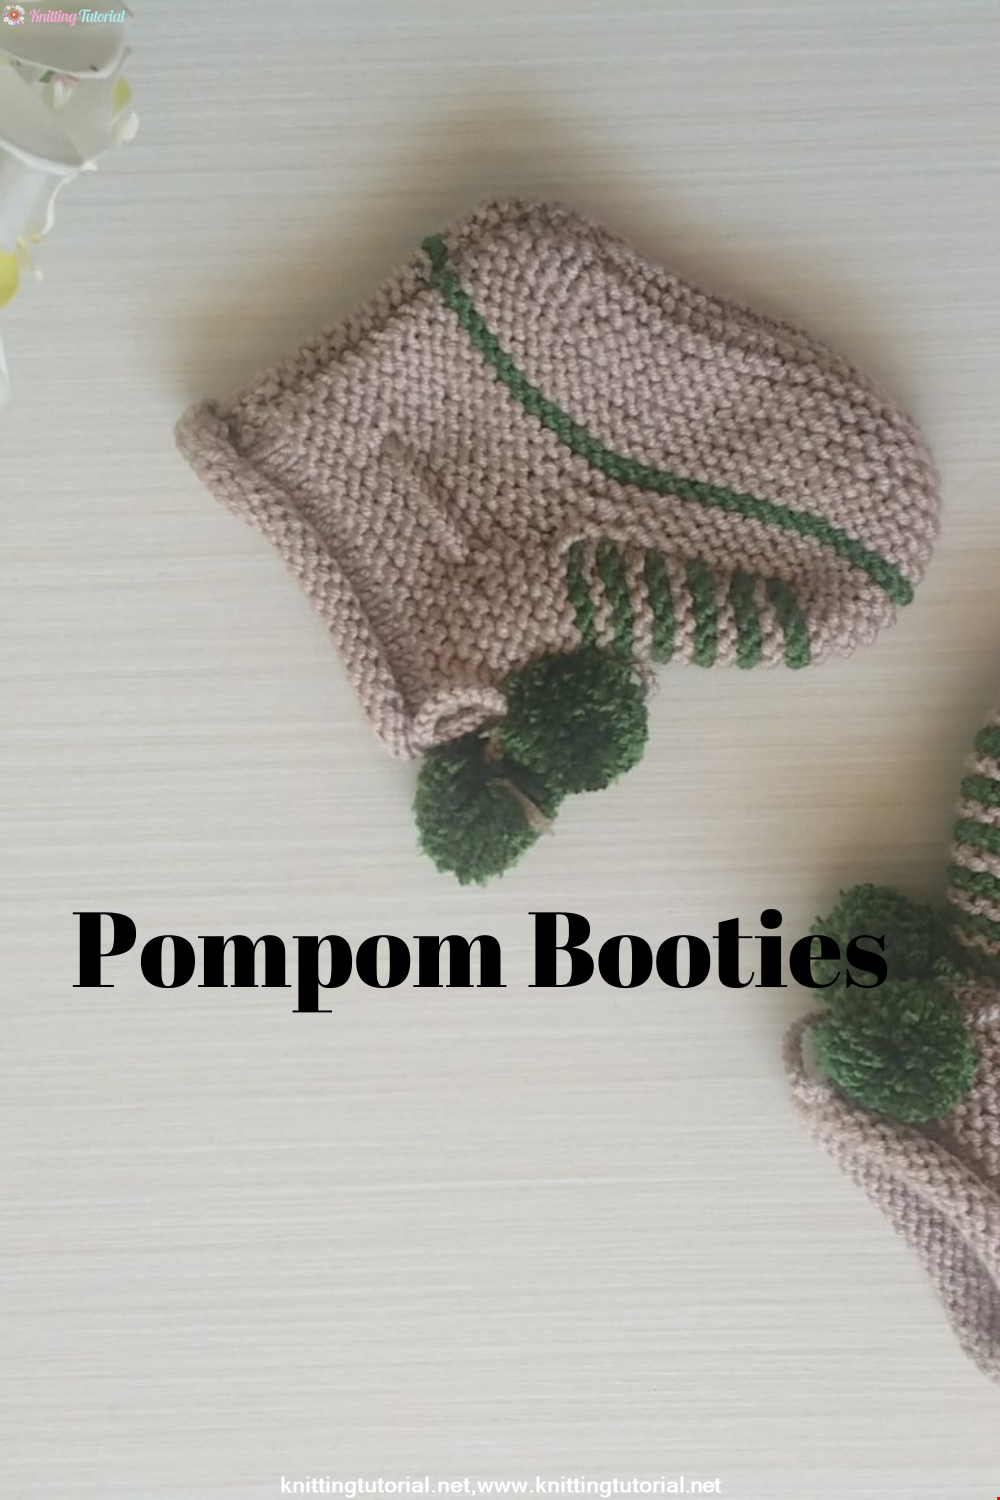
Read MorePonponlu Patik Yapımı
18 January 2022, 20:45 2633
Hello! We will tell you how to make very cute baby shoes. You can knit this cute bootie in color and dress it up for your child. Let's start knitting now!
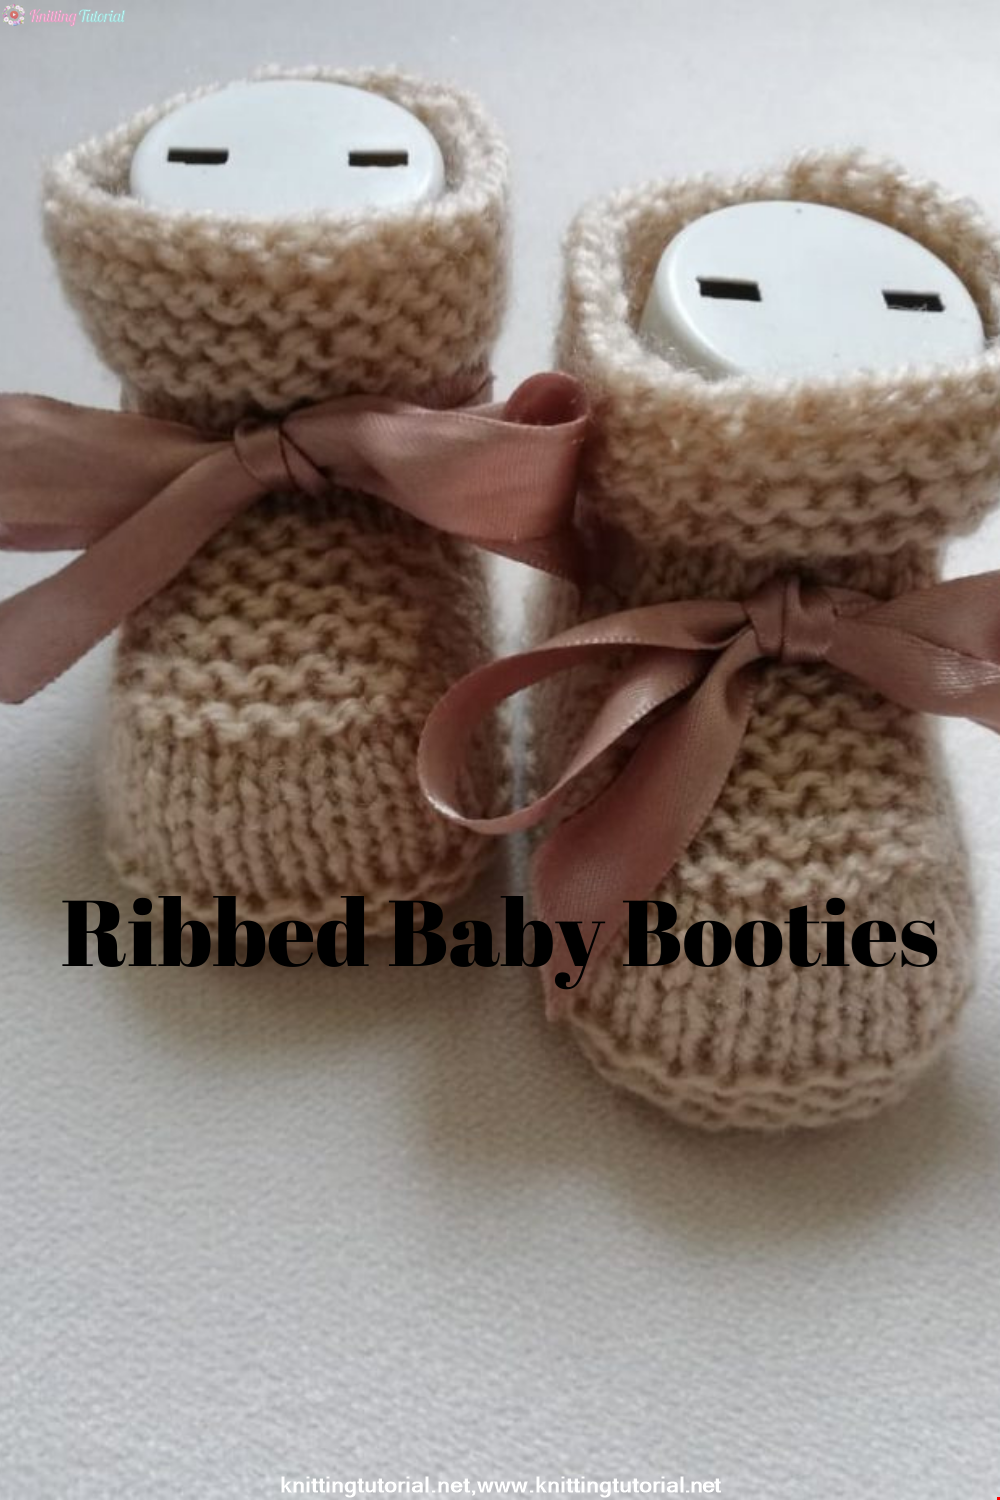
Read MoreRibbon Baby Booties Making
18 January 2022, 20:30 2072
Hi! Today I will tell you about a bootie model that you can easily knit for your newborn babies. You can make and finish this model, which consists of crochet and plain knitting, in a few hours. If you're ready, let's get started!
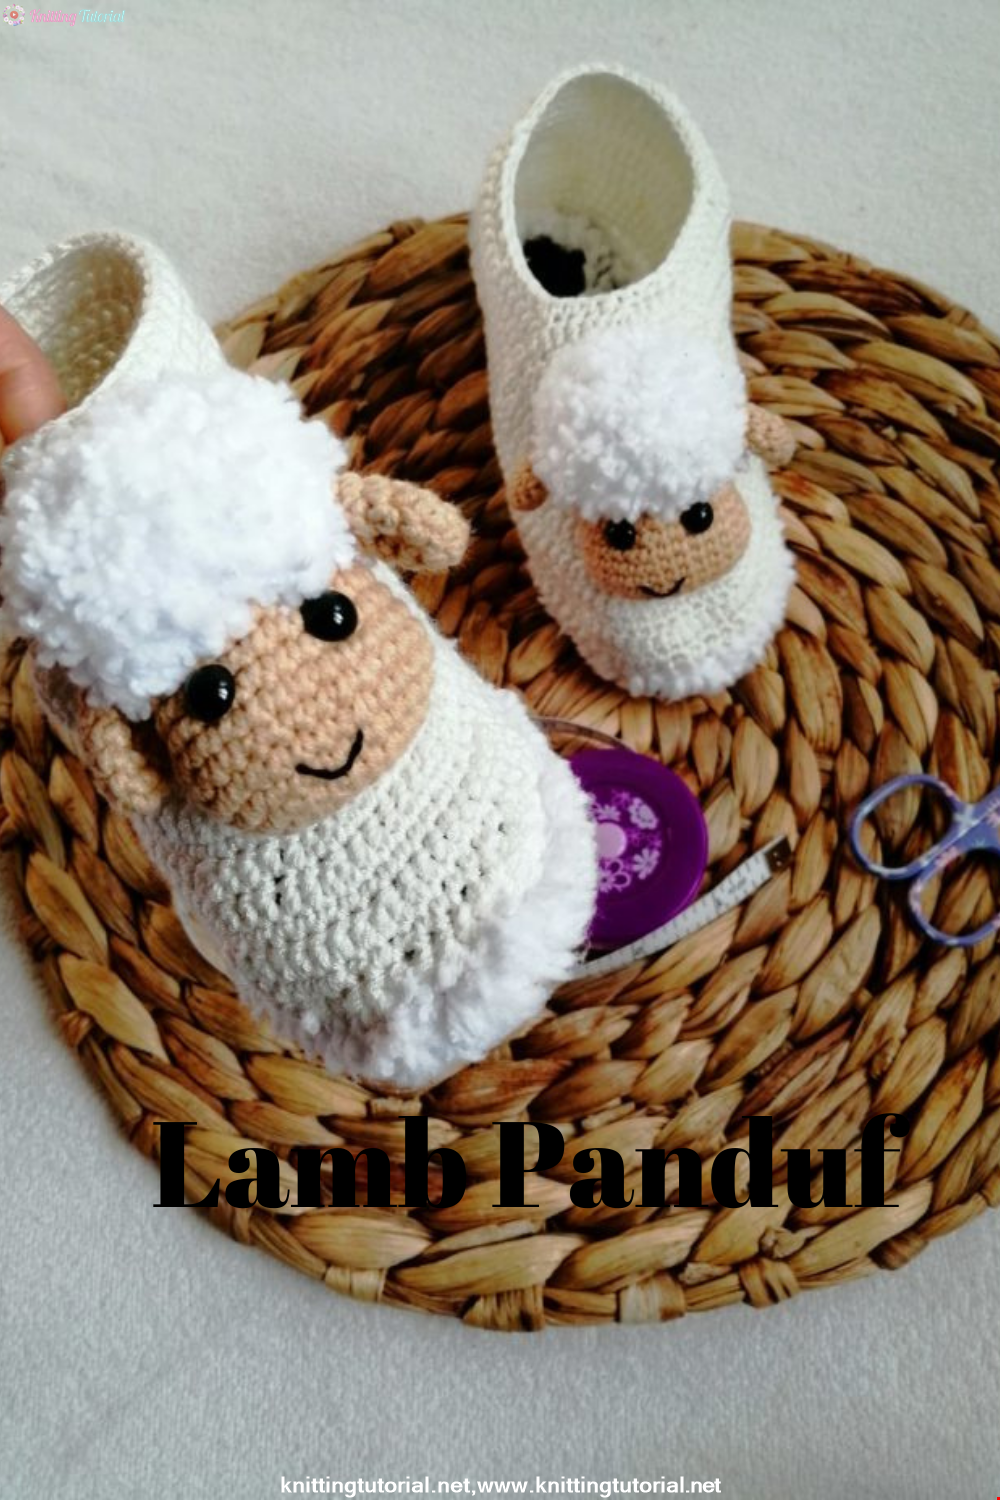
Read MoreLamb Panduf Making
18 January 2022, 20:37 2034
Hello! Now that the winter season has come, how about knitting a nice bootie that will keep our babies' feet warm? So let's get started right away.
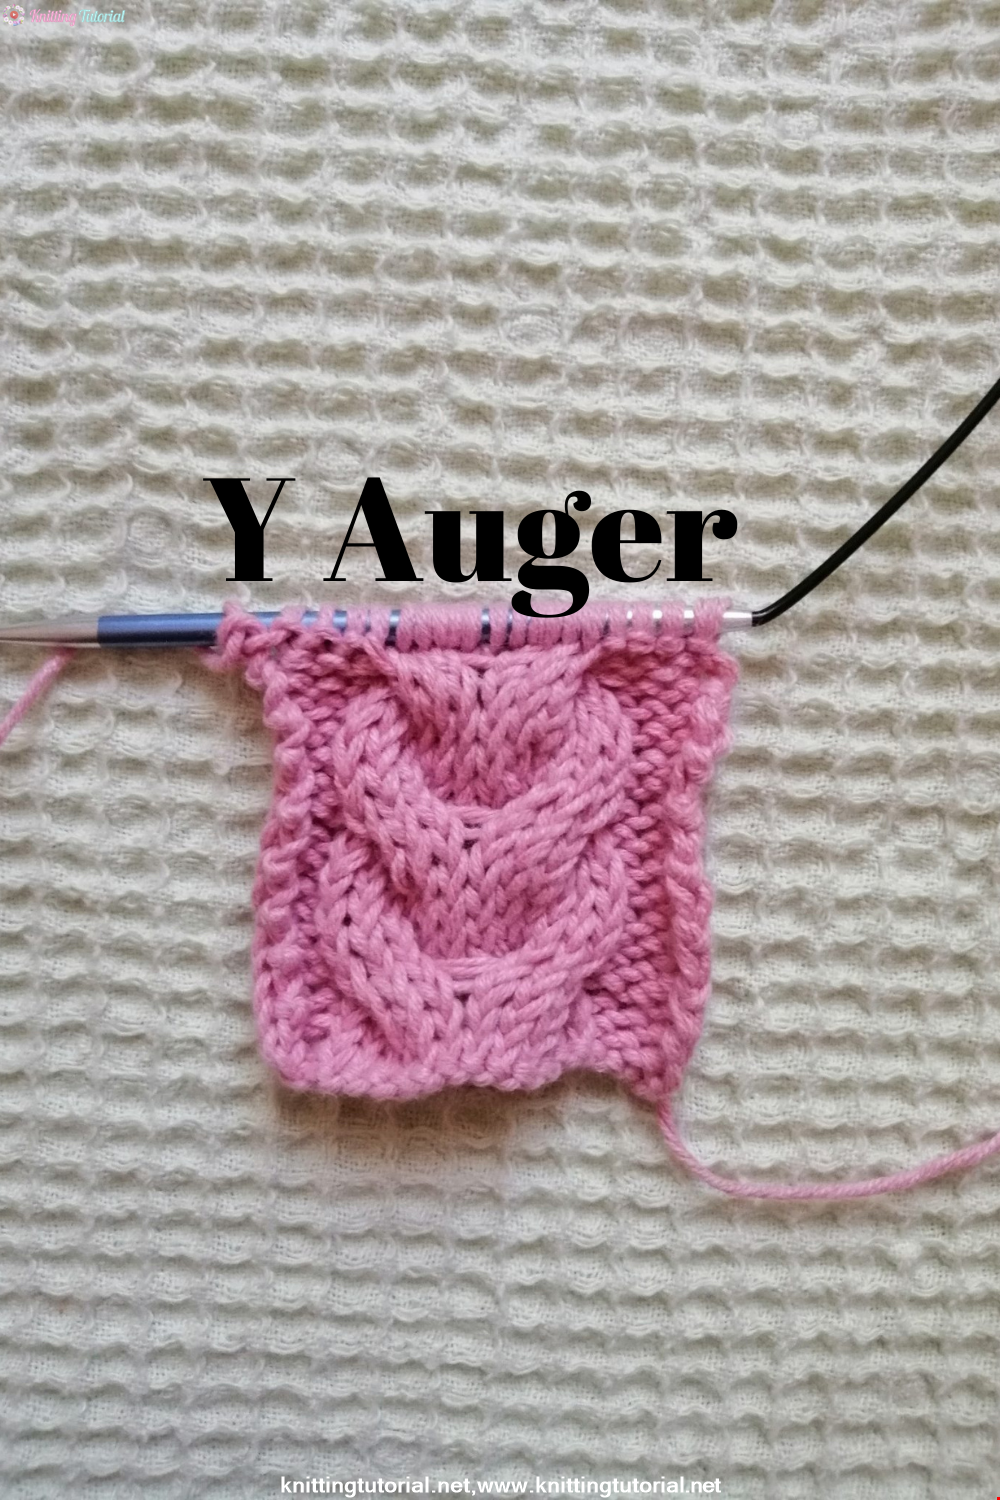
Read MoreY Auger construction
27 January 2022, 21:16 1986
Hello everyone! We have prepared a Y twist model, which is very suitable for vests and cardigans, for you. This model is actually very easy to make! Let's start knitting this beautiful model right now!
Read MoreIron Man Hat with a Mask
12 October 2020, 09:00 3403
Dump Truck Hat Pattern
12 October 2020, 09:14 3200
Knitting Poncho For Baby
12 October 2020, 09:04 3973
Dear Little Bear Making
31 January 2022, 22:56 2178
In these days when Valentine's Day is approaching, we have brought you a hearty double amigurumi teddy bear recipe. You will knit it with love and give it as a gift.
Read MoreAmigurumi Rabbit Family Making and Recipe
16 January 2022, 18:14 1096
With this knitting pattern that even beginners can do, you can make knitting toys very easily.
Read MoreOpenwork Baby Cardigan Making
22 January 2022, 11:53 2065
Hello! Today we came to you with the construction of openwork baby cardigan. If you're ready, let's start.
Read More