We knit a pink elephant crochet
23 September 2020, 07:30 651
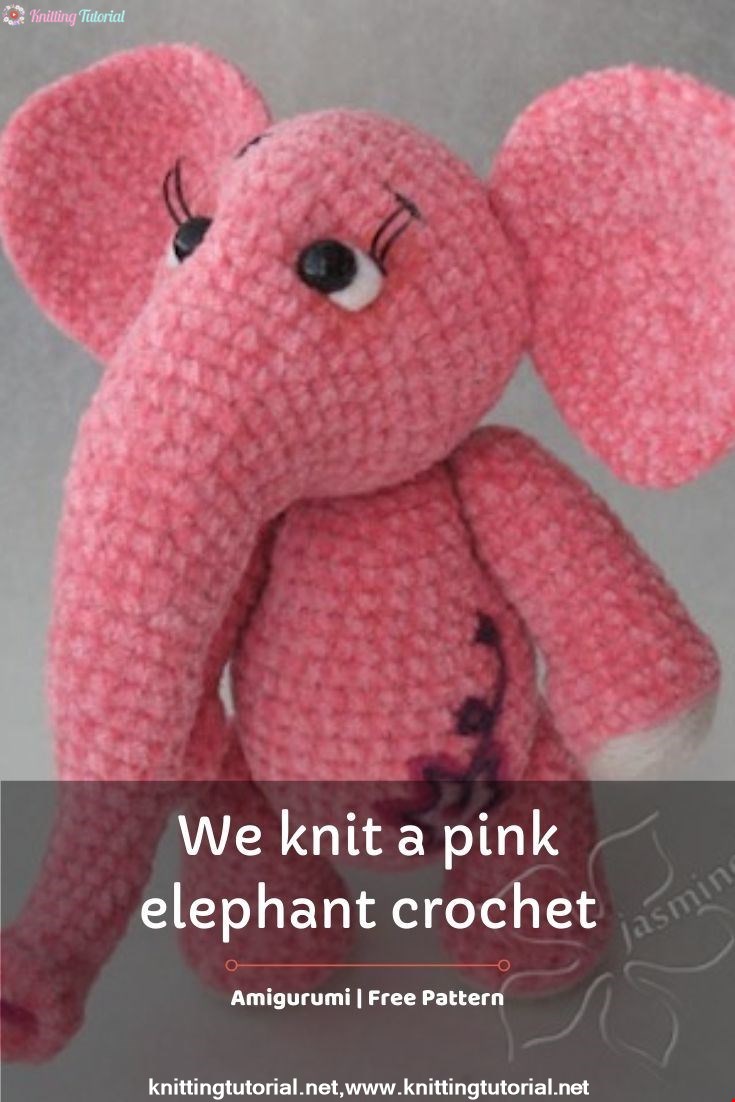
Materials and tools:
- threads of the main color less than 50 grams;
- some pink and a little thread of the color of the soles (or wool for felting, if you decide to roll the piles);
- hook of a suitable size;
- filler;
- wire;
- sewing needle.
Legend:
- VP - air loop;
- stbn - single crochet;
- V - increase: 2 single crochet, knitted in one loop;
- A - decrease: 2 single crochet, knitted together.
Head and trunk (1 piece)
I draw your attention to the fact that the wire must be quite stiff. The trunk should not be stuffed very tightly around the wire. I only stuffed the upper part of the trunk, did not stuff the lower one.
2 ch
1 r: 6 stbn in the second from the hook
2 r: 6 increments (12)
3 r: (1 stbn, V) x6 (18)
4 r: (2 stbn, V) x6 (24)
5 r: (3 sc, V) x6 (30)
6 r: (4 sc, V) x6 (36)
7 r: (5 sc, V) x6 (42)
8 - 14 r: 42 sc
15 r: (A, 5 sc) x6 (36)
16 p: (A, 4 stbn) x6 (30)
17 r: (A, 3 stbn) x6 (24)
stuff, insert the wire (I wrapped it with a plaster) and then stuff as you knit around the wire (not tight ).
(we begin to form the trunk)
18-19 p: 24 stbn
20 p: (10 stbn, A) x2 (22)
21 r: 22 stbn
22 r: (9 stbn, A) x2 (20)
23-24 r: 20 stbn
25 r: (8 stbn, A) x2 (18 )
26 r: 18 stbn 27r
: (7 stbn, A) x2 (16)
28-29 r: 16 stbn
30 r: (6 stbn, A) x2 (14)
31-33 r: 14 stbn
34 r: (5 stbn, A) x2 (12)
35 -37r: 12 stbn
38 r: (4stbn, A) x2 (10)
39-43 r: 10 stbn
44 r: (3 stbn, A) x2 (8)
45 r: 8 stbn
46 r: 8V (16)
47 r: 16 stbn
48 r: 8A (8)
Change the thread to pink, different from the main color
49 r: decreases before closing.
Here's what should happen in the end:

Form the tip of the trunk, focusing on the photo

You can slightly flatten the proboscis along the edges.
Ears
We will have a left and right ear, they are knitted in different ways (in a mirror image). The wrong side is the inside of the ear (if you knit inside out, then vice versa).
Left ear (if you look at the elephant's face)
2 ch
1 p: 6 sc in the second loop from the hook
2 p: 6 increments (12)
3 p: (2 sc, 2V) x3 (18)
4 p: (4 sc, 2V ) x3 (24)
5 p: (6 sc, 2V) x3 (30)
6 p: (8 sc, 2V) x3 (36)
7 p: (10 sc, 2V) x3 (42)
8 p: (12 sc , 2V) х3 (48)
Fasten the thread, you can leave a long end to sew the eyelet to the head.
Right ear
2 ch
1 p: 6 sc in the second loop from the hook
2 p: 6 increments (12)
3 p: (2V, 2 sc) x3 (18)
4 p: (2V, 4 sc) x3 (24)
5 p: (2V, 6 sc) x3 (30)
6 p: (2V, 8 sc) x3 (36)
7 p: (2V, 10 sc) x3 (42)
8 p: (2V, 12 sc) x3 ( 48)
Fasten the thread, you can leave a long end for sewing the eyelet to the head.
These are the ears we get:

Corpuscle
2 ch
1 r: 6 stbn in the second from the hook
2 r: 6 increments (12)
3 r: (1 stbn, V) x6 (18)
4 r: (2 stbn, V) x6 (24)
5 r: (3 sc, V) x6 (30)
6 r: (4 sc, V) x6 (36)
7 r: (5 sc, V) x6 (42)
8 - 13 r: 42 sc
14 r: 3 sc, A, ( 1 stbn, 2A) x2, 1 stbn, A, 24 stbn (36) - by decreasing we form the elephant's ass
15 r: 36 stbn
16 r: 18 stbn, (A, 1 stbn) x6 (30) - by decreasing we form the belly of the elephant
17 - 19 pp: 30 stbn
20 r: (3 stbn, A) x6 (24)
21 r: 24 stbn
Start stuffing
22 r: (2 stbn, A) x6 (18)
23 r: (1 stbn, A) x6 (12 )
24 p: Decreases before closing Fasten the
thread and hide it inside the piece.
Here's a little body we get:

Handles (2 parts)
(Probably the elephants in real life do not have pens, but our fabulous ones have!)
We begin to knit with the color of stacks
2 in
1 p: 6 stbn in the second from the hook
2 r: 6 increments (12)
3 r: (2 stbn, V) x4 ( 16)
Change the color of the thread to the main
4 r: 16 stbn behind the back wall of the loops
5 - 7 pp: 16 stbn
8 r: 3A, 10 stbn (13)
9 - 17 pp: 13 stbn
18 r: (1 stbn, A) x4 , 1 stbn (9)
19 p: Decreases before closing Fasten the
thread and hide it inside the piece.
These are the handles we get:

Legs (2 parts)
We begin to knit the color of the piles
2 ch
1 p: 6 stbn in the second from the hook
2 r: 6 increments (12)
3 r: (1 stbn, V) x6 (18)
Change the color of the thread to the main
4 r: 18 stbn behind the back wall of the loops
5 - 7 pp: 18 stbn
8 r: 3A, 12 stbn (15)
9 - 15 pp: 15 stbn
16 r: (1 stbn, A) x5 (10)
17 r: decreases before closing Fasten the
thread and hide it inside the piece.
These are the legs we get:

Ponytail and assembly
Elephants have small tails.
At the level of the 8th row of the calf, in the middle of the butt, attach the thread of the main color and tie a chain of 5-6 air loops. Fasten the thread well and cut.
We start to make out the face of the Elephant
I used to make eye irons. I marked out the places for the peephole with pins, inserted a needle with a strong thread in the place where our head (more precisely, the Elephant) would be sewn to the calf, brought it out in the place where the elephant's left eye was supposed to be, retreated a row or two and brought out the needle with the thread in the same place where it was originally introduced.
Do the same for the right eye.


Here it would be necessary to decide what eyes your Elephant will have. I used a piece of felt for the white of the eyes and a half bead. Place the eyes on the place of the tie and see if you like it. You can make an additional tightening between the eyes. The eye attachment points can be slightly tinted. I tinted with the usual blush.
Sew on the ears. Embroider the eyebrows for the Elephant. Optionally, you can glue the cilia (preferably at the very end of the assembly).
Sew the head to the calf. Pin the handles with pins (I draw your attention to the fact that the places of the decreases on the handles should be turned to the body when sewing) and the legs. If you like the location, then make a thread mount.
Your Elephant is ready! :)
Category Popular Posts
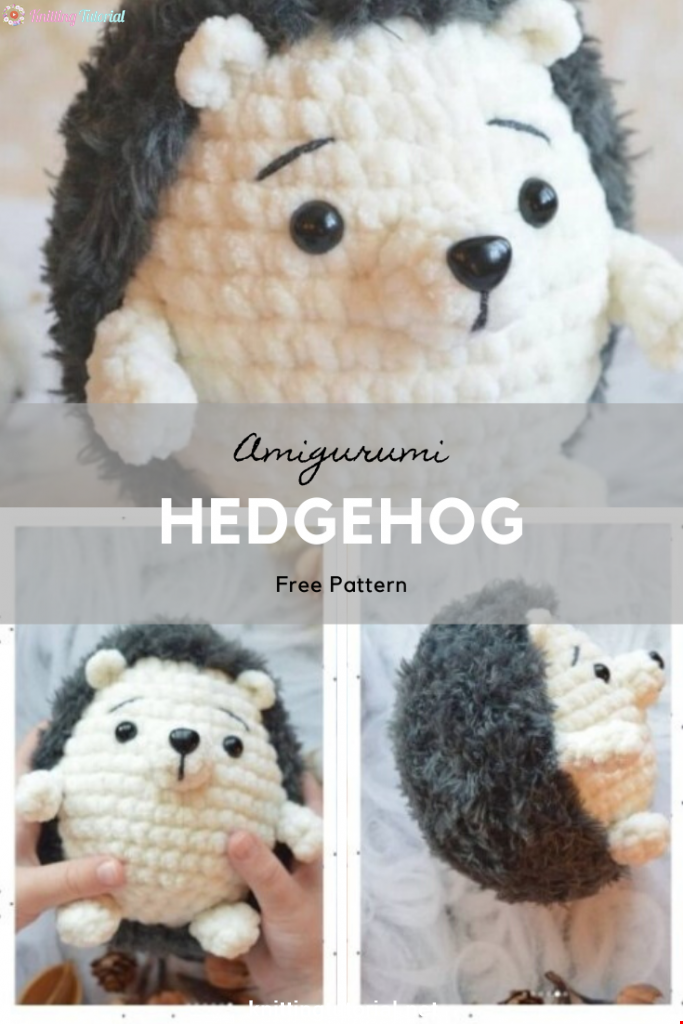
Amigurumi Hedgehog Free Pattern
12 October 2020, 09:52 11523
Making Amigurumi Spiderman
27 January 2022, 20:58 2040
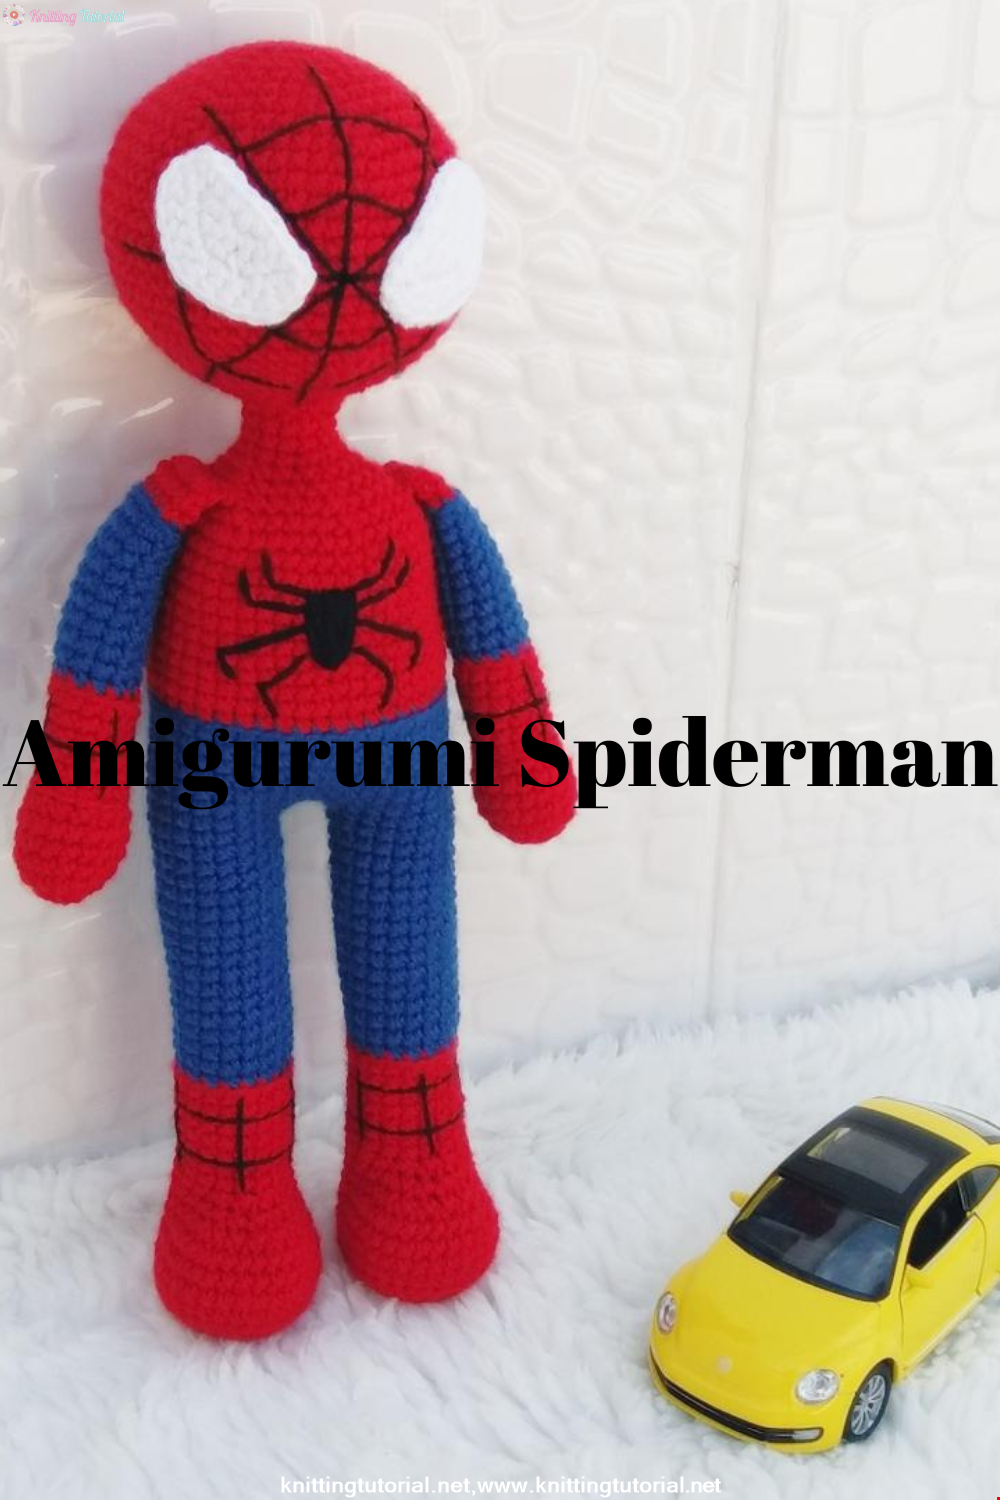
Hello, Are you ready to knit Spiderman, Spider-Man, the children's favorite cartoon character? You will be able to knit easily with detailed explanation. Let's start!
Read More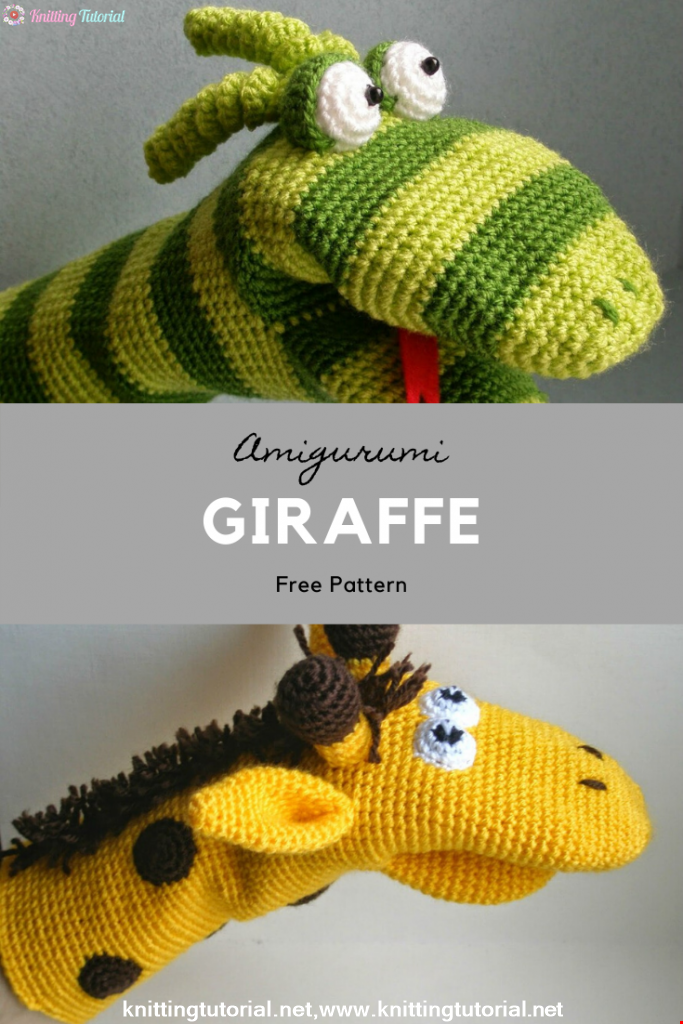
Amigurumi Princess Mononoke Crochet Pattern
12 December 2020, 21:20 949
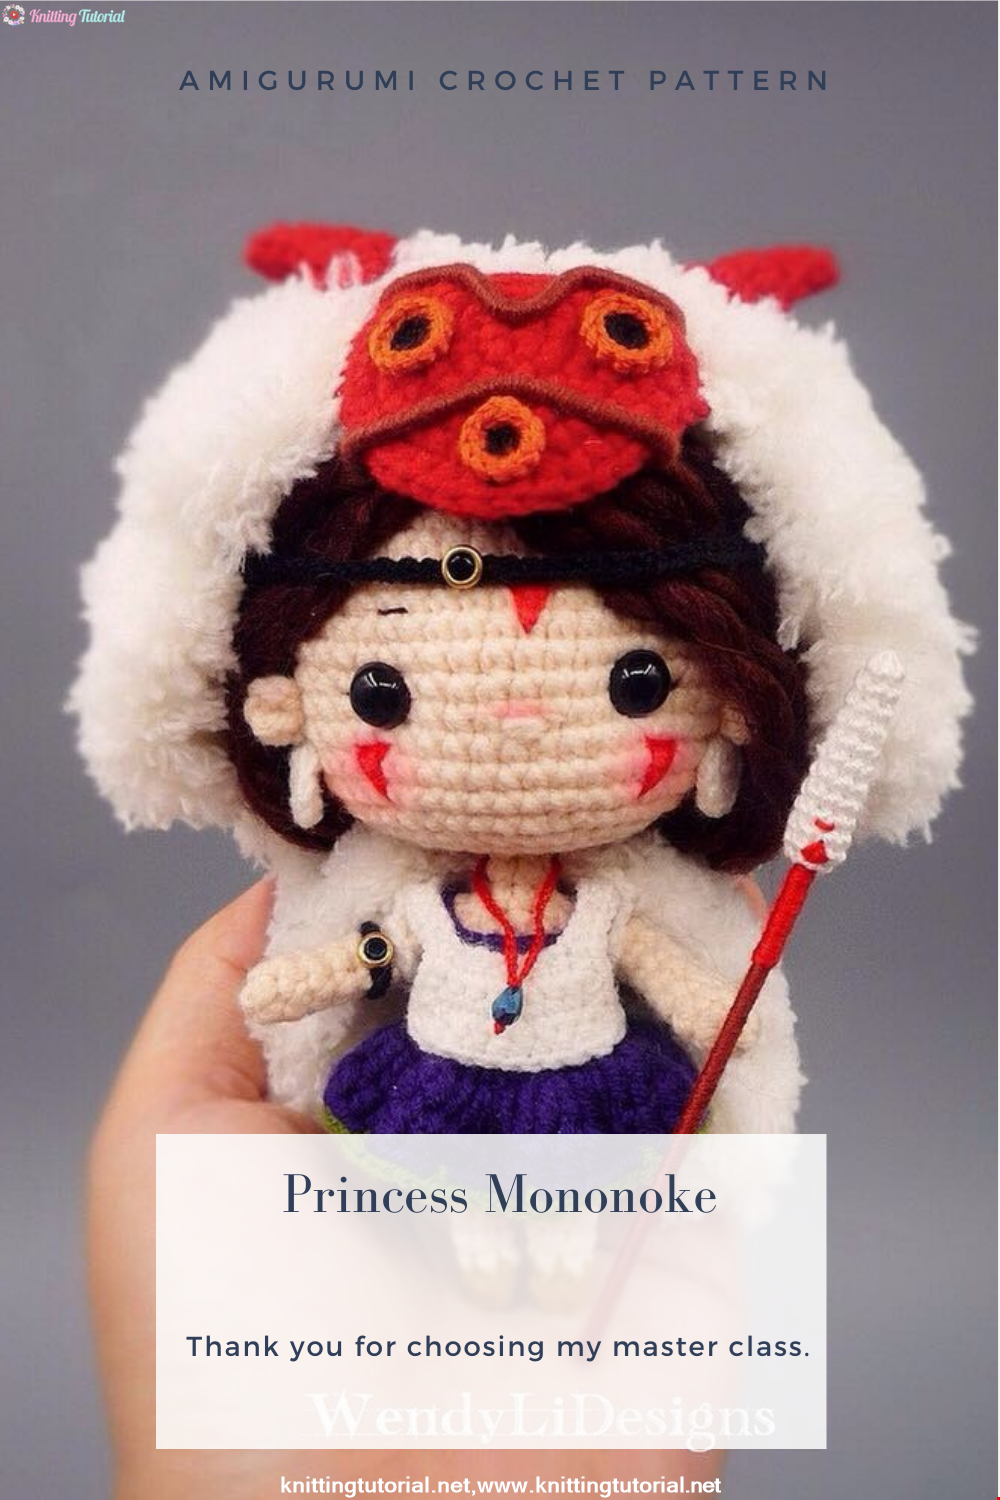
Free Crochet Princess Mononoke workshop by Wendy Li. The knitted girl is the hero of the cartoon by Hayao Miazaki. From the description of the diagram, you will also learn how to knit: a cape, a cloak, a dress and a mask for a doll.
Read More
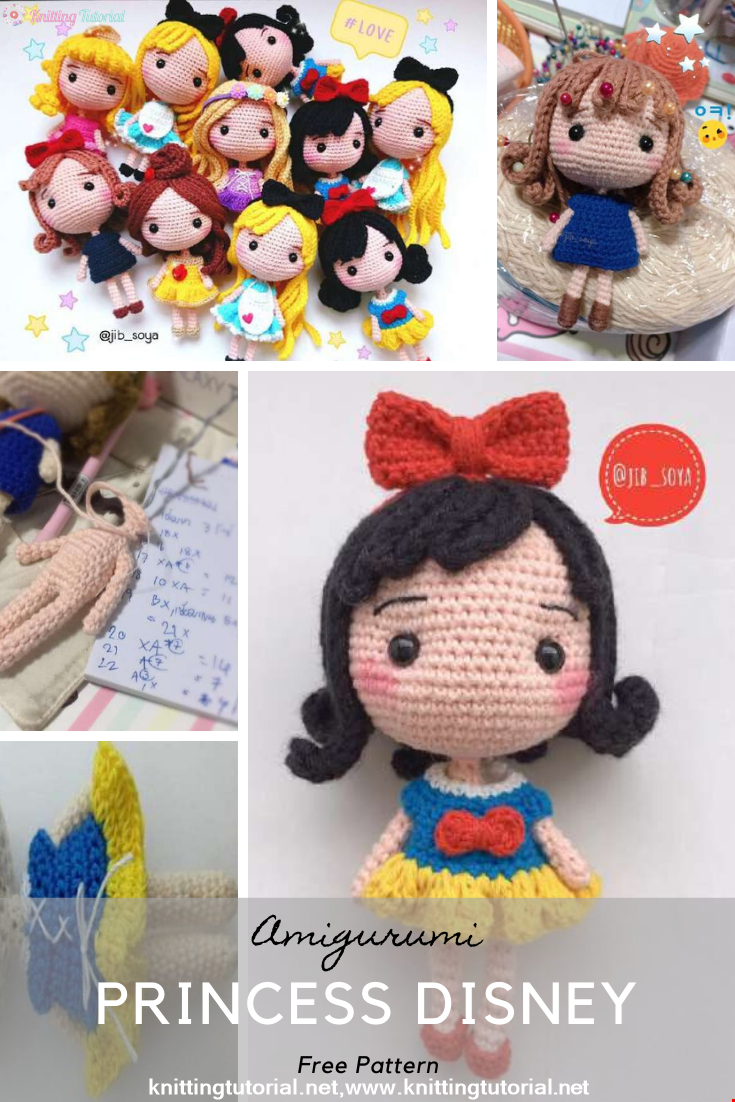
Princess Disney Amigurumi Pattern
8 October 2020, 14:51 5822

Korean Girl in Traditional Dress (Hanbok)
22 September 2020, 11:11 1576

This is the process how I made the amigurumi of Korean Bride in traditional dress Hanbok. Lately I've been watching a lot of Korean dramas and got inspired to make one. I hope you can enjoy the video, and get inspired too!
Read More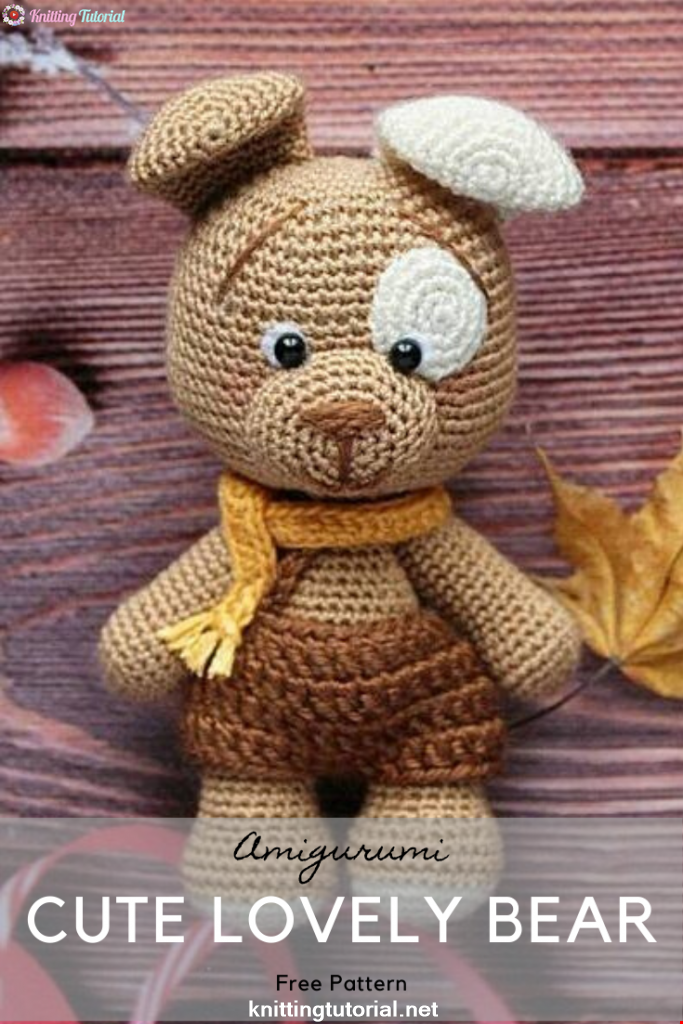
Amigurumi Sweet Giraffe Recipe and Preparation
5 January 2022, 14:55 639
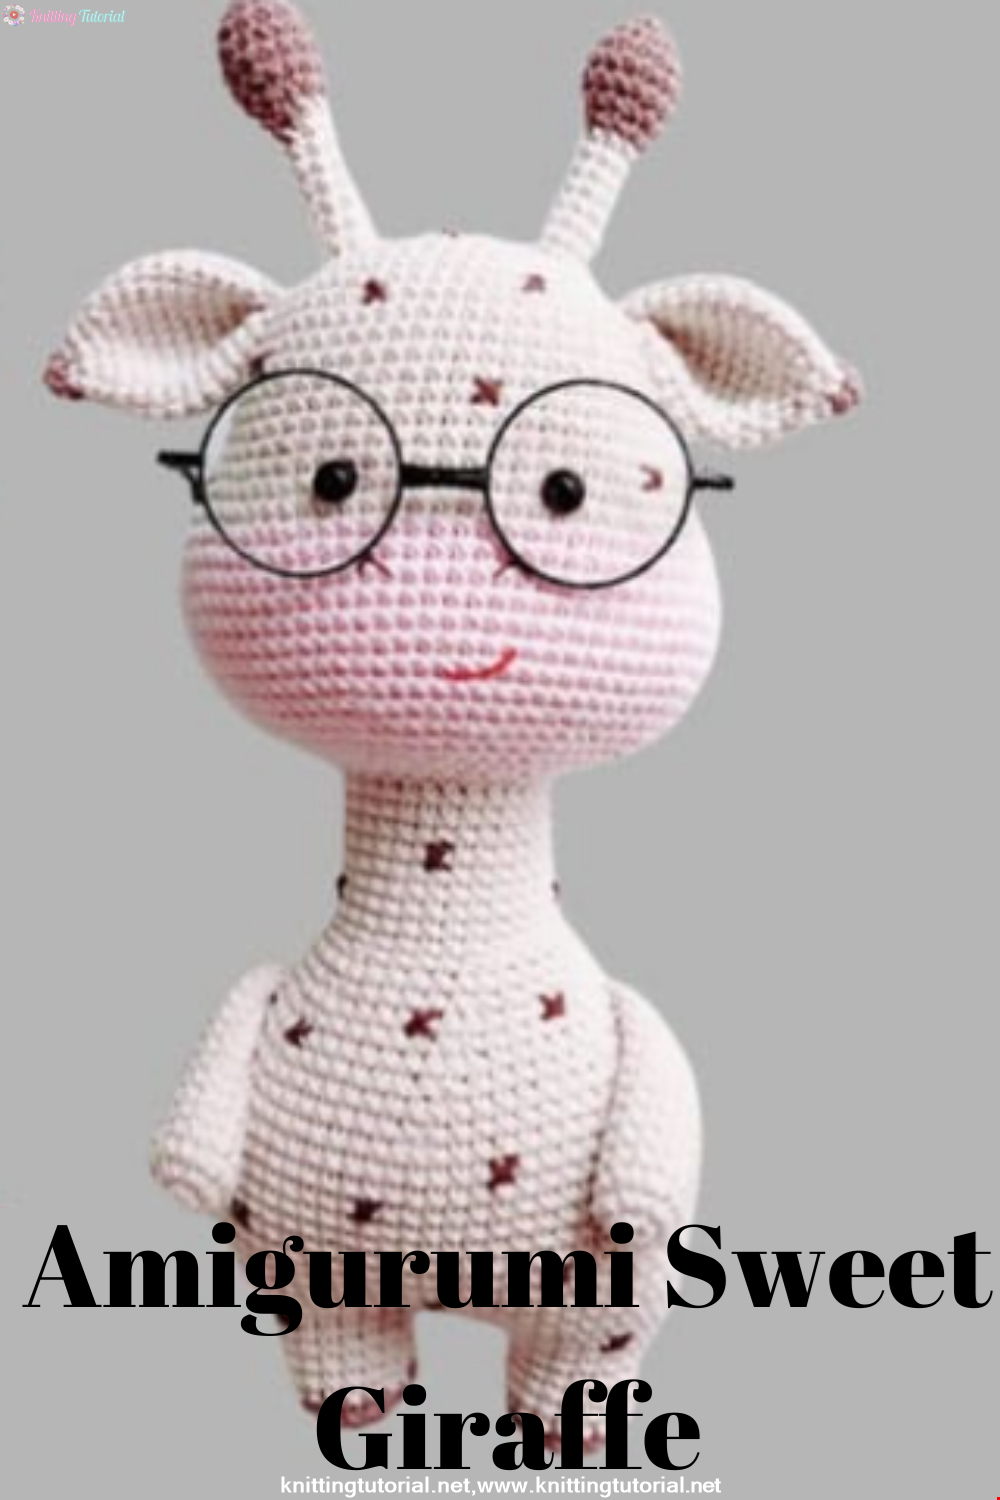
We have come to share with you the most popular model of recent times with the Amigurumi sweet giraffe recipe. I hope it will be an amigurumi animal figure that you like very much and knit with love.
Read MoreLovely Teddy Bear Amigurumi Tutorial
12 October 2020, 10:05 2973