Whale Couple Amigurumi Pattern
8 October 2020, 14:43 931
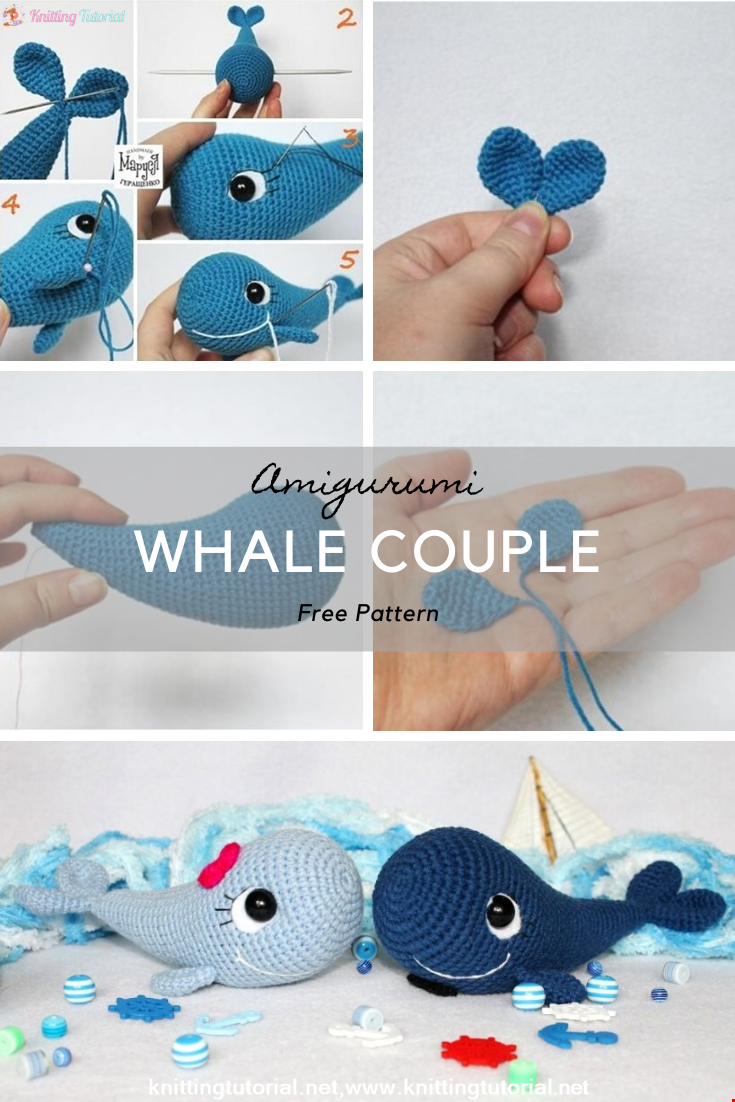
Whale couple
Author: Maroussia Gerashchenko
Necessary materials:
– Yarn Jeans YarnArt 55% cotton 45% polyacrylic, 160 m, 50 gr.
or COTTON GOLD Alize 55% cotton 45% acrylic, 330 m, 100 g. or other yarn
matching color
– 1.75 hook (or suitable for your yarn)
– Hollofiber for stuffing
– Needle for stitching parts
– Buttons black or finished eyes D 10 mm
– A piece of white fleece
– Instant glue gel
– Mouline thread or black sewing thread, needle to them
– Cut white thread for embroidery smiles
Legend:
vp – air loop
sbn – single crochet
pr – increase – 2 sb in one loop
Ub – decrease – 2 sb together
Head and torso
Knit in a spiral! We use a marker so as not to lose the beginning of the row.
Stuff tightly in the process of knitting, forming a slight bend of the tail
up.
1 row: 6sbn in an amigurumi ring or in an air loop.
2 row: (increase) – 6 times (12)
3 row: (sbn, pr) – 6 times (18)
4 row: (2 prs, pr) – 6 times (24)
5 row: (3 sbn, pr) – 6 times (30)
6 row: (4 SBN, D) – 6 times (36)
7 row: (5 sbn, pr) – 6 times (42)
8 row: (6 sbn, pr) – 6 times (48)
9 row: (11 sbn, pr) – 4 times (52)
10-15 rows: 52 sbn
16 row: (11 sb, ub) – 4 times (48)
17, 18 rows: 48 sbn
19 row: (6 sb, ub) – 6 times (42)
20-23 rows: 42 sb
24 row: UB, 4 SBN, UB, 28 SBN, UB, 4 SBN (39)
25 row: 39 sb
26 row: UB, 4 SBN, UB, 25 SBN, UB, 4 SBN (36)
27 row: 36 sb
28 row: UB, 4 SBN, UB, 22 SBN, UB, 4 SBN (33)
29 row: 33 sb
30 row: UB, 4 SBN, UB, 19 SBN, UB, 4 SBN (30)
31 row: 30 sb
32 row: UB, 4 SBN, UB, 16 SBN, UB, 4 SBN (27)
33 row: 27 sb
34 row: UB, 3 SBN, UB, 15 SBN, UB, 3 SBN (24)
35 row: 24 sb
36 row: UB, 3 SBN, UB, 12 SBN, UB, 3 SBN (21)
37 row: 21 sb
38 row: UB, 3 SBN, UB, 9 SBN, UB, 3 SBN (18)
39 row: 18 sb
40 row: UB, 3 SBN, UB, 6 SBN, UB, 3 SBN (15)
41 row: 15 sb
42 row: UB, 3 SBN, UB, 3 SBN, UB, 3 SBN (12)
43 row: 12 sb
44 row: (1 sb, ub) – 4 times (8)
45 row: 8 sc.
Do not completely close the hole! Cut the thread, hide the tip.
Tail (2 parts)
1 row: 6sbn in an amigurumi ring or in an air loop.
2 row: (1 sbn, pr) – 3 times (9)
3 row: (2 prs, pr) – 3 times (12)
4 row: (sbn, pr) – 6 times (18)
5-7 rows: 18 sb
8 row: (1 sb, ub) – 6 times (12)
9 row: 12 sbn
10 row: (1 sb, ub) – 4 times (8)
11 row: 8 sb
12 row: 4 decreases
Cut the thread, leaving the tip for sewing.
Fins (2 parts)
1 row: 6sbn in an amigurumi ring or in an air loop.
2 row: (1 sbn, pr) – 3 times (9)
3 row: (2 prs, pr) – 3 times (12)
4 row: (3 sbn, pr) – 3 times (15)
5 row: 15 sbn
6 row: (3 PRS, UB) – 3 times (12)
7 row: (1 sb, ub) – 4 times (8)
8 row: 8 sb
9 row: 4 decreases
Cut the thread, leaving the tip for sewing.
Assembly and design
1. In the hole that we have left at the end of knitting the torso,
we sew in the details of the tail. At the base (near the body) you can sew parts
tail 1-2 stitches between each other.
2. Determine places for the eyes: they should be located approximately
in the middle of the body with barrels, the reference point is the 13-14th row from the beginning of knitting.
So that everything is symmetrical, and also so that holes form, in
which “drown” buttonhole eyes, I used a thick knitting needle.
We pierce the body through, check (turning the body, looking from
all sides), is everything smooth.
3. Prepare the eyes: from a piece of white felt, cut out the details in the form of a drop, in
in the center of them we make a cut and put on the buttonhole eyelet. If you
eyes are not on the loop, stick them to the felt. To felt on the back
apply a little glue and sew / glue the eyes in place. Keep track of
the same and symmetrical white details of felt!
Insert the black thread (sewing or floss) and several stitches into the needle
embroider the upper eyelid and cilia.
4. Fasten the fins. First, we determine the optimal place for them,
fixing with pins and checking for symmetry. Approximate point for
fin is defined as follows: from the eye count down 5 sc, from the received
points back 6-7 rows towards the tail. This is a guideline, may
You’ll like it better if the fins are closer to the nose or tail –
you decide. Sew fins to the body – fasten only in 2-3
last row of fin.
5. Embroider a smile. There is also room for your imagination. To me more
like a half smile on one side: put the thread in the middle of the muzzle and
With 1-2 stitches we embroider a mouth to one of the eyes. You can form
mouth tightening or embroider a full-fledged smile “from ear to ear.”
Category Popular Posts
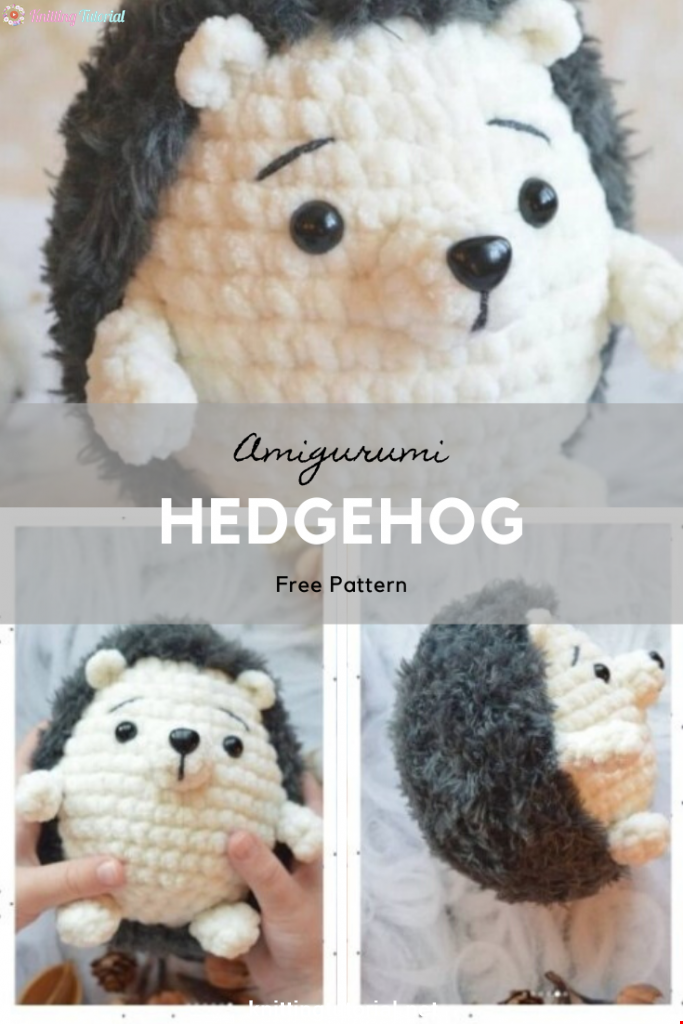
Amigurumi Hedgehog Free Pattern
12 October 2020, 09:52 11561
Making Amigurumi Spiderman
27 January 2022, 20:58 2116
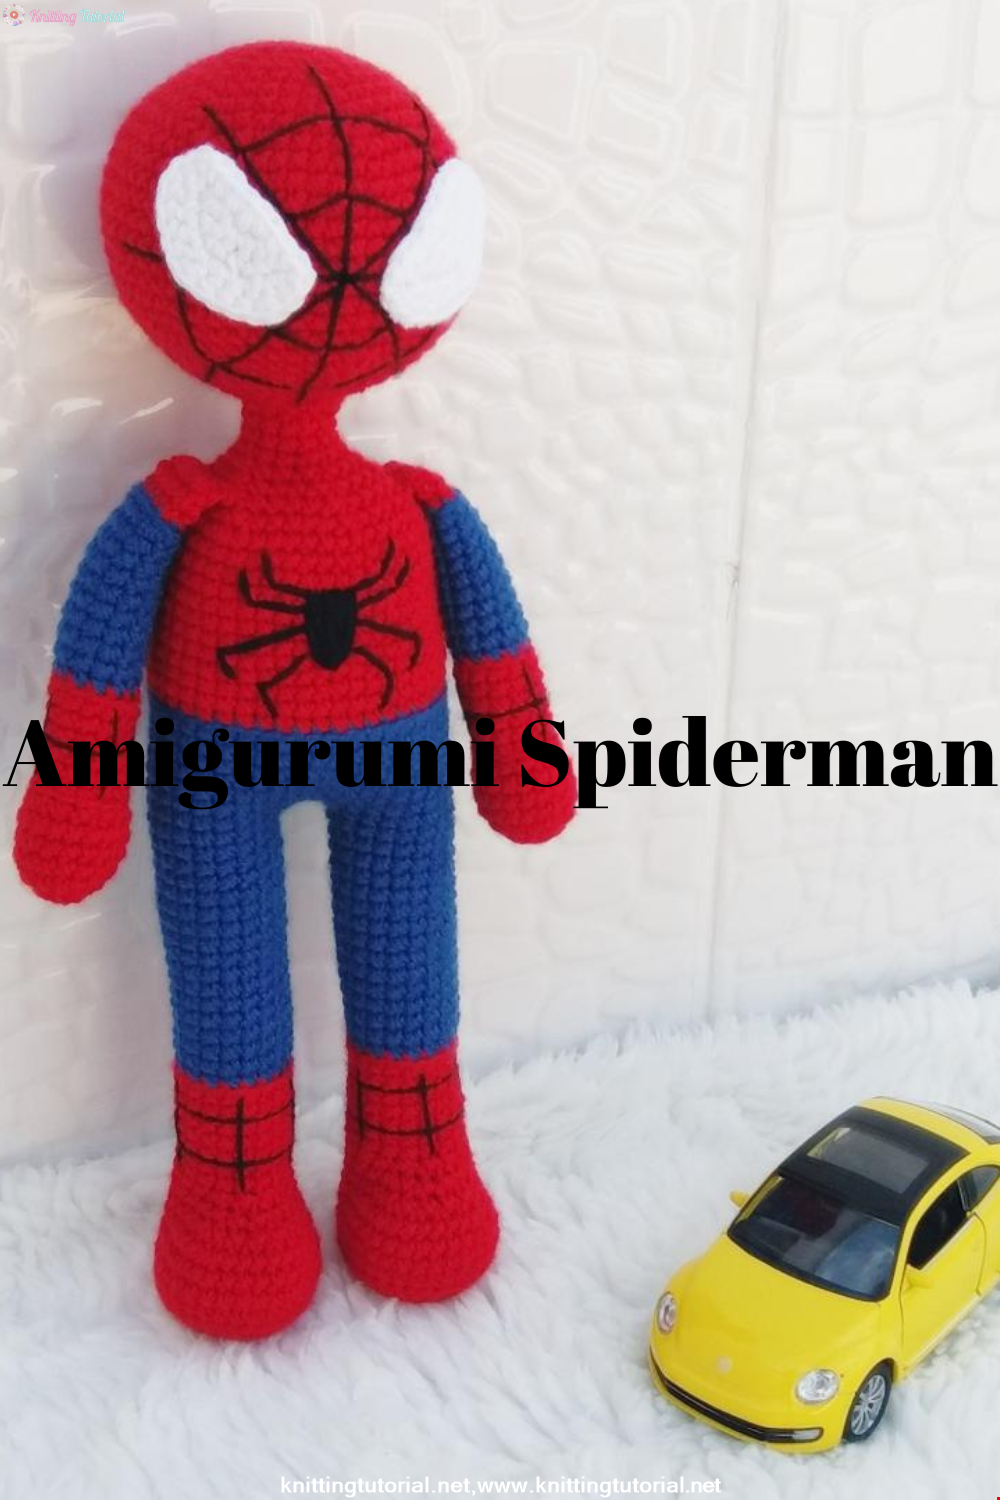
Hello, Are you ready to knit Spiderman, Spider-Man, the children's favorite cartoon character? You will be able to knit easily with detailed explanation. Let's start!
Read More
Amigurumi Princess Mononoke Crochet Pattern
12 December 2020, 21:20 958
Free Crochet Princess Mononoke workshop by Wendy Li. The knitted girl is the hero of the cartoon by Hayao Miazaki. From the description of the diagram, you will also learn how to knit: a cape, a cloak, a dress and a mask for a doll.
Read More
Princess Disney Amigurumi Pattern
8 October 2020, 14:51 5844


Korean Girl in Traditional Dress (Hanbok)
22 September 2020, 11:11 1590

This is the process how I made the amigurumi of Korean Bride in traditional dress Hanbok. Lately I've been watching a lot of Korean dramas and got inspired to make one. I hope you can enjoy the video, and get inspired too!
Read More
Amigurumi Sweet Giraffe Recipe and Preparation
5 January 2022, 14:55 651
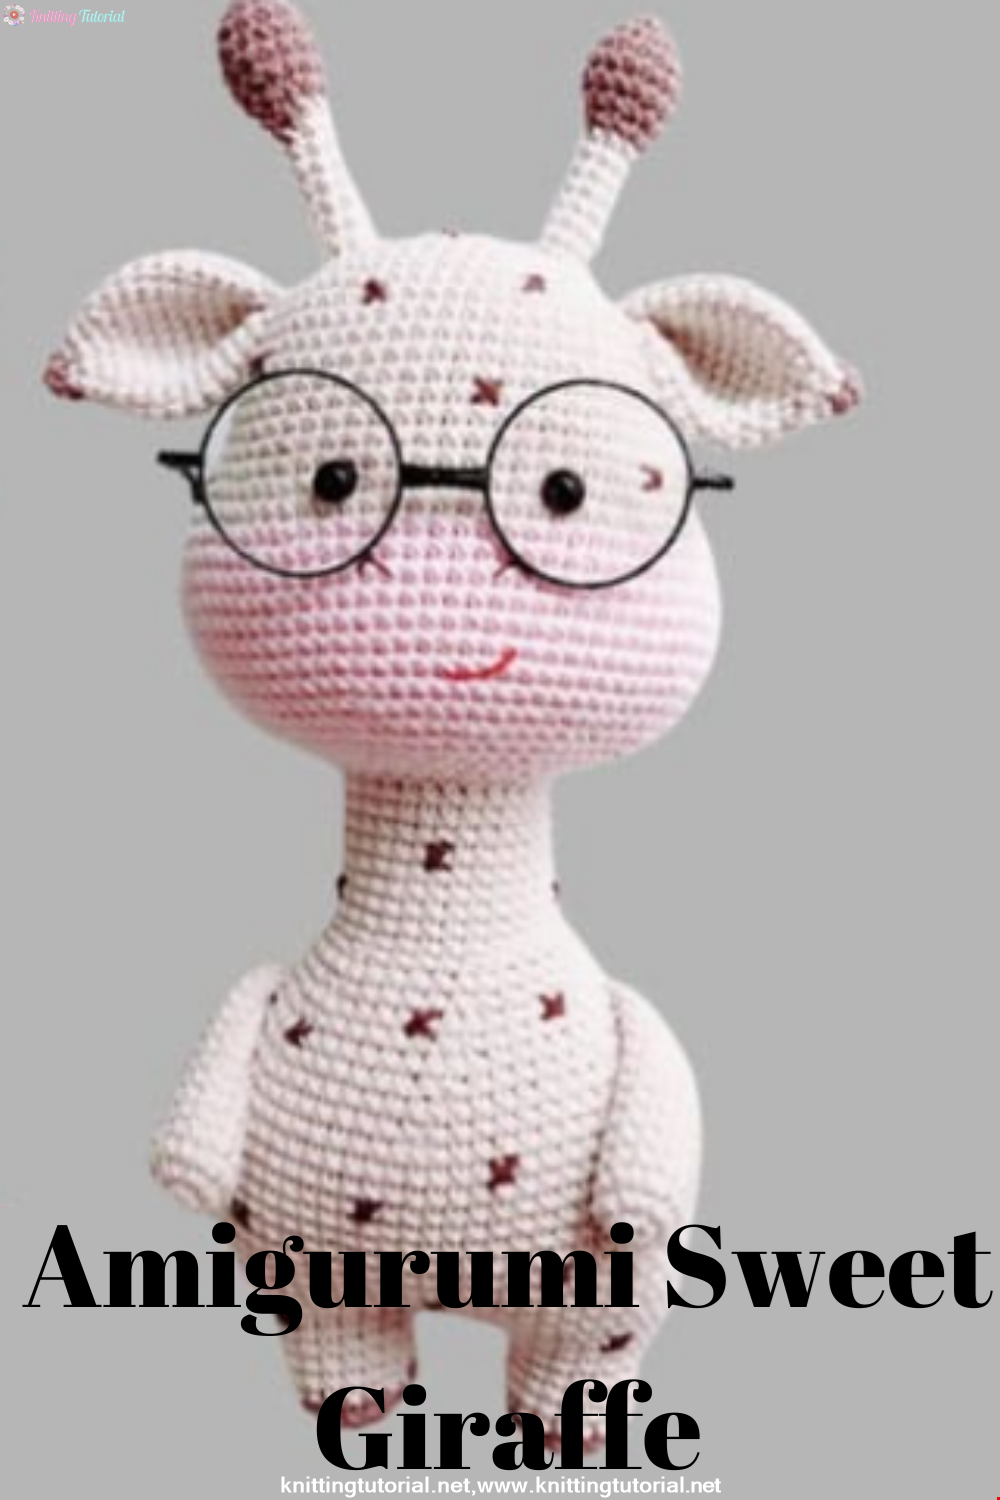
We have come to share with you the most popular model of recent times with the Amigurumi sweet giraffe recipe. I hope it will be an amigurumi animal figure that you like very much and knit with love.
Read MoreLovely Teddy Bear Amigurumi Tutorial
12 October 2020, 10:05 2991