Hat with 1 in 1 Elastic
9 October 2020, 08:40 1895
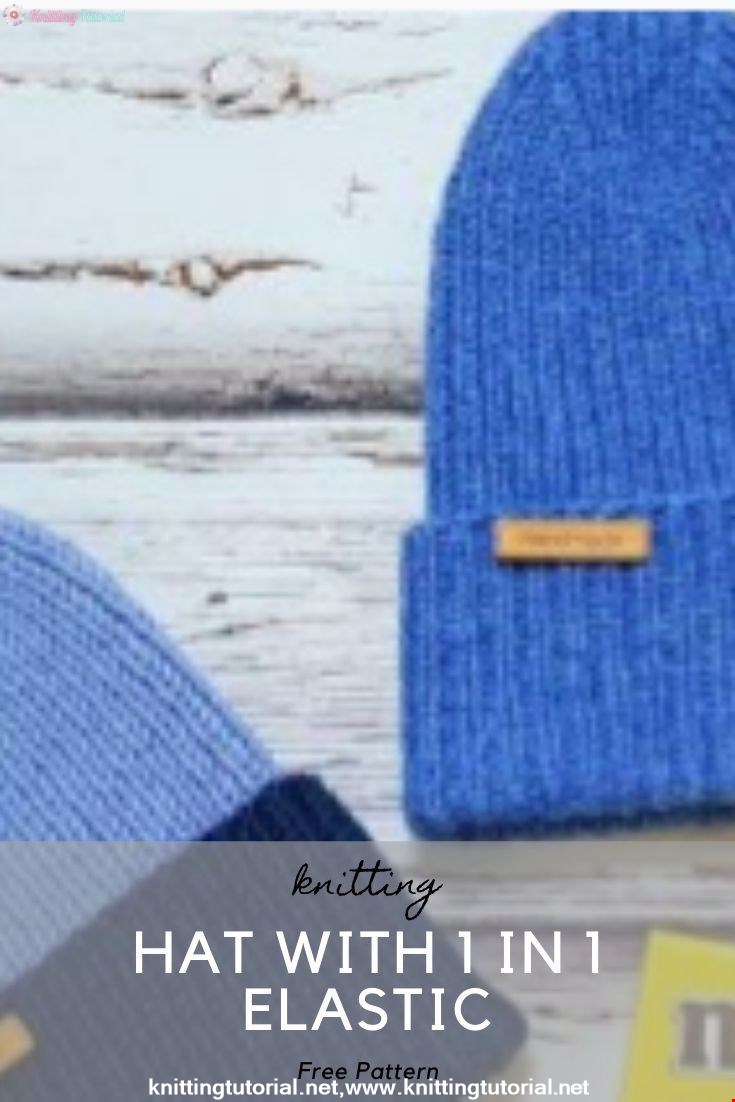
A fashionable hat with a 1-by-1 elastic knitting needle with an elongated crown goes to so many. By the way, it looks a bit like a duck beak, right? It can be connected with a lapel so that it is warmer for winter time or without a lapel for autumn-spring walks. Or choose a style that suits you and already under it choose a yarn suitable for the season. Calculations are presented for a children’s hat 50-52 cm in size (4-5 years old) and an adult hat 55-57 cm.
To work, you will need:
- 61g of yarn for a baby hat or 71g for an adult Alize Lana Gold Classic hat (51% acrylic – 49% wool; 240m – 100g);
- Circular knitting needle 40cm No. 3.75 for a set of loops;
- Circular knitting needles 40 cm for the main fabric and 80 cm for closing the crown No. 2.75 or No. 3.0;
- 5 markers, 1 of which should be different from the rest;
- 2 stocking knitting needles number 3.0;
- 2 safety pins or 2 hairpins;
- A needle with a thick eye and a blunt end.
Legend:
- L – front loop;
- And – the wrong loop;
- / \ – decrease;
- / \ with an inclination to the right – 2 loops together A for the front wall;
- / \ with a slope to the left – first we unfold the loops with another wall, then we knit 2 loops together A for the back wall.
We pick up the right number of loops on the needles, in accordance with our density. The number of loops must be a multiple of 2, i.e. any even number.
On the head volume of 50-52 cm (baby hat), we scored 76 loops + 1 for closure in a circle . We type in any way, the main thing is that the edge is elastic. We used the Norwegian set, but you can use a different elastic set .
On the head volume of 55-57 cm (adult hat), we dialed 84 loops + 1 to close in a circle.
We knit with a rubber band 1 on 1 the entire length of the cap.
The length depends on whether you will knit with a lapel or without, how wide the lapel will be. We knitted with a lapel and it turned out 65 rows, for an adult hat – 80 rows. Lapel width 8.5-9 cm.
Head caps calculation
The height of the crown is about 5.5 cm.
You can calculate the height in advance, but for this you need to decide on the width of the fixed crown under which the reduced loops will go. Please note that the number of loops in the fixed crown must be odd. Take 9 loops.
You can take any other, you just need to understand that the narrower the part of the fixed crown, the higher it will be, because the number of rows with decreases will be greater. Accordingly, if the crown is wider, then it will be lower, because there will be fewer rows.
Loop distribution
First, subtract the number of loops on both selected tops: 76 – (9 +9) = 58 loops.
Now we need to calculate the number of loops between the tops: 58/2 = 29 loops.
We distribute the loops like this:
15 loops, marker, 9 loops, marker, 29 loops, marker, 9 loops, marker, 14 loops.
Why so? We explain. Our fixed crown should begin and end with the wrong loop. The beginning of the row is located in the middle between the two tops and begins with the front loop.
We have two options, either 14 stitches or 15 (29/2), with which we can start knitting.
If the crown should start from the wrong side, then the number of loops in front of it should be odd, i.e. 15 (seven even pairs and one front loop).
The remaining 14 stitches will be at the end of the row.
Once calculated, the markers put all.
We knit the crown
We make reductions in each row! In each row we leave 4 loops.
1 row: 13 loops according to the figure, / \ with an inclination to the right Л, marker, 9 loops with an elastic band according to the figure, a marker, / \ with an inclination to the left Л, 25 loops according to the figure, / \ with an inclination to the right Л, marker, 9 loops according to the figure , marker, / \ with an inclination to the left of Л, 14 loops.
- 2 loops together with a slope to the right knit very simply, 2 loops to the marker we catch with the right knitting needle on the front walls and we knit them L.
- For a gentle tilt to the left, you must first deploy two loops so that they can be tied to the back walls not crossed.
- We unfold them as they lie when knitting in the grandmother’s way .
- Both loops are returned back to the left knitting needle.
- And now we knit 2 loops on the back wall of L.
When you have all the markers hanging, we simply decrease before the marker and after the marker, there is no need to count.
When it becomes uncomfortable to knit 40cm, go to the circular 80cm and knit Magic loop.
We knit until you have 3 loops between the fixed tops. With this row, we will make not 4 decreases, but only 2. This will not affect the balance of the crown. We make reductions in front of each crown, and then we knit 1L.
If you have a different number of loops and between the tops there will remain 2 loops, then we make 2 decreases before and after the marker. Or sew these loops.
Now we need to separate the loops, as the crown closes separately from the front and back sides.
For this we need safety pins or stilettos and 2 stocking needles.
Remake 6L on a stocking needle and 5I on a hairpin. We remove the hairpin inside the cap. We do the same a second time.
We cut the thread of 20-25 centimeters, with it we will sew both parts of the crown.
Now we connect the seam “loop to loop” first on the front side of the cap.
Then we turn out the cap and do the same on the wrong side.
If you carefully remove the ends of the threads, then the hat can be worn on both sides.
The difference is visible only in the lines near the crown and the number of facial paths.
Category Popular Posts
CROCHET KOALA HAT
12 October 2020, 09:39 5738
Korean Girl in Traditional Dress (Hanbok)
22 September 2020, 11:11 1831
This is the process how I made the amigurumi of Korean Bride in traditional dress Hanbok. Lately I've been watching a lot of Korean dramas and got inspired to make one. I hope you can enjoy the video, and get inspired too!
Read MoreIron Man Hat with a Mask
12 October 2020, 09:00 3403
Dump Truck Hat Pattern
12 October 2020, 09:14 3200
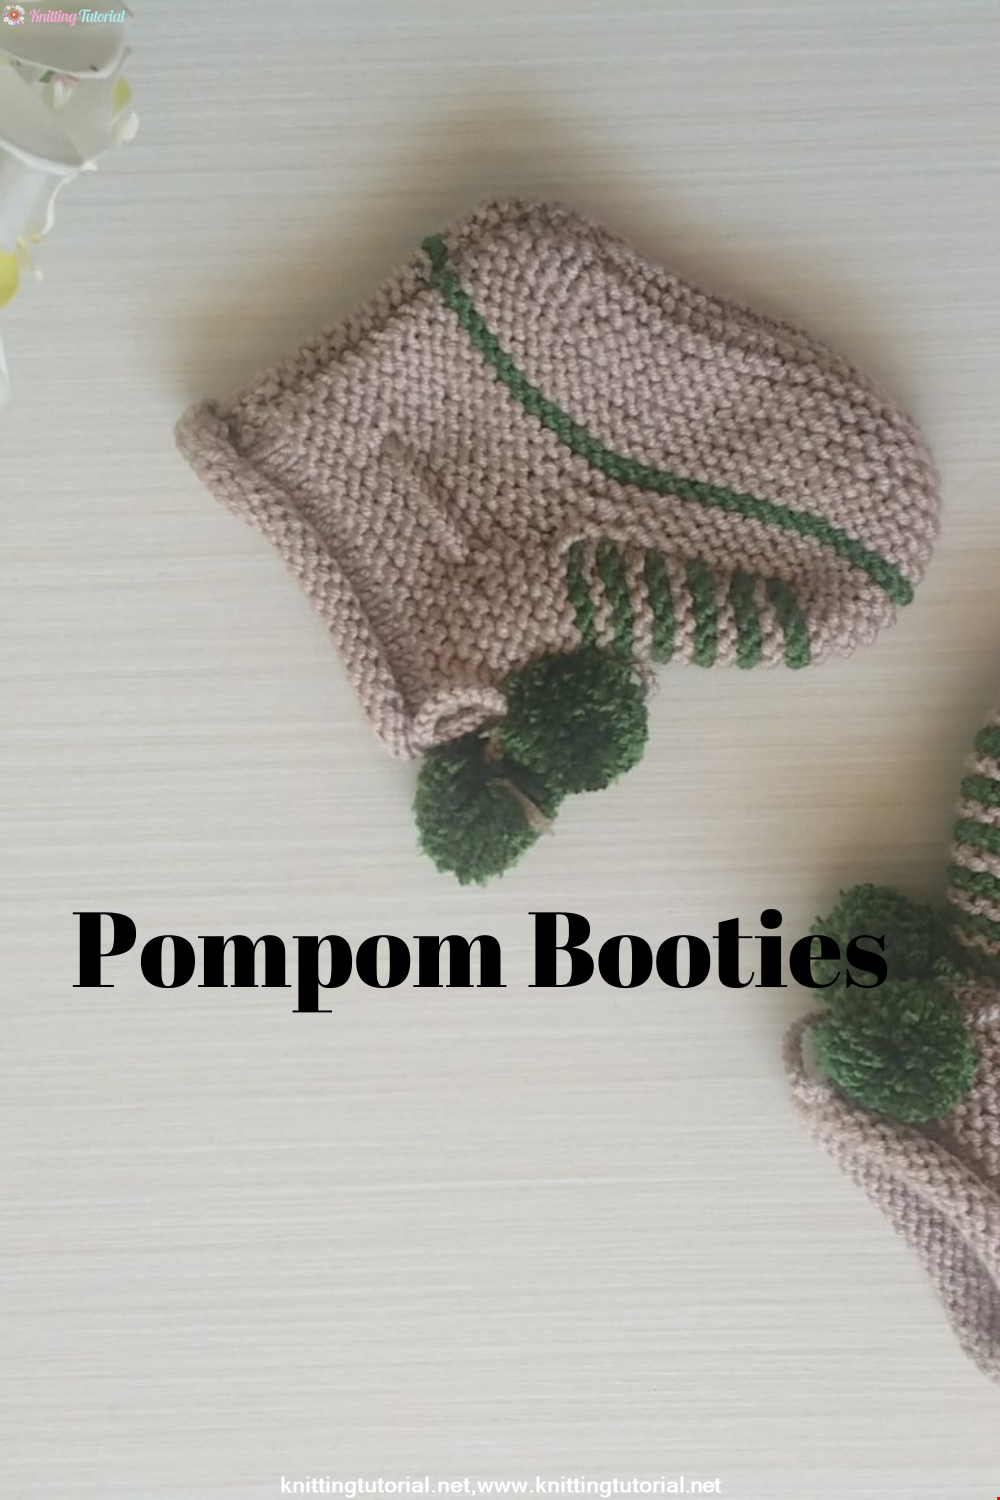
Ponponlu Patik Yapımı
18 January 2022, 20:45 2634
Hello! We will tell you how to make very cute baby shoes. You can knit this cute bootie in color and dress it up for your child. Let's start knitting now!
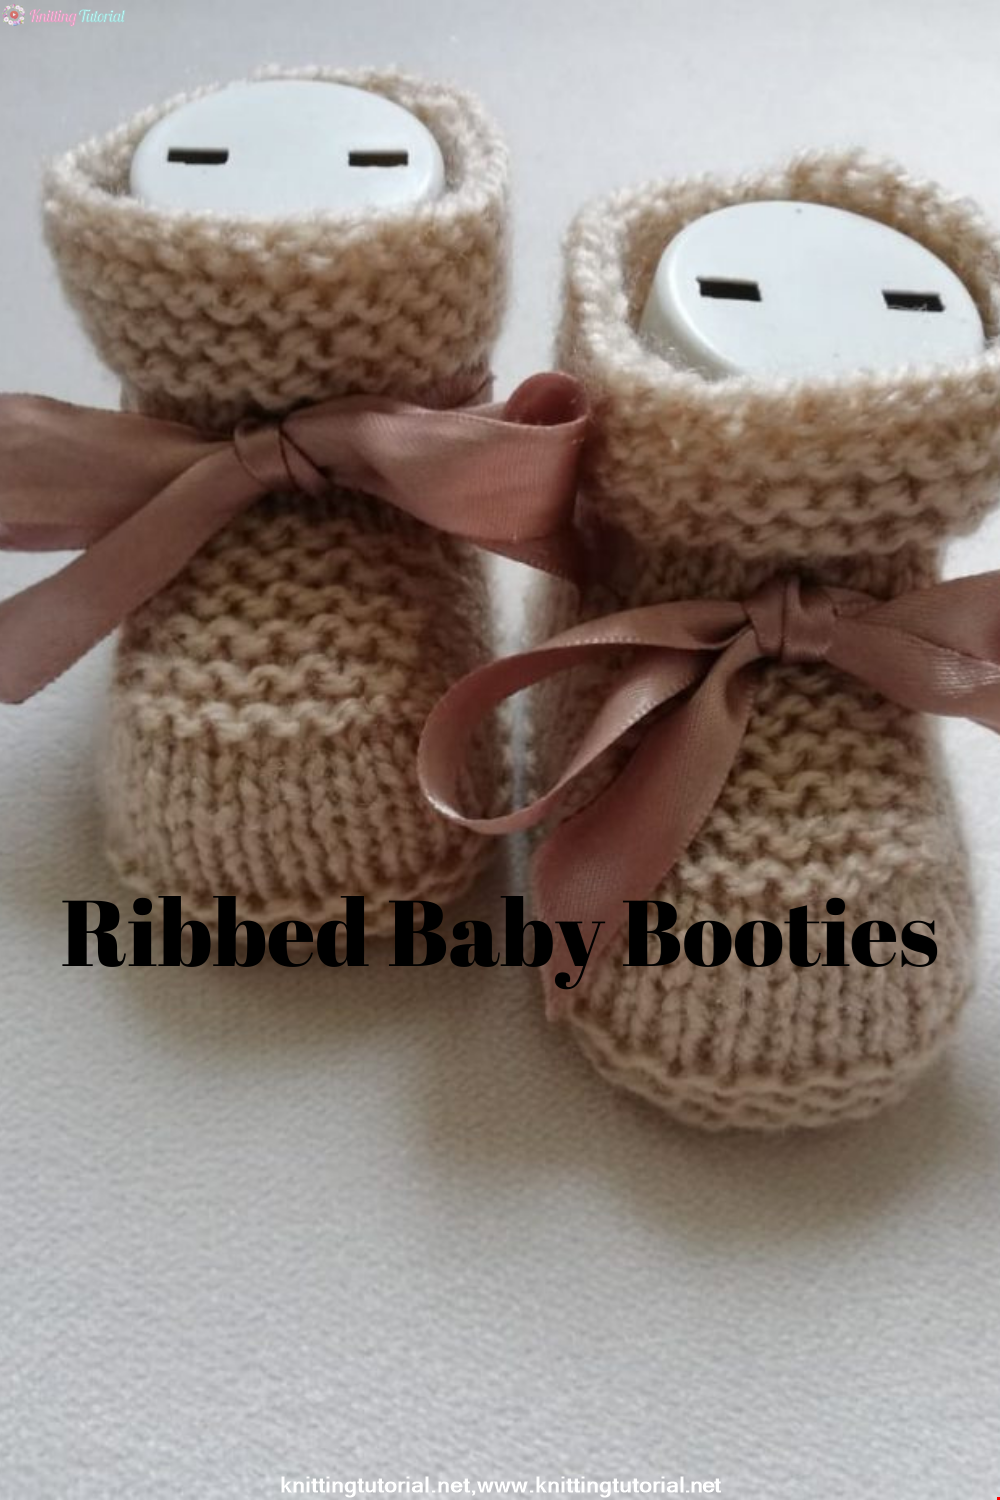
Read MoreRibbon Baby Booties Making
18 January 2022, 20:30 2072
Hi! Today I will tell you about a bootie model that you can easily knit for your newborn babies. You can make and finish this model, which consists of crochet and plain knitting, in a few hours. If you're ready, let's get started!
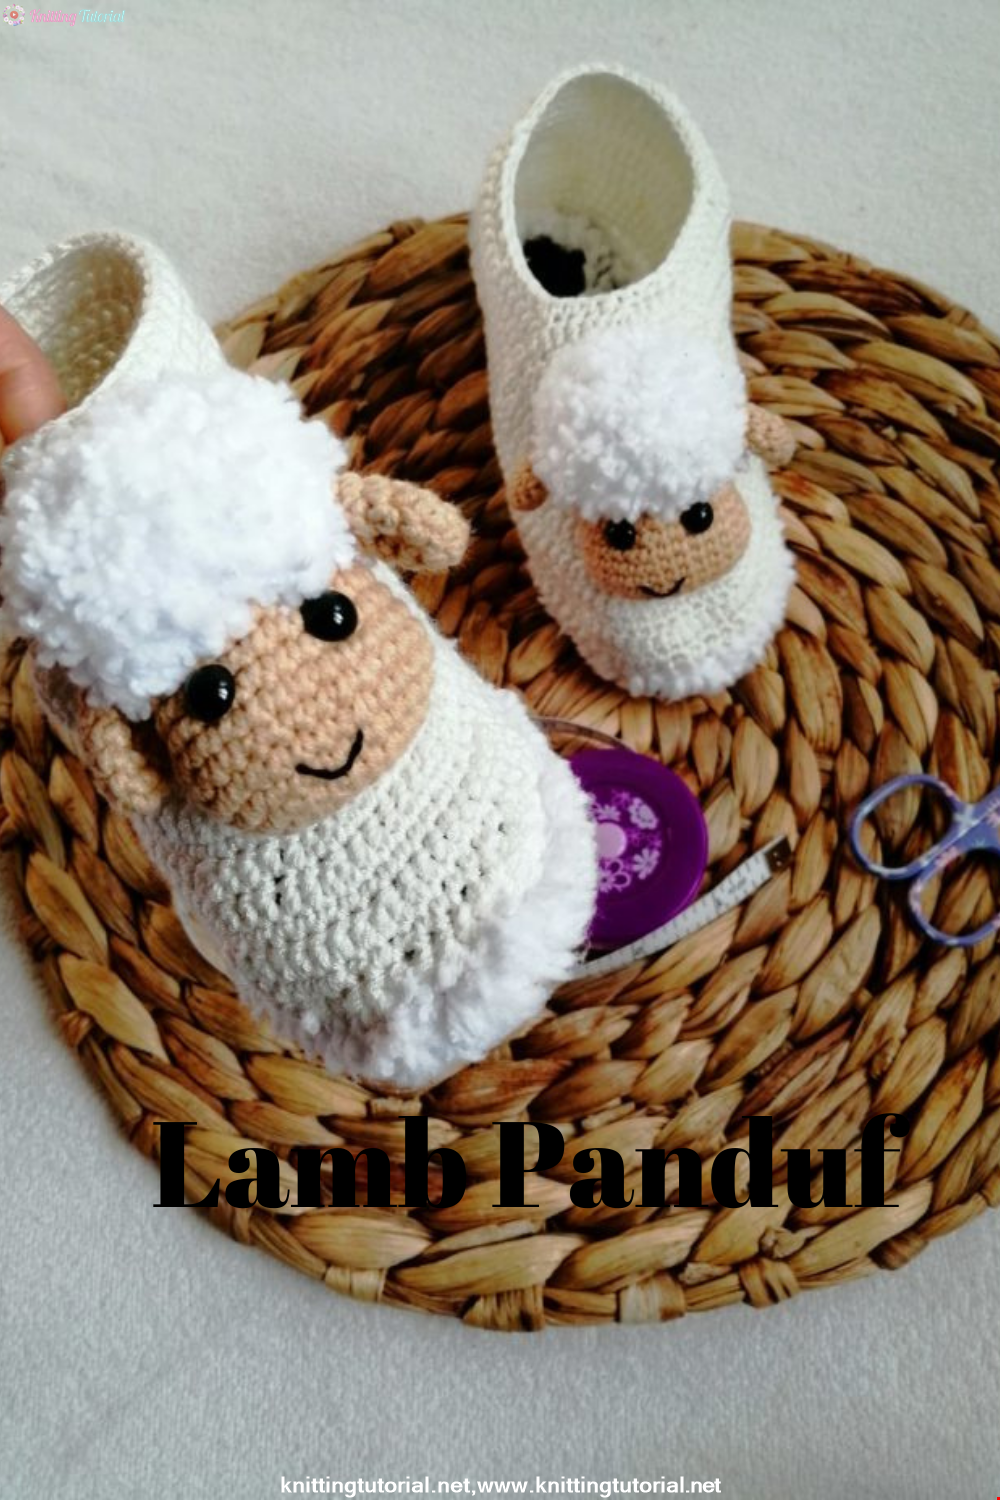
Read MoreLamb Panduf Making
18 January 2022, 20:37 2034
Hello! Now that the winter season has come, how about knitting a nice bootie that will keep our babies' feet warm? So let's get started right away.
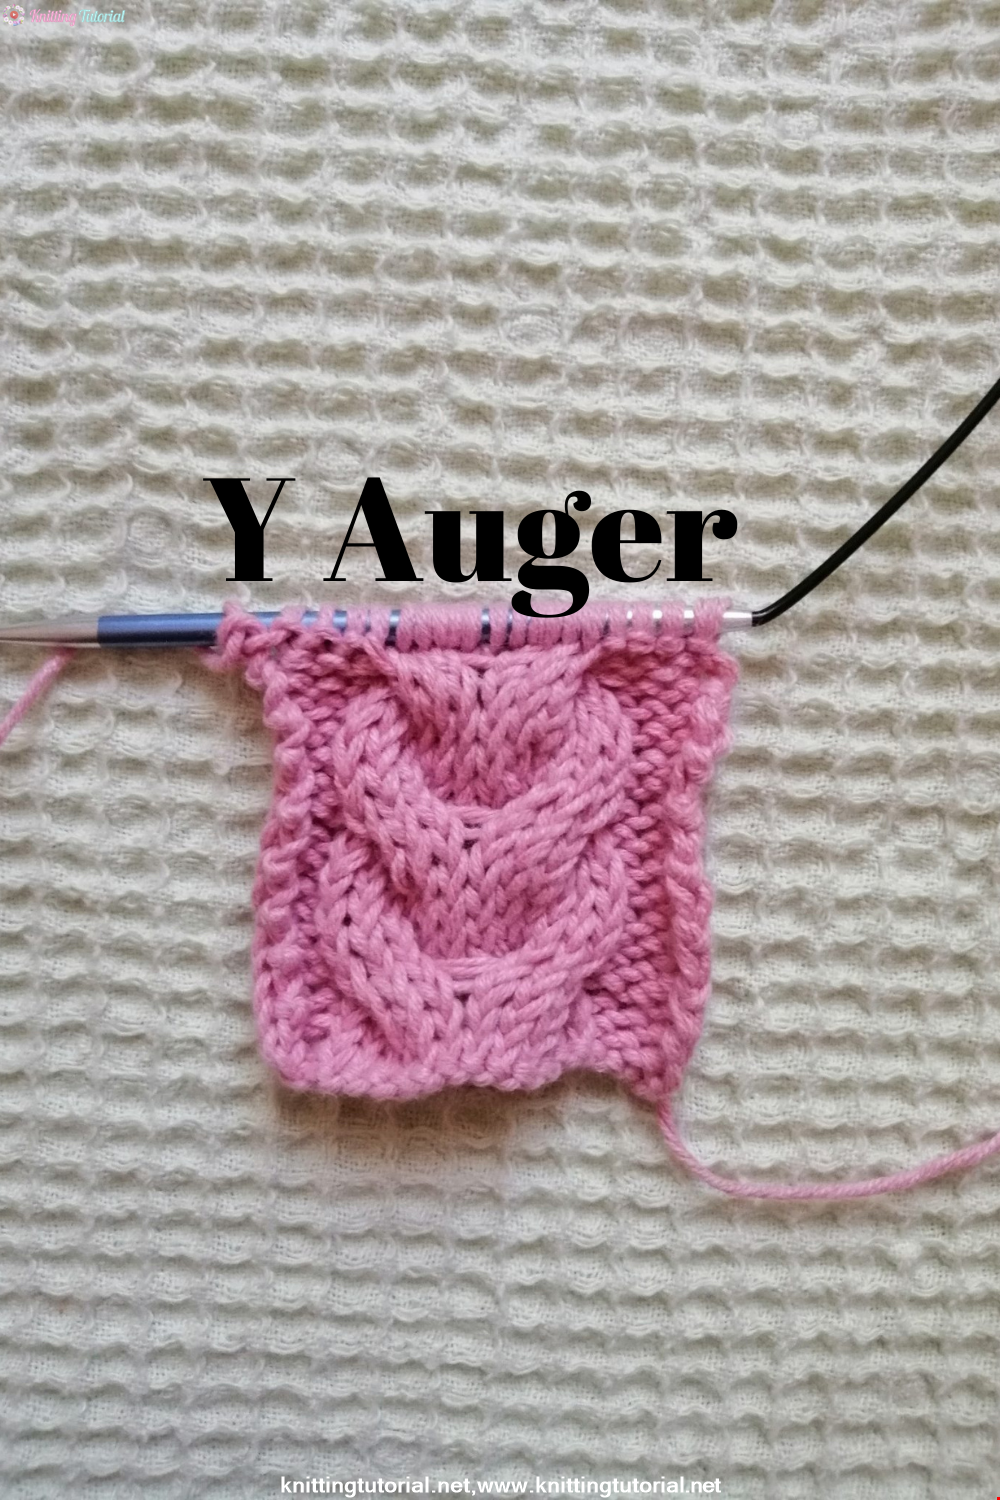
Read MoreY Auger construction
27 January 2022, 21:16 1986
Hello everyone! We have prepared a Y twist model, which is very suitable for vests and cardigans, for you. This model is actually very easy to make! Let's start knitting this beautiful model right now!
Read MoreChildren’s hat and snood (size 2-3 years)
12 October 2020, 09:44 1884
Hat with 1 in 1 Elastic
9 October 2020, 08:40 1896
Snowman Hat
12 October 2020, 09:50 1880
Beanie Boy
23 September 2020, 14:15 1140
